
Highlight
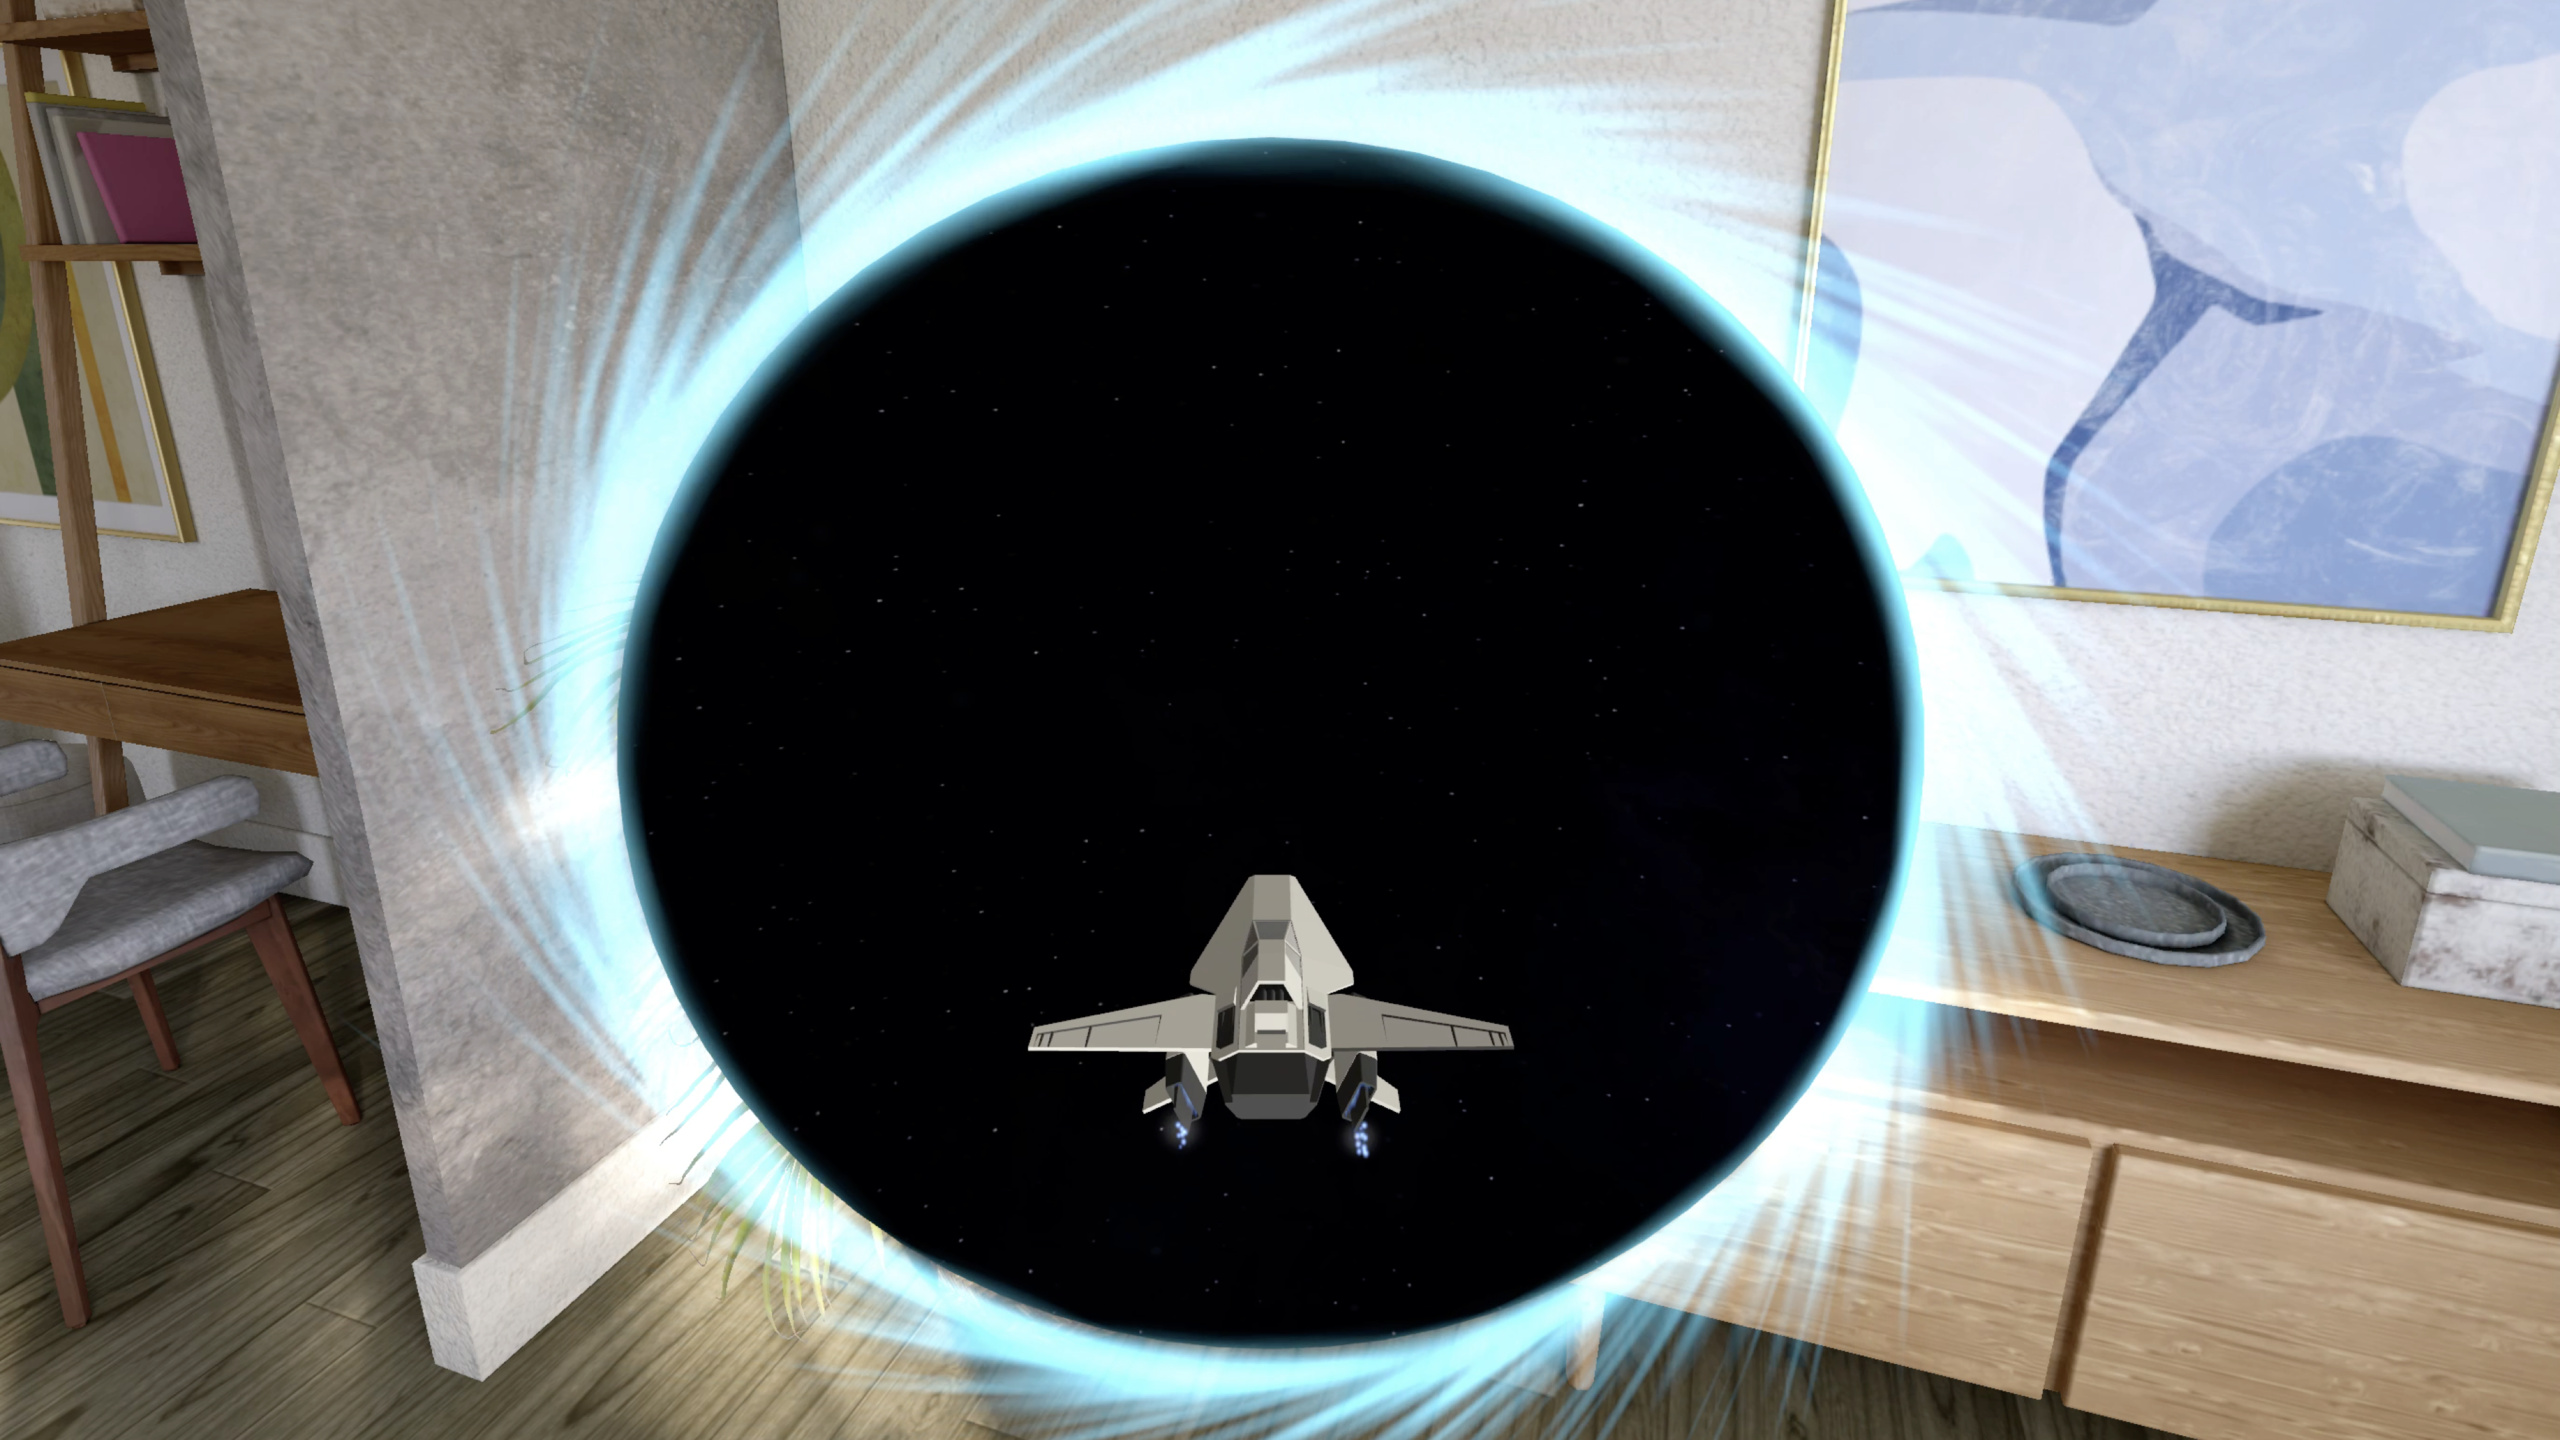
RealityKit には今年、hover effects のカスタマイズ、SpatialTrackingSession によるハンドトラッキング、force effects と joints による物理シミュレーション、動的ライトとシャドウ、portal crossing、クロスプラットフォーム対応が追加されました。宇宙船ゲームを通じて一連の API をデモします。
主要内容
visionOS で 3D モデルを表示する際、最も一般的なインタラクション不足は、ユーザーが物体を見ても視覚的フィードバックがないことです。RealityKit の従来の HoverEffectComponent はデフォルトの spotlight 効果のみで、アプリの美術方向に合わせられませんでした。今年は highlight と shader の 2 スタイルが追加——highlight は mesh 全体を均一に着色し tint と strength を調整可能、shader は Shader Graph マテリアルに接続し「視線で舷窓が光る」ような細かい効果が可能です。
視覚的フィードバックだけでは不十分——3D インタラクティブアプリでは手の動きをゲーム入力にマッピングする必要があります。昨年はハンドトラッキングに ARKit を直接呼び出し、コード量が多く権限管理も自分で行う必要がありました。今年 RealityKit に SpatialTrackingSession が導入——1 行で権限申請、その後 anchor entity で指先位置を追跡、「指をつまんでスロットルを制御」が数行で実現。Force effects と joints が物理シミュレーション能力を補完:組み込み 4 種の力場(radial、vortex、drag、turbulence)に加え ForceEffectProtocol でカスタム引力場;組み込み 5 種の関節(fixed、ball、revolute、prismatic、distance)に加え PhysicsCustomJoint で軸ごとの線形・角運動制約。動的ライトとシャドウで距離感を把握しやすく、portal crossing で宇宙船がポータルを通過して別シーンへ、EnvironmentLightingConfigurationComponent で門を越える際のライティング遷移を滑らかに。最後に、これらの API は iOS と macOS でも利用可能——入力方式と RealityView の camera mode を差し替えるだけで移植できます。
詳細
Hover Effects カスタマイズ(04:23)
Highlight スタイルが最も手早く導入できます。HighlightHoverEffectStyle を作成し color と strength を設定、HoverEffectComponent に包んで entity に割り当てます:
// Add a highlight HoverEffectComponent

let highlightStyle = HoverEffectComponent.HighlightHoverEffectStyle(color: .lightYellow,
                                                                    strength: 0.8)
let hoverEffect = HoverEffectComponent(.highlight(highlightStyle))
spaceship.components.set(hoverEffect)HighlightHoverEffectStyleはcolor(色調)とstrength(0~1、強度)を受け取り、mesh 全体を均一にハイライト.highlight(highlightStyle)でデフォルト spotlight ではなく highlight スタイルを指定components.set()で直接代入——既存コンポーネントの確認は不要
Shader スタイルはより柔軟。Reality Composer Pro の Shader Graph で HoverState ノードを設定し、コードは 1 行で十分:
// Add a shader effect

let hoverEffect = HoverEffectComponent(.shader(.default))
spaceship.components.set(hoverEffect).shader(.default)は Shader Graph に設定済みの HoverState ノードを使用- HoverState ノードは intensity 値(0→1 アニメーション)を提供し、Mix ノードに接続して emissive color を制御可能
SpatialTrackingSession ハンドトラッキング(08:04)
2 つの anchor entity で人差し指先と親指先をそれぞれ追跡。カスタム System の update で距離を計算、スロットル値にマッピングし、宇宙船の前進方向に力を加えます:
// Control acceleration with left hand

class HandTrackingSystem: System {

    func update(context: SceneUpdateContext) {
        let indexTipPosition = indexTipEntity.position(relativeTo: nil)
        let thumbTipPosition = thumbTipEntity.position(relativeTo: nil)

        let distance = distance(indexTipPosition, thumbTipPosition)

        let throttle = computeThrottle(with: distance)

        let force = spaceship.transform.forward * throttle
        spaceship.addForce(force, relativeTo: nil)
    }
}
position(relativeTo: nil)で anchor entity のワールド空間位置を取得distance()は SIMD3 のグローバル関数で 2 点間の距離を計算computeThrottle(with:)はカスタム関数——距離が短いほどスロットルが大きいaddForce(_:relativeTo:)で宇宙船ローカル座標の forward 方向に力を加え、物理エンジンが運動を処理
Force Effects カスタム力場(10:50)
組み込み 4 種の力場では「距離に応じて減衰する引力」を表現できない場合、ForceEffectProtocol を実装:
// Adding a gravity force effect

struct Gravity: ForceEffectProtocol {

    var parameterTypes: PhysicsBodyParameterTypes { [.position, .distance] }
    var forceMode: ForceMode = .force

    func update(parameters: inout ForceEffectParameters) {
        guard let distances = parameters.distances,
              let positions = parameters.positions else { return }

        for i in 0..<parameters.physicsBodyCount {
            let force = computeForce(distances[i], positions[i])
            parameters.setForce(force, index: i)
        }
    }
}parameterTypesで position と distance を宣言——物理エンジンが事前計算forceModeを.forceに設定——出力は力(加速度やインパルスではない)update内で影響を受ける physics body をすべて走査し、力ベクトルを個別に計算・設定
力場を有効化する際は空間減衰範囲とコリジョンマスクを指定:
// Activating the gravity force effect

let gravity = ForceEffect(effect: Gravity(),
                          spatialFalloff: SpatialForceFalloff(bounds: .sphere(radius: 8.0)),
                          mask: .asteroids)

planet.components.set(ForceEffectComponent(effects: [gravity]))spatialFalloffで半径 8 m 以内の物体のみに影響maskで.asteroidsコリジョングループの物体のみに適用- 小惑星には
PhysicsMotionComponentで初速度を設定し軌道運動を形成(13:11)
PhysicsCustomJoint カスタム関節(16:19)
宇宙船が貨物舱を牽引する際、回転幅を制限し平移を禁止:
// Add a custom joint

guard let hookEntity = spaceship.findEntity(named: "Hook") else { return }
let hookOffset: SIMD3<Float> = hookEntity.position(relativeTo: spaceship)

let hookPin = spaceship.pins.set(named: "Hook", position: hookOffset)
let trailerPin = trailer.pins.set(named: "Trailer", position: .zero)

var joint = PhysicsCustomJoint(pin0: hookPin, pin1: trailerPin)

joint.angularMotionAroundX = .range(-.pi * 0.05 ... .pi * 0.05)
joint.angularMotionAroundY = .range(-.pi * 0.2 ... .pi * 0.2)
joint.angularMotionAroundZ = .range(-.pi * 0.2 ... .pi * 0.2)

joint.linearMotionAlongX = .fixed
joint.linearMotionAlongY = .fixed
joint.linearMotionAlongZ = .fixed

try joint.addToSimulation()pins.set(named:position:)で entity 上のアンカー位置を定義——関節が 2 つの pin を接続angularMotionAroundX/Y/Zで軸ごとに回転範囲を設定——X 軸はより厳しく(±0.05π)上下の揺れを抑制linearMotionAlongX/Y/Z = .fixedで平移を完全禁止——硬い接続をシミュレートaddToSimulation()で関節を有効化——例外処理が必要
動的ライトとシャドウ(19:12)
宇宙船のヘッドライトにスポットライトとシャドウを追加:
// Add a spotlight with shadow

guard let lightEntity = spaceship.findEntity(named: "HeadLight") else { return }

lightEntity.components.set(SpotLightComponent(color: .yellow,
                                              intensity: 10000.0,
                                              attenuationRadius: 6.0))

lightEntity.components.set(SpotLightComponent.Shadow())SpotLightComponentで色、強度(ルーメン)、減衰半径を設定SpotLightComponent.Shadow()を別コンポーネントとして追加——デフォルトでは動的ライトを受けるすべての物体がシャドウを投射- 特定の物体のシャドウ投射を禁止するには
DynamicLightShadowComponent(castsShadow: false)を追加(20:01)
Portal Crossing ポータル通過(21:36)
ポータルの通過モードと宇宙船の通過コンポーネントを設定:
// Enable portal crossing

portal.components.set(PortalComponent(target: portalWorld,
                                      clippingMode: .plane(.positiveZ),
                                      crossingMode: .plane(.positiveZ)))

spaceship.components.set(PortalCrossingComponent())
crossingMode: .plane(.positiveZ)で通過平面を設定——ポータルジオメトリの平面と一致させる必要ありclippingMode: .plane(.positiveZ)でクリッピング平面も設定PortalCrossingComponent()を通過させたい entity に追加——未追加の entity はポータル面でクリップされる
宇宙船が門を越えるとライティングが急変——EnvironmentLightingConfigurationComponent で滑らかに遷移(24:33):
// Configure environmental lighting on the spaceship

var lightingConfig = EnvironmentLightingConfigurationComponent()

let distance: Float = computeShipDistanceFromPortal()
lightingConfig.environmentLightingWeight = mapDistanceToWeight(distance)

spaceship.components.set(lightingConfig)environmentLightingWeightの範囲 0~1:1 = 環境プローブライティングを完全使用、0 = 不使用- 宇宙船がポータルに近づくにつれ 1 から 0 へ段階的に低下、通過後は門内 IBL のみ
- ポータルなしでも環境ライティング重みの制御に使用可能
クロスプラットフォーム対応(27:21)
iOS の RealityView では world tracking カメラを使用:
// World tracking camera

RealityView { content in

#if os(iOS)

    content.camera = .worldTracking

#endif

}.worldTrackingで AR ワールドトラッキングとカメラ映像背景を有効化- 入力はハンドトラッキングからマルチタッチへ——左スライダーでスロットル、右仮想ジョイスティックでピッチとロール
重要ポイント
-
3D モデルに hover effects を追加してインタラクションを示唆:ユーザーが 3D 物体を見ても視覚的フィードバックがないと「タップできるのか?」と迷う。highlight スタイルは 2 行で導入、shader スタイルは細かい効果向け。始め方:すべてのインタラクティブ entity に
HoverEffectComponent(.highlight(...))を追加、美術要件があれば shader スタイルへ切り替え。 -
ARKit ハンドトラッキングの代わりに SpatialTrackingSession を使用:ARKit 方式は session と権限を自分で管理し、コード量が多い。SpatialTrackingSession は権限申請と anchor 管理を 1 つの session に統合。始め方:
SpatialTrackingSessionを作成、HandAnchorから anchor entity を作成、カスタムSystemのupdateで位置を読み取りジェスチャーを計算。 -
物理シーンでは手動位置計算より force effects を優先:フレームごとの transform 更新はバグ(衝突、貫通)を起こしやすい。force effects なら物理エンジンが一括処理。組み込み 4 種で一般的な要件をカバー、不足時は
ForceEffectProtocolの update 関数 1 つで対応。始め方:「毎フレーム transform を設定」をaddForce+ForceEffectComponentに置き換え、エンジンに運動を任せる。 -
クロスプラットフォーム移植は入力と RealityView camera mode の変更のみ:hover effects、force effects、joints、ライティング、portal のコア API は iOS/macOS で署名が一致。変更点:visionOS の ImmersiveSpace を iOS の RealityView +
.worldTrackingに、ハンドトラッキングをマルチタッチに。始め方:#if os(iOS)でプラットフォーム差分を分離、コアロジックは変更なし。
関連セッション
- Build a spatial drawing app with RealityKit — RealityKit で空間描画アプリを構築。SpatialTrackingSession の詳細な使い方を含む
- Compose interactive 3D content in Reality Composer Pro — Reality Composer Pro で Timeline と Shader Graph を使ったインタラクティブ 3D コンテンツ制作
- Enhance your spatial computing app with RealityKit audio — 空間計算アプリに空間オーディオを追加。本セッションの宇宙船ゲームのサウンド実装を解説
- Create custom hover effects in visionOS — SwiftUI レベルのカスタム hover effects API。RealityKit の hover effects と補完関係
コメント
GitHub Issues · utterances