
ハイライト
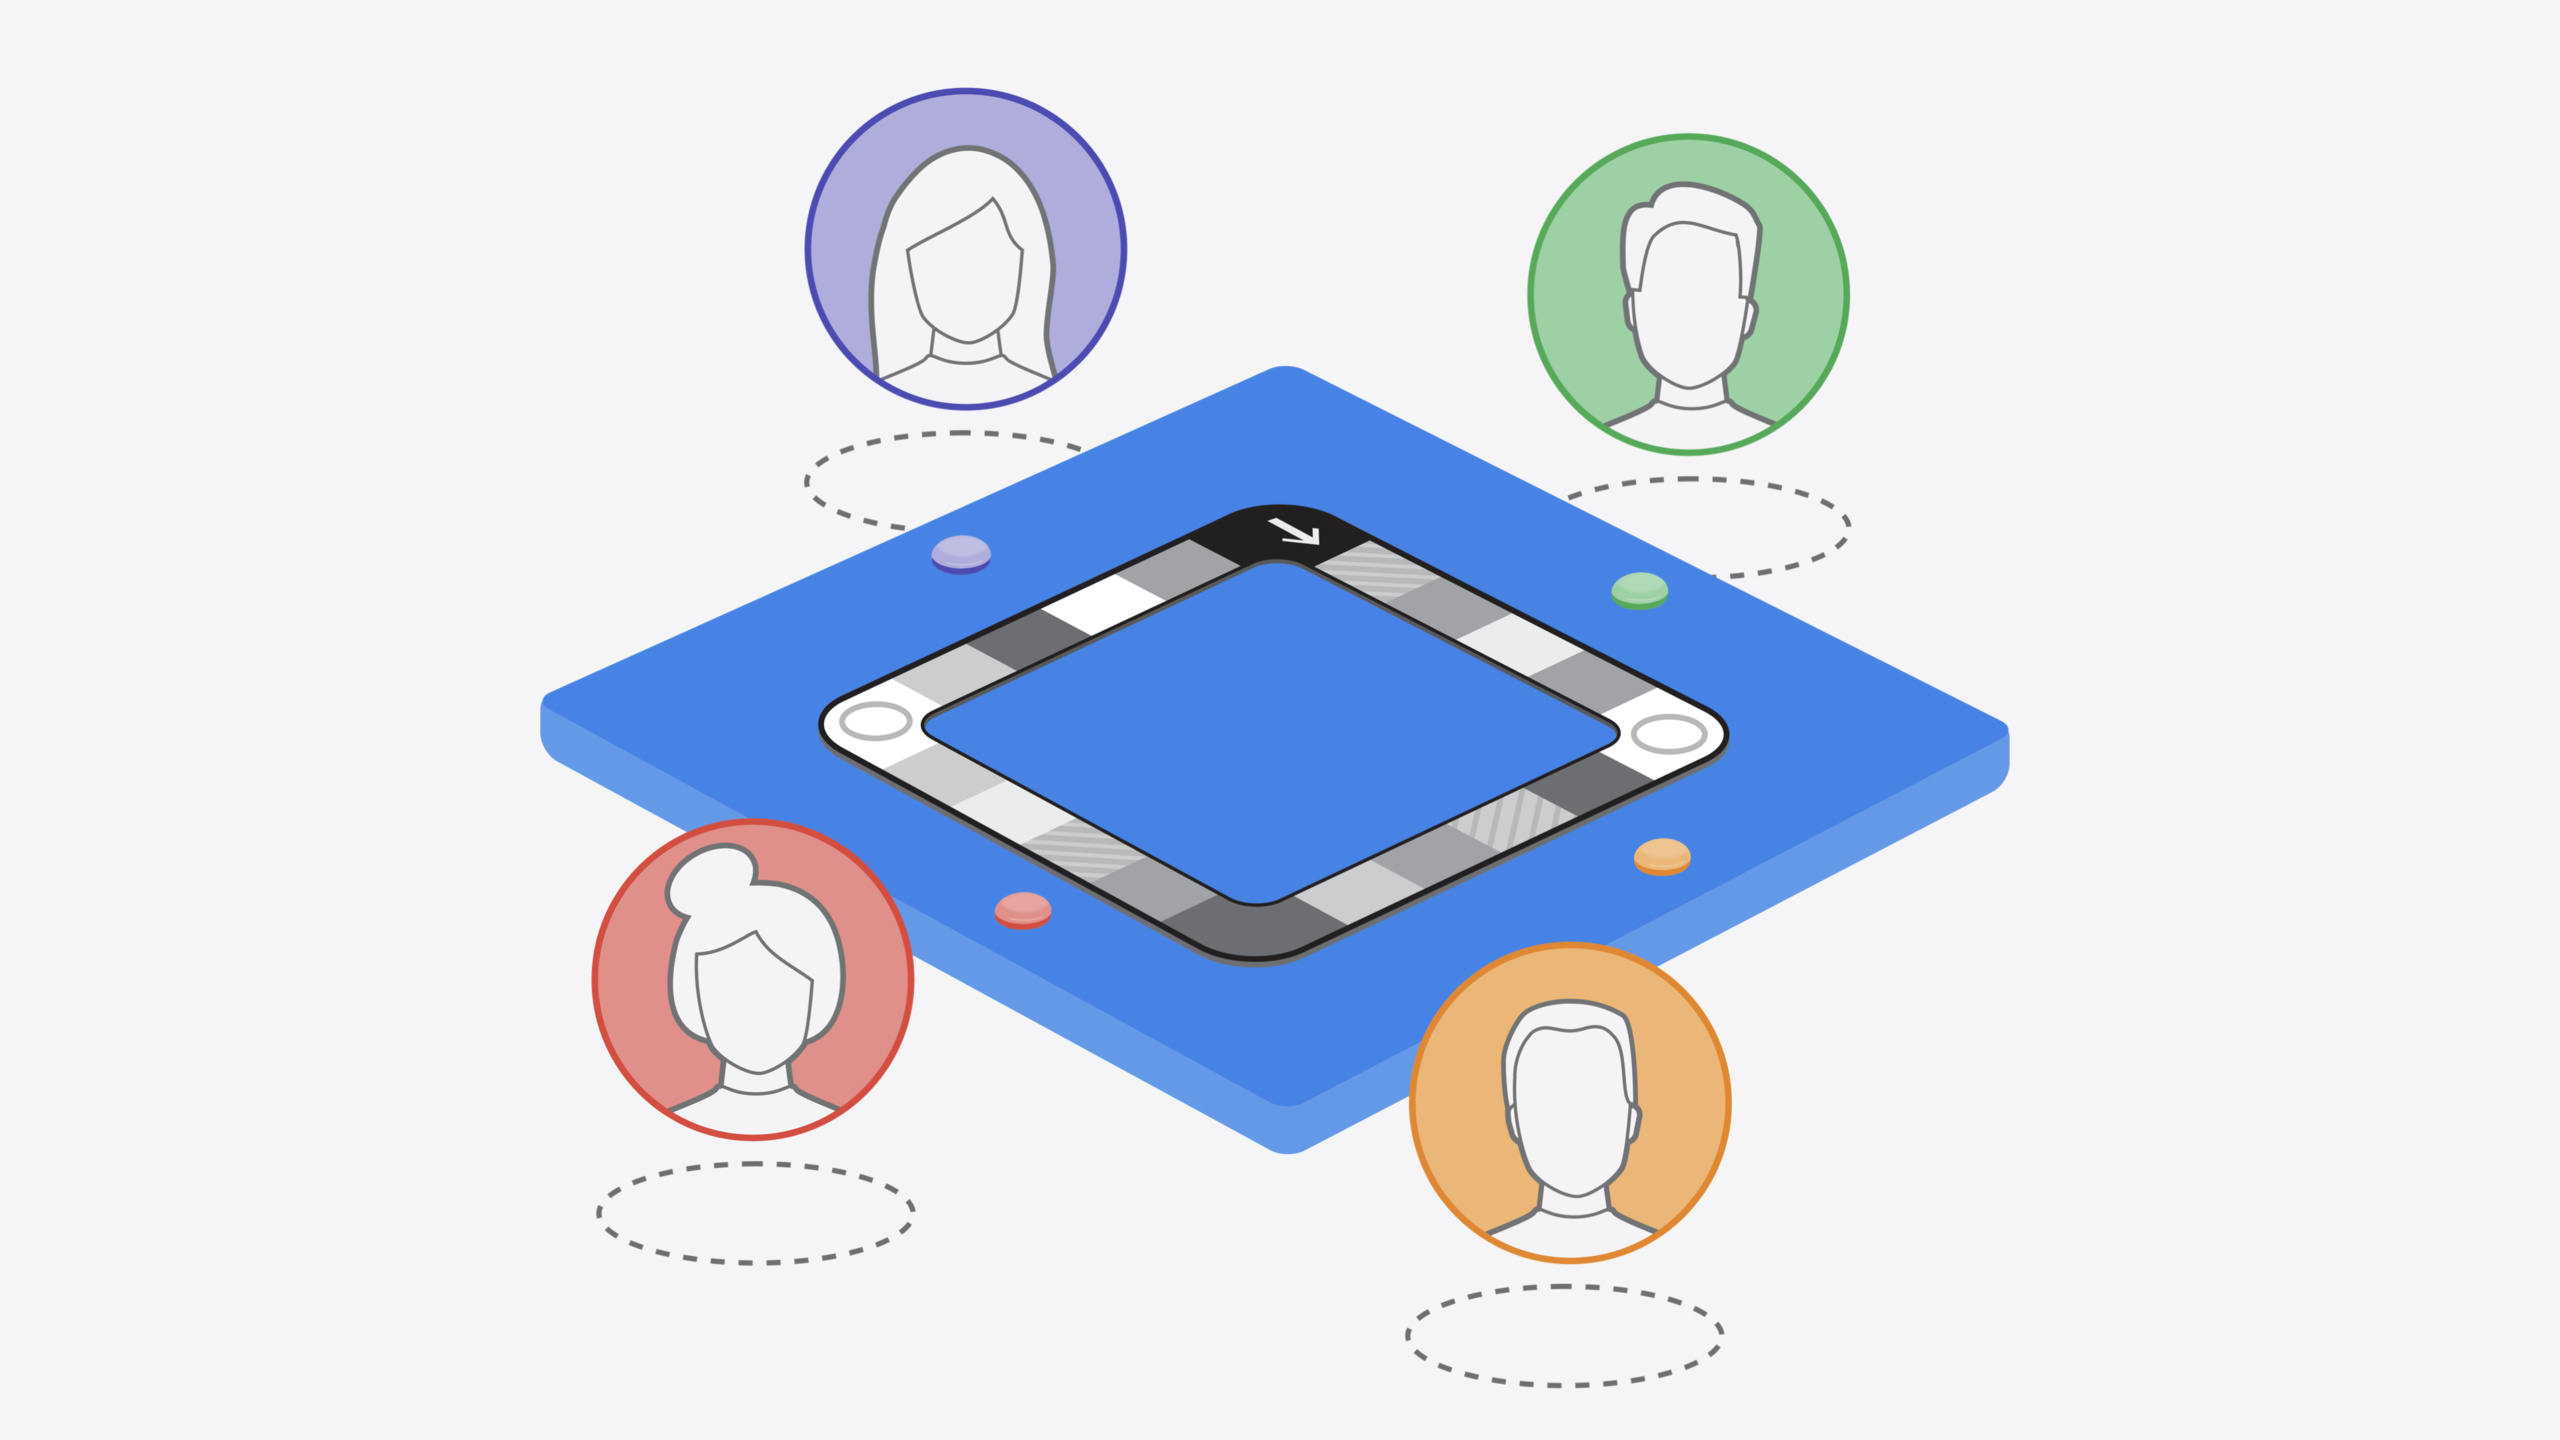
visionOS でボードゲームを開発すると、ジェスチャー認識、衝突検出、マルチプレイヤー同期など、それぞれが数週間を消費する課題に直面します。TabletopKit はこれらをすべて内蔵しています。テーブルの形状を記述し、座席を定義し、駒を配置するだけで、フレームワークが pinch-drag ジェスチャー、衝突検出、SharePlay マルチプレイヤー同期を自動処理します。
主要内容
Vision Pro でボードゲームを作ると、「楽しさ」とは無関係なエンジニアリング課題が山積みになります。テーブルのレイアウト座標系の定義、pinch-drag ジェスチャーと駒の紐付け、マルチプレイヤー時のゲーム状態同期、サイコロを投げたときの物理シミュレーション。どれも数週間かかり、すべてのボードゲームで繰り返し解決する必要があります。
TabletopKit が Apple の答えです。やることは 3 つだけ。テーブルを記述し、Equipment(駒/カード/サイコロ)を配置し、インタラクションコールバックを書く。フレームワークがジェスチャー認識、衝突検出、マルチプレイヤーネットワークを処理します。RealityKit と深く統合されており、3D モデル、影、ライティング、空間オーディオはすべて RealityKit のレンダリングパイプラインを通ります。マルチプレイヤーは GroupActivities(SharePlay フレームワーク)ベースで、TabletopGame activity タイプを追加するだけでシングルプレイゲームがマルチプレイヤーになり、ネットワークコードを書く必要はありません。
Session ではゼロからボードゲームを構築する全フローを示します。テーブルと座席の定義、Equipment の作成、インタラクションロジックの記述、視覚効果とサウンドの追加、マルチプレイヤー接続。
詳細
1. テーブルと座席の定義
最初のステップはテーブルの記述です。TabletopKit は 2 つの形状をサポートします。円形(半径指定)と矩形(幅と奥行き指定)。すべての位置と向きはテーブル原点の座標系に基づきます。(03:07)
// Make a rectangular table.

let entity = try! Entity.load(named: "table", in: table_Top_KitBundle)
let table: Tabletop = .rectangular(entity: entity)
キーポイント:
Entity.loadは bundle から RealityKit の 3D モデルを読み込む.rectangular(entity:)で矩形テーブルを宣言し、フレームワークが entity からバウンディングボックスを自動計算- テーブル形状はプレイ可能エリアを定義し、3D モデルと完全一致する必要はない
座席はテーブル周囲に配置されます。各座席は同時に 1 人のプレイヤーのみ占有でき、着席したプレイヤーのみがテーブル上のオブジェクトを操作できます。(04:04)
// Place 3 seats around the table, facing the center.

static let seatPoses: [TableVisualState.Pose2D] = [
  .init(position: .init(x: 0, y: Double(GameMetrics.tableDimensions.z)),
        rotation: .degrees(0)),
  .init(position: .init(x: -Double(GameMetrics.tableDimensions.x), y: 0),
        rotation: .degrees(-90)),
  .init(position: .init(x: Double(GameMetrics.tableDimensions.x), y: 0),
        rotation: .degrees(90))
]
キーポイント:
- 3 つの座席がテーブル周囲に均等配置され、中心を向く
rotationでプレイヤーの向きを制御- マルチプレイヤーモードでは、着席していないメンバーは観戦のみで操作不可
2. Equipment の定義
テーブル上のすべてのインタラクティブオブジェクトが Equipment です。2 つのプロトコルがあります。EntityEquipment(RealityKit entity あり、駒など)と Equipment(entity なし、ボードタイルなど)。
駒の例——EntityEquipment、実体モデルあり、対応座席のプレイヤーのみ移動可能:(05:40)
// Define an object that describes a pawn for each player.

struct PlayerPawn: EntityEquipment {
  let id: ID
  let entity: Entity
  var initialState: BaseEquipmentState

  init(id: ID, seat: PlayerSeat, pose: TableVisualState.Pose2D, entity: Entity) {
    self.id = id
    self.entity = entity
    initialState = .init(seatControl: .restricted([seat.id]),
                pose: pose,
                entity: entity)
  }
}
キーポイント:
EntityEquipmentプロトコルはentityの提供が必須。フレームワークがこれを使ってバウンディングボックスを計算seatControl: .restricted([seat.id])でその座席のプレイヤーのみ操作可能に制限poseで駒の初期位置をテーブル座標系に対して設定
ボードタイルの例——Equipment、実体モデルなし、バウンディングボックスを手動指定:(06:55)
// Define an object that describes a tile on the conveyor belt

struct ConveyorTile: Equipment {
  enum Category: String {
    case red
    case green
    case grey
  }

  let id: ID
  let category: ConveyorTile.Category
  let initialState: BaseEquipmentState

  init(id: ID, boardID: EquipmentIdentifier, position: TableVisualState.Point2D, category: ConveyorTile.Category) {
    self.id = id
    self.category = category
    initialState = .init(parentID: boardID,
              pose: .init(position: position, rotation: .init()),
              boundingBox: .init(center: .zero, size: .init(x: 0.06, y: 0, z: 0.06)))
キーポイント:
Equipmentプロトコルには entity がないため、boundingBoxを手動提供する必要があるparentID: boardIDは tile が board の子オブジェクトであることを示し、位置は board 座標系に対する相対位置- 同じ tile に複数の駒を配置可能(2 人のプレイヤーが同じマスに止まった場合)
3. インタラクションロジック
TabletopKit はシステムジェスチャー(pinch-drag)を監視し、ジェスチャーを TabletopInteraction コールバックに変換します。コールバック内でゲーム状態の変化を決定します。(09:53)
// The view contains all the content in the game.

RealityView { (content: inout RealityViewContent) in
  content.entities.append(loadedGame.renderer.root)
}.tabletopGame(loadedGame.tabletop, parent: loadedGame.renderer.root) { _ in
  GameInteraction(game: loadedGame)
}


// Define an object that manages player interactions.

struct GameInteraction: TabletopInteraction {
  func update(context: TabletopKit.TabletopInteractionContext,
                value: TabletopKit.TabletopInteractionValue) {
    switch value.phase {
      //...
  }
キーポイント:
.tabletopGame()修飾子で TabletopKit ゲームを RealityView にマウントTabletopInteractionプロトコルのupdateメソッドはジェスチャー変化のたびに呼ばれるcontextには書き込み可能なプロパティ(どの Equipment が関与するか)とメソッド(インタラクションのキャンセル/終了)があるvalueは読み取り専用情報を提供。ジェスチャーフェーズ、インタラクションフェーズ、提案される配置先
ジェスチャー終了後、addAction でゲーム状態を変更:(10:48)
// Respond to interaction updates.

func update(context: TabletopKit.TabletopInteractionContext,
              value: TabletopKit.TabletopInteractionValue) {
  switch value.phase {
    //...
    case .ended: {
      guard let dst = value.proposedDestination.equipmentID else {
        return
      }
      context.addAction(.moveEquipment(matching: value.startingEquipmentID, childOf: dst))
    }
 }
キーポイント:
value.proposedDestination.equipmentIDはフレームワークが提案する配置先addAction(.moveEquipment(...))で駒を対象 Equipment の下に移動- Action はキュー順に 1 つずつ実行され、ゲーム状態の一貫性を保証
- 許可/禁止を完全に制御可能。「チュートリアルモード」でルールを強制実行したり、「フリーモード」で制限なしにしたりできる
4. サウンドエフェクト
RealityKit の空間オーディオで、サウンドは 3D モデルの実際の位置から発せられます。サイコロにサウンドを追加するのは数行で済みます:(12:52)
// Respond to interaction updates.

  func update(context: TabletopKit.TabletopInteractionContext,
                value: TabletopKit.TabletopInteractionValue) {
    switch value.gesturePhase {
      //...
      case .ended: {
        if let die = game.tabletop.equipment(of: Die.self,
                                       matching: value.startingEquipmentID) {
          if let audioLibraryComponent = die.entity.components[AudioLibraryComponent.self] {
            if let soundResource = audioLibraryComponent.resources["dieSoundShort.mp3"] {
              die.entity.playAudio(soundResource)
            }
          }
        }
      }
    }
  }
キーポイント:
AudioLibraryComponentで entity からプリロード済みオーディオリソースを取得entity.playAudio()で空間オーディオを entity の現在位置から再生- 視覚エフェクトも同様——entity に RealityKit コンポーネントをマウントし、インタラクションコールバックでトリガー
5. マルチプレイヤー
SharePlay 接続は 2 ステップ。GroupActivities session をアクティベートし、TabletopKit に調整させる。(14:44)
// Set up multiplayer using SharePlay.
// Provide a button to begin SharePlay.

import GroupActivities
func shareplayButton() -> some View {
  Button("SharePlay", systemImage: "shareplay") {
  Task {try! await Activity().activate() }
  }
}


// After joining the SharePlay session, start multiplayer.

    sessionTask = Task.detached { @MainActor in
      for await session in Activity.sessions() {
        tabletopGame.coordinateWithSession(session)
      }
    }
キーポイント:
Activity().activate()で SharePlay セッションを開始tabletopGame.coordinateWithSession(session)でネットワーク同期を TabletopKit に委任- フレームワークは action を同期し、全プレイヤーのゲーム状態を一致させる
- アニメーションと物理シミュレーションはローカルで実行され、滑らかさを保証
- デフォルトでは TabletopKit が座席から Spatial Persona テンプレートを自動生成。カスタムレイアウトが必要なら Custom Spatial Template API で上書き可能
重要ポイント
-
やること:TabletopKit でカード対戦ゲームを素早く構築する。価値がある理由:カードゲームのルールはシンプルで Equipment タイプも少なく(デッキ + 手札 + 捨て札)、TabletopKit の最初のプロジェクトとしてフレームワーク能力を検証するのに最適。始め方:円形テーブルと 2 座席を定義し、カードを
Equipmentプロトコルで定義、インタラクションコールバックでは draw と discard の 2 種類の action のみ処理。2〜3 日でプロトタイプが動く。 -
やること:既存の visionOS ボードゲームプロジェクトを TabletopKit に移行し、ジェスチャー処理とマルチプレイヤー同期を無料で取得。価値がある理由:pinch-drag ジェスチャーコードとネットワーク同期ロジックを手書きしているなら、移行後に大量のボイラープレートを削除でき、保守負担が減る。始め方:まずテーブルと座席を TabletopKit API で再定義し、既存の駒/カードを
EntityEquipmentに変換、最後にTabletopInteractionで既存のジェスチャー処理を置き換え。視覚効果部分の RealityKit entity は変更不要。 -
やること:「チュートリアル + フリー」のデュアルモード棋類ゲームを作る。価値がある理由:TabletopKit はルール実行とジェスチャーを分離——インタラクションコールバックでルールを強制実行するか任意の操作を許可するかを選べる。このアーキテクチャはデュアルモードに自然に適合。チュートリアルモードは初心者のルール学習、フリーモードはベテランの自由操作。始め方:
updateコールバックにisRuleEnforcedフラグを追加。チュートリアルモードでは各手の合法性を検証し、不正ならcontext.cancelInteraction()。フリーモードではすべての move action をそのまま許可。 -
やること:空間オーディオと RealityKit エフェクトで没入感の高いサイコロゲームを作る。価値がある理由:物理世界のボードゲームでは「サイコロが着地した位置から 3D サウンドが鳴る」ことはできないが、visionOS なら可能——空間コンピューティング固有の体験差。始め方:サイコロ entity に
AudioLibraryComponentをマウントしてサウンドをプリロードし、gesturePhase == .endedで再生。視覚エフェクトも同様に、特定 category の tile で RealityKit アニメーションコンポーネントを使って祝福/落胆アニメーションをトリガー。
関連セッション
- Bring your iOS or iPadOS game to visionOS — iOS/iPadOS ゲームを visionOS に移植する完全ガイド
- Create custom environments for your immersive apps in visionOS — イマーシブアプリ用カスタム環境の作成
- Create enhanced spatial computing experiences with ARKit — ARKit でより強力な空間コンピューティング体験を構築
- Design interactive experiences for visionOS — visionOS インタラクション体験の設計方法論
コメント
GitHub Issues · utterances