
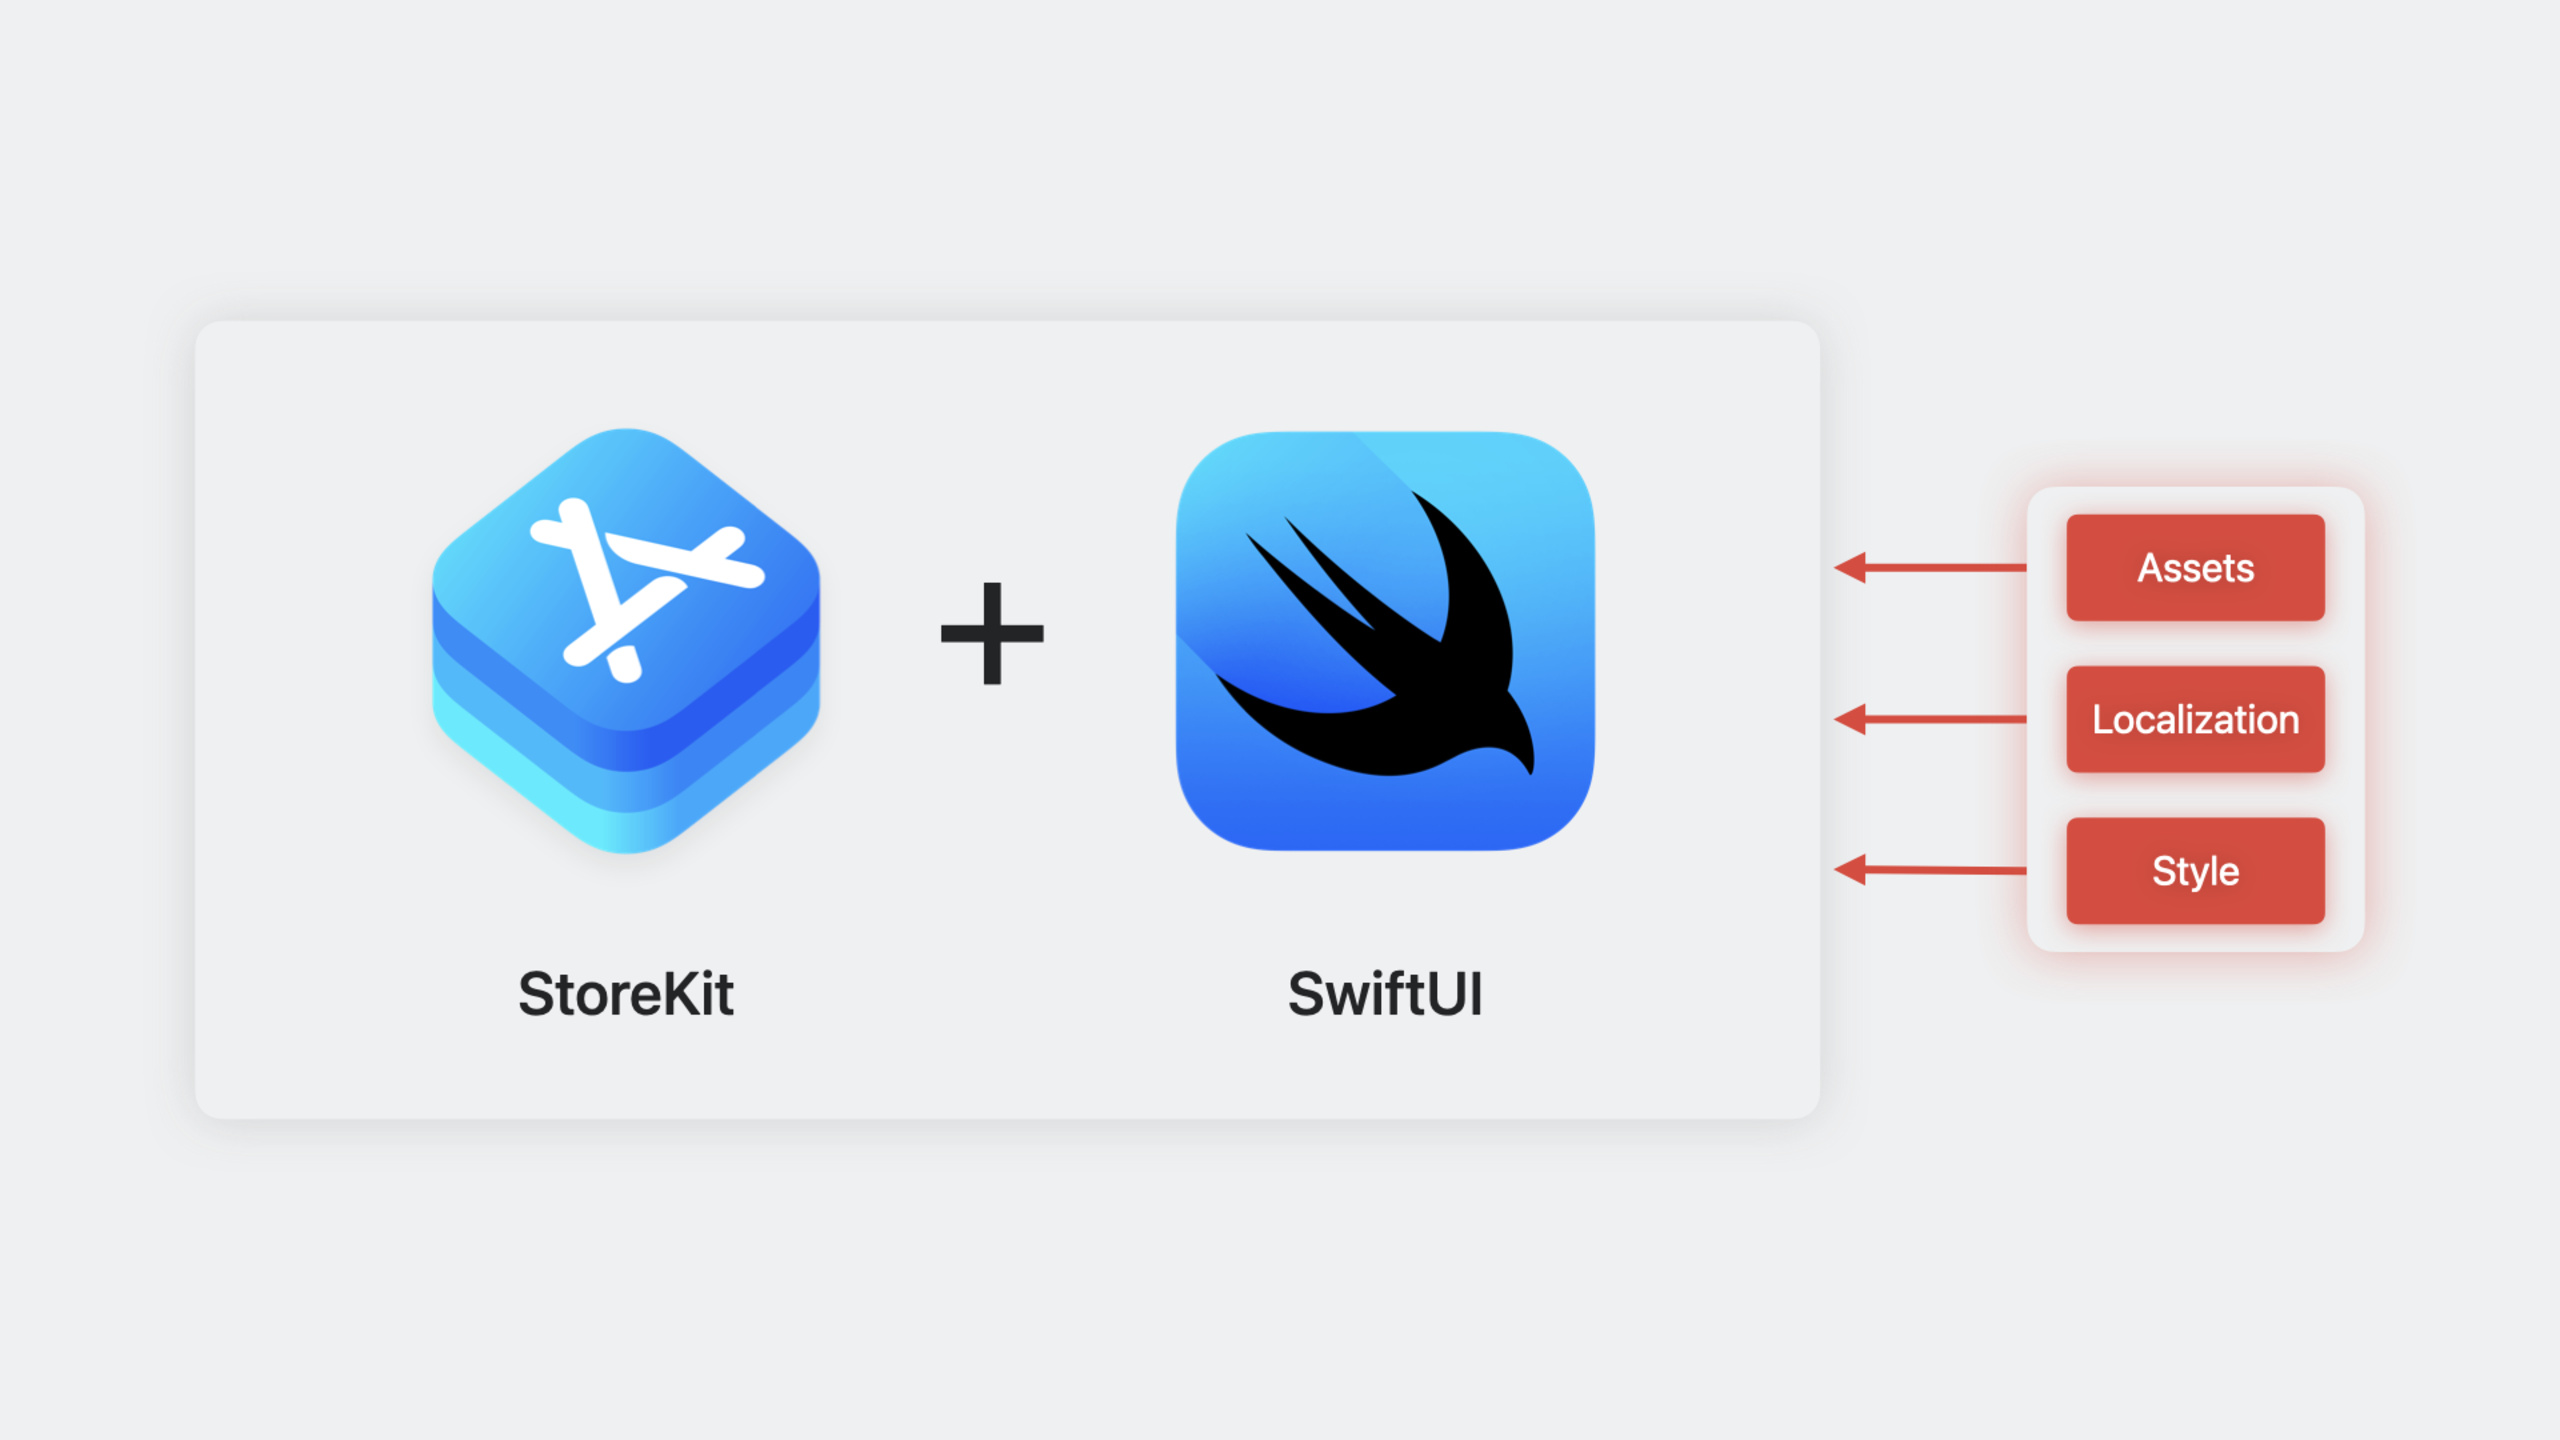
ハイライト
Apple は StoreKit に SwiftUI ネイティブビュー(
StoreView、ProductView、SubscriptionStoreView)のセットを導入しました。開発者は数行のコードで App 内にアプリ内課金商品とサブスクリプションを表示・販売でき、Xcode Previews によるリアルタイムプレビューにも対応し、App Store Connect でスクリーンショットを手動設定しなくても実際の見た目を確認できます。
主要内容
iOS 17 以前、App 内にアプリ内課金ストアページを構築するには多くの作業が必要でした。商品リストの読み込み、購入状態の監視、トランザクションコールバックの処理、UI レイアウトの自作。サブスクリプション対応には、無料トライアル、割引オファー、アップグレード・ダウングレードなどの追加ロジックも必要でした。完全なストアページは容易に数百行のコードになり、デバッグのたびに実機が必要でした。
StoreKit は iOS 17 で 3 つの SwiftUI ビューグループを提供し、商品読み込み、表示、購入フローをすべてカプセル化しました。開発者は product ID を渡すだけで、ビューが App Store からメタデータ(名称、価格、説明)を自動取得し、完全な UI をレンダリングします。
3 つのビューグループは次のとおりです:
- StoreView — 一回限りの購入商品(非消耗型、消耗型)を表示するコレクションビュー
- ProductView — 単一商品を表示するビュー。レイアウトをカスタマイズ可能
- SubscriptionStoreView — サブスクリプション商品グループを表示するビュー。無料トライアル、割引、アップグレードなどの表示ロジックを自動処理
それぞれのビューグループの使い方を見ていきます。
詳細
StoreView:数行で商品棚を構築
StoreView は最もシンプルなエントリーポイントです。product ID のセットを渡すと、メタデータを自動取得しデフォルトスタイルでレンダリングします。
(03:35) 最も基本的なところから始めます。BirdFoodShop ビューを新規作成:
import SwiftUI
import StoreKit

struct BirdFoodShop: View {
    @Query var birdFood: [BirdFood]

    var body: some View {
        StoreView(ids: birdFood.productIDs)
    }
}
キーポイント:
import StoreKitで StoreKit フレームワークを導入し、これらの新しいビューを使用StoreView(ids:)は product ID のセット([String])を受け取り、App Store Connect から対応商品のメタデータを自動取得SKProductRequestを手動呼び出ししたり、loading/error 状態を管理する必要がない@Queryは SwiftData のプロパティラッパーで、ここでは鳥の餌データモデルから product ID リストを取得
(04:51) デフォルトの商品アイコンが個性的でない場合、クロージャを渡して各商品の装飾アイコンをカスタマイズできます:
StoreView(ids: birdFood.productIDs) { product in
    BirdFoodProductIcon(productID: product.id)
}
StoreView はデフォルトで .compact スタイルを使用します。スタイルを明示的に指定することもできます:
StoreView(ids: birdFood.productIDs) { product in
    BirdFoodProductIcon(productID: product.id)
}
.productViewStyle(.compact)
ProductView:カスタムレイアウトとスタイル
ストアのレイアウトを自分で設計したい場合、ProductView がより柔軟な選択肢です。単一商品のビューを表し、任意の SwiftUI レイアウトコンテナに配置できます。
(06:47) ProductView を ScrollView + VStack に配置して手動レイアウト:
ScrollView {
    VStack(spacing: 10) {
        if let (birdFood, product) = birdFood.bestValue {
            ProductView(id: product.id) {
                BirdFoodProductIcon(
                    birdFood: birdFood,
                    quantity: product.quantity
                )
            }
            .padding()
            .background(.background.secondary, in: .rect(cornerRadius: 20))
            .padding()
            .productViewStyle(.large)
        }
    }
    .scrollClipDisabled()

    Text("Other Bird Food")
        .font(.title3.weight(.medium))
        .frame(maxWidth: .infinity, alignment: .leading)

    ForEach(birdFood.premiumBirdFood) { birdFood in
        BirdFoodShopShelf(title: birdFood.name) {
            ForEach(birdFood.orderedProducts) { product in
                ProductView(id: product.id) {
                    BirdFoodProductIcon(
                        birdFood: birdFood,
                        quantity: product.quantity
                    )
                }
            }
        }
    }
}
.contentMargins(.horizontal, 20, for: .scrollContent)
キーポイント:
ProductView(id:)は単一 product ID を受け取り、その商品を自動読み込み・表示- 第 2 引数は装飾アイコンクロージャで、
StoreViewと同様にカスタマイズ可能 .productViewStyle(.large)で大サイズスタイルを指定。おすすめ商品の表示に適しているProductViewをForEach+VStackに配置すると、StoreViewのレイアウト能力を手動実装したのと同等.productViewStyle(.compact)はデフォルトスタイルで、リスト表示に適している
(21:25) プロモーションアイコンを使い、特定商品を視覚的に目立たせる:
ProductView(
    id: ids.nutritionPelletBox,
    prefersPromotionalIcon: true
) {
    BoxOfNutritionPelletsIcon()
}
prefersPromotionalIcon: true はアイコンをより大きなサイズで表示し、商品リストでおすすめ商品を強調するのに適しています。
(21:56) アイコンにボーダーを追加することもできます:
ProductView(id: ids.nutritionPelletBox) {
    BoxOfNutritionPelletsIcon()
        .productIconBorder()
}(20:52) 読み込み中にプレースホルダーアイコンを表示:
ProductView(id: ids.nutritionPelletBox) {
    BoxOfNutritionPelletsIcon()
} placeholderIcon: {
    Circle()
}
placeholderIcon は商品メタデータの読み込みが完了する前に表示され、UI の空白を防ぎます。
カスタム ProductViewStyle
(23:02) ProductViewStyle プロトコルで商品ビューの外観と動作を完全に制御できます。組み込みスタイルは .compact と .large ですが、独自に作成できます:
struct SpinnerWhenLoadingStyle: ProductViewStyle {
    func makeBody(configuration: Configuration) -> some View {
        switch configuration.state {
        case .loading:
            ProgressView()
                .progressViewStyle(.circular)
        default:
            ProductView(configuration)
        }
    }
}
使用例:
ProductView(id: ids.nutritionPelletBox) {
    BoxOfNutritionPelletsIcon()
}
.productViewStyle(SpinnerWhenLoadingStyle())
キーポイント:
ProductViewStyleプロトコルにはmakeBody(configuration:)メソッドのみconfiguration.stateには 4 つの状態:.loading、.failure(let error)、.unavailable、.success(let product)- loading 時にスピナーを表示し、それ以外はデフォルトの
ProductView(configuration)にフォールバック
(23:58) 各状態を完全に制御する、より完全なカスタムスタイルの例:
struct BackyardBirdsStyle: ProductViewStyle {
    func makeBody(configuration: Configuration) -> some View {
        switch configuration.state {
        case .loading:
            ProgressView()
        case .failure(let error):
            Text("読み込みに失敗しました")
        case .unavailable:
            Text("利用できません")
        case .success(let product):
            HStack(spacing: 12) {
                configuration.icon
                VStack(alignment: .leading, spacing: 10) {
                    Text(product.displayName)
                    Button(product.displayPrice) {
                        configuration.purchase()
                    }
                    .bold()
                }
            }
            .backyardBirdsProductBackground()
        }
    }
}
キーポイント:
configuration.iconは以前渡した装飾アイコンクロージャconfiguration.purchase()で購入フローをトリガーproduct.displayNameとproduct.displayPriceは App Store メタデータのフィールドで、自動ローカライズ
SubscriptionStoreView:サブスクリプションストアをワンタップ生成
SubscriptionStoreView はサブスクリプション専用に設計されたビューです。無料トライアル、割引、複数ティアの比較など、サブスクリプション特有の表示ニーズを自動処理します。
(09:57) 最も基本的な使い方:
import SwiftUI
import StoreKit

struct BackyardBirdsPassShop: View {
    @Environment(\.shopIDs.pass) var passGroupID

    var body: some View {
        SubscriptionStoreView(groupID: passGroupID)
    }
}
groupID は App Store Connect で設定したサブスクリプショングループ ID です。SubscriptionStoreView はそのグループ内のすべてのサブスクリプションティアを自動読み込み・表示します。
(10:38) サブスクリプションページ上部にマーケティングコンテンツを追加:
SubscriptionStoreView(groupID: passGroupID) {
    PassMarketingContent()
}
渡したクロージャはマーケティングエリアのコンテンツで、ロゴ、宣伝画像、機能紹介などを配置できます。
(10:57) 全高背景とスタイルを設定:
SubscriptionStoreView(groupID: passGroupID) {
    PassMarketingContent()
        .lightMarketingContentStyle()
        .containerBackground(for: .subscriptionStoreFullHeight) {
            SkyBackground()
        }
}
.backgroundStyle(.clear)
.containerBackground(for: .subscriptionStoreFullHeight) でサブスクリプションページ全体の背景を設定し、上部マーケティングエリアからサブスクリプションオプションエリアまで延長します。
(11:21) サブスクリプションボタンのラベルスタイルを制御:
.subscriptionStoreButtonLabel(.multiline).multiline でボタンラベルが複数行をサポートし、長いサブスクリプション説明の表示に適しています。
(11:44) ピッカー項目の背景マテリアルを設定:
.subscriptionStorePickerItemBackground(.thinMaterial)(12:20) 引き換えコードボタンを表示:
.storeButton(.visible, for: .redeemCode)(31:22) コントロールスタイルをボタン式に切り替え(デフォルトはピッカー式):
.subscriptionStoreControlStyle(.buttons)ボタン式では各サブスクリプションティアが独立したボタンとして表示され、Picker 式の単一選択リストではなくなります。
(33:44) 各サブスクリプションティアにカスタムアイコンを設定:
.subscriptionStoreControlIcon { subscription, info in
    Group {
        let status = PassStatus(
            levelOfService: info.groupLevel
        )
        switch status {
        case .premium:
            Image(systemName: "bird")
        case .family:
            Image(systemName: "person.3.sequence")
        default:
            Image(systemName: "wallet.pass")
        }
    }
    .foregroundStyle(.tint)
    .symbolVariant(.fill)
}(35:30) アップグレードオプションのみ表示(現在のサブスクリプションティアを非表示):
SubscriptionStoreView(
    groupID: passGroupID,
    visibleRelationships: .upgrade
) {
    PremiumMarketingContent()
        .containerBackground(for: .subscriptionStoreFullHeight) {
            SkyBackground()
        }
}
visibleRelationships: .upgrade は現在のティアより高いサブスクリプションオプションのみ表示し、既にサブスクライブしているユーザーのアップグレードに適しています。
(30:32) App Store のプライバシーポリシーと利用規約リンクを表示:
.subscriptionStorePolicyForegroundStyle(.white)
.storeButton(.visible, for: .policies)(29:56) サインイン動作をカスタマイズ:
@State var presentingSignInSheet = false

var body: some View {
    SubscriptionStoreView(groupID: passGroupID) {
        PassMarketingContent()
            .containerBackground(for: .subscriptionStoreFullHeight) {
                SkyBackground()
            }
    }
    .subscriptionStoreSignInAction {
        presentingSignInSheet = true
    }
    .sheet(isPresented: $presentingSignInSheet) {
        SignInToBirdAccountView()
    }
}
購入前に App アカウントへのサインインが必要な場合(例:既存アカウントのサブスクリプション状態を関連付ける)、.subscriptionStoreSignInAction でデフォルトのサインインフローをインターセプトし、独自のサインインページを表示できます。
購入結果の処理
(14:10) ビューで購入完了イベントを監視:
BirdFoodShop()
    .onInAppPurchaseCompletion { (product: Product, result: Result<Product.PurchaseResult, Error>) in
        if case .success(.success(let transaction)) = result {
            await BirdBrain.shared.process(transaction: transaction)
            dismiss()
        }
}(15:43) 購入開始イベントを監視(loading 状態の表示に適している):
BirdFoodShop()
    .onInAppPurchaseStart { (product: Product) in
        self.isPurchasing = true
    }
サブスクリプション状態の照会
(16:57) subscriptionStatusTask で現在のユーザーのサブスクリプション状態を照会:
subscriptionStatusTask(for: passGroupID) { taskState in
    if let statuses = taskState.value {
        passStatus = await BirdBrain.shared.status(for: statuses)
    }
}(19:37) 非消耗型の場合、currentEntitlementTask で購入資格を確認:
currentEntitlementTask(for: "com.example.id") { state in
    self.isPurchased = BirdBrain.shared.isPurchased(
        for: state.transaction
    )
}
商品読み込み状態の処理
(26:44) 読み込みフローをより細かく制御する必要がある場合、storeProductsTask を使用:
@State var productsState: Product.CollectionTaskState = .loading

var body: some View {
    ZStack {
        switch productsState {
        case .loading:
            BirdFoodShopLoadingView()
        case .failed(let error):
            ContentUnavailableView(/* ... */)
        case .success(let products, let unavailableIDs):
            if products.isEmpty {
                ContentUnavailableView(/* ... */)
            } else {
                BirdFoodShop(products: products)
            }
        }
    }
    .storeProductsTask(for: productIDs) { state in
        self.productsState = state
    }
}
キーポイント:
storeProductsTask(for:)は商品を非同期読み込みし、コールバックで状態を更新Product.CollectionTaskStateには 3 つの状態:.loading、.failed(let error)、.success(let products, let unavailableIDs)- 状態に応じて異なる UI を表示:読み込み中、読み込み失敗、空結果、通常コンテンツ
重要ポイント
1. 既存 App にアプリ内課金ストアを素早く追加
App が現在 WebView で商品ページを表示している、またはアプリ内課金ストアがない場合、新しいページを作成し StoreView または SubscriptionStoreView を配置して product ID を渡すだけで、完全なネイティブストアページが完成します。商品メタデータ、価格ローカライズ、購入ボタンはすべて自動処理されます。
エントリー API:StoreView(ids:) または SubscriptionStoreView(groupID:)
2. 「おすすめ商品」付きの商品詳細ページを構築
ProductView + .productViewStyle(.large) で最もお得な商品を上部に拡大表示し、下部に .compact スタイルで他の商品をリスト表示。prefersPromotionalIcon: true でおすすめ商品のアイコンをより目立たせます。
エントリー API:ProductView(id:prefersPromotionalIcon:content:) + .productViewStyle(.large)
3. サブスクリプションティア比較ページを作成
SubscriptionStoreView のデフォルト Picker スタイルはすでにティア比較を提供します。よりカスタムな比較効果が必要な場合は .subscriptionStoreControlStyle(.buttons) でボタンレイアウトに切り替え、各ティアにカスタムアイコンと説明を追加。visibleRelationships: .upgrade で専用アップグレードページを作成。
エントリー API:SubscriptionStoreView(groupID:visibleRelationships:content:)
4. SwiftData と組み合わせて動的商品棚を作成
例では @Query var birdFood: [BirdFood] で SwiftData からデータを取得し、データモデルの productIDs を StoreView に渡しています。App 内でローカル商品カタログ(カテゴリ、ソート、おすすめロジック)を維持し、対応する product ID リストを StoreKit ビューに渡してレンダリングできます。
エントリー API:@Query + StoreView(ids:)
5. カスタム ProductViewStyle でブランド化ストアを作成
App に独特のデザインスタイルがある場合、組み込みの .compact と .large スタイルでは不十分かもしれません。ProductViewStyle プロトコルを実装すれば、loading 状態のアニメーションから購入ボタンのスタイル、カード全体のレイアウトまで、各商品の表示方法を完全に制御できます。
エントリー API:ProductViewStyle プロトコル、makeBody(configuration:) メソッド
関連セッション
- What’s new in StoreKit and In-App Purchase — 後続バージョンでの StoreKit のさらなる改善を確認
- Explore App Store server APIs for In-App Purchase — アプリ内課金トランザクションのサーバー側検証と処理
- What’s new in SwiftUI — StoreKit ビューと組み合わせる SwiftUI の最新機能を確認
- What’s new in SwiftData — 例で SwiftData を使用。データのモデリングと管理方法を確認
コメント
GitHub Issues · utterances