
ハイライト
Metal のハイブリッドレンダリングパイプラインでは、ラスタライズを主レンダリングに使い、レイトレーシングで反射、シャドウ、アンビエントオクルージョンを処理する。tile memory と組み合わせることで単一の render pass 内で完了し、G-Buffer をメインメモリへ書き出さずに済む。
主な内容
ゲームにはすでに完全なラスタライズレンダリングパイプラインがある。見た目は悪くないが、反射は擬似的なもの(スクリーンスペース反射)で、シャドウは硬いエッジ(shadow map)になり、隅には接触シャドウがない。レンダラー全体を書き直さずに、レイトレーシングを追加して画質を上げたい。
ハイブリッドレンダリングはこの問題への答えだ。ラスタライズを主に使い、レイトレーシングを補助として使う。
詳細
ハイブリッドレンダリングパイプラインの構成
(01:19)
基本的な考え方は 3 ステップに分かれる。
- ラスタライズで G-Buffer を生成 — 従来の方法でシーンをレンダリングし、位置、法線、マテリアル情報を出力する
- G-Buffer からレイを発射 — compute pass または fragment shader で G-Buffer を読み取り、レイを発射する
- 最終画像を合成 — レイトレーシング結果とラスタライズ結果を混合する
Render Pass 1 (ラスタライズ):
  - シーンを G-Buffer (position, normal, albedo) へレンダリング

Compute Pass (レイトレーシング):
  - G-Buffer を読み取る
  - shadow rays / reflection rays / AO rays を発射
  - shadow mask / reflection color / AO factor を出力

Render Pass 2 (合成):
  - G-Buffer とレイトレーシング結果を読み取る
- ライティングを計算して合成する(06:32)
キーポイント:
- G-Buffer は一度だけ生成すればよい
- レイトレーシング効果ごとに独立して実装できる
- レイトレーシング解像度は画面解像度より低くできる
- temporal accumulation でノイズを低減する
Ray-Traced Shadows
(08:35)
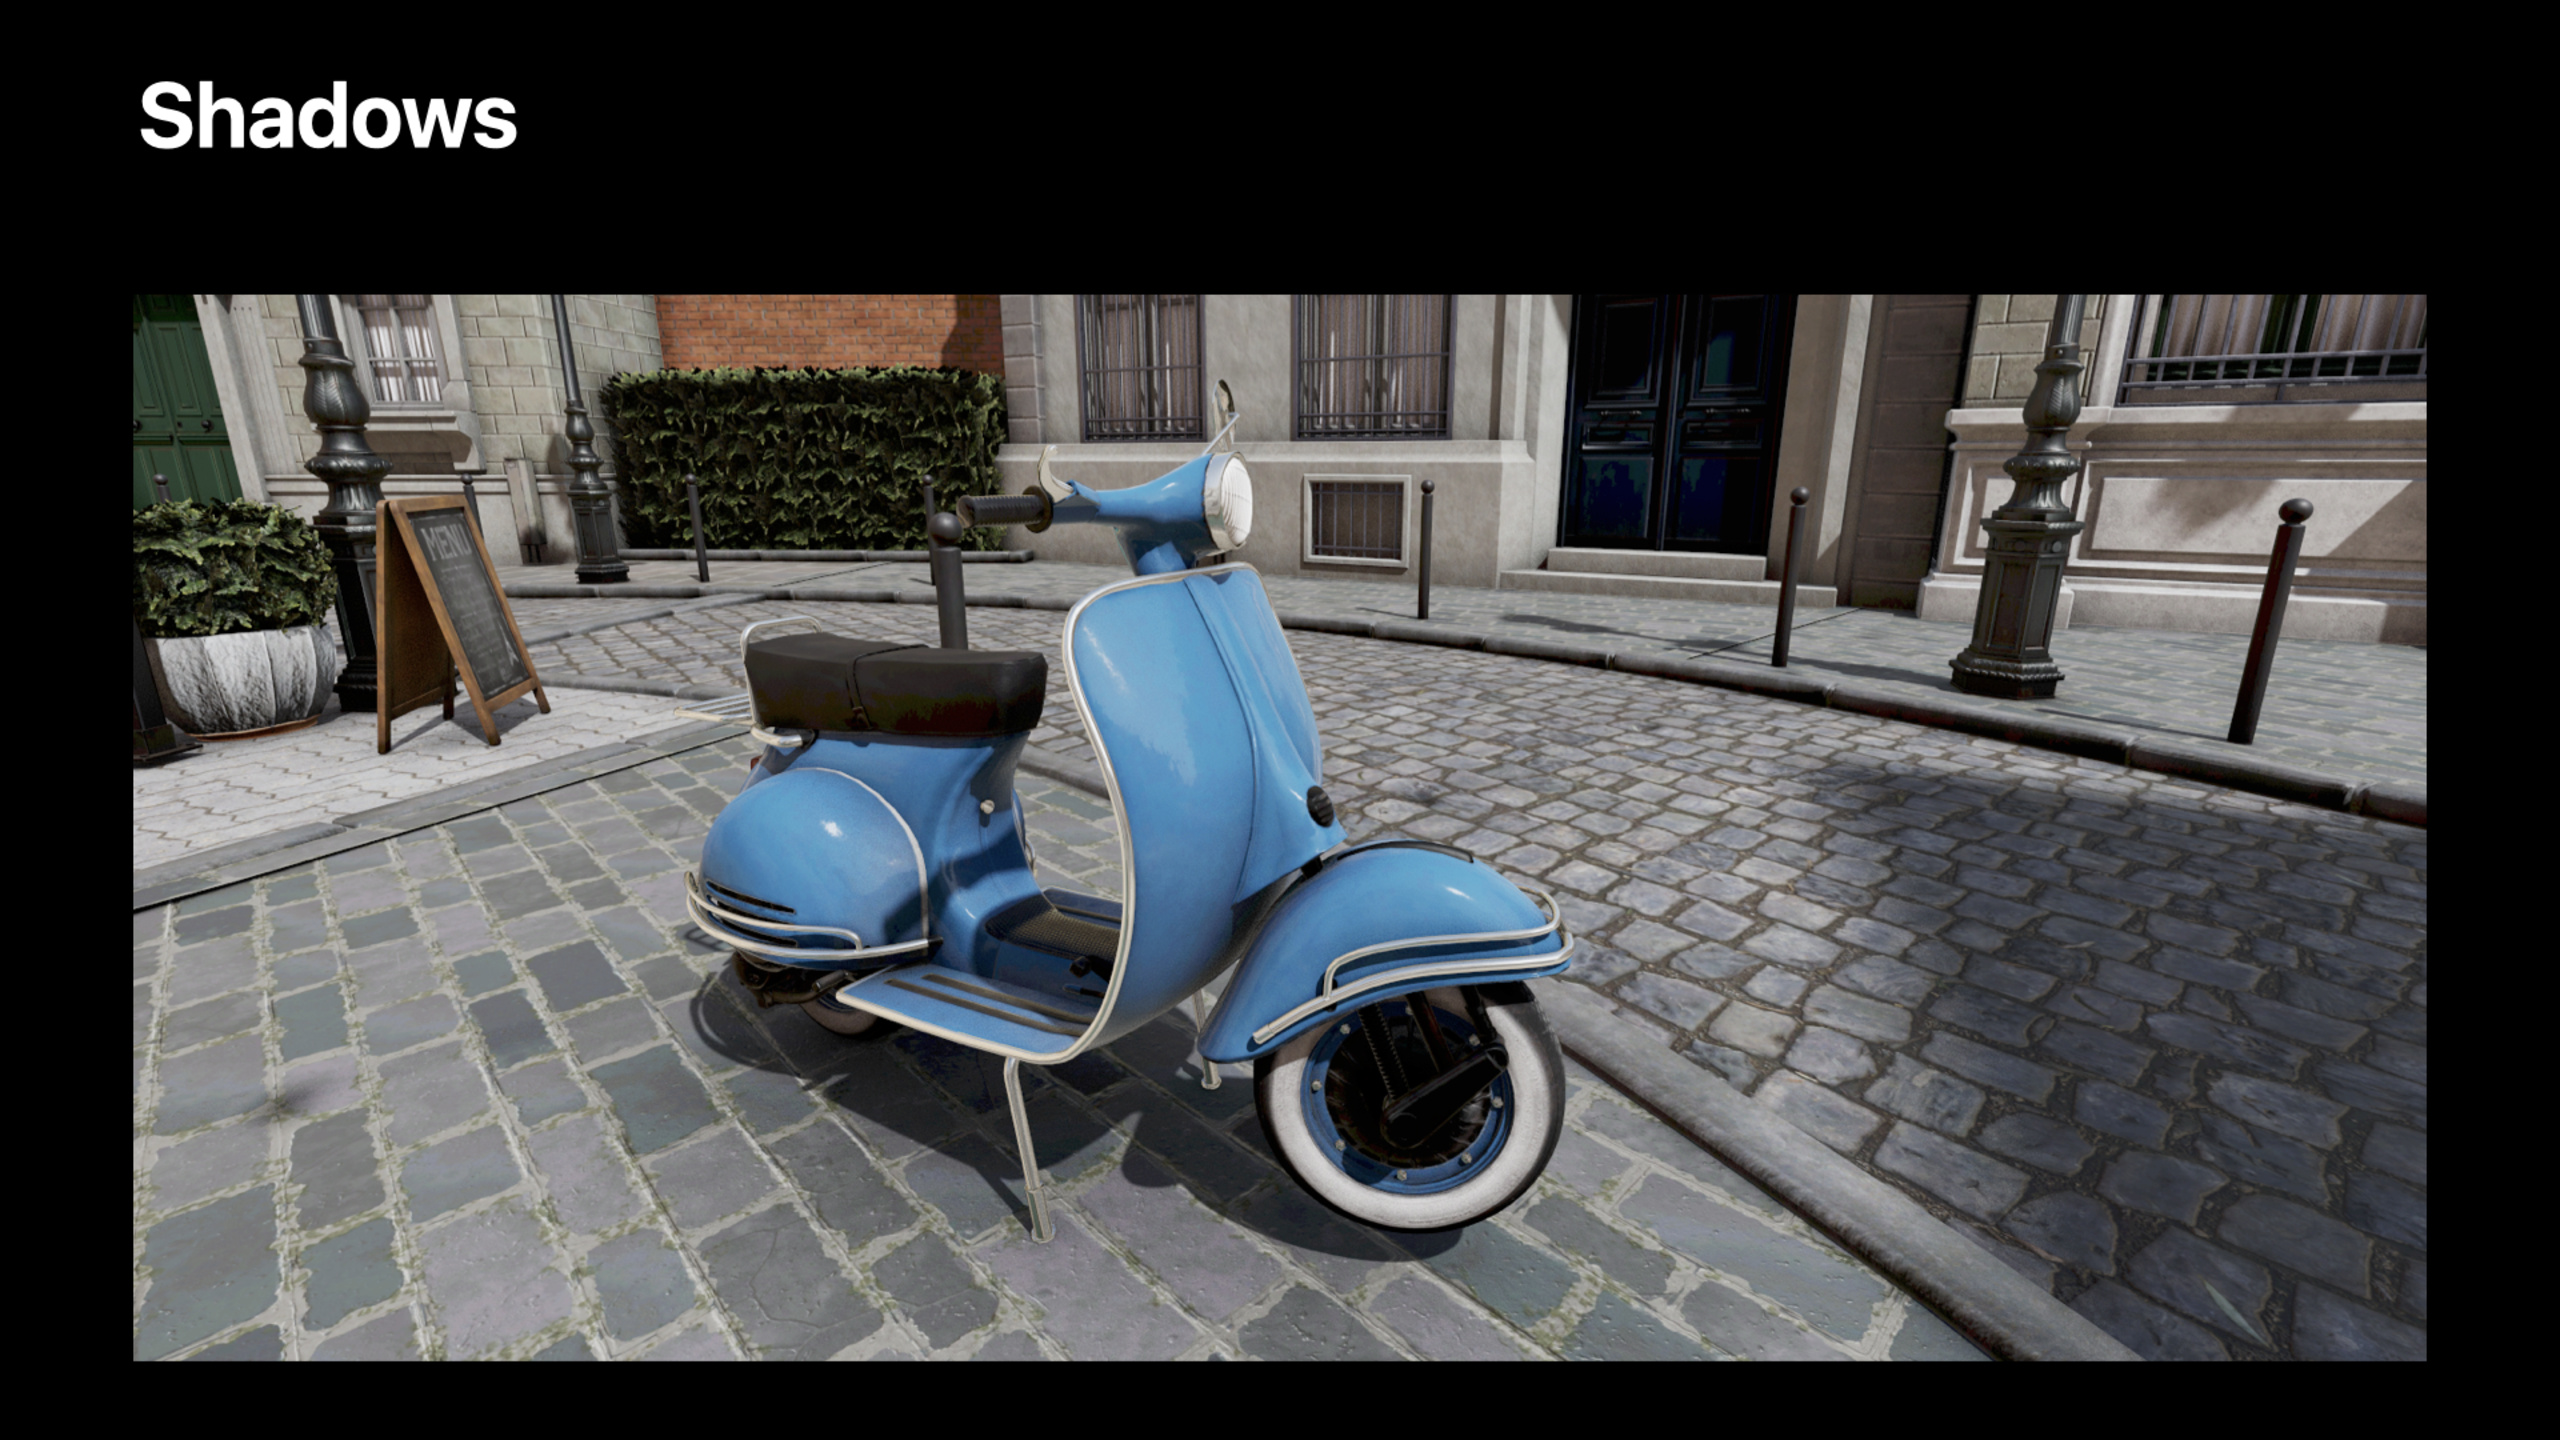
Shadow map は解像度に限界があり、近距離ではジャギーが目立ち、ソフトシャドウにも対応しにくい。レイトレーシングシャドウでは G-Buffer から光源へ直接レイを飛ばし、遮蔽があるかを判定する。
kernel void rayTracedShadows(
    texture2d<float> gBufferPosition [[texture(0)]],
    texture2d<float> gBufferNormal [[texture(1)]],
    texture2d<float> shadowMask [[texture(2)]],
    uint2 gid [[thread_position_in_grid]]
) {
    float3 position = gBufferPosition.read(gid).xyz;
    float3 normal = gBufferNormal.read(gid).xyz;

    // 自己交差を避けるために始点をずらす
    float3 origin = position + normal * 0.01;
    float3 direction = normalize(lightPosition - position);

    ray ray;
    ray.origin = origin;
    ray.direction = direction;
    ray.max_distance = distance(lightPosition, position);

    intersector<instancing> intersector;
    intersector.set_acceleration_structure(accelerationStructure);

    auto intersection = intersector.intersect(ray, accelerationStructure);

    // 交点があれば遮蔽されている
    float shadow = (intersection.type == intersection_type::none) ? 1.0 : 0.0;
    shadowMask.write(shadow, gid);
}(11:54)
キーポイント:
- G-Buffer からワールド空間の位置を読み取る
- 自己交差を避けるため、始点を法線方向にずらす
max_distanceは光源までの距離に設定する- shadow mask を出力し、合成時にライティングへ乗算する
ソフトシャドウは、光源領域内の複数点をランダムにサンプリングすることで実現できる。
float shadow = 0.0;
for (int i = 0; i < sampleCount; i++) {
    float3 lightSample = lightPosition + randomOffset(i);
    float3 direction = normalize(lightSample - position);
    ray.direction = direction;
    ray.max_distance = distance(lightSample, position);

    auto intersection = intersector.intersect(ray, accelerationStructure);
    shadow += (intersection.type == intersection_type::none) ? 1.0 : 0.0;
}
shadow /= sampleCount;
Ray-Traced Ambient Occlusion
(13:30)
Screen Space Ambient Occlusion(SSAO)は画面端や遮蔽物の背後で機能しなくなる。レイトレーシング AO は G-Buffer から半球方向へ短距離のレイを発射し、遮蔽されている割合を集計する。
kernel void rayTracedAO(
    texture2d<float> gBufferPosition [[texture(0)]],
    texture2d<float> gBufferNormal [[texture(1)]],
    texture2d<float> aoTexture [[texture(2)]],
    uint2 gid [[thread_position_in_grid]]
) {
    float3 position = gBufferPosition.read(gid).xyz;
    float3 normal = gBufferNormal.read(gid).xyz;

    float ao = 0.0;
    for (int i = 0; i < sampleCount; i++) {
        float3 sampleDir = sampleHemisphere(normal, i);

        ray ray;
        ray.origin = position + normal * 0.01;
        ray.direction = sampleDir;
        ray.max_distance = aoRadius; // 短距離、たとえば 1.0 メートル

        auto intersection = intersector.intersect(ray, accelerationStructure);
        ao += (intersection.type != intersection_type::none) ? 1.0 : 0.0;
    }
    ao = 1.0 - (ao / sampleCount);
    aoTexture.write(ao, gid);
}(15:07)
キーポイント:
- サンプリング方向は法線半球内に制限する
- レイの距離は短い(AO は近傍の遮蔽だけを見る)
- 結果はぼかしてノイズを低減できる
- 1 ピクセルあたり 4-8 本のレイでも十分な効果が得られる
Tile Memory 最適化
(17:20)
Apple GPU では、ハイブリッドレンダリングで tile memory を活用し、G-Buffer の書き出しを避けられる。
// ラスタライズ pass:G-Buffer を tile memory に保存
fragment GBufferOutput gBufferFragment(...) {
    GBufferOutput output;
    output.position = float4(worldPosition, 1.0);
    output.normal = float4(normal, 0.0);
    output.albedo = albedo;
    return output;
}

// 同じ render pass の tile shader でレイトレーシングを行う
[[kernel]] void tileShader(
    texture2d<float> positionTexture [[texture(0)]], // tile memory
    texture2d<float> normalTexture [[texture(1)]],   // tile memory
    ...
) {
    // tile memory から G-Buffer を直接読み取り、レイを発射する
    // 結果を tile memory へ書き戻す
}(18:45)
キーポイント:
- tile shader は tile memory 内で実行される
- G-Buffer をメインメモリへ書き出す必要がない
- レイトレーシング結果を合成に直接使える
- メモリ帯域幅を大幅に削減できる
ノイズ低減と時間方向累積
(20:30)
1 ピクセルあたり少数のレイ(1-4 本)だけを発射するとノイズが発生する。解決策は時間方向累積で、現在フレームの結果と履歴フレームを混合する。
// 現在フレームのレイトレーシング結果
float4 currentResult = traceRays(...);

// 前フレームのスクリーン座標へ再投影
float2 prevUV = reproject(currentPosition, prevViewProjMatrix);

// 履歴フレームの結果を読み取る
float4 historyResult = historyTexture.sample(sampler, prevUV);

// 混合(指数移動平均)
float blendFactor = 0.9; // 90% 履歴 + 10% 現在
float4 denoisedResult = lerp(currentResult, historyResult, blendFactor);(22:15)
キーポイント:
- 再投影には前フレームの view-projection 行列が必要
- blend factor は適応的に調整できる(動きが速いときは下げる)
- 無効な履歴サンプルを拒否する必要がある(遮蔽が変化したとき)
- spatial filter と組み合わせるとさらにノイズを低減できる
重要ポイント
-
shadow map からレイトレーシングシャドウへ移行する。G-Buffer の位置から光源へレイを発射し、任意精度とソフトシャドウに対応する。主な API:
intersector.intersect(ray, accelerationStructure)。 -
SSAO をレイトレーシング AO で置き換える。隅や接触面でより正確な遮蔽情報を得られる。主な API:半球サンプリング + 短距離レイ交差判定。
-
Apple GPU では tile shader でハイブリッドレンダリングを行う。G-Buffer を tile memory に残し、レイトレーシングと合成を同じ render pass で完了する。主な API:
[[kernel]] tileShader+ tile memory texture。 -
レイトレーシング結果を時間方向累積でノイズ低減する。1 ピクセルあたり少数のレイ + 履歴フレーム混合 = 滑らかな結果。主な API:再投影 + 指数移動平均。
-
レイトレーシング効果を段階的に追加する。まずシャドウ、次に AO、最後に反射を追加する。各効果は独立して実装でき、既存パイプラインに影響しない。主な API:独立した compute pass または tile shader。
関連セッション
- Enhance your app with Metal ray tracing — Metal レイトレーシング API の新機能
- Optimize high-end games for Apple GPUs — Apple GPU の TBDR アーキテクチャを活用したゲーム最適化
- Discover Metal debugging, profiling, and asset creation tools — Xcode 13 の Metal デバッグとパフォーマンス分析ツール
コメント
GitHub Issues · utterances