
Highlight
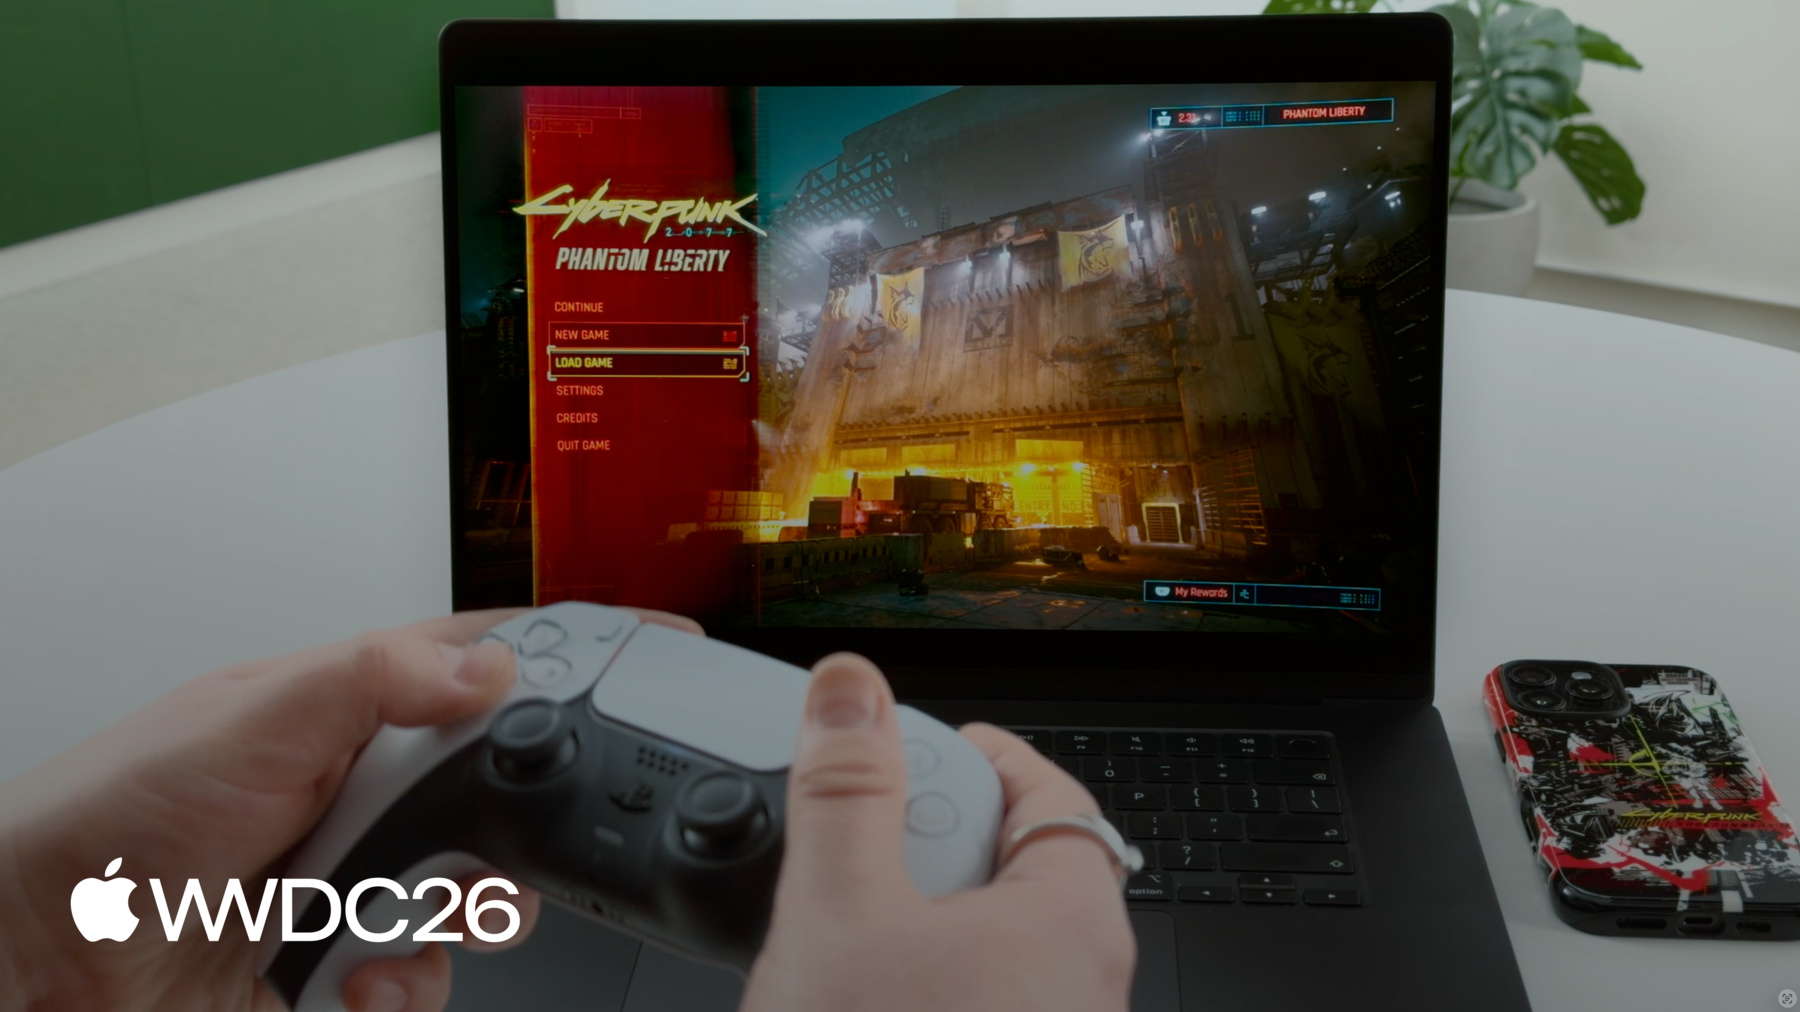
CD PROJEKT RED shared the full process of bringing Cyberpunk 2077: Ultimate Edition to Apple Silicon Macs, showing how Game Porting Toolkit evaluation, Metal rendering pipeline optimization, the “For this Mac” preset system, and platform-native features such as HDR and spatial audio can deliver a high-quality macOS gaming experience.
Core Content
In game development, bringing a AAA title as large as Cyberpunk 2077 to a new platform is never easy.
Night City is an open world with dense NPC traffic, real-time traffic systems, complex AI behavior, physics simulation, and dynamic lighting. All these systems run in parallel and put heavy pressure on both CPU and GPU. On top of that, the game supports advanced graphics modes such as ray tracing and path tracing.
When CD PROJEKT RED decided to bring the game to Mac, they faced three core questions:
- Visual fidelity: The neon lighting, material rendering, and overall atmosphere are central to Cyberpunk’s identity and cannot be compromised
- Stable performance: The game needs to maintain a smooth frame rate in complex scenes such as crowded streets, high-speed driving, and intense combat
- Native experience: The game should fully use macOS platform features so it feels made for Mac
Traditional porting often means extensive trial and error plus a long performance tuning cycle. Apple’s Game Porting Toolkit changes that dynamic by letting developers evaluate the Windows version on macOS before writing any native code.
CD PROJEKT RED used the toolkit to answer key questions quickly: Is the target image quality feasible on Mac? Where are the performance bottlenecks? Which areas should be prioritized?
With that data, the team formed a clear roadmap: native build, Metal rendering pipeline, performance optimization, and finally platform feature integration.
Details
Game Porting Toolkit evaluation workflow
(00:50)
Before starting native development, CD PROJEKT RED ran the Windows version in the Game Porting Toolkit translation environment and collected key data:
- Frame time statistics: Use the in-engine profiler to get consistent, comparable data
- Metal HUD: Correlate scene events with trace data and identify events such as shader translation and loading
- In-engine profiling: Break activity down by thread to understand which CPU systems are active and when
The evaluation showed that GPU performance on Apple Silicon exceeded expectations and was useful as a baseline even in the translation environment. CPU pressure was the main challenge, especially in dense scenes.
Two patterns were identified as translation-environment artifacts: frame time oscillation caused by live shader translation, and high audio middleware overhead. This told the team what to prioritize in the native implementation.
Building the Metal rendering pipeline
(09:39)
Building the native Metal rendering pipeline happened in several stages:
- Unit tests: Build the Metal backend step by step and carefully validate basic output
- Static scenes: Validate areas that unit tests cannot cover well, such as the lighting stack, post-processing effects, and scene-level behavior
- Dynamic scenes: Camera movement, streaming, and gameplay start revealing real edge cases
- Ray tracing and path tracing: Optimize performance while keeping visual output consistent
Metal Shader Converter played an important role. It helped the team quickly get broad shader coverage and render meaningful scenes. The workflow was a loop: integrate the converter, validate repeatable scenes, refine advanced shaders with mismatches, and repeat.
MetalFX Upscaling and dynamic resolution
(12:32)
To scale performance across different Mac devices, the team used MetalFX Upscaling:
- Render at a lower internal resolution and reconstruct a higher-resolution output in less time
- Gain more performance headroom in heavy scenes without reducing overall quality
- Use dynamic resolution scaling to keep performance stable under load
- As a temporal upscaler, help images stay stable during fast motion and VFX-heavy scenes
The “For this Mac” preset system
(13:20)
This is a core innovation in the Mac version of Cyberpunk 2077. “For this Mac” is a device-based graphics preset system:
- Detect Mac hardware
- Automatically configure the best settings for that device
- Provide a stable and enjoyable starting point on first launch, no matter which supported Mac is used
The team tuned settings separately for each supported Mac device:
- Maintain image fidelity
- Target either 30 or 60 FPS
- Use MetalFX together with dynamic resolution scaling
- Adjust minimum and maximum resolution bounds to reach the target FPS
- Enable HDR based on display capabilities
- Set VSync for proper frame pacing
NSNotification event handling
(18:43)
To make the game feel native at the system level, the team responded to several NSNotification events:
// Detect window occlusion state to decide whether to pause rendering
NSWindowDidChangeOcclusionStateNotification
// Check NSWindow.occlusionState

// Respond to display configuration changes
NSApplicationDidChangeScreenParametersNotification
// Get the new screen resolution and update the game window

// Respond when the window moves to a new display
NSWindowDidChangeScreenNotification
// Collect new display details: Display ID, resolution, mirror mode, screen name

// Manage cursor switching
NSWindowDidResignKeyNotification -> Show system cursor, hide game cursor
NSWindowDidBecomeKeyNotification -> Hide system cursor, show game cursor
Key points:
- Use
NSWindowDidChangeOcclusionStateNotificationto detect when the game is in the background and avoid rendering while it is not visible, saving resources - Use
NSApplicationDidChangeScreenParametersNotificationto respond to display setting changes - Use
NSWindowDidResignKeyNotificationandNSWindowDidBecomeKeyNotificationto switch between the game cursor and the system cursor
HDR auto-calibration
(23:10)
Apple’s Extended Dynamic Range (EDR) pipeline lets games automatically calibrate HDR output:
// Get the current display's maximum EDR value
float maxEDR = [NSScreen.mainScreen
    maximumExtendedDynamicRangeColorComponentValue];

// Send that value to the tone mapper
toneMapper.setMaxHDRValue(maxEDR);

// Check whether HDR should be enabled by default
float potentialEDR = [NSScreen.mainScreen
    maximumPotentialExtendedDynamicRangeColorComponentValue];
if (potentialEDR > 2.0f) {
    // Enable HDR
    enableHDR();
}
Key points:
maximumExtendedDynamicRangeColorComponentValuedynamically gets the current maximum EDR value- This value changes dynamically based on display hardware capabilities and other conditions
- Use this value to drive the tone mapper’s maximum HDR output and always get the best HDR rendering
- When the maximum potential EDR value is greater than 2.0, enable HDR by default for XDR displays
Head-tracked spatial audio
(24:49)
Through Apple’s spatial audio APIs, the game enables head tracking for AirPods users:
// Enable head tracking for AirPods
AVAudioEnvironmentNode *environmentNode = ...;
environmentNode.listenerHeadTrackingEnabled = YES;
Key points:
- The game’s existing spatial audio support is implemented through audio middleware
- The audio middleware uses
AVAudioEngineto implement Apple’s spatial audio API - Set
listenerHeadTrackingEnabledtotrueto enable head tracking - It is enabled by default and does not require extra setup
Key Takeaways
-
Use Game Porting Toolkit as an evaluation tool Before starting native code, evaluate your game in the translation environment. It can quickly show feasibility and performance hot spots, saving a lot of trial-and-error time.
-
Implement a smart preset like “For this Mac” Do not force players into a complex graphics settings menu on first launch. Detect hardware capabilities, automatically configure the best preset, and provide a ready-to-play experience.
-
Make full use of EDR and spatial audio Apple’s HDR displays and spatial audio are differentiators. EDR auto-calibration removes the burden of manual calibration, and spatial audio increases immersion. These features are low-cost to implement and noticeably improve the user experience.
-
Respond to system events Handling
NSNotificationevents makes your game feel native at the system level. Properly handling window occlusion, display changes, and app switching creates a more polished experience for players. -
MetalFX is key to scaling performance For games that need to run across many hardware configurations, MetalFX Upscaling and dynamic resolution scaling provide an effective way to achieve stable performance without sacrificing too much image quality.
Related Sessions
- What’s new in Metal - Learn Metal rendering performance analysis and optimization techniques in depth
- Bring your game to Mac - Learn how to use Game Porting Toolkit to evaluate and port your game
- HDR and Advanced Display Features - Learn how to implement high-quality HDR display in your game
Comments
GitHub Issues · utterances