
Highlight
Safari on visionOS adds a new
requestImmersive()API. A<model>element on a webpage can enter a life-size immersive 3D environment with one action, while the web UI remains floating and visible. Developers can build spatial website experiences without writing Swift code.
Core Ideas
Can websites do VR? Previously, not really
In the past, there were only two realistic paths for giving users an immersive experience on visionOS: write a native app, or use WebXR as a compatibility layer. On the web, you could at most place a 3D model on the page and let users rotate it. They could not truly step inside the scene.
If a ticketing site wanted users to preview the view from a seat, it could only show static images. If a game studio wanted a marketing page that showed an escape-room scene, it could only use video. Users always stayed behind the screen and could not feel the space.
Now: break out of the frame with a few lines of JS
Apple has added an Immersive API to Safari. Its design maps directly to the Fullscreen API developers already know:
requestImmersive()- puts a model into immersive modedocument.immersiveEnabled- detects browser supportdocument.immersiveElement- returns the currently immersive elementimmersivechangeevent - listens for state changes:immersiveCSS pseudo-class - adjusts styles based on state
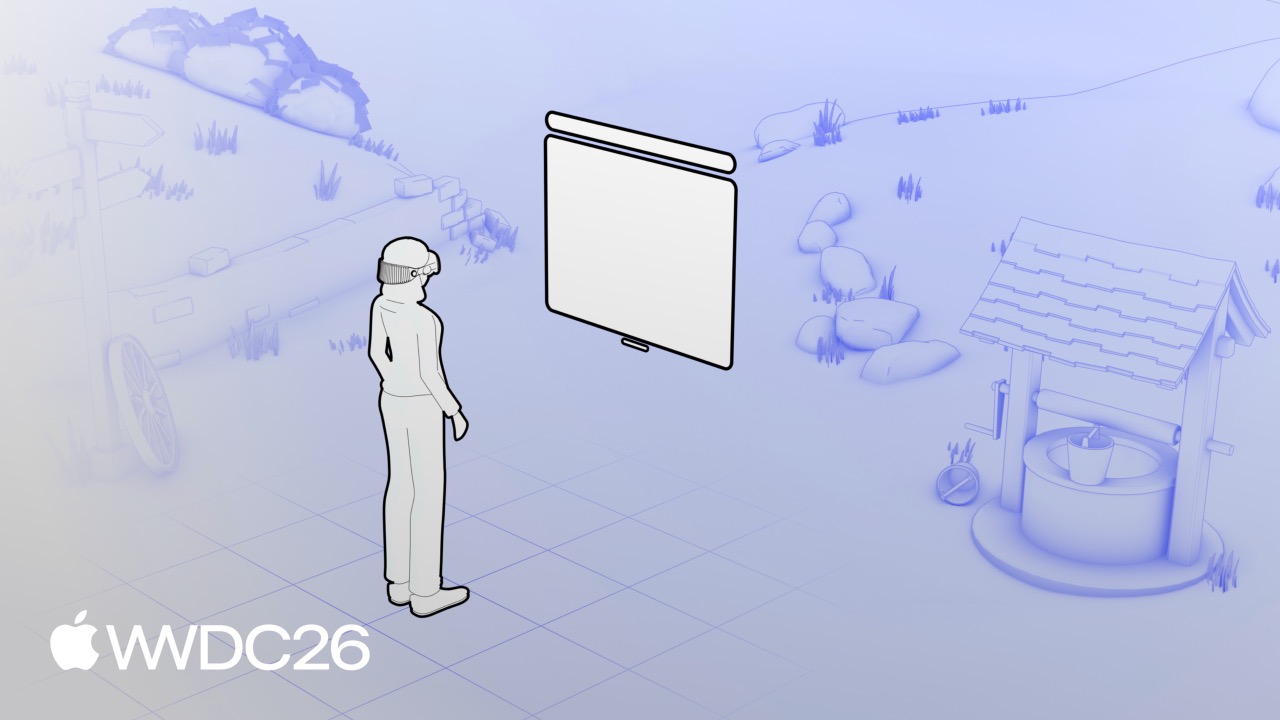
The key difference from the Fullscreen API: Fullscreen replaces the whole page, while the Immersive API only pulls the <model> element beyond the browser boundary and fills the physical space. The Safari window becomes smaller and floats inside the scene, so the web UI is still visible.
That means when users stand in a 1:1 theater looking at the stage, the seat-selection button and payment form can float nearby. They do not need to switch back and forth between “immersive mode” and “flat mode.”
Two real scenarios
Theater seat selection: After users click a seat, the webpage shows an inline preview of that seat’s view. When they click an “Immersive Preview” button, they stand directly at that position and can look around at the stage view. (00:23)
Escape-room marketing: A game website hides all 3D previews. The scene loads only after users click “Enter the Escape Room.” Inside the scene, a TV plays a mysterious video. When the video ends, a door slides open and guides users to download the app. (00:50)
Details
The foundation: the HTML Model element
The Immersive API is built on top of the <model> element. This element is already available in Safari on iOS, macOS, and visionOS.
The simplest usage:
<model src="teapot.usdz">
</model>
Add an environment map to make reflections more realistic:
<model src="teapot.usdz"
       environmentmap="kitchen.hdr">
</model>
An environment map is a 360-degree HDR image that captures lighting information around the scene. With it, metal and glossy surfaces show convincing reflections. (01:52)
Inline preview: viewing 3D inside a webpage
A theater seat-selection site first needs to show the seat view inside the page. Put the <model> inside a div:
<div class="seat-preview">
    <model id="theater"
           src="theater-model.usdz"
           environmentmap="theater-lighting.hdr">
    </model>
</div>
By default, the model is scaled to fit the element bounds. That causes users to look down at the entire theater from outside, rather than seeing the selected seat’s view. You need to adjust the entityTransform property to change the model’s position, rotation, and scale. (04:40)
First, reset the transform matrix:
const theater = document.getElementById("theater");

async function updateModelTransform() {
    await theater.ready;
    const identity = new DOMMatrix();
    theater.entityTransform = identity;
}

updateModelTransform();
Key points:
await theater.readyensures the model asset has finished loadingDOMMatrix()creates an identity matrix and clears all default transformsentityTransformcontrols the model’s spatial pose in the inline layer
After the reset, the theater floor sits at the center of the layer. But eye height is about 1 meter, so the model needs to move downward:
const theater = document.getElementById("theater");

async function updateModelTransform() {
    await theater.ready;
    const transform = new DOMMatrix();
    transform.translateSelf(0, -1.0, 0);
    theater.entityTransform = transform;
}

updateModelTransform();
Key points:
- The y value in
translateSelf(x, y, z)is -1.0, meaning a 1-meter downward translation - The coordinate system uses a right-handed Y-up convention, which is standard on the web platform
Next, make the preview angle match the selected seat. Suppose a JSON file records each seat’s position and orientation:
function buildTransform(seat) {
    const transform = new DOMMatrix();
    const { x, y, z, ry } = seat;
    transform.rotateSelf(0, -ry, 0);
    transform.translateSelf(-x, -y, -z);
    transform.translateSelf(0, -1.0, 0);
    return transform;
}
Key points:
rotateSelf(0, -ry, 0)rotates the model according to the seat directiontranslateSelf(-x, -y, -z)moves the model to the seat position. Note the negation: you move the model, not the camera- Transform order matters: rotate first, then translate, or the rotation pivot will be wrong
Entering immersive mode
First, detect whether the browser supports it:
if (document.immersiveEnabled) {
    immersiveButton.hidden = false;
}
Trigger immersion after the user clicks the button:
immersiveButton.addEventListener("click", async () => {
    await model.requestImmersive();
});
requestImmersive() must be called from a user interaction event, such as click. (07:16)
Coordinate-system switch: inline vs. immersive
Inline mode and immersive mode use different reference frames:
| Mode | Origin | Scale |
|---|---|---|
| Inline | Center of the layer | CSS pixels |
| Immersive | Under the user’s feet, on the floor | Real-world meters |
The immersive environment opens behind the Safari window, so place the model’s main content in front of the user to avoid having it blocked by the window. (07:48)
Modify the buildTransform function to handle immersive mode:
function buildTransform(seat, immersive) {
    const transform = new DOMMatrix();
    const { x, y, z, ry } = seat;
    transform.rotateSelf(0, -ry, 0);
    transform.translateSelf(-x, -y, -z);

    if (immersive) {
        transform.rotateSelf(0, 45, 0);
    } else {
        transform.translateSelf(0, -1.0, 0);
    }

    return transform;
}
Key points:
- In immersive mode, add a 45-degree rotation so the stage is not directly behind the Safari window
- Only inline mode needs the -1.0-meter eye-level translation
- Immersive mode’s origin is already on the floor, so no extra downward shift is needed
Listen for the immersivechange event and recompute on every state change:
theater.addEventListener("immersivechange", () => {
    const isImmersive = !!document.immersiveElement;
    const transform = buildTransform(currentSeat, isImmersive);
    theater.entityTransform = transform;
    document.body.classList.toggle("immersive", isImmersive);
});
Key points:
document.immersiveElementpoints to the element currently in immersive mode- Toggle a CSS class on
bodyat the same time to adjust the page layout, such as showing an exit button - Users can exit immersion at any time with the Digital Crown, so you must listen for this event
Hiding the inline preview: escape-room scene
The escape-room marketing page does not need to show a 3D preview inside the webpage. It should preserve mystery. Set the <model> directly to display: none:
<model id="escapeRoom"
       src="escape-room.usdz"
       environmentmap="room-lighting.hdr"
       style="display: none">
</model>
This has a practical benefit: the asset is not downloaded or decoded ahead of time. For large environment models, that saves substantial bandwidth and memory. (10:53)
Enter the escape room after a button click:
const enterButton = document.getElementById("enterButton");
const escapeRoom = document.getElementById("escapeRoom");

enterButton.addEventListener("click", async () => {
    showLoadingAnimation();
    try {
        await escapeRoom.requestImmersive();
    } catch (error) {
        console.log(error);
    } finally {
        hideLoadingAnimation();
    }
});
Key points:
- Show a loading animation because a hidden model needs to load on demand
- Use try/catch to handle request failures
- Use finally to ensure the loading animation is always hidden
Video docking
Video docking “snaps” a webpage’s <video> element onto a TV screen in the 3D scene. You need to add RealityKit annotations to the USDZ file and mark the TV screen as the video docking region.
Apple provides a Blender plug-in for adding these annotations. (12:59)
Request fullscreen for the video on the webpage:
const trailerVideo = document.getElementById("trailerVideo");
const demoButton = document.getElementById("demoButton");

demoButton.addEventListener("click", async () => {
    await trailerVideo.requestFullscreen();
});
The video automatically appears on the TV screen in the 3D scene. Light spill makes the video’s light illuminate the floor and walls naturally. (13:16)
Model animation
After the video finishes, exit fullscreen and play a model animation, such as a door sliding open:
const trailerVideo = document.getElementById("trailerVideo");
const escapeRoom = document.getElementById("escapeRoom");

trailerVideo.addEventListener("ended", async () => {
    await document.exitFullscreen();
    escapeRoom.play();
});
Key points:
document.exitFullscreen()detaches the video from the TV screenescapeRoom.play()plays the animation embedded in the USDZ- The animation can be authored in Blender and exported with the timeline preserved
Model animation supports full timeline control. You can jump with the currentTime property just as you would control video playback:
// Jump to the animation state at 5 seconds
escapeRoom.currentTime = 5.0;
Shadow casting
Let the Safari window cast a shadow on the 3D floor to help users understand where the window is in space. This requires adding a Scene Understanding component to the mesh that receives shadows in the USDZ.
Apple recommends creating a separate low-poly mesh dedicated to receiving shadows. Do not compute shadows on a complex high-poly model, because the performance cost is high. (14:49)
Performance optimization
Environment models are usually larger and more complex than simple object models. Optimization tips:
1. Reduce vertex count
Delete meshes that cannot be seen from the origin, such as structures under the escape-room floor or the backs of objects fully hidden by walls.
2. Reduce entity count
Merge a table and all decorations on it into a single Mesh to avoid many independent Entity objects.
3. Use low-poly meshes
Use a dedicated low-poly mesh for shadow receivers. Do not reuse the high-poly floor.
4. Simplify shaders
Bake lighting into material textures and use Unlit materials to skip runtime lighting calculations.
5. Compress USDZ
Use the usdcrush tool to compress textures:
usdcrush model.usdz -o optimized.usdzThis command-line tool is available on every Mac and can significantly reduce model size and speed up downloads. (16:38)
Image Controls API
Beyond the model element, the Image Controls API can also add spatial depth to webpages. Add the controls attribute to an <img>:
<img src="panorama.jpg" controls>On visionOS, users can view the panorama fullscreen, and the image wraps around the surrounding space. Spatial Photos support the same interaction. (17:28)
Key Takeaways
1. Ecommerce product previews: let users “step into” your product
- What to build: Furniture, real estate, automotive, and similar websites can let users enter a 1:1 3D scene to experience a product
- Why it is worth doing: The Immersive API combines the high-conversion web channel with spatial experiences, without requiring users to download an app
- How to start: Create a USDZ scene in Blender, place
<model>+requestImmersive()on the webpage, and follow the theater seat-selectionentityTransformlogic
2. Game marketing pages: turn the official website into the first level
- What to build: A game website can hide the 3D preview, drop users directly into the game scene after a click, play a story video, then guide them to download
- Why it is worth doing: The escape-room demo in the session proves that a few lines of code can create a cinematic marketing experience
- How to start: Hide
<model>to save loading cost, userequestFullscreen()for video docking, and callplay()on the model animation after the video ends
3. Culture and travel guides: the webpage becomes the guide
- What to build: Museum and scenic-site websites can let users “stand” in front of an exhibit or attraction while a floating web UI presents text explanations
- Why it is worth doing: The Safari window remains visible in immersive mode, so web UI and 3D scenes naturally coexist
- How to start: Use the
immersivechangeevent to switch UI state, showing thumbnails inline and detailed guidance in immersion
4. Online education: move the lab into the webpage
- What to build: Chemistry, physics, and biology course sites can let students enter a virtual lab and inspect internal structures of 3D models
- Why it is worth doing:
currentTimecan control the animation timeline, which is well suited to step-by-step experimental processes - How to start: Embed staged animations in USDZ and control playback progress in JS with
currentTime
5. Event and performance ticketing: preview the seat view
- What to build: Concert, theater, and stadium ticketing sites can let users “stand” at a seat and confirm the view before buying
- Why it is worth doing: The session’s theater demo already shows the full implementation pattern: JSON seat data +
buildTransform - How to start: Collect each seat’s coordinates and orientation. Use
entityTransformfor inline preview positioning, then let users truly “sit down” in immersive mode
Related Sessions
- Design immersive environments for visionOS - Learn the design principles for creating believable 3D environments
- What’s new for spatial web - Dive into model animation timelines and more spatial web APIs
- Optimize custom environments for visionOS - An advanced guide to optimizing 3D assets
- Get started with the HTML Model element - A complete guide to the
<model>element and its behavior across platforms
Comments
GitHub Issues · utterances