
Highlight
SwiftUI adds four APIs,
reorderable,reorderContainer,dragContainer, anddragConfiguration, so cross-container reordering, multi-item dragging, and intent control no longer require bridging to UIKit. Pure SwiftUI can now implement card-game-level drag-and-drop interactions.
Core Content
From List.onMove to Cross-Container Reordering
Previously in SwiftUI, drag and drop inside a list could be handled with List’s .onMove. Once you needed multi-column boards, grid layouts, or complex cross-container reordering like a card game, draggable and dropDestination were not enough. Developers had to calculate coordinates, maintain state machines, and sometimes bridge to UIKit.
Apple now provides reorderContainer and reorderable, taking care of the heavy lifting for cross-container reordering.
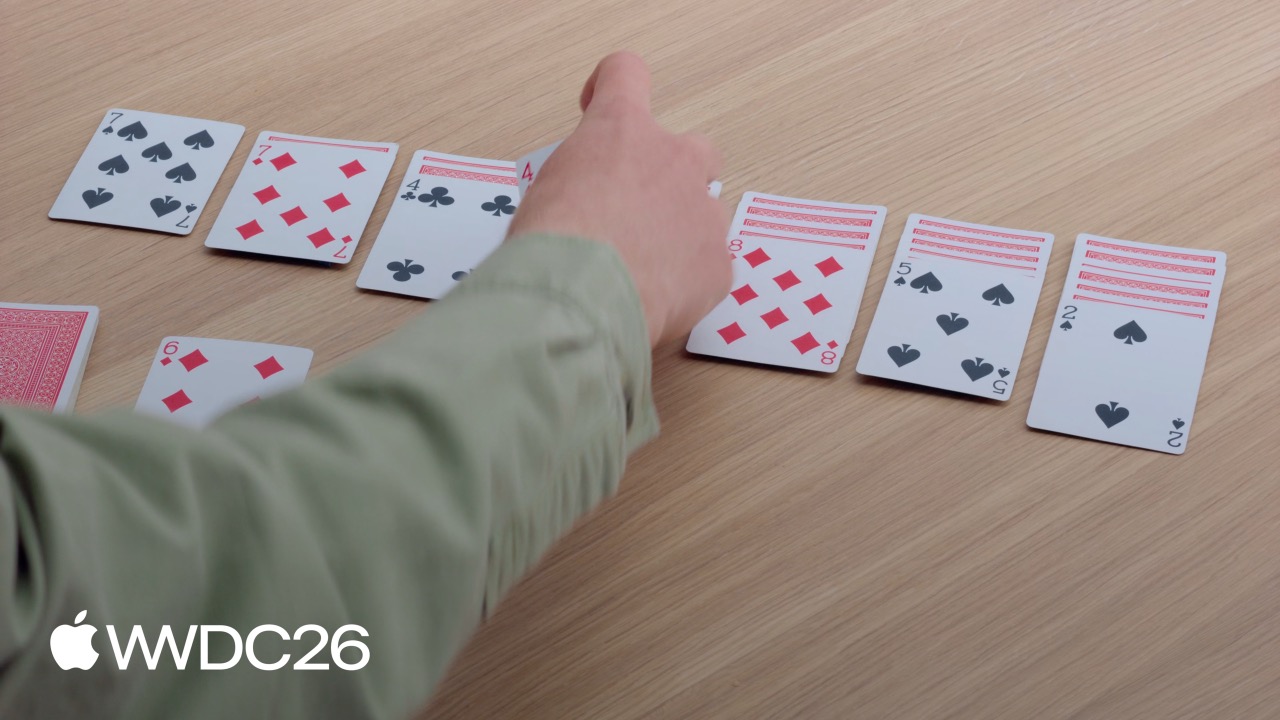
At 02:11, the presenter uses a card game to show the basic use of reorderable. Add .reorderable() to the child views inside ForEach, then add .reorderContainer(for: CardValue.self) to the outer container, and the system automatically handles placeholders, avoidance animations, and position calculation.
At 03:54, when a view is dragged, it is lifted out of the view hierarchy and leaves an empty placeholder at its original position. During the drag, other elements automatically make room, and the placeholder updates in real time to reflect the drop position. When the user lets go, the card moves to its new position.
Multi-Pile Scenarios: Distinguish Containers with collectionID
At 04:38, the card game has multiple piles, so cards need to move freely between them. reorderContainer supports a collectionID parameter for identifying different child containers.
Declare reorderContainer on the HStack in GameView, using CardValue as the element type and Card.Group as the container type. Then, inside PileView, add reorderable(collectionID:) to the draggable cards, with each pile identified by a unique collectionID.
At 05:58, there is a practical trick: face-down cards should not be draggable. Split the pile into two ForEach blocks. The first iterates over face-down cards and does not add reorderable; the second iterates over face-up cards and adds .reorderable(collectionID:). Face-down cards naturally cannot be dragged, without extra state checks.
Multi-Item Dragging: Move Multiple Cards at Once
At 06:57, one core card-game interaction is that when you drag a card, the cards stacked on top of it should move along with it. This uses the dragContainer API.
reorderContainer implicitly provides dragContainer and dropDestination capabilities, but you can explicitly declare your own dragContainer to customize behavior. In the closure, you receive the ID of the dragged element and return the group of elements that should be dragged together.
At 07:50, the presenter adds dragContainer(for: CardValue.self) to GameView and calls game.cardStack(startingAt: cardID) in the closure to get every stacked card starting at the specified card. When dragging the four of clubs, the three of diamonds stacked above it is lifted too.
Custom Drag Preview Style
At 08:45, when multiple cards are dragged together, the default preview stacks them into a pile. You can use dragPreviewsFormation to customize the appearance, with options such as .stack, .pile, and .list.
The presenter chooses .stack because the visual effect of stacked cards best matches the game’s intuition. To keep the preview style consistent throughout the drag, .dropPreviewsFormation(.stack) is also added to the root layout, so the cards do not change appearance while hovering over a target area.
Control Data Transfer Intent: Move or Copy
At 10:05, SwiftUI drag and drop treats operations as Copy by default. In a card game, dragging a card from the remainder pile to a pile should be a Move, not a Copy. This uses the new Drag Configuration API.
At 11:40, in RemainderView, add .dragConfiguration(DragConfiguration(allowMove: true)) to the current face-up card to declare that the transfer intent is Move.
At 12:05, add dropDestination below reorderContainer in GameView to accept new cards of type CardValue. In the dropConfiguration closure, do three things:
- Calculate the pile index corresponding to the drag position
- Check whether the current operation contains
.move - Validate whether the move is legal using game logic
If the move is invalid, such as placing a queen of diamonds onto a seven of diamonds, return .forbidden, and the card automatically snaps back to its original position.
Details
Basic Reordering: Quick Validation in Preview
At 03:40, before integrating into the game, you can first validate the reordering behavior in Preview:
#Preview {
    @Previewable @State var cards = [
        CardValue(rank: .ace, suit: .clubs),
        CardValue(rank: .ace, suit: .diamonds),
        CardValue(rank: .ace, suit: .hearts),
        CardValue(rank: .ace, suit: .spades)
    ]

    HStack {
        ForEach(cards) { card in
            CardFaceView(card: card)
        }
        .reorderable()
    }
    .frame(maxWidth: .infinity, maxHeight: .infinity)
    .reorderContainer(for: CardValue.self) { difference in
        cards.apply(difference: difference)
    }
    .padding()
    .background(.green.gradient)
}
Key points:
.reorderable()is added toForEach, marking elements in this collection as reorderable.reorderContainer(for:)is added to the container, declaring this area as a reordering sandbox- The
differencein the closure isCollectionDifference<CardValue>; callapply(difference:)to update the array directly CardValuemust conform toIdentifiable, and its ID must be globally unique
Cross-Pile Reordering: Complete Configuration in GameView
At 04:40, include every pile in the same reordering container in the main game view:
struct GameView: View {
    var game: Game

    var body: some View {
        GeometryReader { proxy in
            let spacing: CGFloat = 10
            let cardWidth = (proxy.size.width - 6 * spacing) / 7
            VStack {
                HStack(alignment: .top, spacing: spacing) {
                    Group {
                        RemainderView(game: game)
                        CardBackView()
                            .hidden()
                        ForEach(CardValue.Suit.allCases) { suit in
                            DestinationView(game: game, suit: suit)
                        }
                    }
                    .frame(width: cardWidth)
                }
                .padding(.bottom, 20)
                HStack(alignment: .top, spacing: spacing) {
                    ForEach(0..<7) { index in
                        PileView(game: game, index: index)
                            .frame(width: cardWidth)
                    }
                }
                .frame(maxHeight: .infinity, alignment: .top)
                .reorderContainer(for: CardValue.self, in: Card.Group.self) { difference in
                    game.moveCards(difference: difference)
                }
            }
        }
        .padding()
    }
}
Key points:
reorderContainerhas two generic parameters: the element typeCardValueand the container typeCard.GroupCard.Groupuniquely identifies each pile, such as.pile(0)and.pile(1)- The
differencein the closure contains cross-pile movement information, andgame.moveCards(difference:)updates the data model
Pile View: Distinguish Draggable and Non-Draggable Elements
At 05:58, in PileView, face-down cards cannot be dragged and face-up cards can:
struct PileView: View {
    var game: Game
    var index: Int
    @Query var cards: [Card]

    var body: some View {
        ZStack(alignment: .topLeading) {
            CardPlaceholderView()
            PileLayout {
                let index = firstFaceUpIndex
                ForEach(cards[..<index]) { card in
                    CardView(card: card)
                }
                ForEach(cards[index...], id: \.value) { card in
                    CardView(card: card)
                }
                .reorderable(collectionID: Card.Group.pile(index))
            }
        }
    }

    var firstFaceUpIndex: Int {
        cards.firstIndex { !$0.isFaceDown } ?? cards.endIndex
    }
}
Key points:
- The two
ForEachblocks handle face-down and face-up cards separately - Only the second
ForEachadds.reorderable(collectionID:) collectionIDmust be of typeCard.Group, matching the container type declared byreorderContainer- Face-down cards do not have
reorderable, so they naturally cannot be dragged
Multi-Item Dragging: Implement Stacked-Card Following with dragContainer
At 07:50, make the cards above a dragged card move with it:
.reorderContainer(for: CardValue.self, in: Card.Group.self) { difference in
    game.moveCards(difference: difference)
}
.dragContainer(for: CardValue.self) { cardID in
    game.cardStack(startingAt: cardID)
}
Key points:
dragContainermust be declared afterreorderContainer- Both modifiers use the same element type,
CardValue - The closure receives the dragged card ID and returns the
CardValuegroup that should be dragged together game.cardStack(startingAt:)calculates the stacked-card list according to game rules
Custom Preview Style
At 08:45, control how multiple dragged cards are presented visually:
.dragContainer(for: CardValue.self) { cardID in
    game.cardStack(startingAt: cardID)
}
.dragPreviewsFormation(.stack)
At 09:14, add dropPreviewsFormation to the root layout to keep the visual style consistent for the entire drag:
VStack {
    // ... game layout ...
}
.dropPreviewsFormation(.stack)
Key points:
.dragPreviewsFormation(.stack)presents dragged cards in a stacked formation.dropPreviewsFormation(.stack)keeps cards stacked while they hover over a target- Available values include
.stack,.pile,.list, and more
Dragging from the Remainder Pile to a Pile: Complete Move Configuration
At 11:40, declare the move intent for the current card in the remainder pile:
struct RemainderView: View {
    @Query var cards: [Card]
    var game: Game

    var body: some View {
        // ...
        ZStack {
            CardPlaceholderView()
            if let currentCard {
                CardFaceView(card: currentCard.value)
                    .draggable(containerItemID: currentCard.value)
                    .opacity(currentCard.value == hiddenCard ? 0 : 1)
            }
        }
        .dragContainer(for: CardValue.self) { cardID in
            [cardID]
        }
        .dragConfiguration(DragConfiguration(allowMove: true))
    }
}
Key points:
.draggable(containerItemID:)declares that this view can be dragged and specifies the transferred data.dragConfiguration(DragConfiguration(allowMove: true))declares the transfer intent as Move- The remainder pile’s
dragContainerreturns only one card,[cardID], because the remainder pile deals one card at a time
At 12:05, configure the drop target in GameView to receive cards dragged from the remainder pile and validate the rules:
.reorderContainer(for: CardValue.self, in: Card.Group.self) { difference in
    game.moveCards(difference: difference)
}
.dragContainer(for: CardValue.self) { cardID in
    game.cardStack(startingAt: cardID)
}
.dragPreviewsFormation(.stack)
.dragConfiguration(DragConfiguration(allowMove: true))
.dropDestination(for: CardValue.self) { newCards, session in
    if let destination = session.reorderDestination(
        for: CardValue.self, in: Card.Group.self) {
        game.insertCards(newCards, to: destination)
    }
}
.dropConfiguration { session in
    let alignedX = session.location.x - 0.5 * spacing
    let pile = Int(alignedX / (cardWidth + spacing))
    let destination = ReorderDifference<CardValue, Card.Group>
        .Destination(position: .end, collectionID: .pile(pile))
    let allowed = session.suggestedOperations.contains(.move)
        && game.validateMove(session: session, destination: destination)
    let operation: DropOperation = allowed ? .move : .forbidden
    return DropConfiguration(operation: operation, destination: destination)
}
Key points:
.dropDestination(for:)declares that this area can receive dragged data of typeCardValuesession.reorderDestination(for:in:)gets target-position information fromreorderContainer.dropConfigurationis the final decision point and returns aDropConfigurationthat determines operation type and destinationsession.locationgets the current drag position, used to calculate which pile the card is oversession.suggestedOperations.contains(.move)checks whether the source proposed a movegame.validateMove(session:destination:)validates the move against game rules- If the move is invalid, return
.forbidden, and the card automatically snaps back
Key Takeaways
Build a board app with drag reordering
Use reorderContainer and collectionID to implement a Trello-style multi-column board. Each column is a collectionID, and when cards are dragged between columns, the system automatically calculates the CollectionDifference. The entry APIs are reorderContainer(for:in:) and reorderable(collectionID:).
Build a photo app for bulk organization
Use dragContainer to support multi-select photo dragging. The user first selects multiple photos, then drags any one of them, and all selected photos move together. Use dragPreviewsFormation(.stack) to present the preview as a stack, clearly communicating the idea of multiple photos.
Build a card or board game with rule validation
Use dropConfiguration to implement game-rule validation inside the closure. For example, in chess, if a user drags a piece to an illegal square, return .forbidden, and the piece snaps back automatically. This is much simpler than manually writing animations and state rollback; SwiftUI handles the snap-back animation.
Build a file-manager-style sidebar
Use dragConfiguration(DragConfiguration(allowMove: true)) to move files between folders. The source declares move intent, and the target uses dropConfiguration for the final decision. If the target folder is full or permission is insufficient, return .forbidden.
Build a settings panel with cross-list reordering
Create multiple settings groups as separate List or VStack containers, then use reorderContainer to include them in the same reordering sandbox. Users can drag settings items from one group to another, and the data model synchronizes automatically through CollectionDifference.
Related Sessions
- 272 - SwiftUI + AppKit/UIKit — Learn how to bridge AppKit and UIKit drag-and-drop capabilities into SwiftUI, complementing the pure SwiftUI approach in this session
- 269 - SwiftUI — An overview of new SwiftUI features and where the drag-and-drop APIs fit in the framework
- 321 - Lazy stacks — Drag-and-drop scenarios often pair with large lists, and Lazy stacks performance improvements are critical for smooth dragging
- 278 - UIKit modernization — If you need similar capabilities in UIKit, learn about modern UIKit drag-and-drop APIs
- 370 - TextKit — Drag-and-drop handling in text-editing scenarios, which can be combined with SwiftUI drag-and-drop APIs
Comments
GitHub Issues · utterances