
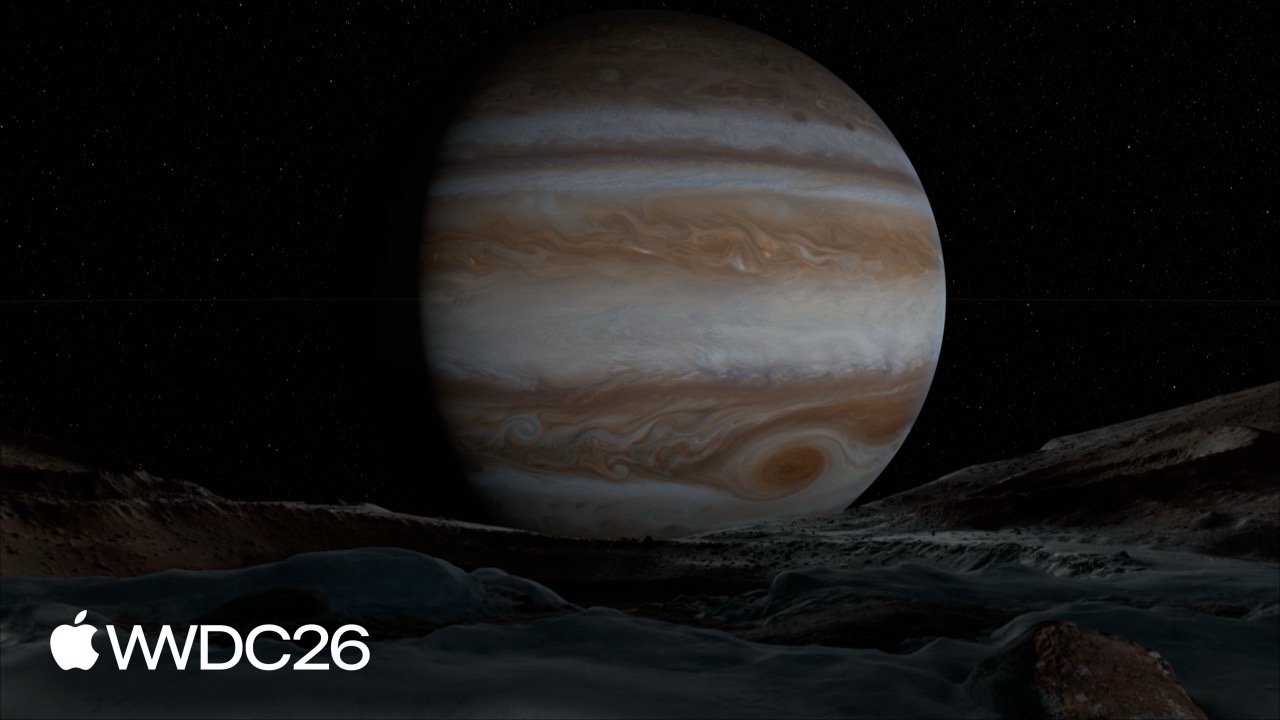
Highlight
Apple defines immersive environments in visionOS as 3D CG scenes with real depth and parallax. Developers need to produce 14K panoramic textures and 3D mesh assets through a film-style pipeline, including preproduction, location shooting, and post-compositing, to create believable parallax when users turn their heads.
Core Content
Panoramas Are Not Enough; Depth Is the Soul
In older VR backgrounds, you could take a 360-degree panorama, map it onto a sphere, and call it done. When a user wearing a headset turns their head, the foreground and background move together, like looking at a giant wallpaper. (00:30)
System environments in visionOS, such as Haleakala, are different. When you move your head, nearby rocks and distant mountains shift relative to each other. This parallax comes from real 3D depth information. Apple maps 14K panoramas onto depth-aware 3D meshes, convincing human depth perception. (00:36)
Every Environment Has a Clear Purpose
Before building an environment, the Apple team asks three questions: Why build this environment? What texture and feeling should it convey? How will users use this space? (01:24)
Media-viewing environments such as Haleakala sculpt the terrain into a theater-like setting suited for watching a large screen, with research into the best viewing centerline. The Keynote presentation environment intentionally removes ambient sound and focuses lighting on the stage to help users practice public speaking. (01:53)
Location Scouting Is Required
Before building a real-world environment such as Mount Hood, the team scouts the location in person. In full immersion, visionOS users have a field of view of about 81 degrees, but the team still needs to consider what users will see after turning around. (02:43)
The original Mount Hood panorama included roads and dense vegetation, which the team replaced in post-production. Marking elements that need to be removed during scouting saves a great deal of post-production time. (02:57)
For places that cannot be visited in person, such as the Moon, Apple uses Apollo mission photography as reference. Reference material helps validate assumptions and remove bias. (03:18)
Details
Shooting Specs: 14K Is the Baseline
visionOS environments need roughly 40 pixels per degree to look sharp, so the ideal target for a 360-degree panorama is 14400 x 7200 pixels. (06:53)
Shooting recommendations:
- Place the tripod at a height of 1 meter, keep it level, and use a large depth of field
- Set up a second camera position at 2 meters high and trigger it in sync, so post-production can fill blind spots from the main viewpoint (06:19)
- Shoot bracketed exposures to capture the wide dynamic range from sun to shadow (06:45)
- Use equipment that covers the full field of view and outputs a stitched panorama
Supporting Reference Assets
In addition to the main photography, capture supporting assets:
- Point clouds from photogrammetry and LiDAR can be meshed as a starting point for 3D assets, and they can also measure distances (07:12)
- Capture a Macbeth color chart, chrome sphere, and gray sphere at the same time so post-production CG assets can match the lighting (07:35)
- For moving scenes, record video to create believable shader effects
- Record motion-related sounds for spatial audio in post-production
Post-Production: From Panorama to 3D Assets
During cleanup, remove visible mistakes such as camera rigs, footprints, and people. (09:04)
Transfer the refined panorama into the UV space of the 3D mesh. Use second-camera footage or CG rendering to fill areas the panorama cannot see. (09:55)
Quality-control techniques:
- Always run A/B comparisons between the 3D asset and the panorama to verify texture-transfer fidelity (10:08)
- Flip the scene horizontally to inspect composition with a fresh eye (10:23)
- Push gamma and gain values to extremes to reveal color mismatches and missing texture data (10:34)
Dynamic Effects: Use Precomputed Data Instead of Real-Time Lighting
The Bora Bora environment contains a lot of motion and light-shadow interaction, but real-time rendering would be extremely expensive. Apple uses a set of tricks:
Cloud movement: Implemented with a UV flow map at low cost. Different regions use different flow-speed weights to create a sense of depth and scale. (12:47)
Cloud shadows: Instead of real-time lighting, a scrolling mask texture darkens the terrain texture. The cloud direction and speed match the clouds above, creating a connected feel. (12:56)
Leaf shadows: Pre-rendered as flipbook textures and overlaid on the terrain. Precomputed data replaces real-time soft-shadow rendering. (13:15)
Palm tree swaying: Meshes are heavily simplified, and wind motion comes from a UV flow map. Trunks and petioles move more slowly than small leaves, implemented through hierarchical vertex animation and layered sine waves. (13:43)
Water surface effects: Multiple normal maps and scrolling textures are layered to create waves, while hue, saturation, and brightness shift over time to simulate sunlight subsurface scattering. (14:06)
Spatial Audio
Place spatial audio emitters in the environment to increase immersion. For example, bind the sound of flowing water to the rocks in a river. (11:19)
Refer to this code for implementation:
import RealityKit

func addSpatialAudio(to entity: Entity) {
    guard let waterSound = try? AudioFileResource.load(
        named: "river_flow.wav",
        configuration: .init(shouldLoop: true)
    ) else { return }

    let audioComponent = SpatialAudioComponent(
        gain: .init(linear: 1.0),
        attenuation: .init(rolloff: .physical, rolloffFactor: 5.0)
    )

    entity.components.set(audioComponent)
    entity.playAudio(waterSound)
}
Key points:
AudioFileResource.loadloads a looping audio resourceSpatialAudioComponentcontrols gain and spatial attenuation, and.physicalrolloff simulates real physical attenuationrolloffFactor: 5.0sets the attenuation distance to 5 meters- The component must be mounted on an
Entitywith concrete 3D coordinates; placing it on the root node makes the sound lose directionality
Loading a Custom Immersive Environment
import SwiftUI
import RealityKit

struct ImmersiveEnvironmentView: View {
    @State private var immersionLevel: Double = 1.0

    var body: some View {
        RealityView { content in
            if let environment = try? await Entity(named: "Yosemite_Environment") {
                content.add(environment)
            }
        }
        .immersionStyle(selection: $immersionLevel, in: .mixed, .full)
    }
}
Key points:
Entity(named:)asynchronously loads a USDZ/RealityKit scene asset containing the 3D mesh and panorama texture- The
selectionforimmersionStyleneeds aDoublebinding that controls the transition between mixed reality and full immersion .mixedand.fulldefine the available immersion mode range
Key Takeaways
Build an immersive nature environment for a meditation app
What to do: Create a customizable forest or beach environment for users, with wind and water sounds that respond to breathing rhythm.
Why it is worth doing: The session shows how UV flow maps and layered sine waves can create natural motion at low cost, enabling small teams to build believable dynamic environments.
How to start: Render a 14400x7200 panorama and depth map in Blender, export USDZ, load it with Entity(named:), and bind ambient audio to specific positions with SpatialAudioComponent.
Build a SharePlay virtual theater
What to do: Let multiple people enter the same virtual cinema environment through SharePlay and watch a movie together.
Why it is worth doing: The session explicitly identifies media viewing as one of the core use cases for system environments. Terrain can be sculpted around cinema viewing angles, and spatial audio gives each participant a convincing sense of position.
How to start: Design a terrain mesh with depth layers, such as front-row seats, middle rows, and distant scenery, then use RealityKit’s SharePlay framework to synchronize environment state.
Build a scenic window with real-time weather changes
What to do: Apply the cloud UV flow map and scrolling cloud-shadow mask techniques from the session to a Widget or app, creating a 3D landscape that changes over time.
Why it is worth doing: Apple demonstrated a time-passage system in Bora Bora, driven partly by the needs of the Jupiter environment. The same techniques can migrate directly to non-immersive scenes.
How to start: Use ShaderGraph to drive clouds with a UV flow map, use a scrolling texture mask for ground cloud shadows, and combine it with TimelineView or a custom time system.
Build a public-speaking practice tool
What to do: Use the Keynote environment as a reference and create an immersive space focused on speech practice, with a spotlight on the “stage” and no ambient sound.
Why it is worth doing: The session shows that environment design can serve a specific function, not just look good. Acoustic and lighting design can guide user attention.
How to start: Arrange a stage scene in Reality Composer Pro, use a Directional Light to simulate a spotlight, mute ambient sound, and keep only the user’s own echo feedback.
Build a guide app based on a real place
What to do: Use photogrammetry and LiDAR to scan a real destination, then generate an immersive guided-tour environment with depth.
Why it is worth doing: The session explains the scouting, shooting, and post-production pipeline in detail, giving small teams a process they can follow for localized content.
How to start: Scan the target location with LiDAR on an iPhone Pro, generate point clouds and meshes through photogrammetry, refine them in Blender, export USDZ, and load them with RealityKit.
Related Sessions
- 279 - RealityKit — New RealityKit features and rendering optimizations on visionOS, supporting this session’s real-time 3D asset rendering needs
- 282 - Spatial Preview — Preview spatial content in Xcode, an essential tool for debugging immersive environments
- 287 - visionOS 27 — System-level capabilities in visionOS 27 and the platform’s broader direction
- 284 - 3D Models — Using and optimizing 3D models in visionOS, supplementing the modeling knowledge needed for environment assets
- 252 - Reality Composer Pro 3 — Apple’s official 3D content creation tool and the direct toolchain for building immersive environments
Comments
GitHub Issues · utterances