
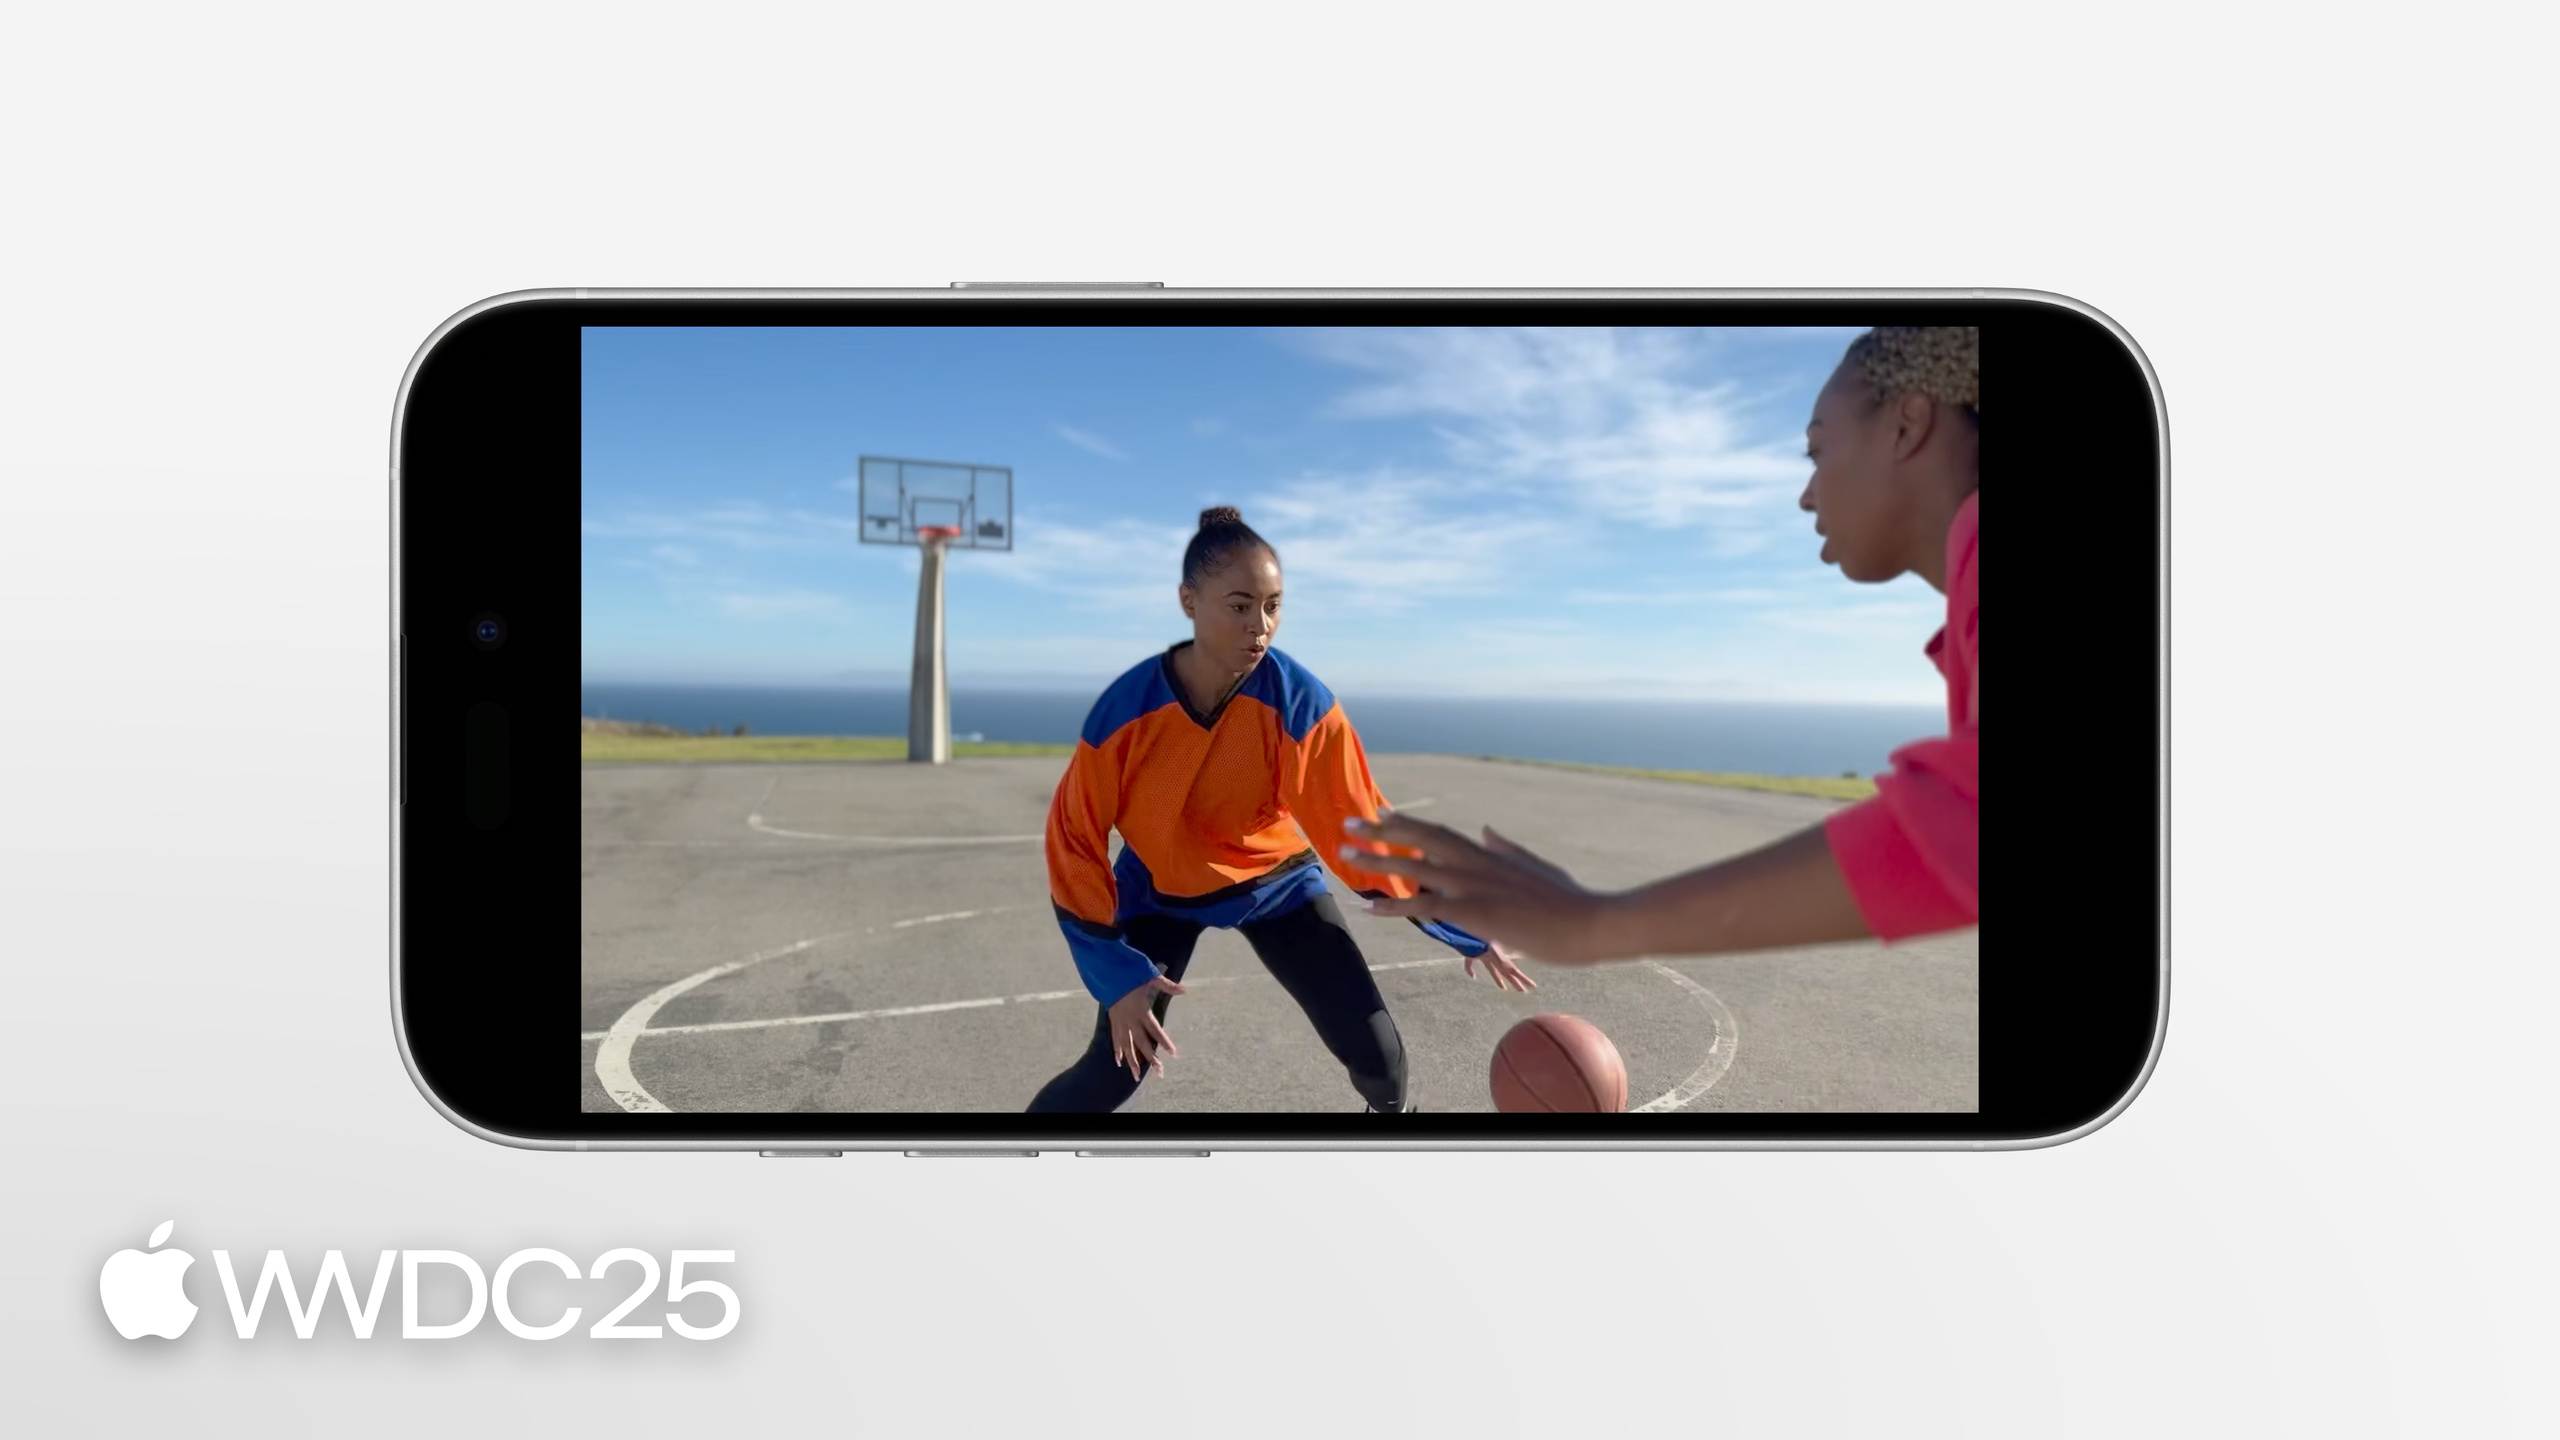
Highlight
Set
isCinematicVideoCaptureEnabledto true onAVCaptureDeviceInput, and the entire capture session output automatically gets the cinematic mode effect.
Core Content
Shallow depth of field and rack focus in film are core tools directors use to guide the audience’s gaze. On a real set, focus changes require a dedicated focus puller, because this is precise work that takes long training (01:14). For most developers, implementing this in an app used to be nearly impossible.
When iPhone 13 Pro introduced cinematic mode, Apple replaced the human focus puller with algorithms: when a subject enters the frame it automatically racks focus, when a subject looks away the focus switches to another candidate, and switches back when needed (01:31). This year iOS 26 exposes this capability as the Cinematic Video API. Roy demonstrated the full setup flow with a camera app: select Dual Wide or TrueDepth camera, find a format that supports Cinematic, assemble the capture session, add metadata output, draw detection boxes with SwiftUI, bind tap and long-press gestures to drive three focus modes. The whole chain comes down to one line isCinematicVideoCaptureEnabled = true that gives movie file output, video data output, and preview layer the cinematic effect all at once.
Details
Step 1: Pick a device and format that can shoot Cinematic. Cinematic Video only supports the rear Dual Wide and front TrueDepth cameras, resolution covers 1080p / 4K @ 30fps, color supports SDR 420 video range / full range and 10-bit HDR x420 (05:37).
// Select a format that supports Cinematic Video capture
for format in camera.formats {
    if format.isCinematicVideoCaptureSupported {
       try! camera.lockForConfiguration()
       camera.activeFormat = format
       camera.unlockForConfiguration()
       break
    }
}
Key points:
isCinematicVideoCaptureSupportedis a new property onAVCaptureDevice.Format, just iterate to find the first format where it’s true.- Modifying
activeFormatmust be wrapped betweenlockForConfiguration/unlockForConfiguration. - Pick the right format before enabling Cinematic capture, otherwise later steps will fail.
Step 2: Enable cinematic mode on the input. (06:00)
let videoInput = try! AVCaptureDeviceInput(device: camera)
captureSession.addInput(videoInput)

let audioInput = try! AVCaptureDeviceInput(device: microphone)
captureSession.addInput(audioInput)

// Enable Cinematic Video capture
if (videoInput.isCinematicVideoCaptureSupported) {
  videoInput.isCinematicVideoCaptureEnabled = true
}
Key points:
- One line
isCinematicVideoCaptureEnabled = trueswitches all outputs of the session to the Cinematic pipeline. AVCaptureMovieFileOutputproduces video with disparity data + metadata + original video, you can use the Cinematic Framework released in 2023 for non-destructive bokeh editing.AVCaptureVideoDataOutputframes have shallow depth of field baked in, suitable for direct streaming or upload.AVCaptureVideoPreviewLayerrenders bokeh in real time, just attach it to the session for a viewfinder.
Step 3: Make SwiftUI display the preview. AVCaptureVideoPreviewLayer is a CALayer subclass, needs to be wrapped with UIViewRepresentable (07:11).
class CameraPreviewUIView: UIView {
    override class var layerClass: AnyClass {
        AVCaptureVideoPreviewLayer.self
    }
    var previewLayer: AVCaptureVideoPreviewLayer {
        layer as! AVCaptureVideoPreviewLayer
    }
}
Key points:
- Override
layerClassso the view’s backing layer is directlyAVCaptureVideoPreviewLayer, no need to manually manage sublayers. - Expose the
previewLayergetter for the upper layer to read, useful for coordinate conversion.
Step 4: Use metadata to draw detection boxes. Cinematic algorithms rely on detection info like faces, Apple gathered the required types into a new property (09:12).
let metadataOutput = AVCaptureMetadataOutput()
captureSession.addOutput(metadataOutput)
metadataOutput.metadataObjectTypes = metadataOutput.requiredMetadataObjectTypesForCinematicVideoCapture
metadataOutput.setMetadataObjectsDelegate(self, queue: sessionQueue)
Key points:
requiredMetadataObjectTypesForCinematicVideoCaptureis a new list property, you must use it—passing other types throws an exception.- In the delegate callback, feed metadata into an
@Observableclass, SwiftUI views redraw automatically. - When drawing boxes, convert coordinate space:
previewLayer.layerRectConverted(fromMetadataOutputRect: metadata.bounds), AVFoundation uses top-left origin, SwiftUIpositionuses center point, remember to use midX / midY.
Step 5: Three manual focus APIs. (10:53)
open func setCinematicVideoTrackingFocus(detectedObjectID: Int, focusMode: AVCaptureDevice.CinematicVideoFocusMode)
open func setCinematicVideoTrackingFocus(at point: CGPoint, focusMode: AVCaptureDevice.CinematicVideoFocusMode)
open func setCinematicVideoFixedFocus(at point: CGPoint, focusMode: AVCaptureDevice.CinematicVideoFocusMode)
Key points:
- First: lock to a specific detected subject by
detectedObjectID. - Second: focus on a point in the frame, the algorithm finds a prominent object near that point.
- Third: fixed focus, lock the plane where that point sits by disparity.
CinematicVideoFocusModehas three levels:.none,.weak,.strong. Strong won’t switch even with more prominent candidates, weak lets the algorithm take over.
Step 6: Wire gestures to focus. In the demo, tapping empty areas uses weak focus, tapping an already-weak detection box upgrades to strong, tapping a non-focused detection box uses weak (15:30).
func focusTap(at point:CGPoint) {
    try! camera.lockForConfiguration()
    if let metadataObject = findTappedMetadataObject(at: point) {
        if metadataObject.cinematicVideoFocusMode == .weak {
            camera.setCinematicVideoTrackingFocus(detectedObjectID: metadataObject.objectID, focusMode: .strong)
        } else {
            camera.setCinematicVideoTrackingFocus(detectedObjectID: metadataObject.objectID, focusMode: .weak)
        }
    } else {
        let transformedPoint = previewLayer.metadataOutputRectConverted(fromLayerRect: CGRect(origin:point, size:.zero)).origin
        camera.setCinematicVideoTrackingFocus(at: transformedPoint, focusMode: .weak)
    }
    camera.unlockForConfiguration()
}
Key points:
- Use
findTappedMetadataObjectto check if the tap landed on a detection box. - Hitting an already-weak box upgrades to strong (solid yellow box), hitting other states first changes to weak (dashed yellow box).
- No box hit: convert screen coordinates to metadata output coordinates, call
setCinematicVideoTrackingFocus(at:focusMode:). - Long press uses
setCinematicVideoFixedFocus, nailing the focal distance to that disparity plane.
Step 7: Bokeh strength and scene monitoring. AVCaptureDeviceInput.simulatedAperture is expressed in f-stop, smaller f-number means larger aperture and stronger bokeh; use minSimulatedAperture / maxSimulatedAperture / defaultSimulatedAperture on the format to limit the slider range (08:05). When light is insufficient, observe via KVO cinematicVideoCaptureSceneMonitoringStatuses, when it contains .notEnoughLight prompt the user in the UI (17:10). During recording you can attach another AVCapturePhotoOutput to grab still photos, photos also get the cinematic effect.
Key Insights
-
What to do: Add a “cinematic mode” toggle to existing camera apps
- Why it’s worth it: The API is extremely thin, one line
isCinematicVideoCaptureEnabled = truegets you disparity + metadata + baked video; product differentiation stands out immediately. - How to start: First filter formats with
AVCaptureDevice.Format.isCinematicVideoCaptureSupported, then switch the input; keep the original mode for A/B, let users choose before shooting.
- Why it’s worth it: The API is extremely thin, one line
-
What to do: Build a short-video editing tool with adjustable focus in post
- Why it’s worth it: Movie file output produces video with disparity data, combined with the Cinematic Framework released in 2023 you can do non-destructive bokeh editing, both focus and blur amount are editable.
- How to start: Use
AVCaptureMovieFileOutputfor recording, import Cinematic Framework for editing; MVP first supports adding a few focus keyframes on the timeline.
-
What to do: Make a vlog template with face / pet detection and weak / strong focus logic
- Why it’s worth it: Users most often shoot people and pets, automatic rack focus is the pinnacle of vlog experience; strong locking prevents the subject losing focus to passersby.
- How to start: Listen to metadata, default strong for main character faces, default weak for secondary faces; provide a “lock main character” button that directly calls
setCinematicVideoTrackingFocus(detectedObjectID:focusMode:.strong).
-
What to do: Add a light monitoring prompt layer
- Why it’s worth it: Cinematic mode is light-sensitive, bokeh quality drops noticeably when light is low; without a prompt users will think the app is broken.
- How to start: Use KVO to observe
cinematicVideoCaptureSceneMonitoringStatuses, when it contains.notEnoughLightshow a warning in the corner of the viewfinder, hide it when count goes to zero.
Related Sessions
- Enhance your app with machine-learning-based video effects — Use machine learning to add frame rate conversion, super resolution, noise reduction and other effects to video, can be chained with cinematic mode for post-processing.
- Enhancing your camera experience with capture controls — Customize capture controls in camera apps, make the cinematic mode toggle more convenient.
- Support Cinematic mode videos in your app — Cinematic Framework released in 2023, works with this session’s movie file output for non-destructive bokeh editing.
- Enhance your app’s audio content creation capabilities — Spatial audio recording, combined with cinematic mode’s first order ambisonics to enhance immersion.
Comments
GitHub Issues · utterances