
Highlight
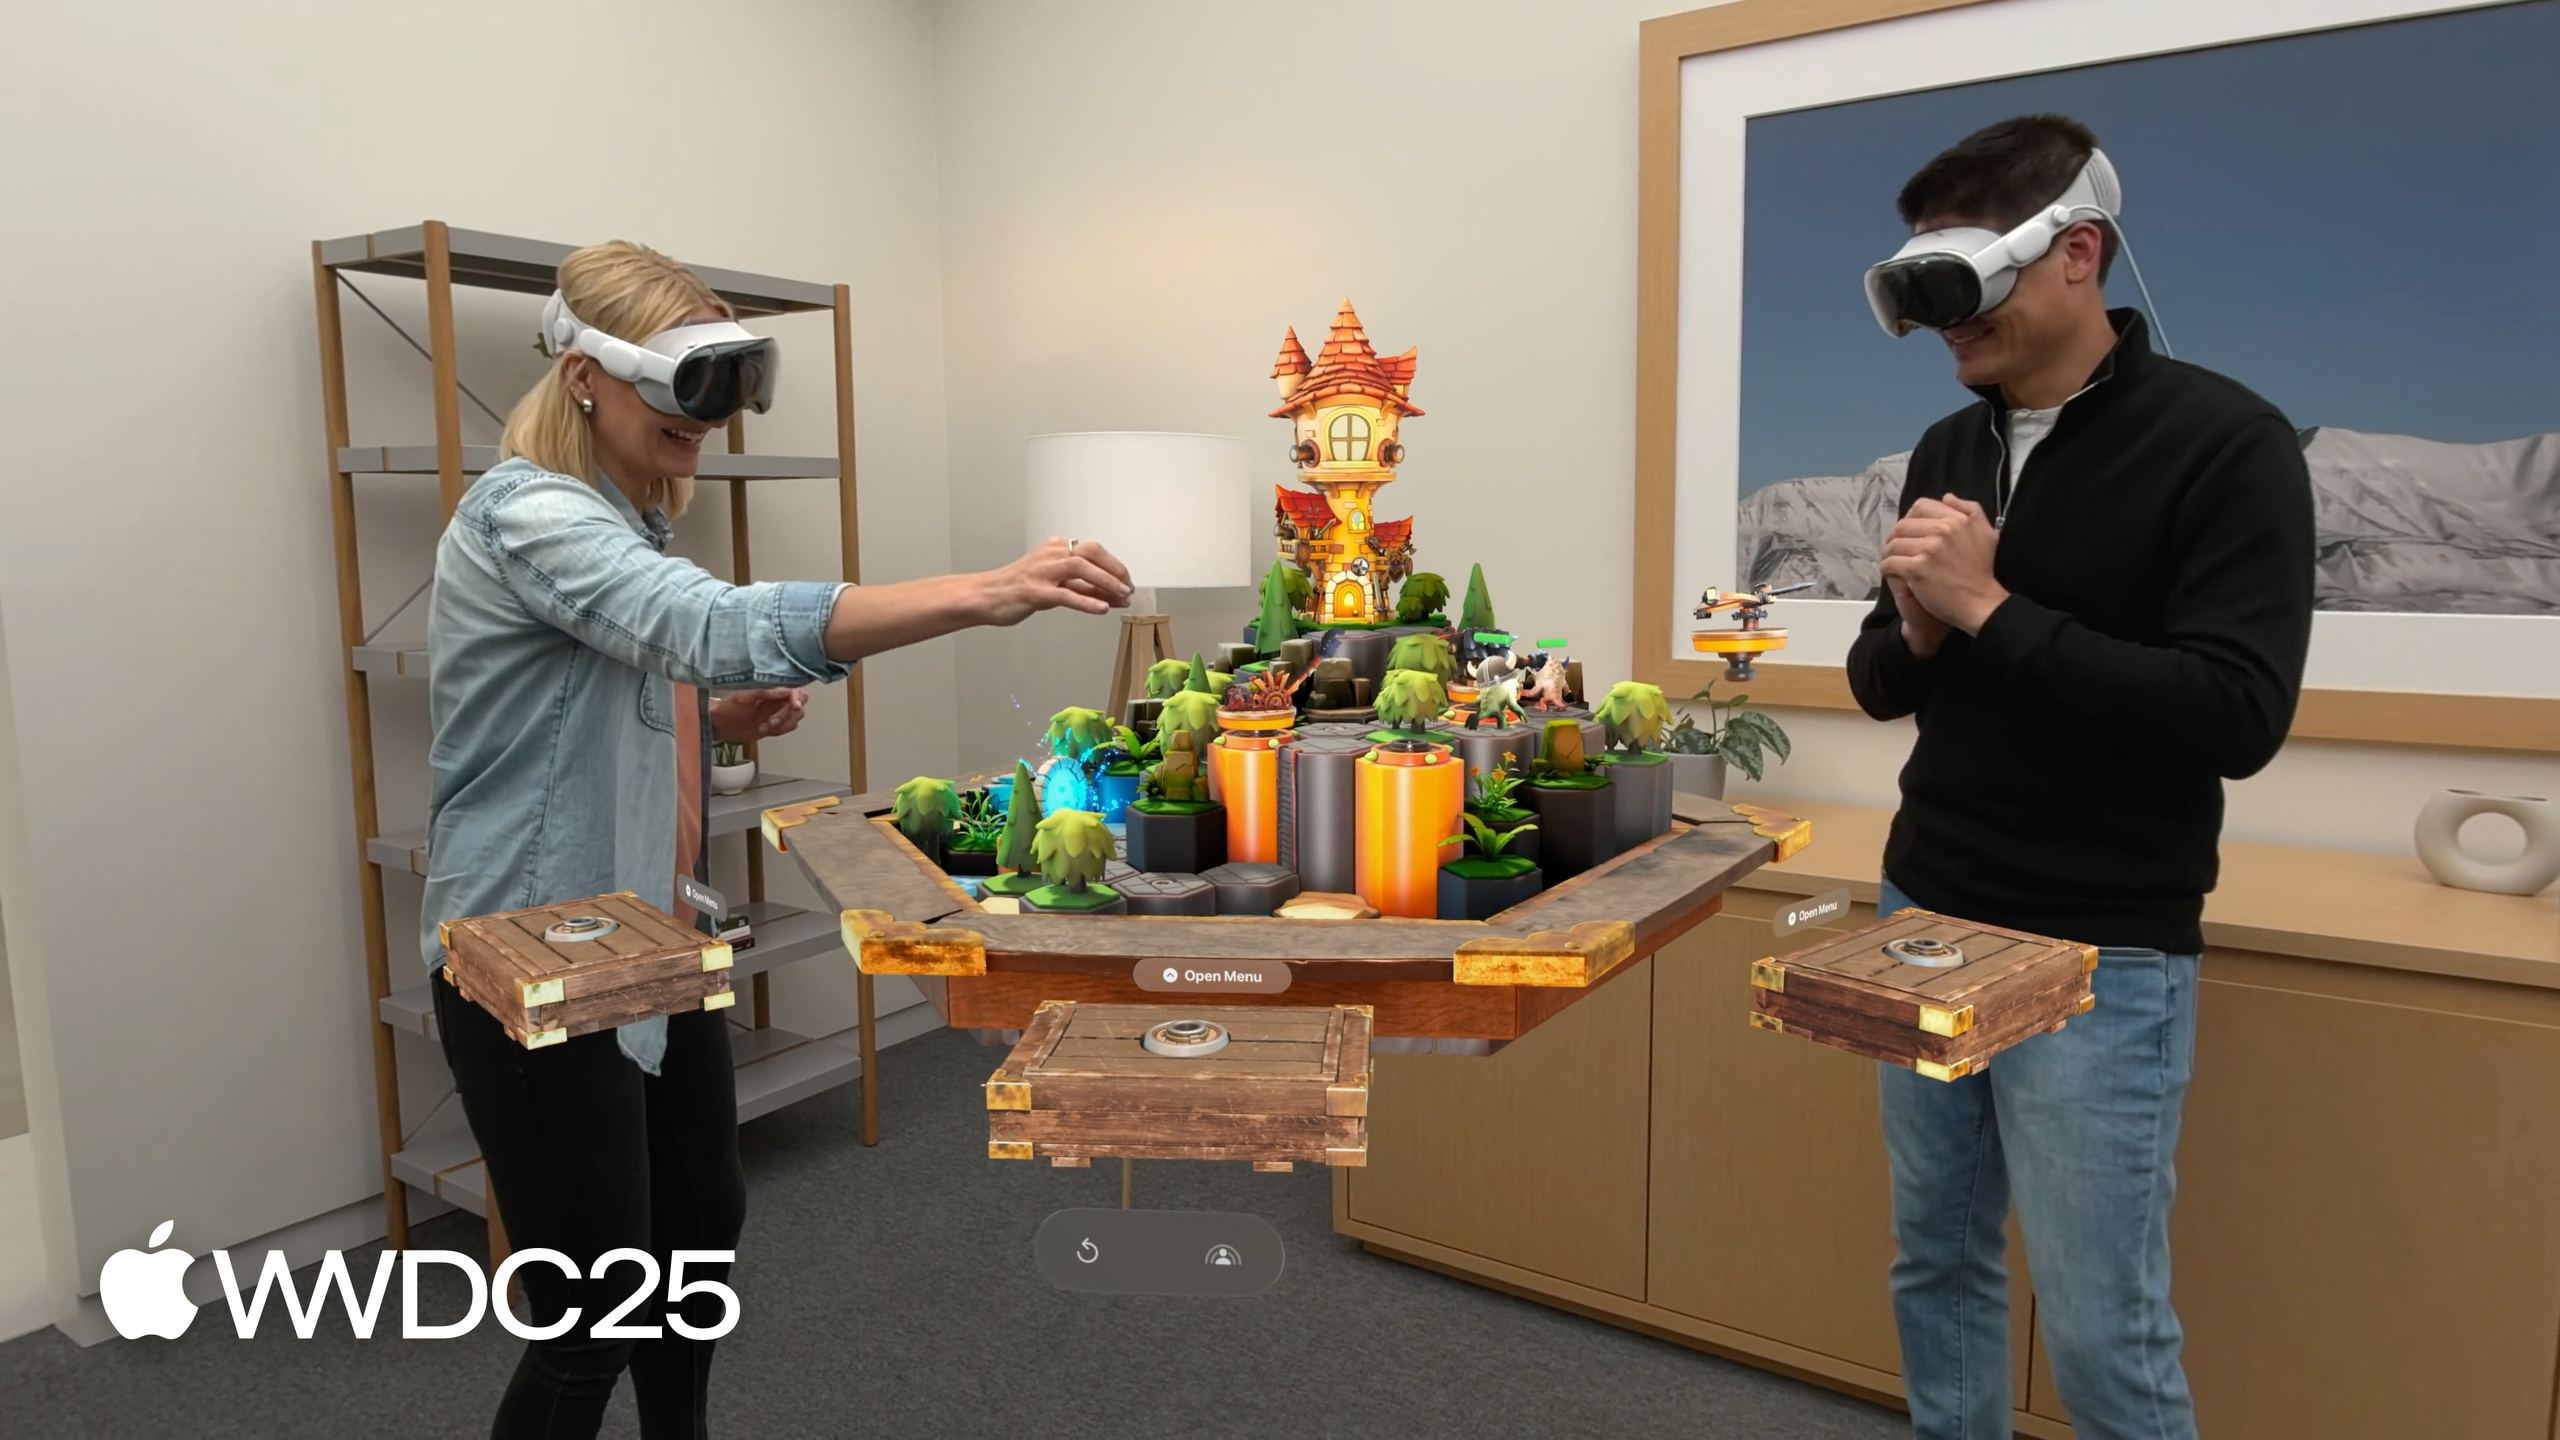
visionOS 26 elevates the volume to a first-class citizen: it can present sheets, spill beyond its bounds, and let 3D objects follow hand gestures to rotate — all with a single view modifier.
Core Content
Since the launch of Vision Pro last year, the pitfall developers have hit most often is that a volume behaves like a “sealed box”. 3D content inside the container renders fine, but everyday UI such as alerts, sheets, and menus do not work inside a volume; geometry that exceeds the window bounds gets clipped; and rotation gestures for 3D objects require writing an entire custom stack. The result is that every volumetric app ends up reinventing the wheel, with uneven experiences.
visionOS 26 tears these pain points down one by one. Edwin opens by stating the guiding principle: let SwiftUI’s existing 2D layout tools extend naturally into 3D. depthAlignment lets VStack align along the front-to-back axis; rotation3DLayout brings rotation into the layout system; preferredWindowClippingMargins allows content to spill beyond the bounds; and the Object Manipulation API replaces a custom gesture stack with a single .manipulable() modifier. The system also unifies the coordinate spaces of SwiftUI, RealityKit, and ARKit, so developers writing RealityKit no longer need to route everything through RealityView — they can attach SwiftUI gestures and attachments directly to an entity. Taken together, these changes finally let the volume carry a full app as its main scene.
Detailed Content
SwiftUI layout enters the third dimension (02:25)
// Layout types back align views by default

struct LandmarkProfile: View {

    var body: some View {
       VStackLayout().depthAlignment(.front) {
            ResizableLandmarkModel()
            LandmarkNameCard()
        }
    }
}
Key points:
VStackLayout()is the familiar vertical stack; it previously only worked on the X/Y plane..depthAlignment(.front)aligns all child views to the same front plane along the Z axis; the 3D model can sit deeper, and the name card automatically snaps to the front of the model, significantly improving readability.- This is a layout-level modifier — no manual offset calculation required.
Content overflow inside a volume (04:22)
// Dynamic Bounds Restrictions

struct ContentView: View, Animatable {

    var body: some View {
        VStackLayout().depthAlignment(.front) {
            // . . .
        }
        .preferredWindowClippingMargins(.all, 400)
    }
}
Key points:
preferredWindowClippingMargins(.all, 400)tells the system: allow content to spill 400 points in every direction.- The purpose is to let virtual objects “peek out” of the window — for example, a mountain peak protruding from the volume or a waterfall crossing the boundary — without needing to enlarge the volume dimensions for that.
- This is a preference; the system will clip dynamically based on distance and occlusion when needed.
Object Manipulation: one modifier does it all (05:05)
// Apply the manipulable view modifier to each Model3D block per 3D object

struct RockView: View {
    var body: some View {
        RockLayout {
            ForEach(rocks) { rock in
                Model3D(named: rock.name, bundle: realityKitContentBundle) {
                    model in
                    model.model?
                        .resizable()
                        .scaledToFit3D()
                }
                .manipulable()
            }
        }
    }
}
Key points:
.manipulable()givesModel3Dautomatic support for two-handed grab, rotate, and scale, with physical intuition consistent with real-world objects.- No need to write a
DragGesture+RotateGesture3Dcombination, nor to manually handle two-handed coordination. - For those using RealityKit, calling
ManipulationComponent.configureEntity(rock)provides the same behaviour; USDZ models previewed in Quick Look get this capability for free.
SwiftUI gestures attach directly to an Entity (06:36)
// Gestures on entities
struct GestureExample: View {
    @GestureState private var dragMountain: Float = 0
    @GestureState private var dragTerrain: Float = 0
			var body: some View {
        RealityView { content in
            let drag1 = GestureComponent(
                DragGesture().updating($dragMountain) { value, offset, _ in
                    offset = Float(value.translation.width)
                })
            let drag2 = GestureComponent(
                DragGesture().updating($dragTerrain) {evalue, offset, _ in
                    offset = Float(value.translation.width)
                })
            mountain.components.set(drag1)
            terrain.components.set(drag2)
        } update: { content in
            // . . .
        }
    }
}
Key points:
GestureComponentpackages SwiftUI’sDragGesturedirectly onto an entity, eliminating the need forRealityViewto act as an intermediary forwarding hit-testing.- Each entity can carry its own independent gesture without interfering with others; previously this required a long chain of
targetedToEntitybranching logic. @GestureStatestill follows SwiftUI’s state management, so existing code can be ported across as-is.
Look to Scroll: scroll with a glance (33:45)
// SwiftUI
var body: some View {
    ScrollView {
        HikeDetails()
    }
    .scrollInputBehavior(.enabled, for: .look)
}


// UIKit
let scrollView: UIScrollView = {
    let scroll = UIScrollView()
    scroll.lookToScrollAxes = .vertical
    return scroll
}()
Key points:
- In SwiftUI, adding a single line
scrollInputBehavior(.enabled, for: .look)lets the user trigger scrolling by moving their gaze to the edge, hands-free. - On the UIKit path, use
lookToScrollAxes, specifying vertical, horizontal, or both as needed. - Reading apps and long-content browsing apps are the first beneficiaries; games should be cautious to avoid conflicting with aiming operations.
Other key updates
- Foundation Models framework (10:53): Access on-device LLMs, with support for guided generation and tool calling.
- Spatial Audio Experience API (08:26): Each window/volume gets its own spatialised audio source, which can migrate seamlessly between scenes.
- Environment Occlusion (09:04): Use
EnvironmentBlendingComponentto let virtual objects be occluded by real static objects. - Nearby Window Sharing and shared ARKit world anchors: Multiple people in the same room can interact with the same volume; existing SharePlay code works without changes to gain the nearby experience, and adding an
isNearbyWithParticipantcheck enables finer differentiation. - Spatial Browsing and HTML
<model>: Embed USDZ models directly in web pages, and enter a spatial reading mode when browsing long articles. - Enterprise APIs:
Protected Contentis a single modifier that blocks screenshots, screen recording, and AirPlay; Window Follow Mode makes the window follow the user as they move around; Return to Service is used for secure reset when devices are shared.
Core Takeaways
-
Treat the volume as the main stage and the window as the accessory: Previously you used a window as the main body and a volume as a 3D attachment; after visionOS 26 the reverse makes more sense. Volumes can now present sheets, spill beyond bounds, and spatialize audio, so primary interaction can live entirely inside them.
- Why it is worth doing: It gives the app spatial presence from the start, preventing users from failing to perceive what makes Vision Pro different while stuck in a 2D window.
- How to start: Change the first scene to
WindowGroup(.volumetric), adddepthAlignment(.front)to lay out the main elements, and usepreferredWindowClippingMarginsto let key objects peek beyond the boundary.
-
Delete your custom 3D gesture stack and replace it entirely with
.manipulable()/ManipulationComponent: Gesture coordination, two-handed pinch-to-zoom, and inertial snap-back are details Apple has already unified at the system level; it is extremely hard to achieve that consistency on your own.- Why it is worth doing: Users have already built consistent muscle memory in Quick Look, the system Photos app, and other third-party apps; custom gestures break that mental model.
- How to start: Replace existing
DragGesture3D+RotateGesture3Dcombinations; on the RealityKit side, callManipulationComponent.configureEntity(_:)once per interactive entity during theRealityViewmake phase.
-
Media apps should prioritise APMP (Apple Projected Media Profile) support: Footage shot on Canon, GoPro, and Insta360 in 180/360-degree and wide-angle formats now has unified metadata, so after import it can go straight through the system immersive playback pipeline.
- Why it is worth doing: Users are importing more and more footage from external cameras; APMP saves you from writing special-case handling for every lens type.
- How to start: Check whether your upload pipeline preserves original metadata; on the player side, use the system-provided immersive player and let projection information drive rendering.
-
Enterprise apps should apply
Protected Contentby default: Views handling finance, healthcare, or design review have screenshots and AirPlay as high-risk compliance points.- Why it is worth doing: A single view modifier closes an entire class of compliance issues with zero business-logic changes.
- How to start: Find the root view that displays sensitive data and add the
Protected Contentmodifier; evaluate whether external sharing use cases also need Window Follow Mode for further constraints.
Related Sessions
- Meet SwiftUI spatial layout — In-depth coverage of depthAlignment, rotation3DLayout, and other 3D modifiers
- What’s new in RealityKit — Full picture of ManipulationComponent, MeshInstancesComponent, and EnvironmentBlendingComponent
- Set the scene with SwiftUI in visionOS — Presentation rules for sheet, alert, and menu inside a volume
- Explore video experiences for visionOS — Playback solutions for 180/360-degree and wide-angle immersive video
- Learn about Apple Immersive Video technologies — Apple Immersive Video and spatial audio production pipeline
Comments
GitHub Issues · utterances