
Highlight
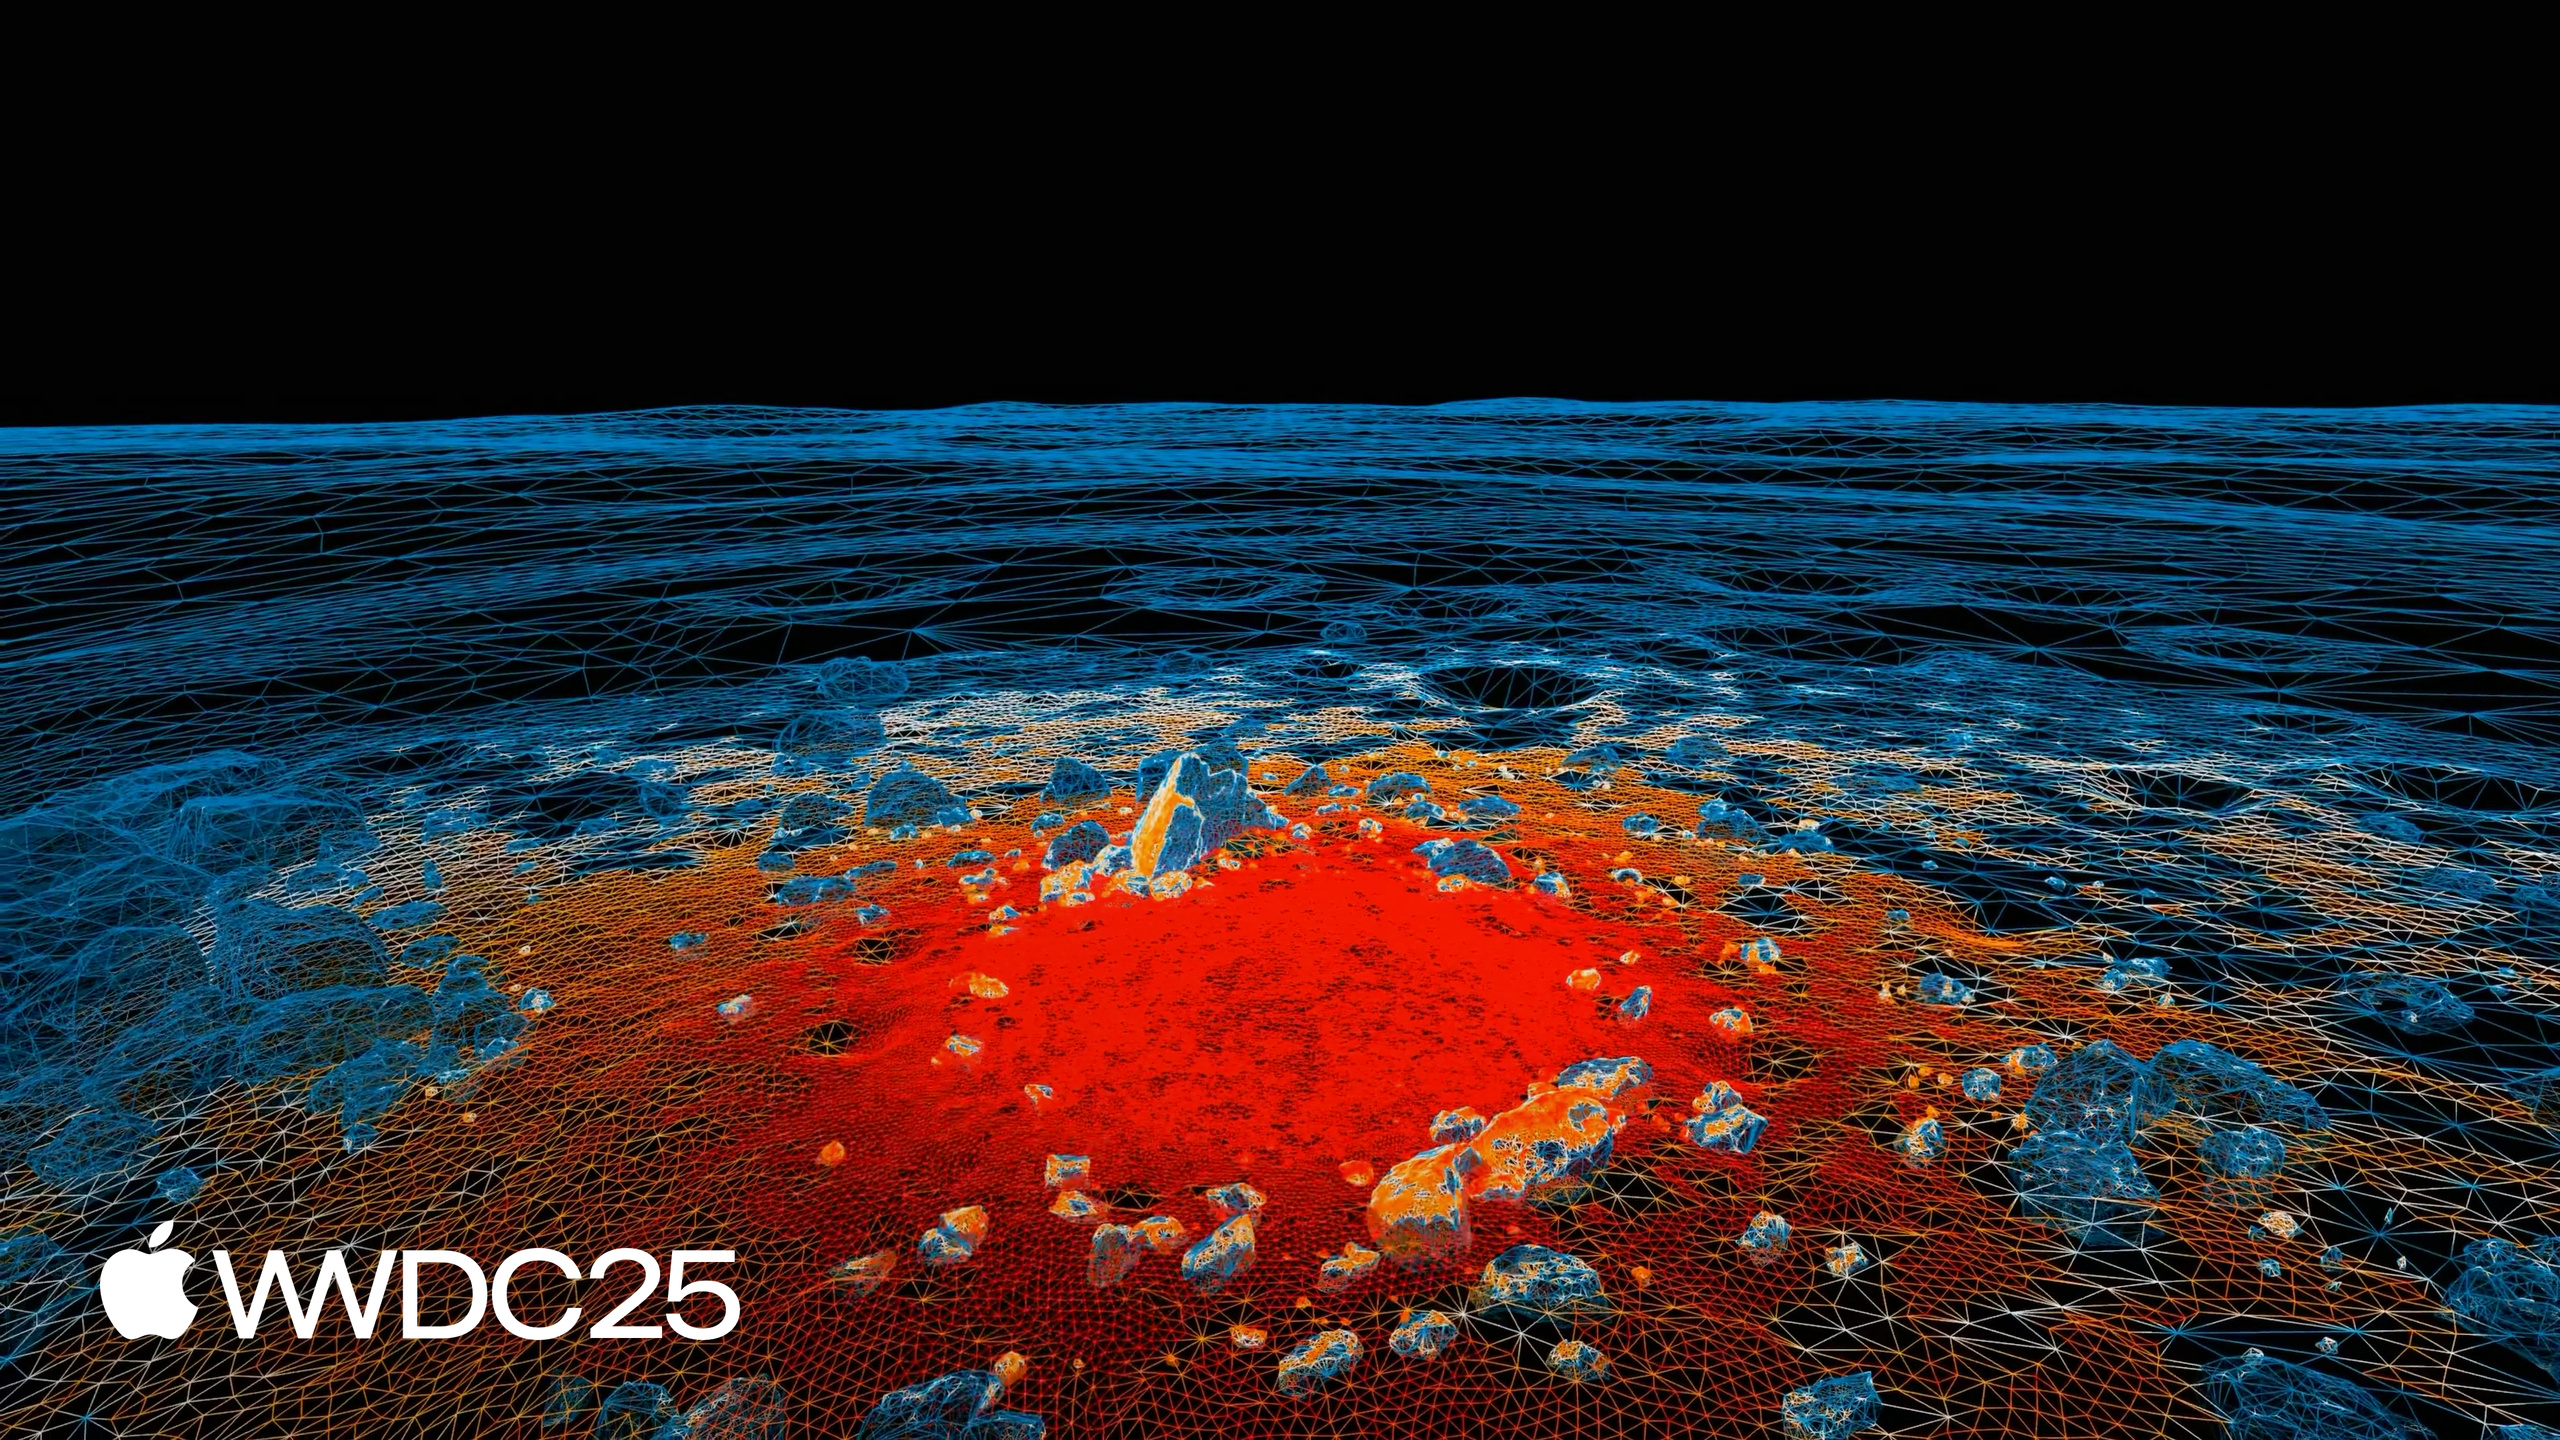
The session uses the Moon environment as a case study, walking through the full 3D environment optimization pipeline. Starting from a pre-rendered asset with over 100 million triangles, it goes through three stages — geometry optimization (adaptive reduction, billboard distant-object replacement, occlusion culling), UV projection (multi-view spherical projection + screen-space texel density allocation), and texture baking (spherical render + surface direct projection) — to end up at 180,000 triangles, 250 MB of texture memory, and under 100 draw calls.
Core Content
The biggest pain point in building a visionOS immersive environment is the gap between “film-grade quality” and “real-time rendering budget.” The Moon demo scene has over 100 million triangles in its pre-rendered version, tens of gigabytes of PBR maps, and path-traced lighting — you cannot just port that straight to Vision Pro. Think about it differently: the user is confined to a few meters of movement by the Immersive Boundary, so you only need to render the parts the user can actually see. Everything else — unseen or too far to make out — can be cut.
Apple released the whole toolchain this time. Alex, an Apple Technical Artist, published 14 Houdini Digital Assets (HDAs), all built from procedural nodes, downloadable, reusable, and configurable. The session uses the Moon scene as a template and walks through “geometry optimization -> UV projection -> texture baking -> USD hierarchy” in four steps, ending at 180,000 triangles, 250 MB of textures, and under 100 draw calls per frame. The core idea of the whole pipeline is one sentence: use the sample points on the Immersive Boundary as the basis; every optimization starts from “what the user can see from that viewpoint.”
Detailed Content
1. The Immersive Boundary is the starting point for optimization (04:39)
In Vision Pro’s full immersion mode, the user can move freely within a few meters; the view fades beyond that boundary. This boundary is the basis for the optimization budget. The Boundary Camera HDA places multiple virtual cameras in the scene so you can switch to the “user’s viewpoint” at any time; the Boundary Samples HDA generates a set of sample points inside the boundary to serve as input for all subsequent geometry, UV, and culling tools.
Key points:
- Full immersion renders every pixel, which costs far more than mixed immersion, so the budget must be spent carefully.
- Almost every HDA accepts a set of sample points as input — multi-view evaluation avoids artifacts from a single viewpoint.
- More sample points mean more accuracy, but compute time scales linearly; start with fewer and iterate upward.
2. Three-step geometry optimization: adaptive reduction + billboard + occlusion culling
Adaptive Reduce HDA (09:52): Built on Houdini’s native PolyReduce, but it reads the Boundary Samples positions and decides which triangles to keep based on “which triangles contribute most to the silhouette.” The silhouette parameter controls density weighting at the silhouette edge; distance weighting controls falloff for distant areas. In the Moon scene, 22 million triangles of rock were reduced with a single HDA.
Vista Billboard HDA (12:54): Objects a kilometer away have depth parallax that the eye can barely perceive, so they are converted directly to billboards. Unlike the transparent cards common in games, this tool ray-casts real vertices onto a sphere or cylinder and re-triangulates them, producing flat geometry with a real silhouette and no transparent material overhead. The Moon’s distant view dropped from millions of triangles to a few thousand.
Occlusion Culling HDA (14:48): From each sample point, millions of rays are cast in all directions; triangles that get hit are kept, and those that never get hit are deleted. This runs together with Backface Removal (using dot product to judge faces that are permanently back-facing to the boundary). The Moon scene lost 60,000 triangles to backface removal, then another 110,000 to occlusion culling, dropping from 350,000 to 180,000 triangles.
3. Screen-space UV: spherical projection + multi-partition (17:22)
For nearby objects (within 5 meters of the boundary), area-based UV continues to be used, with texel density allocated evenly by surface area; for distant objects beyond the boundary, the approach changes — texel is allocated by “how many pixels this face takes up on the user’s screen.” This is spherical projection: a virtual sphere is placed around the user’s head, the environment is projected onto this sphere, and the UV uses the same projection parameters as the pre-rendered image.
A single spherical projection causes UV folding and distant texture misalignment. The fix is two steps:
- Mesh Partition HDA: Splits the mesh into as few small pieces as possible, ensuring each piece can be seen in full from at least one angle. A “hero rock” gets split into front and back halves, each projected separately.
- Multi-Projection HDA: For each partition, finds the position where “it looks largest on screen” and uses that as the projection source. Each partition’s UV gets its own spherical projection, and all are packed into a single atlas.
In the end, the entire Moon environment uses only two textures: one for inside the boundary (scaled by surface area) and one for outside the boundary (scaled by screen space). The sizes are similar, but the latter covers several kilometers of range.
4. Baking and USD hierarchy (24:20)
Baking combines two techniques: spherical render (projecting the rendered result from a single viewpoint onto the UV) and surface projection (projecting directly from the source high-poly mesh onto the optimized low-poly mesh’s UV, similar to normal-map baking in games). The former preserves artistic intent; the latter preserves coverage. The result is made into an unlit material and used directly, compressing tens of gigabytes of source textures down to a few hundred megabytes.
The USD part uses two HDAs for spatial partitioning: Boundary Partition HDA slices the dense geometry inside the boundary, and Frustum Partition HDA slices the outside area into tiles of roughly equal screen-projected size. All partitions are written into USD as GeometrySubsets, so at runtime RealityKit or Unity can do frustum culling based on bounding boxes, unloading subsets that are outside the view frustum directly from the GPU. In the Moon scene, the screen shows fewer than 100,000 triangles at any moment, entity count stays below 200, and draw calls per frame are under 100.
Key Takeaways
-
What to do: Treat the Immersive Boundary as the “physical basis for the rendering budget.” All geometry and texture density decay from this boundary outward.
- Why it is worth doing: Vision Pro’s full immersion mode renders every pixel, so the budget is tight; the Boundary gives a clear, quantifiable space that makes “where resources are worth spending” computable.
- How to start: Download Apple’s Immersive Optimization Toolkit (developer.apple.com/download/files/Immersive-Optimization-Toolkit.zip), use the Boundary Samples HDA to generate sample points in your scene, then wire up Adaptive Reduce to see the results.
-
What to do: Replace all distant objects with billboards, but use real vertex projection to preserve the silhouette.
- Why it is worth doing: The human eye barely perceives depth differences at a kilometer out, but traditional transparent billboards carry alpha overhead. The Vista Billboard HDA gives you real geometric silhouettes with zero transparency and zero depth mismatch.
- How to start: Use the Vista Billboard HDA to process distant objects after the Terrain node, starting with a distance threshold of 1 kilometer and tuning until the silhouette loss is acceptable.
-
What to do: Use two UV sets — area-based for nearby objects, screen-space for distant ones.
- Why it is worth doing: Distant objects take up few screen pixels; giving them the same texel density as nearby objects is wasteful. Screen-space allocation can fit the entire kilometer-scale scene into a single texture.
- How to start: Use the Mesh Partition + Multi-Projection HDAs: first split distant objects into small pieces that can be seen whole from a single angle, then do multi-view spherical projection, and finally pack them into an atlas with Houdini’s Layout/Pack.
-
What to do: Explicitly partition USD with GeometrySubset so RealityKit can do frustum culling.
- Why it is worth doing: After optimization the whole scene often collapses into a single mesh, so the runtime cannot unload parts based on visibility. After manually partitioning with subsets, the bounding box becomes the visibility culling unit.
- How to start: Use the Boundary Partition / Frustum Partition HDA to write out group attributes, and when importing into Solaris enable Subset Groups and declare the group names.
Related Sessions
- Better together: SwiftUI and RealityKit — new ways to blend SwiftUI and RealityKit in visionOS 26
- Build a SwiftUI app with the new design — how the Liquid Glass design language affects SwiftUI apps
- Optimize your 3D assets for spatial computing — last year’s foundational 3D asset optimization session; this session is its advanced follow-up
- Construct an immersive environment for visionOS — the basics of building immersive environments for visionOS
- Enabling video reflections in an immersive environment — adding video reflections inside an immersive environment
Comments
GitHub Issues · utterances