
Highlight
visionOS 26 wires Quick Look, AVKit, and RealityKit into the same set of immersive video profiles: APMP 180/360/Wide-FOV, Apple Immersive Video, and Spatial Video.
Core content
In the visionOS 1 days, developers could only play 2D and 3D video. Spatial video gave stereoscopic content a natural form, but as soon as you hit 180, 360, Wide-FOV, or Apple Immersive Video, the app had to render in RealityKit on its own. Quick Look did not recognize the format, AVKit had no immersive transition API, and every team reinvented the wheel.
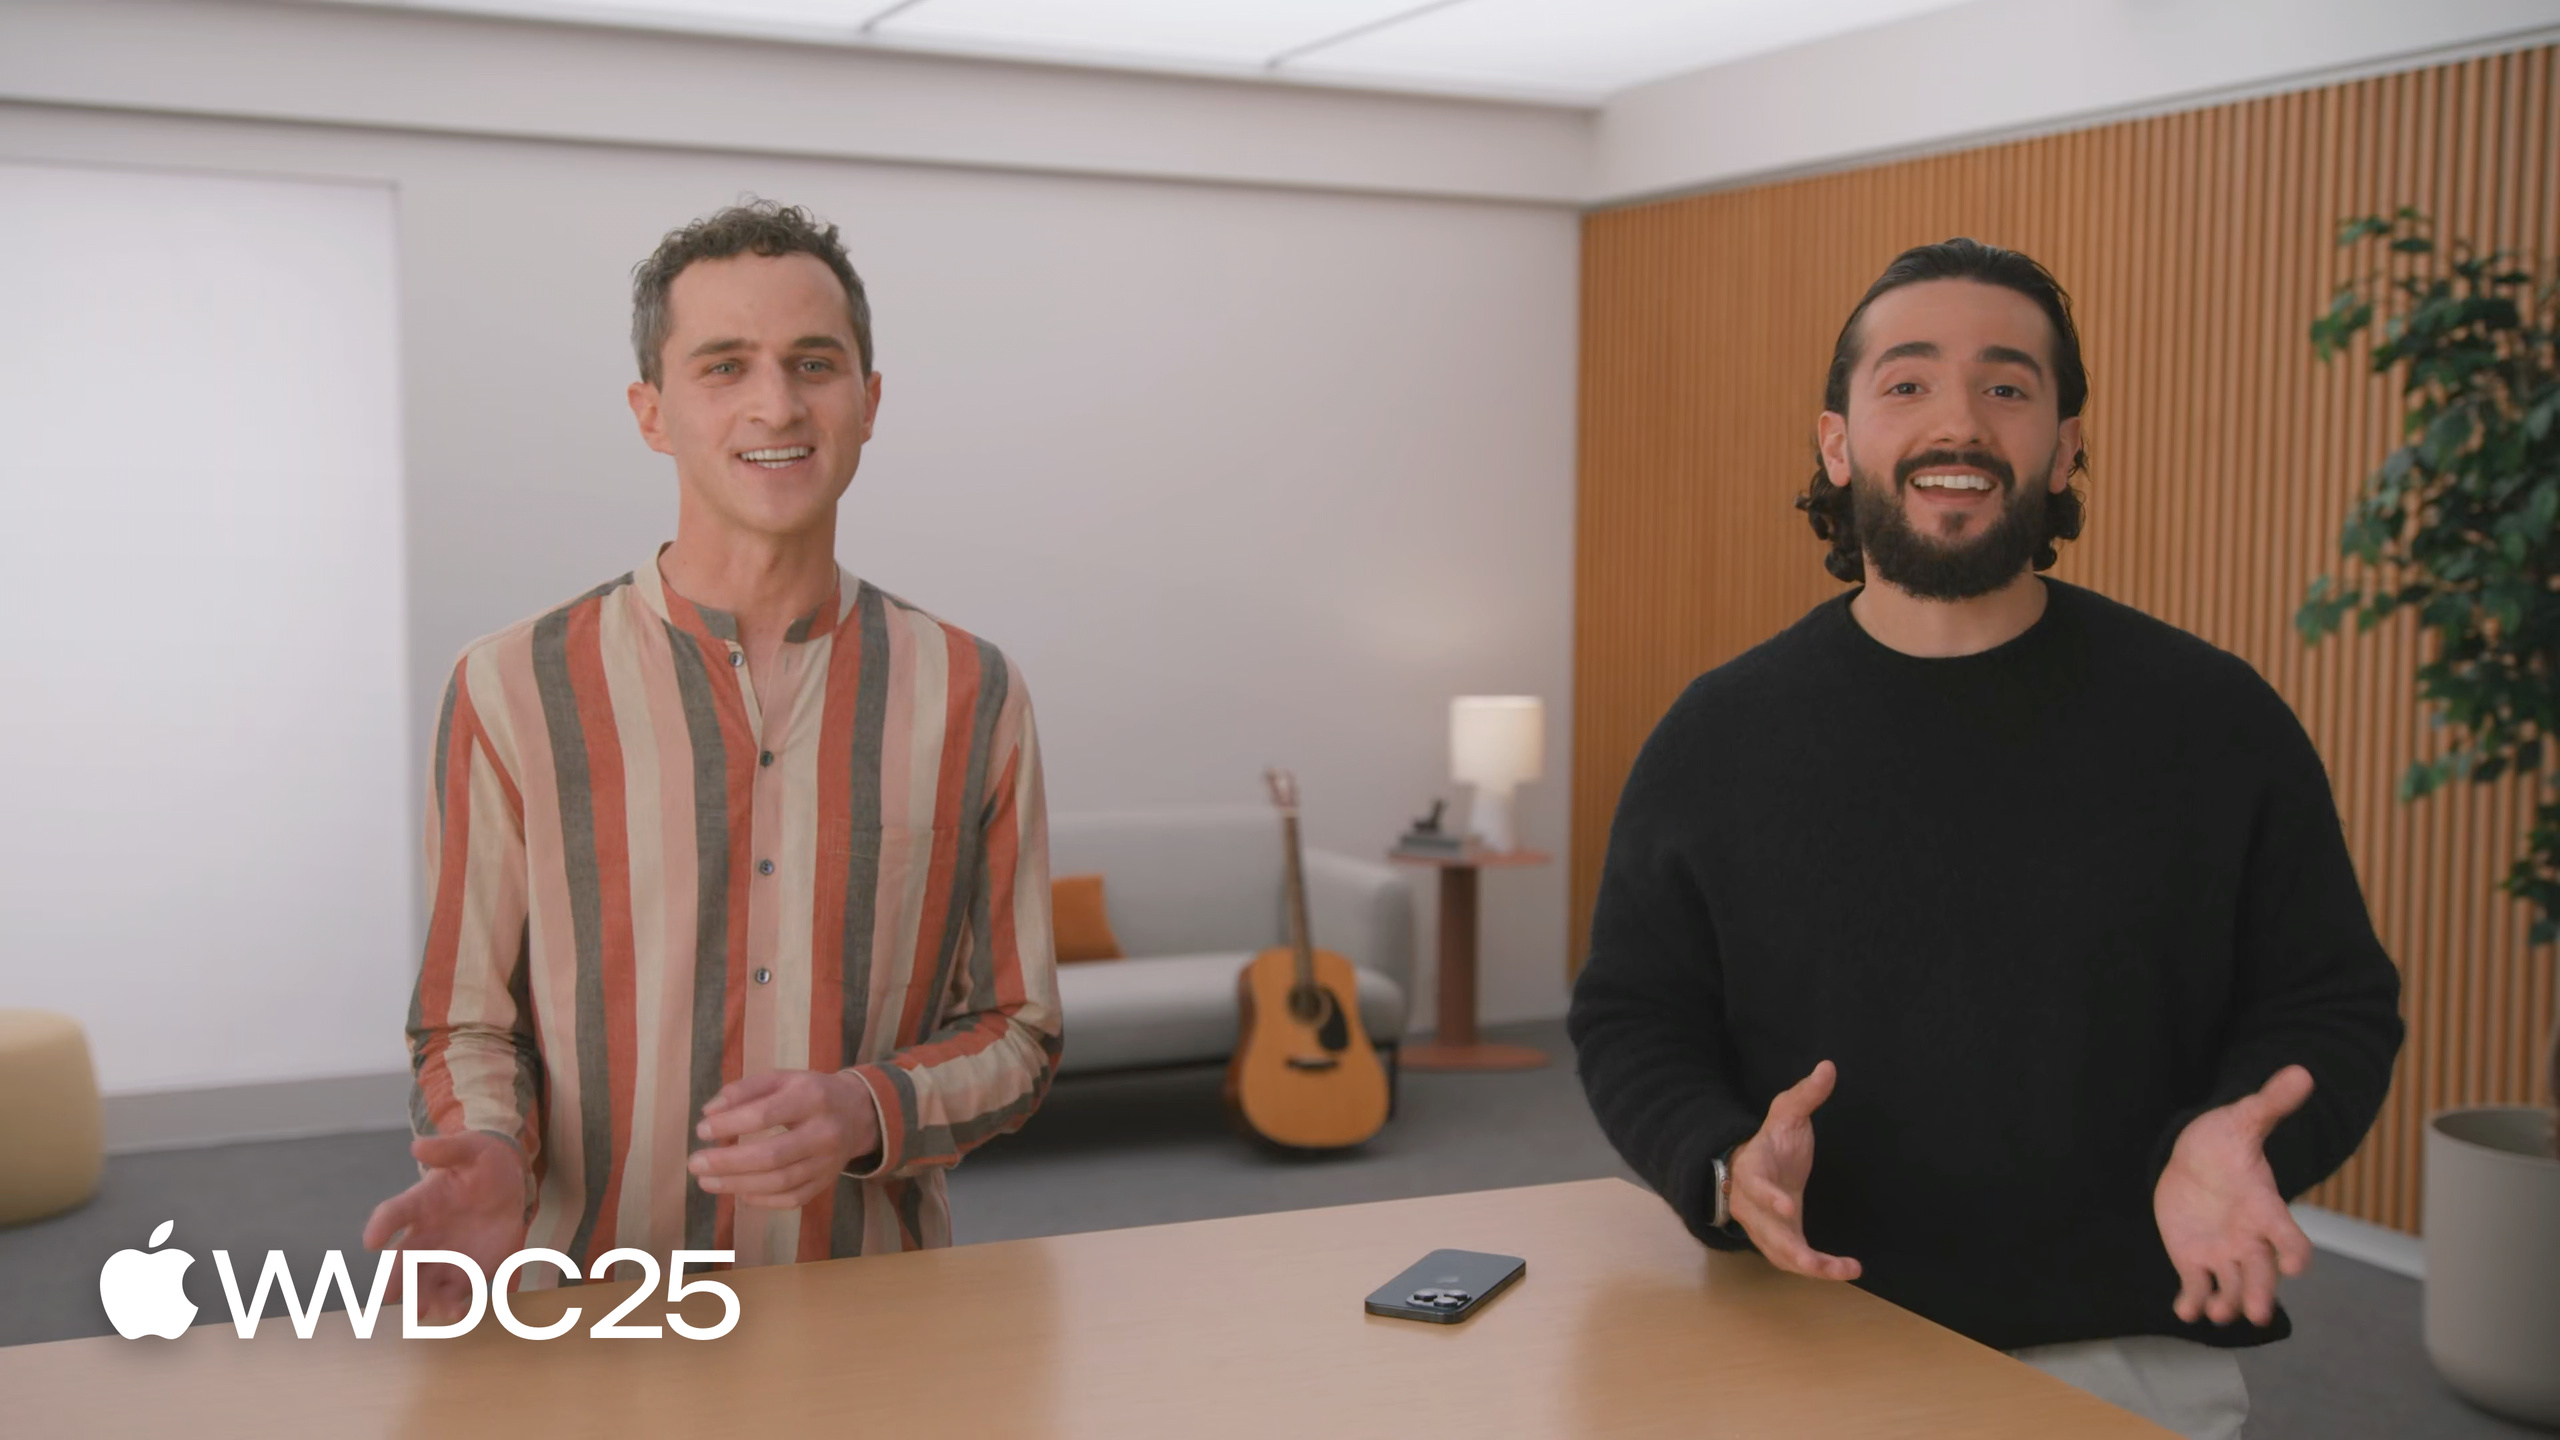
visionOS 26 pulls this together in one place. In the session, Jamal and Michael wire the same set of profiles into three frameworks: Quick Look for zero-code preview, AVKit for standard playback controls plus immersive transitions, and RealityKit for in-game embedding or custom UI. The choice is clear — pick by how much control you need, from most to least: RealityKit > AVKit > Quick Look.
At the API level: AVKit adds AVExperienceController, with two new experiences (Expanded and Immersive) and a delegate protocol. RealityKit adds desiredImmersiveViewingMode (portal / progressive / full) and desiredSpatialVideoMode (spatial / screen) to VideoPlayerComponent. Quick Look automatically supports the new profiles in PreviewApplication and QLPreviewController, so apps already using them get the upgrade for free. The system also applies comfort mitigation to APMP content automatically, lowering immersion when it detects heavy motion.
Details
AVKit’s Expanded configuration: show immersive content as a portal. Expanded is an experience that fills the entire UIScene. visionOS 26 adds AutomaticTransitionToImmersive. The default .default switches into immersive automatically; setting it to .none keeps the portal rendering (05:50):
import AVKit

let controller = AVPlayerViewController()

let experienceController = controller.experienceController
experienceController.allowedExperiences = .recommended(including: [.expanded, .immersive])

experienceController.configuration.expanded.automaticTransitionToImmersive = .none

await experienceController.transition(to: .expanded)
Key points:
allowedExperiences = .recommended(including:): declare the platform’s recommended set, and make sure both.expandedand.immersiveare in it.configuration.expanded.automaticTransitionToImmersive = .none: turn off the automatic switch into immersive, so AVPlayerViewController renders immersive content as a portal.await experienceController.transition(to: .expanded): switch to Expanded asynchronously; the state is only stable after it returns.
Switch to the Immersive experience explicitly. Don’t rely on the automatic trigger; decide when to enter immersive yourself (06:53):
import AVKit

let controller = AVPlayerViewController()

let experienceController = controller.experienceController
experienceController.allowedExperiences = .recommended(including: [.immersive])

let myScene = getMyPreferredWindowUIScene()
experienceController.configuration.placement = .over(scene: myScene)

await experienceController.transition(to: .immersive)
Key points:
- When the view is not attached to the hierarchy, you must use
configuration.placement = .over(scene:)to say which window scene the immersive content covers. - Once the view is in the hierarchy you can omit
placement; AVExperienceController uses the scene it lives in. transition(to: .immersive)lets the system drive the animation and ease into immersive.
Three delegate methods handle the transition. A transition can be started by the user, by app logic, or by the system, so you need all three callbacks (08:13):
func experienceController(_ controller: AVExperienceController, didChangeAvailableExperiences availableExperiences: AVExperienceController.Experiences)

func experienceController(_ controller: AVExperienceController, prepareForTransitionUsing context: AVExperienceController.TransitionContext) async

func experienceController(_ controller: AVExperienceController, didChangeTransitionContext context: AVExperienceController.TransitionContext)
Key points:
didChangeAvailableExperiences: which experiences are available when the content type changes. Feed in 2D content and Immersive drops out of the available set.prepareForTransitionUsing: an async method, called right before the transition, for last-minute prep such as saving the current UI state.didChangeTransitionContext: called after the transition ends, confirming the new state is in effect.
RealityKit’s progressive mode: tune immersion with the Digital Crown. On visionOS 26, APMP and Apple Immersive Video should use progressive instead of full, because progressive is what lets comfort mitigation kick in (14:20):
import AVFoundation
import RealityKit
import SwiftUI

@main
struct ImmersiveVideoApp: App {
    var body: some Scene {
        ImmersiveSpace {
            ProgressiveVideoView()
        }
        .immersionStyle(selection: .constant(.progressive(0.1...1, initialAmount: 1.0)), in: .progressive)
    }
}
Key points:
- It must live inside an
ImmersiveSpace, otherwise the mesh gets clipped by the window scene boundary as it expands. .immersionStyle’s.progressivemust matchdesiredImmersiveViewingMode = .progressive; the two types have to line up.- Use
0.1...1instead of0...1: don’t let the user drag immersion down to zero and lose the content. initialAmount: 1.0equals full immersion, so it starts fully immersed.
Spatial video needs special handling: immersive rendering is not head-locked. When you put spatial video in a portal, VideoPlayerComponent’s mesh is one meter tall by default, so scale by 0.4 to fit the window. After switching to immersive full, the component controls the mesh size, but since it isn’t head-locked, you have to set the position yourself (19:02):
import AVFoundation
import RealityKit
import SwiftUI

struct PortalSpatialVideoView: View {
    var body: some View {
        RealityView { content in
            let url = Bundle.main.url(forResource: "MySpatialVideo", withExtension: "mov")!
            let player = AVPlayer(url: url)
            let videoEntity = Entity()
            var videoPlayerComponent = VideoPlayerComponent(avPlayer: player)
            videoPlayerComponent.desiredViewingMode = .stereo
            videoPlayerComponent.desiredSpatialVideoMode = .spatial
            videoPlayerComponent.desiredImmersiveViewingMode = .full
            videoEntity.position = [0, 1.5, -1]
            videoEntity.components.set(videoPlayerComponent)
            content.add(videoEntity)
        }
    }
}
Key points:
desiredViewingMode = .stereo: the default for spatial video; spell it out for clarity.desiredSpatialVideoMode = .spatial: turn on full spatial styling, matching the Photos app; switch to.screento fall back to standard stereo rendering.desiredImmersiveViewingMode = .full: spatial video’s immersive rendering only supports full, not progressive.videoEntity.position = [0, 1.5, -1]: 1.5 meters above the floor, 1 meter in front. A more reliable approach is to use a head anchor so the entity stays in front of the viewer.
Render spatial video inside the system environment too. Use the .mixed immersion style with the .coexist behavior modifier (19:46):
@main
struct SpatialVideoApp: App {
    var body: some Scene {
        ImmersiveSpace {
            ContentSimpleView()
        }
        .immersionStyle(selection: .constant(.mixed), in: .mixed)
        .immersiveEnvironmentBehavior(.coexist)
    }
}
Key points:
- Spatial video’s immersive rendering layers over passthrough, so use
.mixedrather than.progressiveor.full. .immersiveEnvironmentBehavior(.coexist)is a new scene modifier in visionOS 26 that lets spatial video render inside system environments such as Mt. Hood.
Comfort mitigation events. In high-motion APMP scenes, the system lowers immersion automatically. The app does not need to do anything when the event arrives, but it can update its UI to inform the user (21:40):
switch event.comfortMitigation {
case .reduceImmersion:
    // Default behavior
    break
case .play:
    // No action
    break
case .pause:
    // Show custom pause dialog
    break
}
Key points:
reduceImmersiononly fires under progressive rendering; portal rendering is comfortable enough on its own and won’t trigger it.pauseis rare; use it as a chance to show a custom prompt.- The event is just a signal — the system has already handled it. Whether to surface anything in the UI is up to the app.
Takeaways
1. Pick the framework by how much control you need, not RealityKit by default. Most apps just want “let the user enter immersive and watch a video.” AVKit’s Expanded plus Immersive experiences already cover standard playback controls, transition animations, and comfort mitigation, with an order of magnitude less code than RealityKit. Only reach for RealityKit when the video needs to live inside a game world or sit under heavy custom UI.
Why it’s worth doing: you stop maintaining render state yourself and avoid getting mesh, scale, and placement wrong.
How to start: get an Immersive transition working with AVPlayerViewController + experienceController first, then decide whether you need RealityKit.
2. Use progressive for APMP video, not full. The session is explicit that, starting in visionOS 26, progressive is the recommended mode for APMP and AIV, for two reasons: the user can dial immersion with the Digital Crown (staying connected to the outside world), and the system can run reduceImmersion under heavy motion.
Why it’s worth doing: full mode does not get comfort mitigation, and high-motion content makes users uncomfortable.
How to start: change ImmersiveSpace’s .immersionStyle to .progressive(0.1...1, initialAmount: 1.0) and VideoPlayerComponent’s desiredImmersiveViewingMode to .progressive. Both sides must change together.
3. Treat Quick Look as free support. Apps that already integrate PreviewApplication or QLPreviewController can preview APMP, AIV, and spatial photo/video on visionOS 26 without changing a line of code. For apps without a player — notes, documents, chat — it’s a zero-cost upgrade.
Why it’s worth doing: when a user receives immersive media, they don’t have to export to a third-party app to view it. How to start: check whether your app’s current preview path goes through Quick Look. If it doesn’t, spend half a day moving it over.
4. Listen to ImmersiveViewingModeWillTransition and hide conflicting UI during the transition. Entering and leaving immersive has an animated window. Custom UI that stays visible can fight the video’s motion and produce stereoscopic noise. Hide it in WillTransition and restore it in DidTransition.
Why it’s worth doing: less viewing discomfort, better feel. How to start: subscribe to the two events in the RealityKit view and use SwiftUI state to toggle UI opacity.
Related sessions
- Explore video experiences for visionOS — an overview of the various immersive video presentations on visionOS; watch this first for the easiest context for this article.
- Learn about Apple Immersive Video technologies — a deep dive on Apple Immersive Video and the Apple Spatial Audio Format.
- Learn about the Apple Projected Media Profile — APMP 180/360/Wide-FOV container formats and authoring workflow.
- Enhance your spatial computing app with RealityKit — a RealityKit primer with VideoPlayerComponent basics.
- Create a seamless multiview playback experience — how to build a multiview playback experience, sibling to this player-themed session.
Comments
GitHub Issues · utterances