
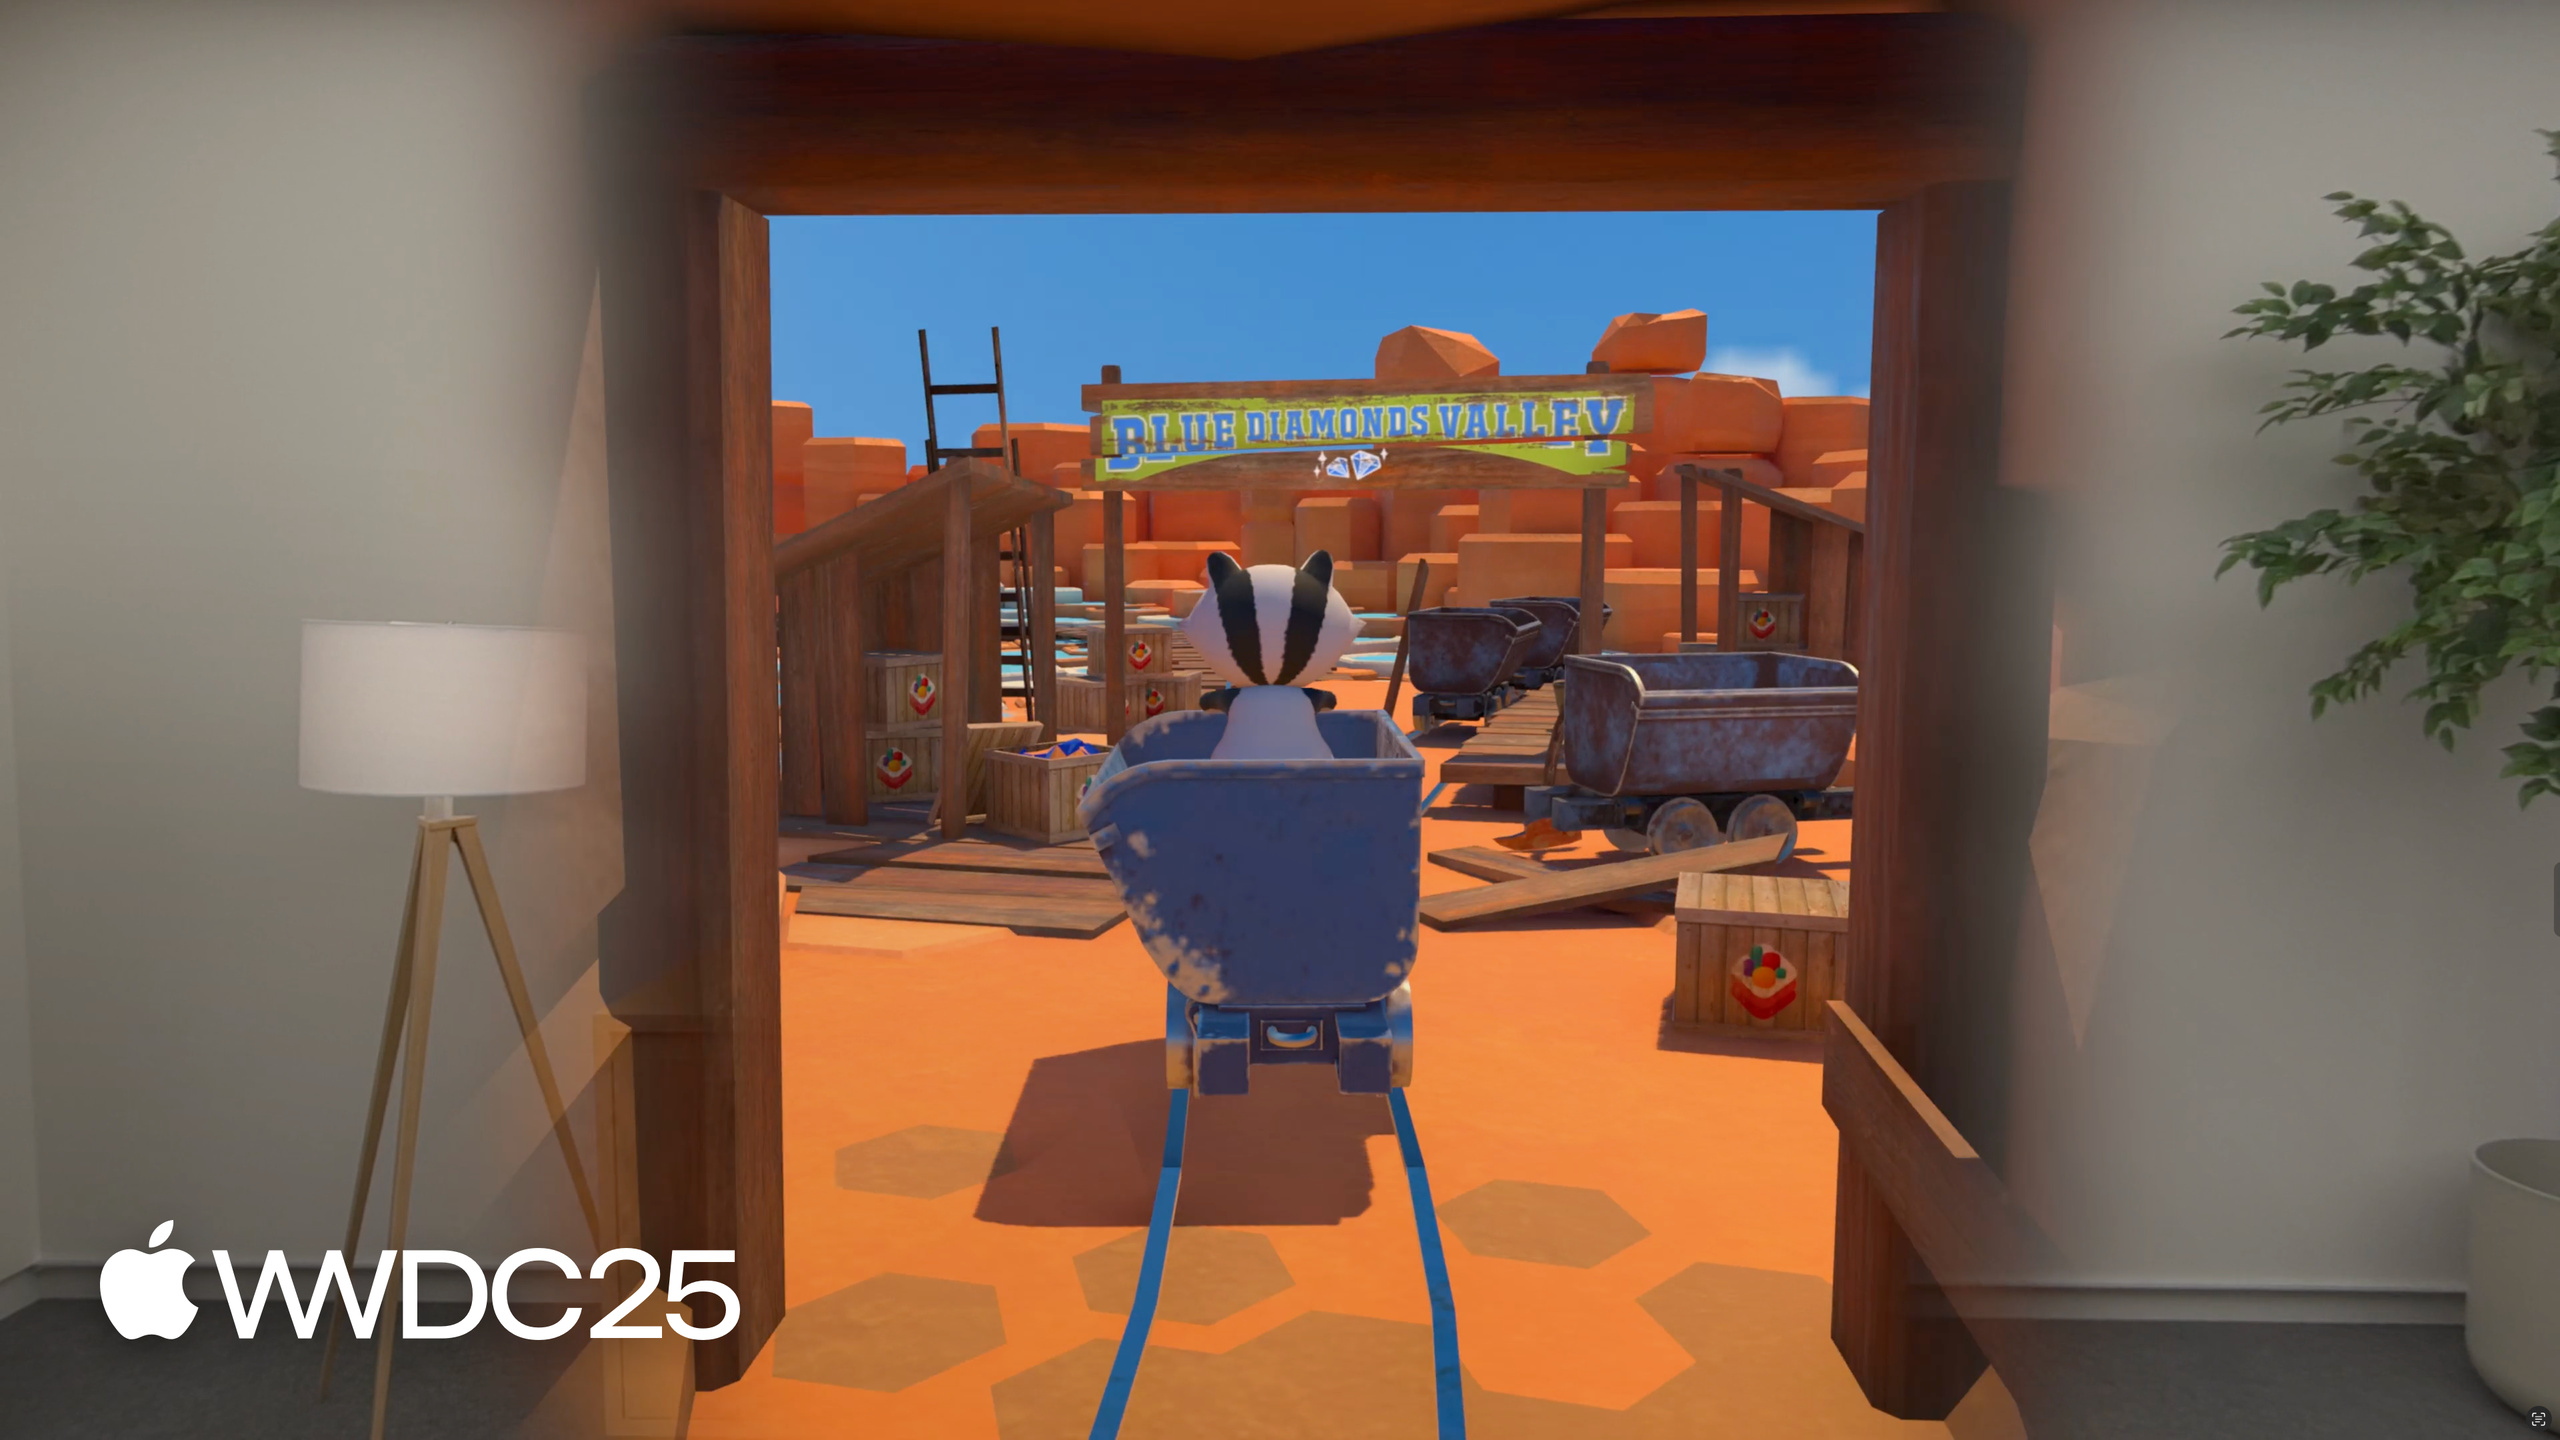
Highlight
Compositor Services upgrades
queryDrawabletoqueryDrawablesthis year, and stacks four new capabilities on top: hover effects, dynamic render quality, progressive immersion portals, and direct Mac-to-Vision-Pro rendering.
Overview
Last year’s Vision Pro Metal immersive apps could only ship in two modes: full immersion or mixed immersion. Once render cost climbed, developers were stuck: the more complex the scene, the blurrier the image, and the user had no way to dial immersion in mid-session. On top of that, every interaction relied on hand-rolled hit-tests, which made maintaining dozens of clickable objects in a complex scene painful.
Apple engineer Ricardo reworks the whole Compositor Services render loop in this session. The new queryDrawables returns an array of drawables — one in normal use, two when Reality Composer Pro records a high-quality video (.builtIn for display, .capture for recording). This new API is the entry point for everything else: hover effects let the system highlight the object the user looks at; dynamic render quality lets you adjust resolution at runtime per scene type; progressive immersion lets the user control immersion with the Digital Crown and skips rendering for pixels outside the portal; and the headline feature, macOS spatial rendering — a Mac streams Metal content straight to Vision Pro, so heavy 3D rendering is no longer bound by Vision Pro’s power budget.
Details
1. The new render loop: from queryDrawable to queryDrawables (02:33)
// Scene render loop

extension Renderer {
    func renderFrame(with scene: MyScene) {
        guard let frame = layerRenderer.queryNextFrame() else { return }

        frame.startUpdate()
        scene.performFrameIndependentUpdates()
        frame.endUpdate()

        let drawables = frame.queryDrawables()
        guard !drawables.isEmpty else { return }

        guard let timing = frame.predictTiming() else { return }
        LayerRenderer.Clock().wait(until: timing.optimalInputTime)
        frame.startSubmission()
        scene.render(to: drawable)
        frame.endSubmission()
    }
}
Key points:
queryDrawables()replaces the singlequeryDrawable()and returns an array.- The array usually holds one element; recording an RCP high-quality video gives two (
.builtIn+.capture), distinguished by thetargetproperty. - You must migrate to this API first; everything else depends on it.
2. Hover effects: layer configuration (05:54)
// Layer configuration

struct MyConfiguration: CompositorLayerConfiguration {
    func makeConfiguration(capabilities: LayerRenderer.Capabilities,
                           configuration: inout LayerRenderer.Configuration) {
        // Configure other aspects of LayerRenderer

        let trackingAreasFormat: MTLPixelFormat = .r8Uint
        if capabilities.supportedTrackingAreasFormats.contains(trackingAreasFormat) {
            configuration.trackingAreasFormat = trackingAreasFormat
        }
    }
}
Key points:
- The tracking areas texture uses an 8-bit format (
.r8Uint), supporting up to 255 concurrent interactive objects. - Validate the format with
capabilities.supportedTrackingAreasFormatsbefore writing it into the configuration.
3. Register a tracking area for each interactive object (07:54)
// Object render function

extension MyObject {
    func render(drawable: Drawable, renderEncoder: MTLRenderCommandEncoder) {
        var renderValue: LayerRenderer.Drawable.TrackingArea.RenderValue? = nil
        if self.isInteractive {
            let trackingArea = drawable.addTrackingArea(identifier: self.identifier)
            if self.usesHoverEffect {
                trackingArea.addHoverEffect(.automatic)
            }
            renderValue = trackingArea.renderValue
        }
		self.draw(with: commandEncoder, trackingAreaRenderValue: renderValue)
    }
}
Key points:
drawable.addTrackingArea(identifier:)registers a tracking area with a unique ID.- The ID must be tied to the object’s lifetime; do not regenerate it every frame.
.automaticlets the system add the highlight when the user looks at the object.- For non-interactive objects, just pass a
nilrender value.
4. Write the render value into the fragment shader (08:26)
// Metal fragment shader

struct FragmentOut
{
    float4 color [[color(0)]];
    uint16_t trackingAreaRenderValue [[color(1)]];
};

fragment FragmentOut fragmentShader( /* ... */ )
{
    // ...

    return FragmentOut {
        float4(outColor, 1.0),
        uniforms.trackingAreaRenderValue
    };
}
Key points:
- Color attachment 0 carries color; color attachment 1 carries the tracking area render value.
- With MSAA, the tracking areas texture cannot use the standard multisample resolve (averaging would yield invalid values); write a custom tile resolver that picks the most frequent render value in the sample window.
5. Use the tracking area ID to handle spatial events (10:09)
// Event processing

extension Renderer {
    func processEvent(_ event: SpatialEventCollection.Event) {
       let object = scene.objects.first {
           $0.identifier == event.trackingAreaIdentifier
       }
       if let object {
           object.performAction()
       }
   }
}
Key points:
- A spatial event now carries a
trackingAreaIdentifier(optional). - Look up the object by ID directly — much cleaner than the old manual hit-test.
6. Dynamic Render Quality: declare constants (13:08)
// Quality constants

extension MyScene {
    struct Constants {
        static let menuRenderQuality: LayerRenderer.RenderQuality = .init(0.8)
        static let worldRenderQuality: LayerRenderer.RenderQuality = .init(0.6)
        static var maxRenderQuality: LayerRenderer.RenderQuality { menuRenderQuality }
    }
}
Key points:
- Use
.8for text and UI,.6for complex 3D. maxRenderQualitysets the upper bound on the foveated texture size; the higher you set it, the more memory it costs.- Before setting it, check
configuration.isFoveationEnabled— dynamic quality only takes effect when foveated rendering is on. - Adjusting
layerRenderer.renderQualityat runtime triggers a smooth transition, not an instant switch.
7. Progressive Immersion: layer configuration (17:12)
// Layer configuration

struct MyConfiguration: CompositorLayerConfiguration {
    func makeConfiguration(capabilities: LayerRenderer.Capabilities,
                           configuration: inout LayerRenderer.Configuration) {
        // Configure other aspects of LayerRenderer

        if configuration.layout == .layered {
            let stencilFormat: MTLPixelFormat = .stencil8
            if capabilities.drawableRenderContextSupportedStencilFormats.contains(
                stencilFormat
            ) {
                configuration.drawableRenderContextStencilFormat = stencilFormat
            }
            configuration.drawableRenderContextRasterSampleCount = 1
        }
    }
}
Key points:
- Progressive only supports the
.layeredlayout. - Use
.stencil8for stencil and set sample count to 1 (when not using MSAA). - Use the stencil as a portal mask, so pixels outside the portal skip rendering altogether.
8. Render context and portal mask (17:40)
// Render loop

struct Renderer {
    let portalStencilValue: UInt8 = 200 // Value not used in other stencil operations

    func renderFrame(with scene: MyScene,
                     drawable: LayerRenderer.Drawable,
                     commandBuffer: MTLCommandBuffer) {
        let drawableRenderContext = drawable.addRenderContext(commandBuffer: commandBuffer)
        let renderEncoder = configureRenderPass(commandBuffer: commandBuffer)
        drawableRenderContext.drawMaskOnStencilAttachment(commandEncoder: renderEncoder,
                                                          value: portalStencilValue)
        renderEncoder.setStencilReferenceValue(UInt32(portalStencilValue))

        scene.render(to: drawable, renderEncoder: renderEncoder)

        drawableRenderContext.endEncoding(commandEncoder: commandEncoder)
        drawable.encodePresent(commandBuffer: commandBuffer)
    }
}
Key points:
drawable.addRenderContext(commandBuffer:)gives you a render context for the current command buffer.drawMaskOnStencilAttachmentwrites the portal shape into the stencil; pick a reference value that no other code uses (200 here).- Call
drawableRenderContext.endEncoding, notcommandEncoder.endEncodingdirectly — the system adds the edge fade in this final step.
9. Mac → Vision Pro: app structure (20:55)
// App structure

@main
struct MyImmersiveMacApp: App {
    @State var immersionStyle: ImmersionStyle = .full

    var body: some Scene {
        WindowGroup {
            MyAppContent()
        }

        RemoteImmersiveSpace(id: "MyRemoteImmersiveSpace") {
            MyCompositorContent()
        }
        .immersionStyle(selection: $immersionStyle, in: .full, .progressive)
   }
}
Key points:
- The new scene type
RemoteImmersiveSpacelets a Mac app stream immersive content to Vision Pro. - On the Mac, only
.fulland.progressivestyles are supported.
10. Wire the ARKit session to Vision Pro (21:35)
// Compositor content and ARKit session

struct MyCompositorContent: CompositorContent {
    @Environment(\.remoteDeviceIdentifier) private var remoteDeviceIdentifier

    var body: some CompositorContent {
        CompositorLayer(configuration: MyConfiguration()) { @MainActor layerRenderer in
            guard let remoteDeviceIdentifier else { return }
            let arSession = ARKitSession(device: remoteDeviceIdentifier)
            Renderer.startRenderLoop(layerRenderer, arSession)
        }
    }
}
Key points:
\.remoteDeviceIdentifieris a SwiftUI environment value; on the Mac, pass it toARKitSession(device:).- macOS now supports ARKit and
WorldTrackingProvider, so you can query the Vision Pro’s pose. - Input supports keyboard and mouse, Game Controller, and the
onSpatialEventmodifier for pinch. - Use the
\.supportsRemoteScenesenvironment value to detect whether the Mac supports it before callingopenImmersiveSpace. - C/C++ render engines can use the
cp_-prefixed C API; ARKit exposes acDeviceproperty that convertsremoteDeviceIdentifierinto anar_device_t.
Takeaways
-
What to do: migrate your existing Vision Pro Metal app to
queryDrawables.- Why it’s worth it: every new feature (hover, dynamic quality, progressive, Mac remote rendering) depends on this new API; the sooner you migrate, the sooner you unlock them.
- How to start: replace
queryDrawablewithqueryDrawablesin the render loop and iterate over the array; use thetargetproperty to tell.builtInfrom.capture.
-
What to do: add hover effects to interactive objects and drop your hand-rolled hit-test.
- Why it’s worth it: users see the object they look at light up, pinch hit-rates go up, and event handling becomes a
trackingAreaIdentifierlookup instead of pages of code. - How to start: configure the layer with the
.r8Uinttracking areas format → register withdrawable.addTrackingArea(identifier:)at render time → output the render value in color attachment 1 from your fragment shader → route spatial events to objects viatrackingAreaIdentifier.
- Why it’s worth it: users see the object they look at light up, pinch hit-rates go up, and event handling becomes a
-
What to do: tier render quality by scene type.
- Why it’s worth it: text in menus and UI gets sharper, complex 3D scenes keep power in check, and you avoid frame rates dropping below 90 fps.
- How to start: define
.8for menus,.6for the world; setmaxRenderQualityto the actual maximum you use (not 1.0); calllayerRenderer.renderQuality = ...when switching scenes.
-
What to do: add a
RemoteImmersiveSpaceto heavy 3D tools (modeling, CAD, medical imaging).- Why it’s worth it: pushing the rendering load back onto the Mac lets you run scenes far more complex than a native Vision Pro app can; an existing Mac app only needs one extra scene, no rewrite.
- How to start: add
RemoteImmersiveSpaceto your SwiftUI App; on the UI side, gate it on\.supportsRemoteScenes; inCompositorContent, start anARKitSessionvia\.remoteDeviceIdentifierand reuse your visionOS render code.
-
What to do: offer progressive immersion for players who want less motion sickness.
- Why it’s worth it: users dial immersion themselves with the Digital Crown — much more comfortable in fast-moving scenes — and skipping pixels outside the portal hands you a free performance budget.
- How to start:
.immersionStyle(selection:, in: .progressive, .full)→ configure the layer with.stencil8+.layered→ at render time calladdRenderContext+drawMaskOnStencilAttachment, and remember to usedrawableRenderContext.endEncoding.
Related Sessions
- Discover Metal 4 — overview of Metal 4 features; read alongside when migrating an immersive app.
- Combine Metal 4 machine learning and graphics — folds ML inference into the graphics pipeline; pairs well with dynamic quality for adaptive rendering.
- Bring your SceneKit project to RealityKit — the migration path for SceneKit projects, an alternative track.
- Set the scene with SwiftUI in visionOS — fuller coverage of new scene types like
RemoteImmersiveSpace. - What’s new in SwiftUI — how to embed SwiftUI scenes inside an existing AppKit/UIKit Mac app.
Comments
GitHub Issues · utterances