
Highlight
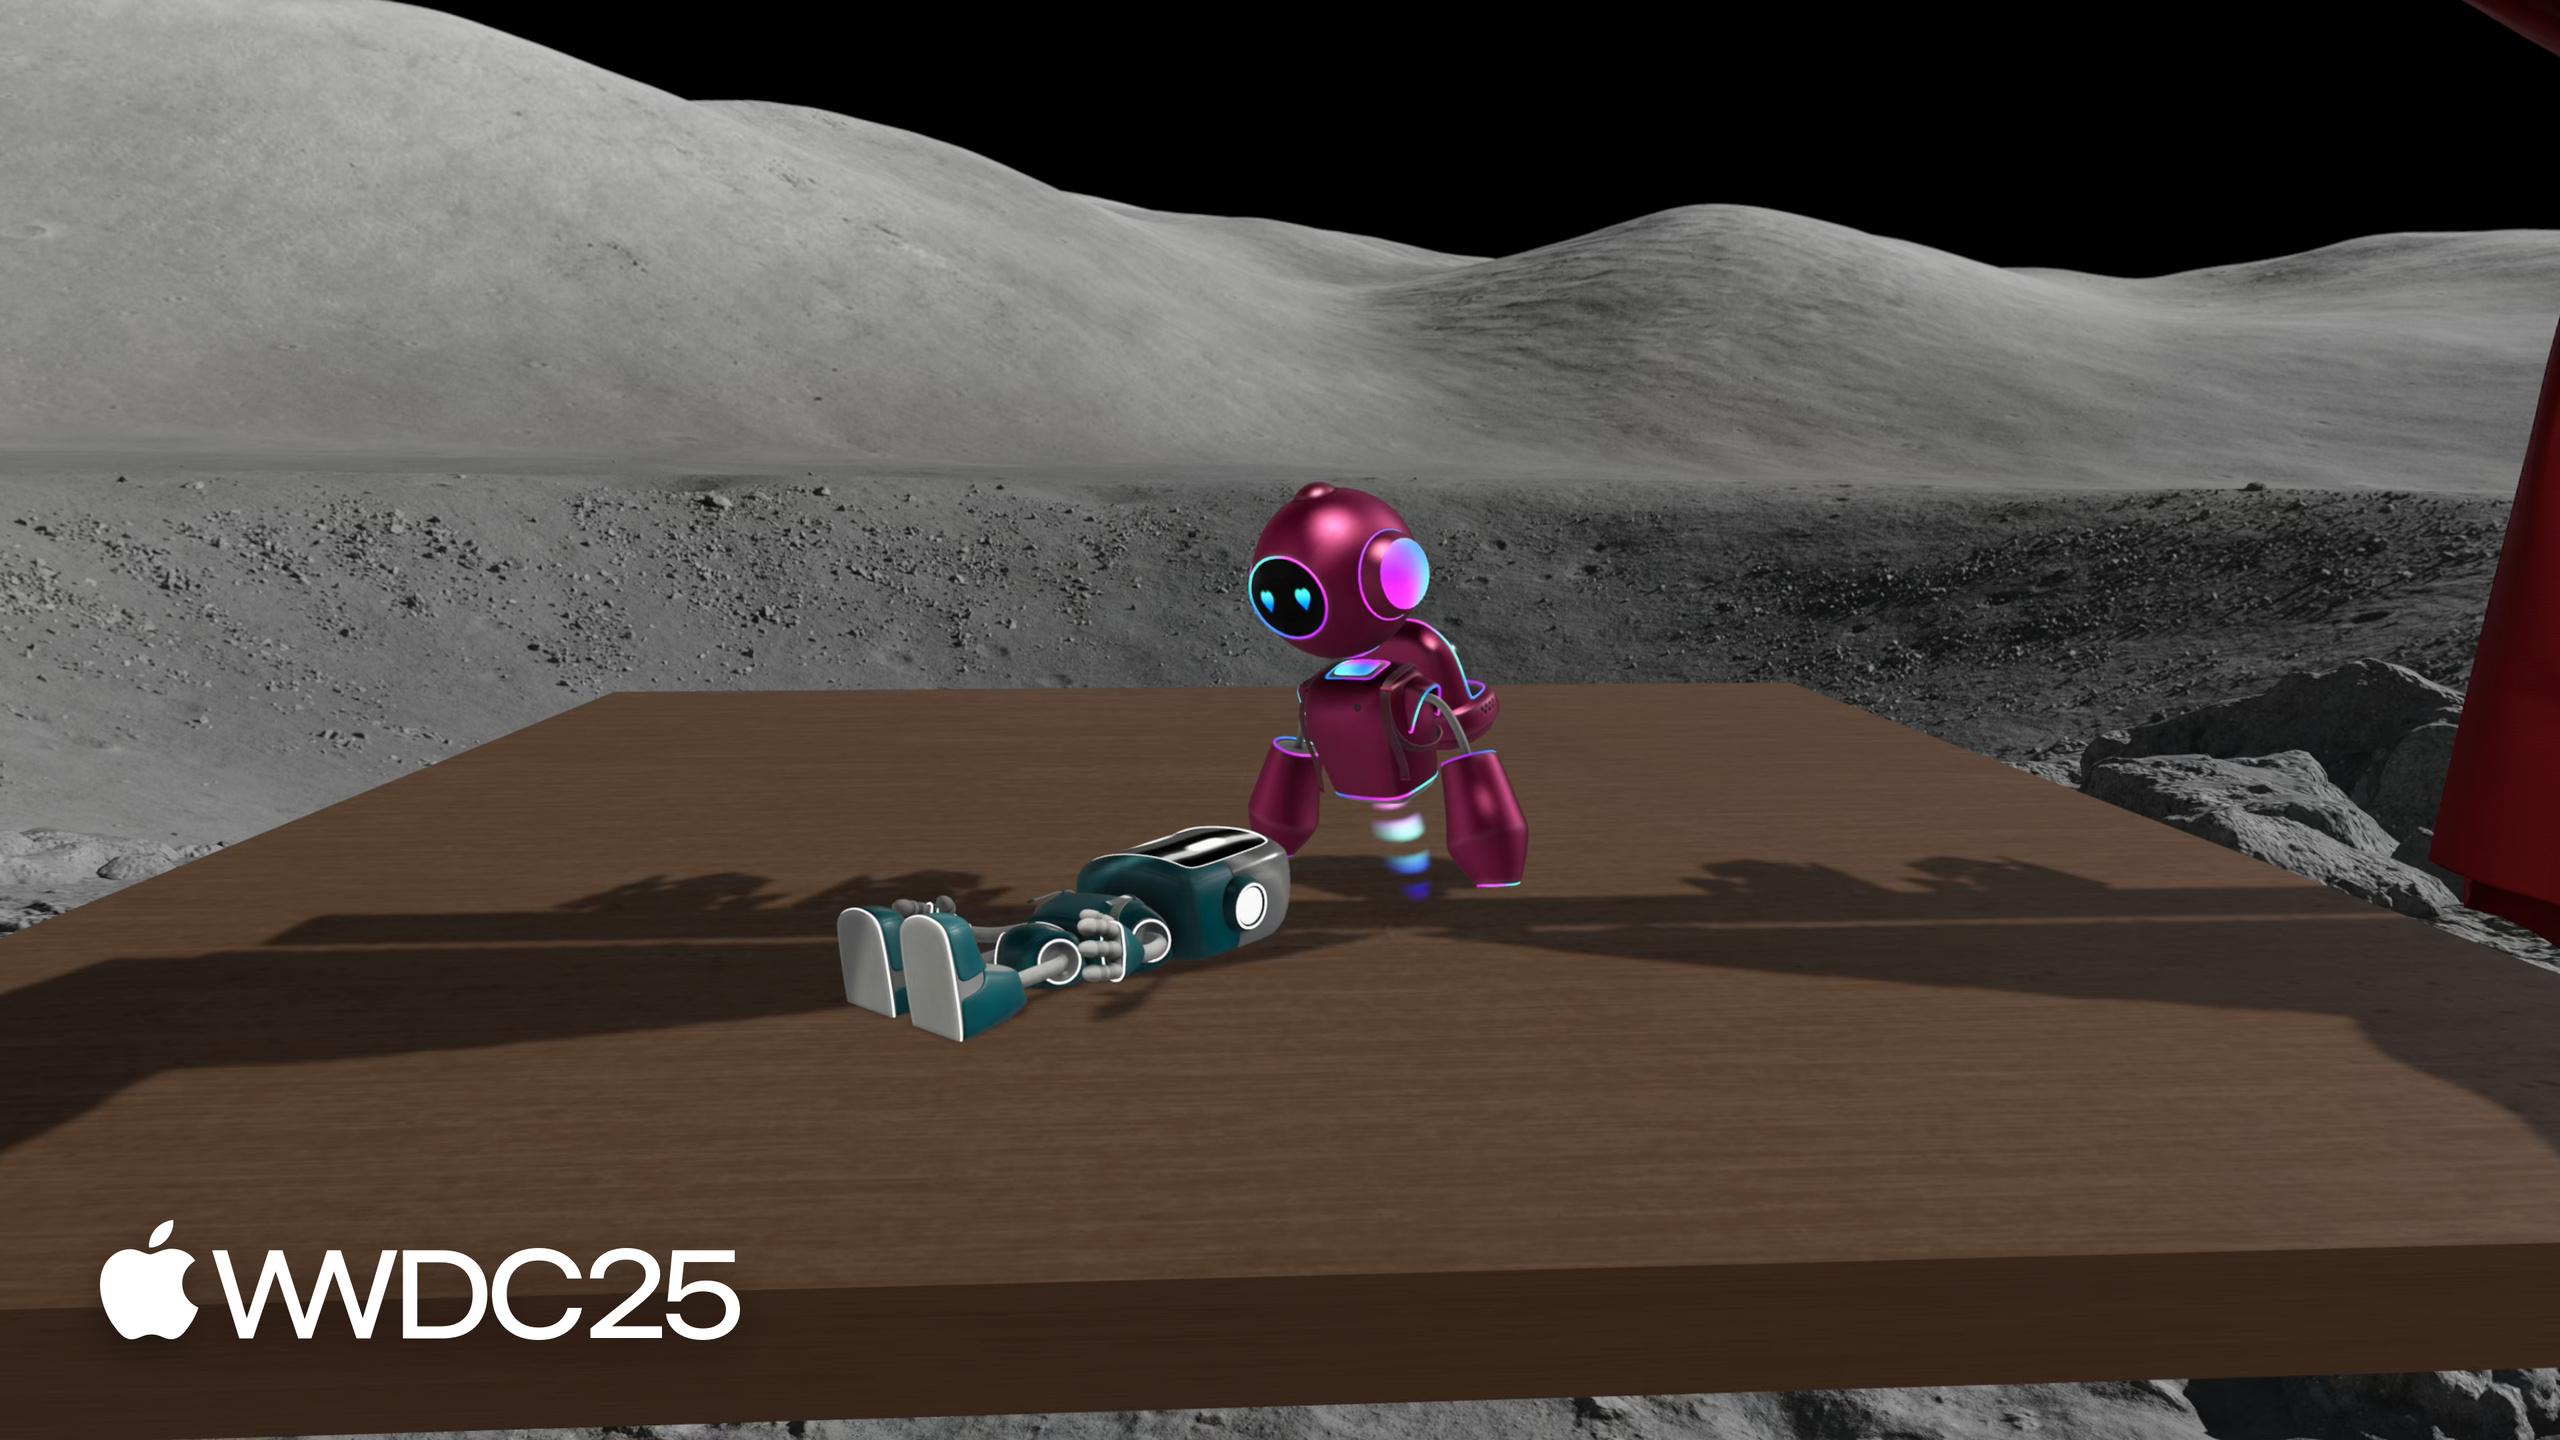
Miguel uses a robot-theater app (BOTanist with a Shakespeare stage) to thread together every new scene API in visionOS 26.
Overview
Before visionOS 26, every time a user put on Vision Pro they had to lay out their windows again: drag the tools panel to the left of the couch, move the main stage onto the desk, take off the headset, put it back on, and start over. Developers could only watch users repeat the work, with no API to step in. Worse, if the app had an immersive space, long-pressing the Digital Crown to recenter the world would shift everything to the wrong place.
visionOS 26 turns windows, volumes, and widgets into virtual objects you can “lock” to the room. Walk into the living room and the stage you locked to the desk last time appears on its own; walk into the study and the tools panel locked to the wall snaps back into place. In Miguel’s demo app, the BOTanist robot stands right on the user’s desk and performs Robo and Juliet, and the virtual platform under it hides itself once it snaps to the table. This scene-persistence ability pairs with five new groups of APIs — defaultLaunchBehavior, SurfaceSnappingInfo, onWorldRecenter, RemoteImmersiveSpace, and UIHostingSceneDelegate — covering the full lifecycle from app launch, to surface snapping, to coexisting with immersive spaces, to remote rendering from a Mac, to bridging UIKit into SwiftUI.
Details
Disable restoration: temporary windows should not be locked (04:10)
By default the system makes every window eligible for locking. But welcome screens, tools panels that depend on app state, and one-shot login prompts should not persist. Otherwise the user comes back to the room and finds a lone toolbar with no main stage in sight.
// Disabling restoration

WindowGroup("Tools", id: "tools") {
    ToolsView()
}
.restorationBehavior(.disabled)
Key points:
.restorationBehavior(.disabled)declares that this WindowGroup opts out of locking and restoration.- The default is to restore, so add this only on temporary scenes.
- The UIKit equivalent is to add
.systemDisconnectiontowindowScene.destructionConditions.
Specify the launch window: show the welcome screen on first launch (05:02)
// Specifying launch window

@AppStorage("isFirstLaunch") private var isFirstLaunch = true

var body: some Scene {
    WindowGroup("Stage Selection", id: "selection") {
        SelectionView()
    }

    WindowGroup("Welcome", id: "welcome") {
        WelcomeView()
            .onAppear {
                isFirstLaunch = false
            }
    }
    .defaultLaunchBehavior(isFirstLaunch ? .presented : .automatic)
}
Key points:
defaultLaunchBehavior(.presented)pushes this window to the front of the launch queue..automaticlets the system decide by default rules, which is what you want for later launches after@AppStoragehas been read.- The launch window’s role must match
Preferred Default Scene Session Rolein Info.plist, otherwise the system ignores this modifier.
.suppressed for secondary windows (06:39)
// "suppressed" behavior

WindowGroup("Tools", id: "tools") {
    ToolsView()
}
.restorationBehavior(.disabled)
.defaultLaunchBehavior(.suppressed)
Key points:
.suppressedgoes one step further than.restorationBehavior(.disabled): when the app is relaunched from Home, this window does not appear either.- Good for tools panels and helper controllers that should not pop up on their own.
- Apple’s guidance: add
.suppressedto every secondary scene so the user never gets stranded with only a toolbar.
Surface snapping: hide the platform when snapped to a table (10:24)
// Surface snapping

@Environment(\.surfaceSnappingInfo) private var snappingInfo
@State private var hidePlatform = false

var body: some View {
    RealityView { /* ... */ }
    .onChange(of: snappingInfo) {
        if snappingInfo.isSnapped &&
            SurfaceSnappingInfo.authorizationStatus == .authorized
        {
            switch snappingInfo.classification {
                case .table:
                    hidePlatform = true
                default:
                    hidePlatform = false
            }
        }
    }
}
Key points:
surfaceSnappingInfois a new environment value that notifies SwiftUI whenever snap state changes.isSnappedrequires no authorization and can be used directly.classification(table, floor, wall, and so on) requires ARKit authorization: addApplication Wants Detailed Surface Info=YESandPrivacy World-Sensing Usage-Descriptionto Info.plist.- The first read of
authorizationStatusraises the permission prompt automatically.
Clipping margins: let a waterfall spill past the volume’s edge (14:41)
// Clipping margins

@Environment(\.windowClippingMargins) private var windowMargins
@PhysicalMetric(from: .meters) private var pointsPerMeter = 1

var body: some View {
    RealityView { content in
        waterfall = createWaterfallEntity()
        content.add(waterfall)
    } update: { content in
        waterfall.scale.y = Float(min(
            windowMargins.bottom / pointsPerMeter,
            maxWaterfallHeight))
    }
    .preferredWindowClippingMargins(.bottom, maxWaterfallHeight * pointsPerMeter)
}
Key points:
preferredWindowClippingMargins(.bottom, ...)asks for extra points of rendering past the bottom of the volume.windowClippingMarginsreturns the margin actually granted (it may be smaller than what you asked for, depending on space and system limits).- The area outside the bounds is for visual decoration only — it does not respond to interaction.
@PhysicalMetricconverts meters into points so RealityKit entities keep their physical size.
onWorldRecenter: recompute positions after a long-press of the Crown (16:44)
// World recenter

var body: some View {
    RealityView { content in
        // ...
    }
    .onWorldRecenter {
        recomputePositions()
    }
}
Key points:
- A long press on the Digital Crown triggers a coordinate recenter.
- The world coordinates of existing RealityKit entities shift instantly, and the app must place them again itself.
- This modifier is the only entry point for the notification.
Mixed immersion coexisting with the system environment (18:37)
// Mixed immersion style

@State private var selectedStyle: ImmersionStyle = .progressive

var body: some Scene {
    ImmersiveSpace(id: "space") {
        ImmersiveView()
    }
    .immersionStyle(selection: $selectedStyle, in: .mixed)
    .immersiveEnvironmentBehavior(.coexist)
}
Key points:
.coexistlets a mixed immersive space show inside a system immersive environment too. The user can wander through Mt. Hood and watch your virtual content at the same time.- The default is
.suppressed, which hides app content when the system environment takes over.
RemoteImmersiveSpace: a Mac pushes immersive content to Vision Pro (20:14)
// Remote immersive space

// Presented on visionOS
RemoteImmersiveSpace(id: "preview-space") {
    CompositorLayer(configuration: config) { /* ... */ }
}

// Presented on macOS
WindowGroup("Main Stage", id: "main") {
    StageView()
}
Key points:
- The macOS app runs the business logic in its own window and streams CompositorLayer-rendered content to Vision Pro.
- Pass
RemoteDeviceIdentifiertoARKitSessionto connect to the remote device. - Good for content-creation tools: editor on the Mac, preview in the headset.
Scene bridging: a UIKit app summons a SwiftUI volume (23:00)
// Scene bridging

import UIKit
import SwiftUI

class MyHostingSceneDelegate: NSObject, UIHostingSceneDelegate {
    static var rootScene: some Scene {
        WindowGroup(id: "my-volume") {
            ContentView()
        }
        .windowStyle(.volumetric)
    }
}

let requestWithId = UISceneSessionActivationRequest(
    hostingDelegateClass: MyHostingSceneDelegate.self, id: "my-volume")!

UIApplication.shared.activateSceneSession(for: requestWithId)
Key points:
UIHostingSceneDelegatelets a UIKit app present a SwiftUI volume or ImmersiveSpace on demand without rewriting the main code.- Safari’s Spatial Browsing is built on this API.
- AppKit has a parallel set of
NSHostingSceneRepresentationAPIs.
Takeaways
1. Run a “restoration audit” on your visionOS app
Why it matters: visionOS 26 enables locking and restoration on every window by default. After upgrading, an old app may regress to “the user comes back to the room and only sees a tools panel.”
How to start: list every WindowGroup and sort them by role. Leave the main scenes alone. Add .restorationBehavior(.disabled) to welcome screens and login screens. Add .defaultLaunchBehavior(.suppressed) on top of that for tools panels and helper controllers.
2. Use surface snapping for “environment-aware decoration”
Why it matters: when the user snaps a volume to a table, the platform base, shadow, and environment lighting should all react to the real surface. This is the key step in making virtual content feel real.
How to start: first use the unauthorized isSnapped to flip a single boolean (hide the base when snapped). If the result feels right, request world-sensing authorization and use classification to render different details for tables, floors, and walls. Don’t forget to add Application Wants Detailed Surface Info and Privacy World-Sensing Usage-Description to Info.plist.
3. Use clipping margins to let volumes break their frame
Why it matters: a volume has a hard boundary by default. Decorative elements like waterfalls, flames, and smoke look fake the moment they get clipped. preferredWindowClippingMargins lets you render a little past the boundary so it looks like the content has spilled out of the volume.
How to start: pick a decorative entity that sits at the edge of the volume. Add .preferredWindowClippingMargins(.bottom, 0.3 * pointsPerMeter) to its container, then use @Environment(\.windowClippingMargins) to read the actual granted margin and scale the entity. Keep this for decoration only — interactive elements don’t belong here.
4. Migrate a UIKit app step by step with scene bridging
Why it matters: rewriting an entire UIKit app in SwiftUI is unrealistic, but users expect volumes and immersive experiences. Scene bridging lets you keep the main code and present SwiftUI sub-scenes on demand.
How to start: begin with a standalone 3D detail page. Write a UIHostingSceneDelegate that wraps a SwiftUI view in WindowGroup + .windowStyle(.volumetric). When the user taps the detail button, call UIApplication.shared.activateSceneSession(for:) to bring it up. Get one working first, then decide which other scenes to bridge.
5. Add a RemoteImmersiveSpace preview mode to a Mac tool app
Why it matters: the biggest pain point for 3D editors, CAD, and video post tools is “tweaking 3D content on a 2D screen.” RemoteImmersiveSpace lets the user put on Vision Pro and see a what-you-see-is-what-you-get preview, while the main editing UI stays on the Mac.
How to start: add a “Preview on Vision Pro” button to the Mac app and bring up the simplest possible CompositorLayer render. Then push the entity being edited through RemoteDeviceIdentifier. Start with one-way streaming and leave two-way interaction for later.
Related Sessions
- Better together: SwiftUI and RealityKit — Deep integration of SwiftUI and RealityKit in visionOS 26.
- Build a SwiftUI app with the new design — Implementing the Liquid Glass design language in SwiftUI.
- Build a UIKit app with the new design — A migration path for adopting the new design system in a UIKit app.
- What’s new in widgets — Snappable widgets in visionOS 26 and cross-platform widget updates.
- Dive into RealityKit 4 — RealityKit rendering pipeline updates that pair with volumes and immersive spaces.
Comments
GitHub Issues · utterances