
Highlight
Amanda Han walks through the full development flow for spatial accessories with a digital sculpting app.
Overview
visionOS has stuck with eyes-and-hands as its input model. But sculpting, CAD, painting, and mid-air ball games always fell short with pinch alone: no buttons, no pressure, no haptic feedback, and none of the firm physical edge of a pen tip. Developers who wanted precise creation tools watched the gesture API miss at the millimeter scale.
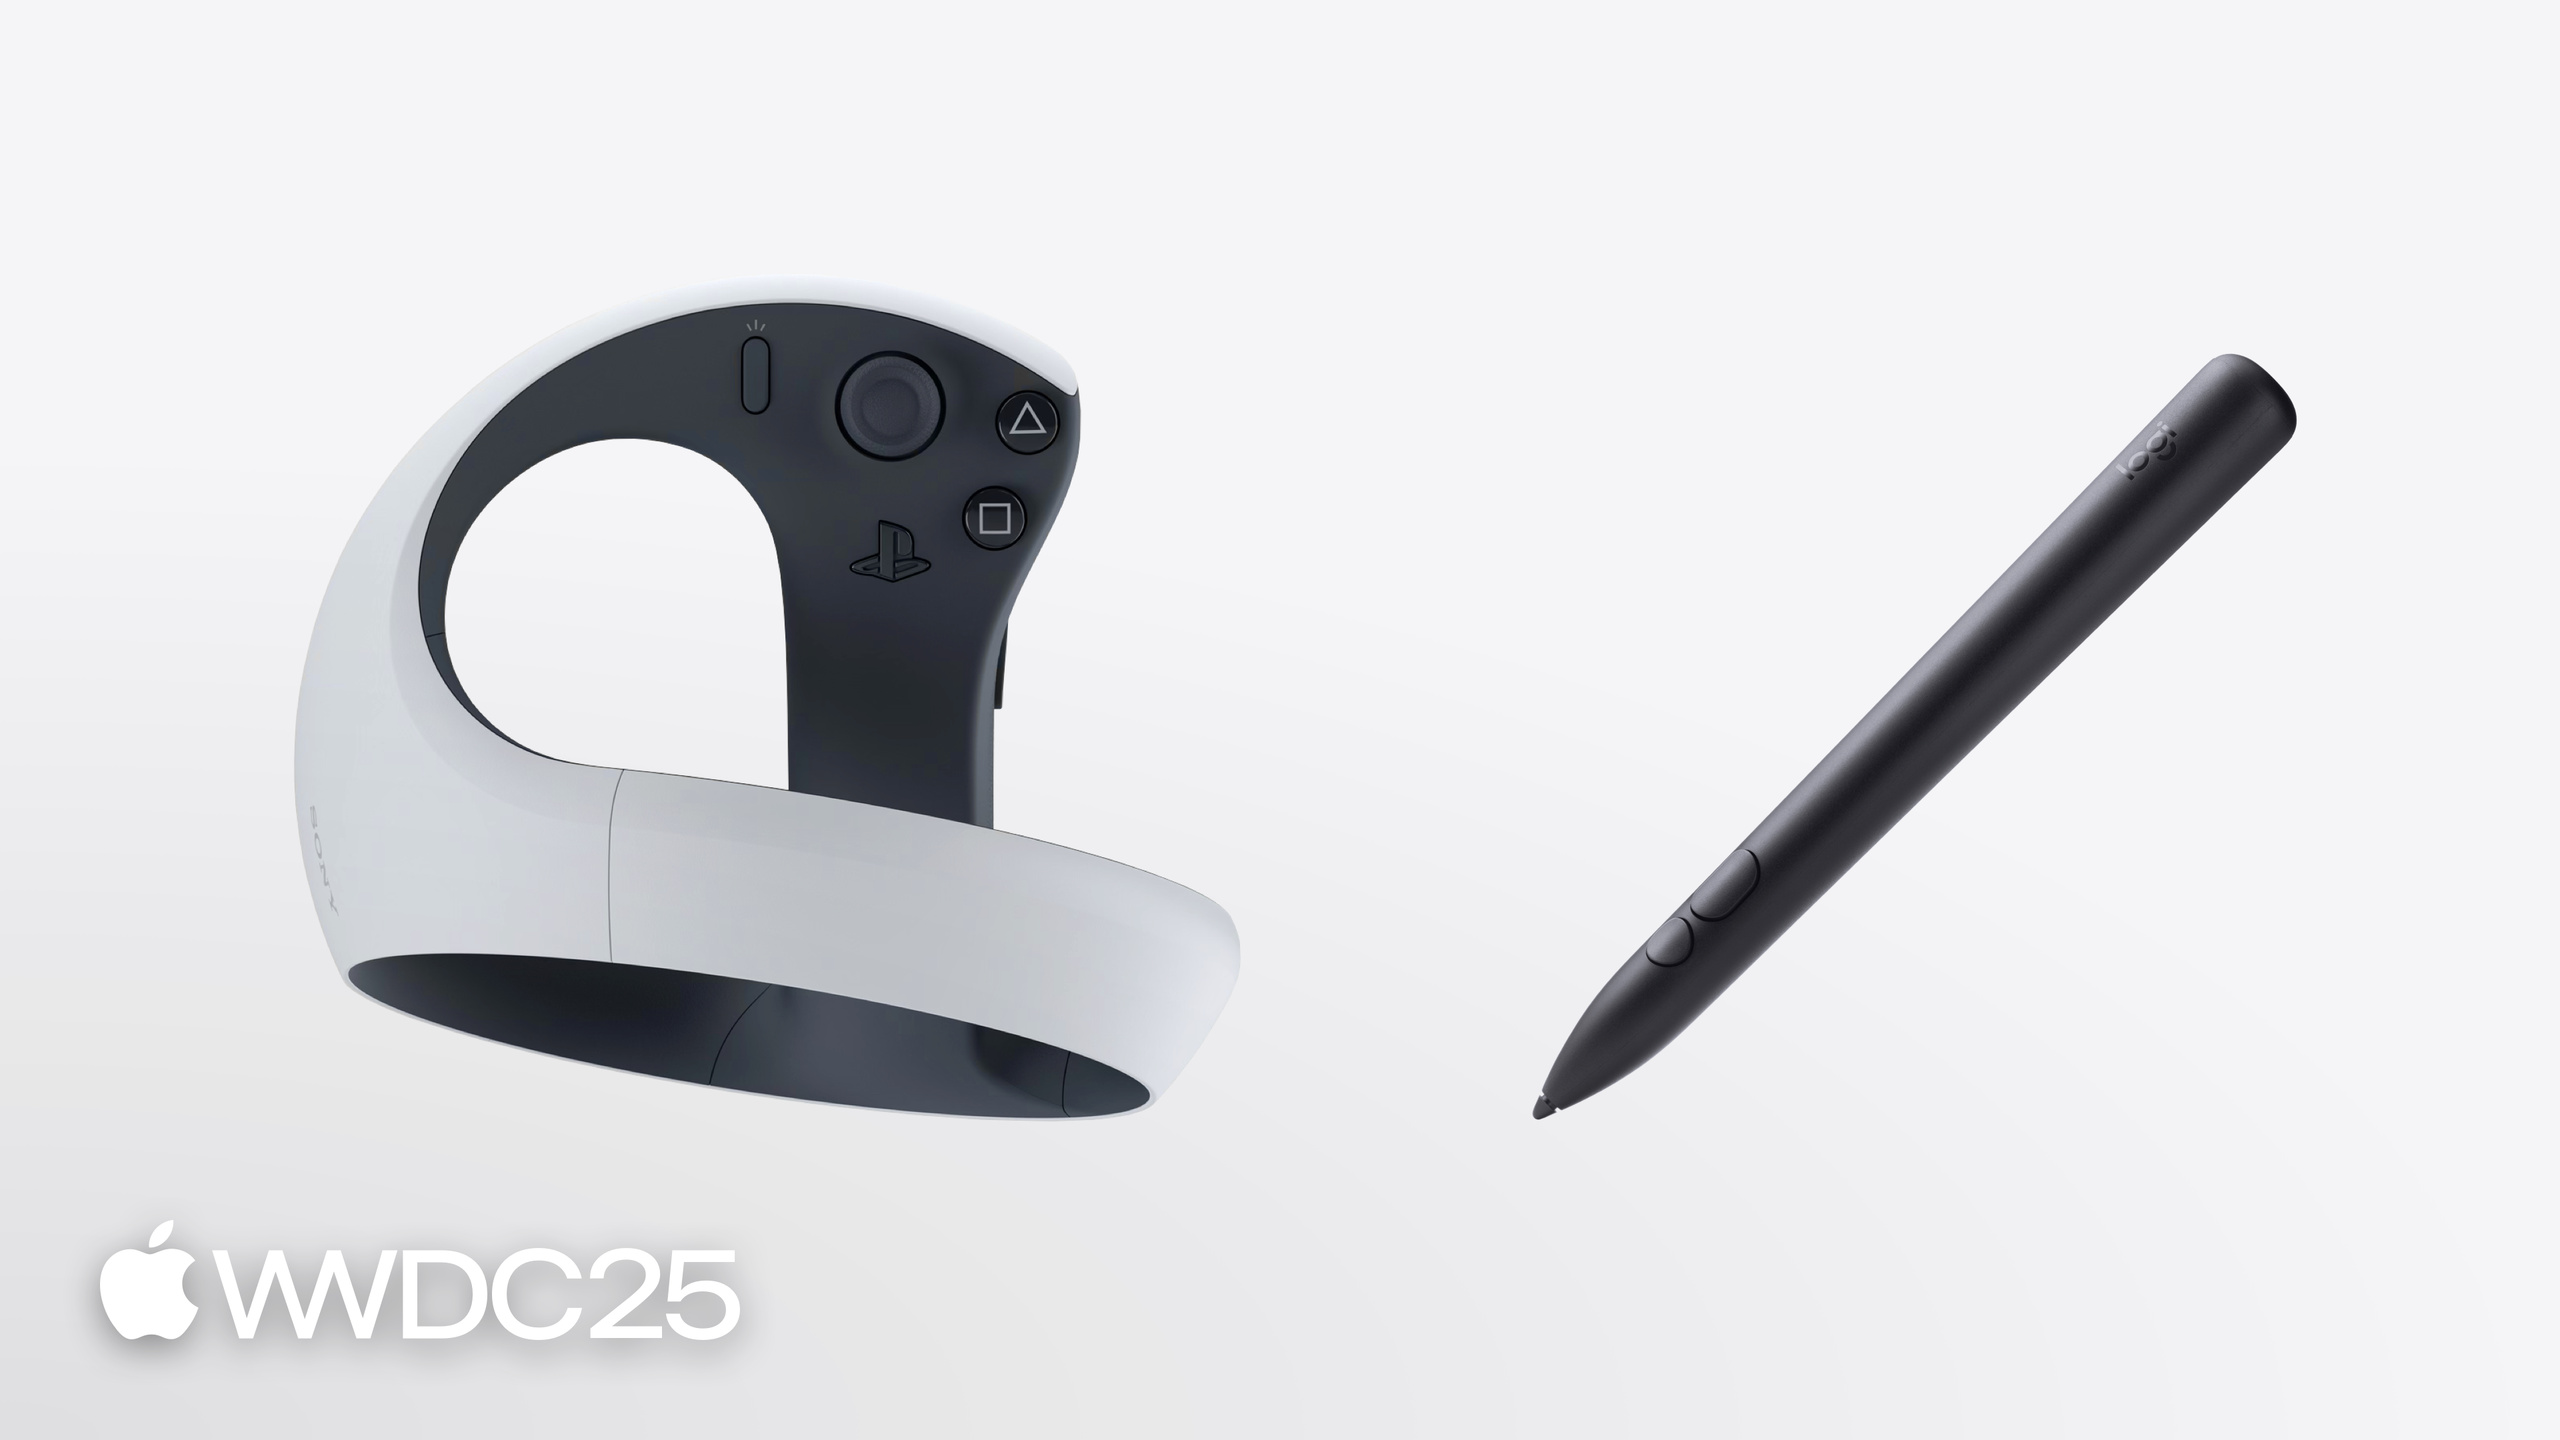
WWDC25 has the answer. visionOS 26 officially supports two spatial accessories: the PlayStation VR2 Sense controller and the Logitech Muse. The former has buttons, sticks, and triggers, and fits games well (Resolution Games’ Pickle Pro can already play pickleball in space). The latter has pressure sensors in the tip and side button, plus haptic feedback, and is built for productivity and creative work (01:22). Both accessories work in shared space and full space, tracked by Apple Vision Pro cameras together with the accessory’s own inertial sensors.
In the session, Amanda Han ties the whole chain together with a digital sculpting app: connect through the GameController framework, anchor a virtual blade to the pen tip with a RealityKit AnchorEntity, get the transform from SpatialTrackingSession to cut into virtual clay, play tactile feedback for each cut with the haptics engine, and finally read extras like “left or right hand” from an ARKit AccessoryAnchor so the toolbar dodges the holding hand.
Details
Project setup
First, check Spatial Gamepad in the Xcode capabilities editor, and fill in the Accessory Tracking Usage field in the plist with a purpose string (for example, “Tracking accessory movements to carve into virtual clay”). The user sees this string in the permission prompt on first launch (03:11).
Discover accessory connections
Two classes in the GameController framework carry spatial tracking: GCController and GCStylus. Both conform to GCDevice. After registering for connection notifications, you must check productCategory to confirm the device is a spatial accessory (04:56):
// Check spatial accessory support

NotificationCenter.default.addObserver(forName: NSNotification.Name.GCControllerDidConnect, object: nil, queue: nil) {
  notification in
    if let controller = notification.object as? GCController,
       controller.productCategory == GCProductCategorySpatialController {

    }
}
Key points:
GCControllerDidConnect: listens for controller connections; pen accessories useGCStylusDidConnect.notification.object as? GCController: unwraps the notification’s object into a concrete device.productCategory == GCProductCategorySpatialController: confirms the controller supports spatial tracking. Not every game controller does. The matching constant for a stylus isGCProductCategorySpatialStylus.- For disconnection, use the symmetric
GCControllerDidDisconnect/GCStylusDidDisconnect. Clean up virtual content in the callback so you don’t leave a “ghost blade” behind.
Anchor virtual content to an accessory
Each accessory exposes named anchor points. The PS VR2 Sense exposes aim, grip, and grip surface. The Logitech Muse only exposes aim. The sculpting app picks aim (06:34):
// Anchor virtual content to an accessory

func setupSpatialAccessory(device: GCDevice) async throws {

    let source = try await AnchoringComponent.AccessoryAnchoringSource(device: device)

    guard let location = source.locationName(named: "aim") else {
        return
    }

    let sculptingEntity = AnchorEntity(.accessory(from: source, location: location),
                                       trackingMode: .predicted)

}
Key points:
AccessoryAnchoringSource(device:): pulls an anchorable source out of aGCDevice.locationName(named: "aim"): gets the accessory’s named anchor; returns nil and bails out if the accessory doesn’t expose that location.AnchorEntity(.accessory(from:location:), trackingMode:): pins anAnchorEntityto that anchor.trackingMode: .predicted: uses a prediction model to hide render latency. Sharp motion can overshoot (in the video, the purple predicted box drifts off the gray ground-truth box on the fourth frame). For exact coordinates, switch to.continuous: more latency, but no overshoot (07:46).
Get the transform: SpatialTrackingSession with .accessory
Last year’s SpatialTrackingSession could supply transforms for configured AnchorEntities. This year, a new .accessory configuration was added (09:01):
// Get in-app transforms

let session = SpatialTrackingSession()

let configuration = SpatialTrackingSession.Configuration(tracking: [.accessory])

await session.run(configuration)
Key points:
SpatialTrackingSession(): starts a tracking session.Configuration(tracking: [.accessory]): declares that you want to track spatial accessories. You can combine it with other tracking types.await session.run(configuration): starts the session. Once it runs, the sculpting app can read the blade’s world coordinates from the anchor entity each frame and decide whether it cut into the virtual clay.
Add haptics to the blade
Playing a tactile pulse the moment the blade enters the clay changes the feel right away (09:48):
// Add haptics to an accessory

let stylus: GCStylus = ...

guard let haptics = stylus.haptics else {
    return
}

guard let hapticsEngine: CHHapticEngine = haptics.createEngine(withLocality: .default) else {
    return
}

try? hapticsEngine.start()
Key points:
stylus.haptics: not every accessory has haptics; check for nil first.createEngine(withLocality: .default): built onCHHapticEngine. For tips on designing haptic patterns, see Advancements in Game Controllers.try? hapticsEngine.start(): once started, you can fire a haptic pattern from the cut callback.
Bridge from RealityKit to ARKit AccessoryAnchor
A RealityKit AnchorEntity does not expose “left or right hand”, relative motion, or tracking quality. This year, ARKitAnchorComponent is open. As long as a SpatialTrackingSession is running, you can pull the matching ARKit anchor off the entity (11:54):
// Access ARKit anchors from AnchorEntity

func getAccessoryAnchor(entity: AnchorEntity) -> AccessoryAnchor? {
    if let component = entity.components[ARKitAnchorComponent.self],
       let accessoryAnchor = component.anchor as? AccessoryAnchor {
        return accessoryAnchor
    }
    return nil
}
Key points:
entity.components[ARKitAnchorComponent.self]: pulls the bridge component off the entity.component.anchor as? AccessoryAnchor: unwraps it as anAccessoryAnchor, which holds four properties:heldChirality(which hand), relative motion, relative rotation, and tracking state (10:43).- The sculpting app uses
heldChirality: when the user holds the pen in the left hand, it puts the toolbar on the +x side; in the right hand, the opposite; if no hand is holding, no offset (12:35).
Going pure ARKit
If your app uses custom rendering, you can skip RealityKit: build an Accessory from GCStylus or GCController, then subscribe to anchor updates through an accessory tracking provider. When an accessory connects or disconnects, re-run the ARKit session with a new configuration, or you’ll get stale anchors (14:06).
Takeaways
1. Add a “spatial accessory mode” to creation apps
Why it pays off: the Logitech Muse pen accessory in visionOS 26 ships with pressure sensing and haptics, a natural input for digital painting, 3D sculpting, and CAD annotation. It is an order of magnitude more precise than gesture, and the physical grip cuts fatigue over long sessions.
How to start: check the Spatial Gamepad capability, listen for GCStylusDidConnect, and swap your current gesture tool’s hit-test entry point for the anchor entity’s transform. First, get a virtual tip to follow the real pen. Then layer pressure onto stroke width.
2. Add a “two-handed controller” branch to games
Why it pays off: the PS VR2 Sense controller tracks like a sport racket on visionOS. Any visionOS game that supports two-handed controller anchors can step up from “pinch to tap” to a real swing.
How to start: handle the productCategory == GCProductCategorySpatialController branch and pin two AnchorEntity objects to the aim anchor. Keep the old pinch input as a fallback so players without an accessory can still play. Add the “Spatial game controller support” badge on the App Store.
3. Hide upper limbs and system UI in full space immersive apps
Why it pays off: when an accessory is in use, the player wants to see the virtual tool, not their wrist or the real pen. The home indicator also breaks immersion.
How to start: hide the home indicator with .persistentSystemOverlays(.hidden), and hide the upper limbs and the accessory body with .upperLimbVisibility(.hidden). Attach .receivesEventsInView to your SwiftUI view so the same view receives both spatial event gestures and game controller events. You don’t need two parallel paths for buttons and gestures (15:54).
4. Use Continuous mode or a metric anchor for measurement
Why it pays off: .predicted mode overshoots on fast motion. For CAD annotation, spatial measurement, or medical drawings, overshoot is error.
How to start: keep .predicted for rendering and quick hit testing. Switch to .continuous for the strokes or measurements you actually commit, or use ARKit’s metric anchor API directly (see the Coordinate spaces docs).
Related Sessions
- Bring your SceneKit project to RealityKit — a hands-on path to move existing 3D projects to RealityKit after SceneKit’s deprecation.
- What’s new in RealityKit — the
ARKitAnchorComponentbridge used here gets a full walkthrough in this session. - Build a SwiftUI app with the new design — an overview of the visionOS 26 SwiftUI redesign and the system overlay APIs.
- Set the scene with SwiftUI in visionOS — how to lay out shared and full space scenes in SwiftUI, useful for a spatial accessory app’s window layout.
- Engage players with the Apple Games app — the entry point and badge system in the Apple Games app, which shapes how spatial accessory support shows up on the store.
Comments
GitHub Issues · utterances