
Highlight
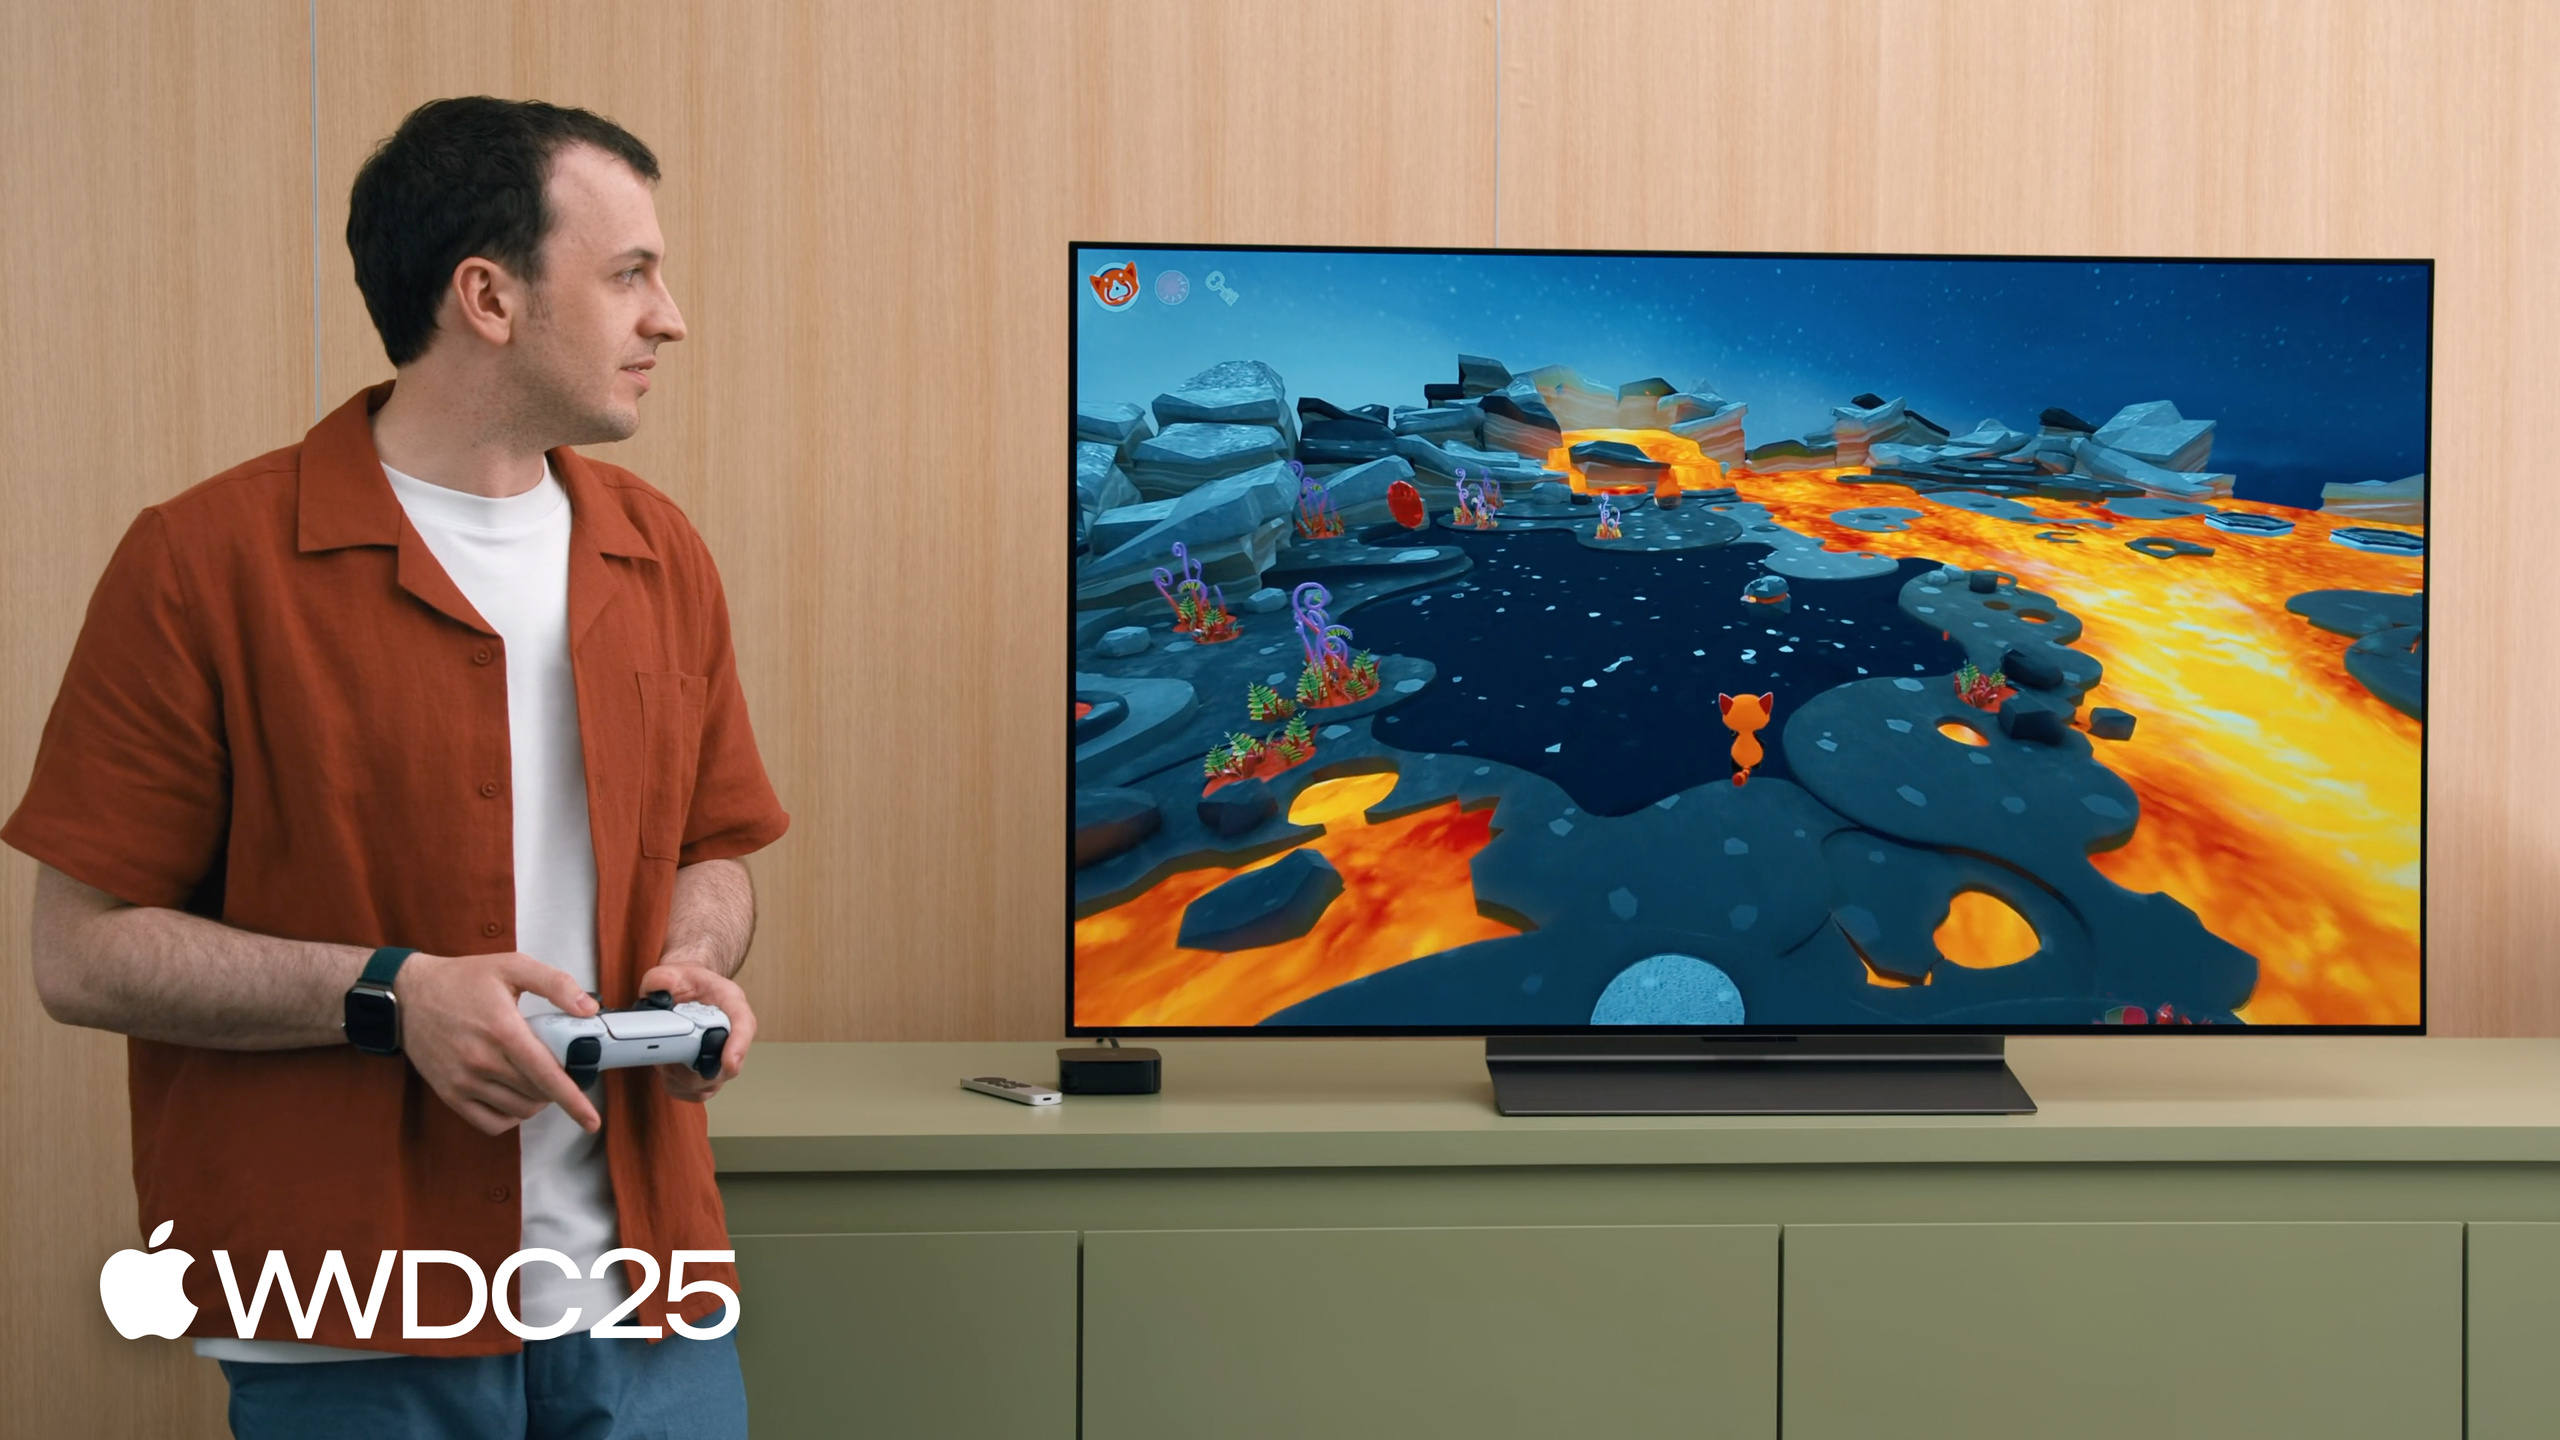
Max Cobb ports a classic SceneKit sample game — the red panda PyroPanda solving puzzles in a volcano scene — to RealityKit, covering all six areas: assets, scene, animation, lighting, audio, and visual effects.
Core content
SceneKit has served for 13 years, since OS X Mountain Lion. It made sense back then: a native 3D engine, no third-party game engine to bundle, and nodes that handled everything. The problem is that the Apple ecosystem changed over those 13 years — new programming paradigms, new hardware, new platforms arrived one after another, and SceneKit’s architecture cannot keep up without breaking existing projects. This year Apple officially put SceneKit into soft deprecation on every platform: old apps keep working, but new projects and major rewrites should not use it.
Apple’s replacement is RealityKit. Max Cobb moved the old PyroPanda volcano puzzle sample game over to RealityKit in full, and uses that migration to demonstrate four core concept differences (architecture, coordinate system, assets, view) and six migration areas (assets, scene, animation, lighting, audio, visual effects). SceneKit is node-based: every object is a node, and geometry, animation, audio, physics, and lighting all hang off node properties. RealityKit is ECS (Entity Component System): every object is an Entity, and behavior is attached through Components. The coordinate system is identical (Y up, Z toward the camera), so that layer migrates at zero cost. The view layer is unified from SCNView/SceneView into RealityView, which also handles visionOS stereo rendering automatically.
Details
Asset format moves from SCN to USD. SceneKit accepts many model formats and serializes them into SCN files. RealityKit is designed around USD (Universal Scene Description), the open standard Pixar released in 2012. There are three migration paths: if you still have the original DCC file (Blender, for example), exporting to USD straight from there is the most reliable; if all you have left is the SCN, select the asset in Xcode -> File -> Export -> Universal Scene Description Package; for batch work on the command line, run xcrun scntool --convert, and pair it with --append-animation to merge animations spread across several SCN files into a single USD output (10:55).
Animations are accessed through AnimationLibraryComponent. Animations in a USD file are registered automatically into an AnimationLibraryComponent on the Entity at load time. Pull them out by name and play them (16:33):
// RealityKit
guard let max = scene.findEntity(named: "Max") else { return }

guard let library = max.components[AnimationLibraryComponent.self],
      let spinAnimation = library.animations["spin"]
else { return }

max.playAnimation(spinAnimation)
Key points:
scene.findEntity(named:)looks up an Entity in the scene by name, the counterpart of SceneKit’schildNode(withName:recursively:).max.components[AnimationLibraryComponent.self]is the standard ECS way to fetch a component, with the Component type as the subscript.library.animations["spin"]keys anAnimationResourceby animation name. No more walking nodes to find an SCNPlayer.max.playAnimation(...)is a method on the Entity. The component model decouples the play call from the component itself.
Lights are also Components. In SceneKit you build an SCNNode first and attach an SCNLight. RealityKit constructs an Entity that already carries the components (18:18):
// RealityKit

let lightEntity = Entity(components:
    DirectionalLightComponent(),
    DirectionalLightComponent.Shadow()
)
Key points:
Entity(components:)bundles several Components onto a new Entity in one call, no step-by-step add.DirectionalLightComponentdescribes the directional light itself — color, intensity, direction.DirectionalLightComponent.Shadow()is a separate Component for shadows. Light and shadow are decoupled, so turning shadows on or off is just adding or removing a Component.
Bloom post-processing uses PostProcessEffect plus Metal Performance Shaders. RealityKit exposes the PostProcessEffect protocol, which hands the Metal command buffer to the developer for custom post-processing (24:37):
final class BloomPostProcess: PostProcessEffect {

    let bloomThreshold: Float = 0.5
    let bloomBlurRadius: Float = 15.0

    func postProcess(context: borrowing PostProcessEffectContext<any MTLCommandBuffer>) {

        // Create metal texture of the same format as 'context.sourceColorTexture'.
        var bloomTexture = ...

        // Write brightest parts of 'context.sourceColorTexture' to 'bloomTexture'
        // using 'MPSImageThresholdToZero'.

        // Blur 'bloomTexture' in-place using 'MPSImageGaussianBlur'.

        // Combine original 'context.sourceColorTexture' and 'bloomTexture'
        // using 'MPSImageAdd', and write to 'context.targetColorTexture'.
    }
}

// RealityKit

content.renderingEffects.customPostProcessing = .effect(
    BloomPostProcess()
)
Key points:
- Implementing the
postProcess(context:)method ofPostProcessEffectplugs into the post-processing pipeline.contextprovides the source and target textures and the command buffer. MPSImageThresholdToZerozeroes out pixels below a threshold and keeps the bright regions — the highlight extraction step of bloom.MPSImageGaussianBlurruns a Gaussian blur over the highlight texture to produce the glow.MPSImageAddadds the blurred highlights back onto the original and writes the result intocontext.targetColorTexture, completing the composite.- Setting
content.renderingEffects.customPostProcessing = .effect(...)attaches it to the RealityView’s content and turns it on.
Build scenes with Reality Composer Pro. It is the bridge between Xcode and DCC tools, with visual editing for materials, shaders, particles, lighting, and audio. The project itself is a Swift Package brought into the Xcode project as a local dependency. At runtime, Entity(named:in:) loads the whole scene in one line.
Takeaways
-
Do this: build an asset inventory before you start the migration. Why it matters: SceneKit projects scatter SCN files, animation SCNs, particles, and custom shaders, and a blind migration misses things. How to start:
grepthe repo for*.scn,*.dae, andSCNProgram, list them in a table, sort by “do I still have the original DCC file”, export USD from the source where possible, and fall back toxcrun scntool --convertwhen not. -
Do this: merge animations into one USD with
--append-animation. Why it matters: in SceneKit a character and its actions are usually multiple SCNs. If you keep them split after migration, you still have to bind them by hand at runtime and lose the convenience of AnimationLibraryComponent. How to start: runxcrun scntool --convert max.scn --format usdz --append-animation max_spin.scn --append-animation max_walk.scn ...to produce a single USD, then look up animations by name at runtime. -
Do this: move SceneKit custom post-processing to
PostProcessEffectplus MPS. Why it matters: MPS is Apple’s hand-tuned Metal kernel set, so common effects like bloom, blur, and threshold do not need a hand-written shader. How to start: begin from the three-step bloom template (threshold -> gaussian -> add), get it running in a demo scene, then graft it onto the real project. -
Do this: collapse the view layer onto RealityView. Why it matters: RealityView handles visionOS stereo rendering, tvOS (new this year), iOS, and macOS automatically, which removes the three-way SCNView/SceneView/ARSCNView split. How to start: replace the entry View with
RealityView { content in ... }, push the Entity loading code into the closure, and migrate interaction over to SwiftUI gestures.
Related sessions
- What’s new in RealityKit — Lawrence Wong covers what’s new in RealityKit this year, worth a follow-up after the migration.
- Combine Metal 4 machine learning and graphics — Embed machine learning in graphics rendering, which pairs well with RealityKit post-processing for higher-end visuals.
- Discover Metal 4 — RealityKit runs on Metal underneath, so knowing the Metal 4 features helps you write a good custom PostProcessEffect.
- Explore Metal 4 games — Metal 4 optimization techniques on the games side, still applicable after moving to RealityKit.
- Engage players with the Apple Games app — RealityKit-rendered App Store Tags and the Apple Games app close the discovery loop.
Comments
GitHub Issues · utterances