
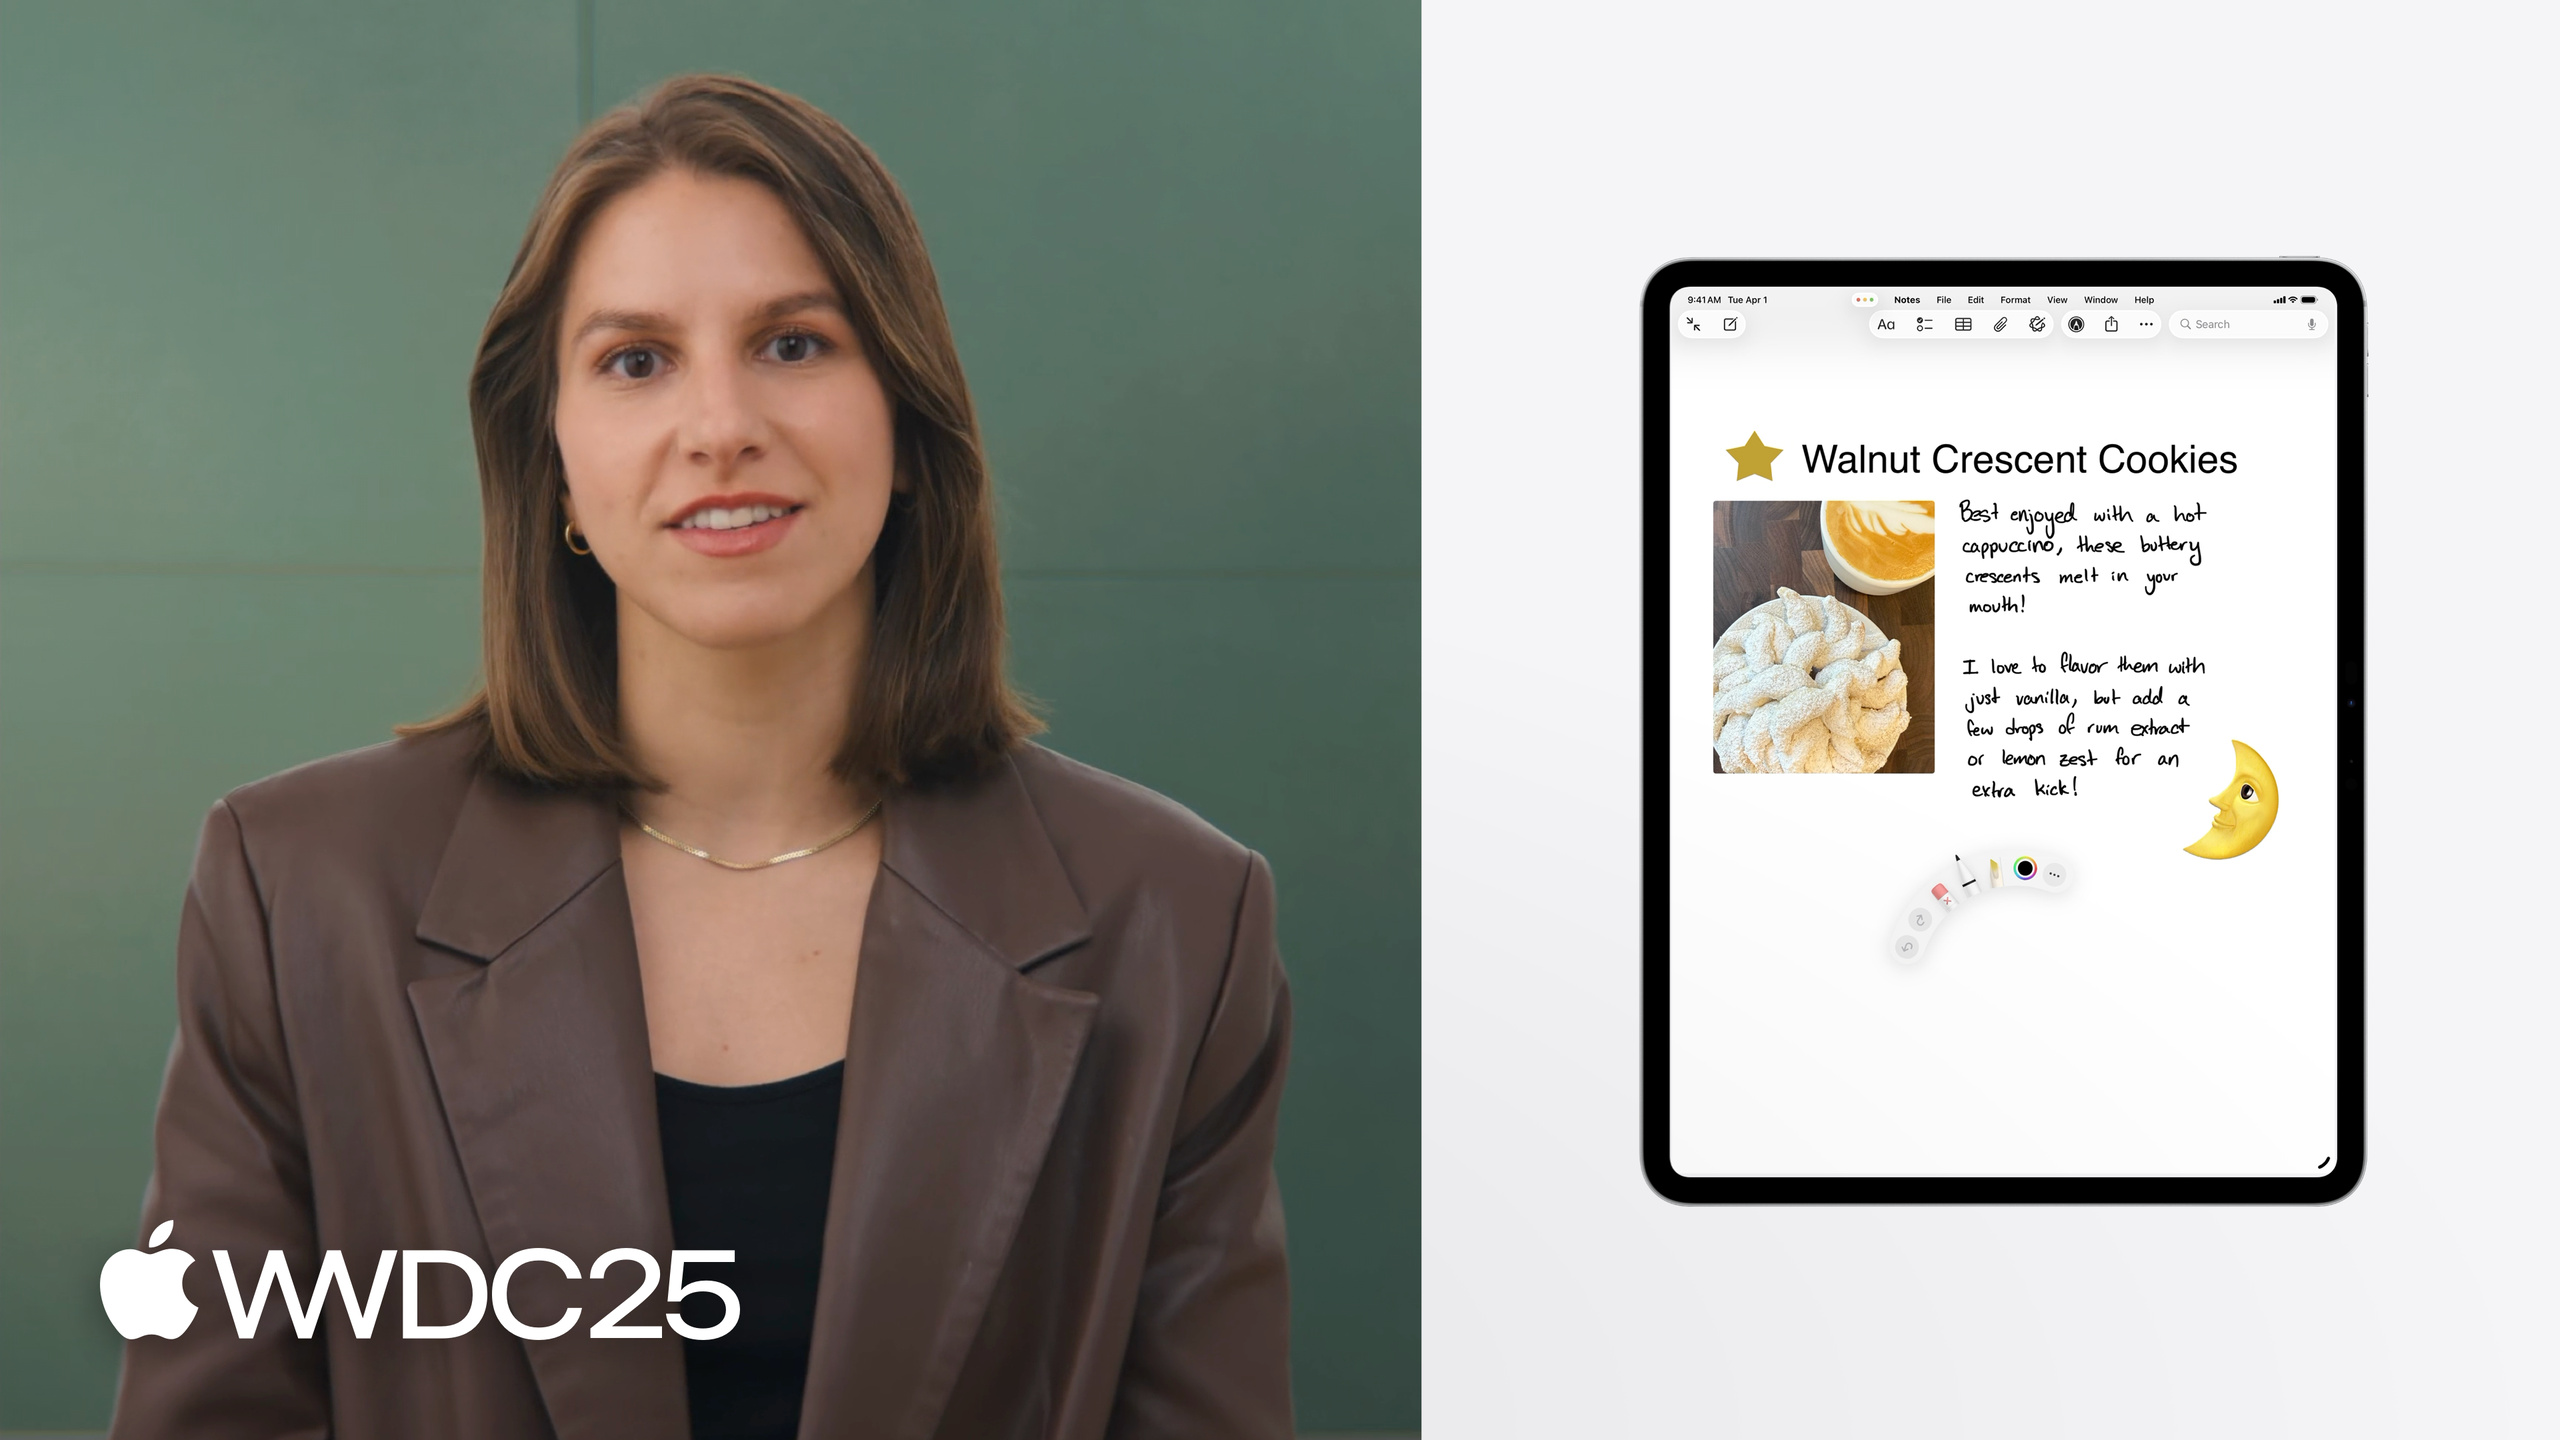
Highlight
PaperKit is Apple’s own markup framework. Until now it shipped only inside system apps (Notes, Screenshots, QuickLook, Journal). Third-party apps can now integrate it directly.
Core Content
To build a “draw a stroke + add a shape + drop in an image + insert a text box” experience like Notes or Screenshot Markup, you used to start from scratch: manage layers, mix PencilKit drawings with markup elements, design your own insert menu, port everything to macOS. A non-core feature easily ran to several thousand lines of code.
At WWDC25, Apple opened up PaperKit, the framework it has used for years (00:07). It is the foundation of Apple’s system-level markup experience. Notes, Screenshots, QuickLook, and Journal all run on it. macOS Tahoe now supports it natively as well (00:57).
The framework has three core components. PaperMarkupViewController is the interactive canvas; it shows and edits markup and PencilKit drawings. PaperMarkup is the data-model container; it handles save, load, and rendering. MarkupEditViewController (iOS / iPadOS / visionOS) and MarkupToolbarViewController (macOS) handle inserting shapes, images, text boxes, and other elements (02:31). Wire these three together and you get the same markup capabilities as the system apps.
Detailed Content
The minimal iOS integration fits in one viewDidLoad (03:47).
override func viewDidLoad() {
    super.viewDidLoad()

    let markupModel = PaperMarkup(bounds: view.bounds)
    let paperViewController = PaperMarkupViewController(markup: markupModel, supportedFeatureSet: .latest)
    view.addSubview(paperViewController.view)
    addChild(paperViewController)
    paperViewController.didMove(toParent: self)
    becomeFirstResponder()

    let toolPicker = PKToolPicker()
    toolPicker.addObserver(paperViewController)

    pencilKitResponderState.activeToolPicker = toolPicker
    pencilKitResponderState.toolPickerVisibility = .visible

    toolPicker.accessoryItem = UIBarButtonItem(barButtonSystemItem: .add, target: self, action: #selector(plusButtonPressed(_:)))
}
Key points:
PaperMarkup(bounds:)creates the data model. Passview.boundsso the rendering context is correct.PaperMarkupViewController(markup:supportedFeatureSet:)creates the canvas. Pass.latestto get every current markup capability.addChild+didMove(toParent:)is the standard way to attach a UIKit container view controller.PKToolPickerregisters the canvas as an observer throughaddObserver, so the canvas reacts when the tool changes.pencilKitResponderState.activeToolPickeris a new API onUIResponderfor setting the current responder’s tool picker (04:32).toolPickerVisibilitycontrols visibility. When hidden, double-tap and squeeze gestures still work, which makes a mini tool picker easy to build (05:03).toolPicker.accessoryItemputs a+button on the tool picker as the entry point for the insert menu.
The macOS structure is almost the same. The only difference is that the insert UI uses a toolbar instead of a popover menu (06:11).
override func viewDidLoad() {
    super.viewDidLoad()

    let markupModel = PaperMarkup(bounds: view.bounds)
    let paperViewController = PaperMarkupViewController(markup: markupModel, supportedFeatureSet: .latest)
    view.addSubview(paperViewController.view)
    addChild(paperViewController)

    let toolbarViewController = MarkupToolbarViewController(supportedFeatureSet: .latest)
    toolbarViewController.delegate = paperViewController
    view.addSubview(toolbarViewController.view)

    setupLayoutConstraints()
}
Key points:
- macOS uses
MarkupToolbarViewControllerin place of the iOS popoverMarkupEditViewController. toolbarViewController.delegate = paperViewControllerwires the toolbar’s insert callbacks to the canvas.- The canvas and the toolbar share the same
FeatureSet, so the available tools stay consistent.
Save data with a delegate callback (07:18).
func paperMarkupViewControllerDidChangeMarkup(_ paperMarkupViewController: PaperMarkupViewController) {
    let markupModel = paperMarkupViewController.markup
    Task {
        let data = try await markupModel.dataRepresentation()
        try data.write(toFile: paperKitDataURL)
    }
}
Key points:
paperMarkupViewControllerDidChangeMarkupfires every time the canvas changes.markupModel.dataRepresentation()is async and returnsData, which you can write straight to disk.PaperMarkupViewControlleralso conforms toObservable, so you can swap the delegate for a state-driven approach if you prefer (07:33).
For forward compatibility, save a thumbnail and show it when the version does not match (08:02).
func updateThumbnail(_ markupModel: PaperMarkup) async throws {
    let thumbnailSize = CGSize(width: 200, height: 200)
    let context = makeCGContext(size: thumbnailSize)
    context.setFillColor(gray: 1, alpha: 1)
    context.fill(renderer.format.bounds)

    await markupModel.draw(in: context, frame: CGRect(origin: .zero, size: thumbnailSize))

    thumbnail = context.makeImage()
}
Key points:
- Create your own
CGContextas the render target. markupModel.draw(in:frame:)isasyncand draws the current model into the context.- Save the resulting
CGImagealongside the markup data. This is what Notes and other system apps do.
To customize the tool set, subtract from .latest (09:02).
var featureSet: FeatureSet = .latest

featureSet.remove(.text)
featureSet.insert(.stickers)

featureSet.colorMaximumLinearExposure = 4
toolPicker.colorMaximumLinearExposure = 4

let paperViewController = PaperMarkupViewController(supportedFeatureSet: featureSet)
let markupEditViewController = MarkupEditViewController(supportedFeatureSet: featureSet)
Key points:
FeatureSet.latestincludes every current capability, and your app picks up future additions automatically.removeandinsertadd or drop specific capabilities, such as removing the text box or adding stickers.- Setting
colorMaximumLinearExposuregreater than 1 turns on HDR markup. Set it on both the canvas and the tool picker (09:30). - The recommended value of 4 is what the speaker uses in the sample app. You can also read the actual headroom from
UIScreenorNSScreen. - Turning on HDR also unlocks the new PencilKit calligraphy pen, the Reed tool (10:22).
The last common extension point is a custom background (10:50).
let template = UIImage(named: "MyTemplate.jpg")
let templateView = UIImageView(image: template)
paperViewController.contentView = templateView
Key points:
contentViewaccepts anyUIView. All markup and drawings render on top of it.- It fits “fixed background + drawing on top” cases such as template paper (ruled lines, dot grids, recipe cards).
In SwiftUI, wrap it with UIViewControllerRepresentable to plug it in (06:46).
Core Takeaways
1. Use PaperKit to add Apple-style markup to notes, reading, and education apps in one shot
Why it matters: building your own mix of handwriting, shapes, and images used to be a huge job. With PaperKit, a few dozen lines of code reuse the Notes / Journal experience.
How to start: get the minimal iOS integration working (PaperMarkup + PaperMarkupViewController + PKToolPicker), then use the delegate callback to persist data to your storage layer.
2. Start from FeatureSet.latest and subtract, instead of adding to an empty set
Why it matters: .latest follows the framework as it evolves, so future tools arrive without code changes. Building up from an empty set with insert makes it easy to miss new features and costs more to maintain.
How to start: declare var featureSet: FeatureSet = .latest and only remove the tools your app does not need. A pure reading-annotation app can remove(.stickers).
3. Save a thumbnail for forward compatibility, so newer data does not crash or show blank in older versions
Why it matters: a user might edit on iOS 27 and open the same file on iOS 26, where new elements cannot be parsed. A thumbnail on disk guarantees that older versions can at least show the content.
How to start: in the delegate callback, call both markupModel.dataRepresentation() and the thumbnail render, and save the two together. On load, check the version and fall back to the thumbnail if it does not match.
4. Use pencilKitResponderState.toolPickerVisibility to build a mini tool picker
Why it matters: hiding the tool picker keeps double-tap and squeeze gestures working, so you can ship a tighter custom toolbar UI without losing interactions.
How to start: hide the tool picker, draw your own simplified tool buttons, and have those buttons call the PKToolPicker state API to switch tools.
Related Sessions
- Squeeze the most out of Apple Pencil — Apple’s own playbook for Apple Pencil squeeze gestures and tool picker interactions
- Introducing PencilKit — an introduction to the PencilKit canvas and tool picker
- Dive deeper into Writing Tools — Writing Tools for proofreading, rewriting, and transforming text in place
- Enhance child safety with PermissionKit — PermissionKit for safer child communication in messaging apps
- Discover Apple-Hosted Background Assets — new Background Assets capabilities with Apple-hosted resources
Comments
GitHub Issues · utterances