
Highlight
visionOS 26 extends the SwiftUI layout system into three dimensions. Each view now computes a depth and a Z position alongside width, height, X, and Y. The existing 2D tools — VStack, HStack, ZStack, alignment — work the same as before.
Core content
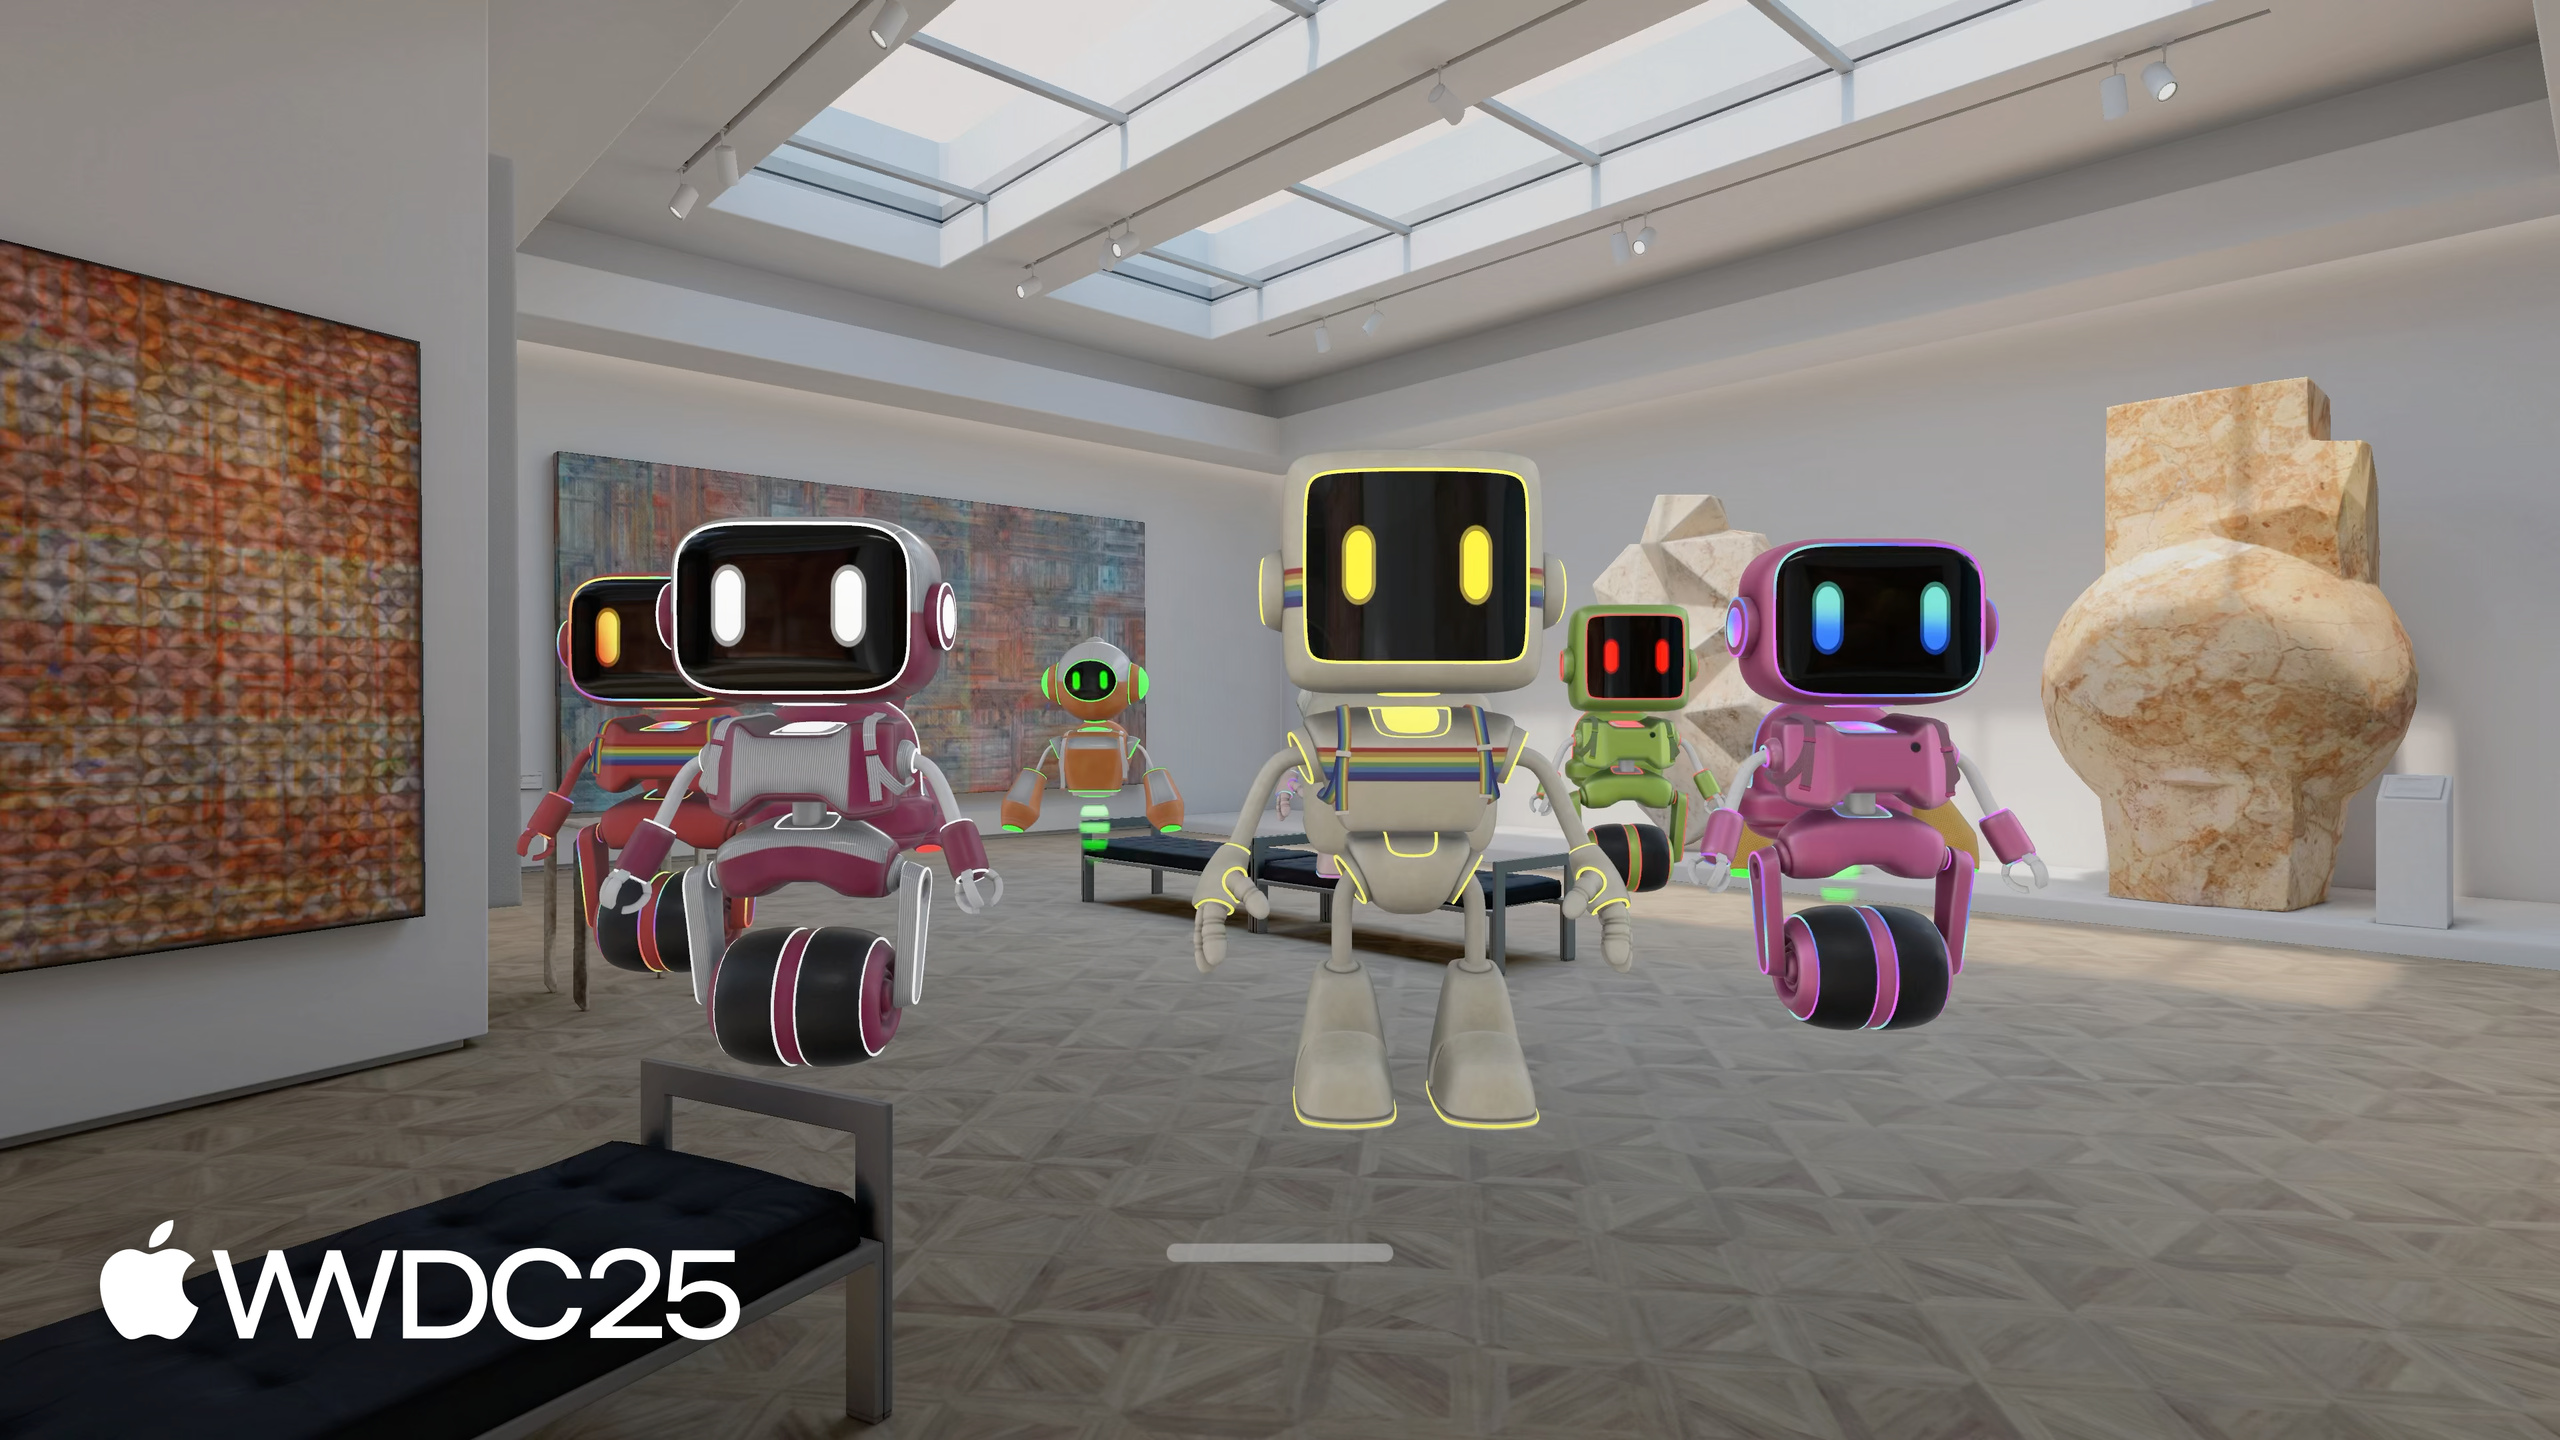
Trevor ran into a concrete problem in BOT-anist, a robot collection app. He wanted a rotating robot carousel that arranged several Model3D views in a horizontal ring. He wanted to attach a description card to each robot, but the card kept getting hidden behind the model. He wanted to rotate a rocket by 45 degrees, but the rotated model bumped into the cards in the HStack. RealityKit can do all of this, but it forces you to write scenes, entities, and components — far from the declarative style of SwiftUI. In many cases the developer just wants to arrange a few 3D views with the familiar VStack / HStack / ZStack.
The visionOS 26 answer is direct: extend the existing 2D SwiftUI layout system into 3D. Every view now carries a depth and a Z position. Model3D has a fixed three-dimensional size, like Image. RealityView has flexible depth, like Color. ZStack now stacks the depth of its children along the Z axis. On top of this unified model, Apple adds four new tools: depth alignment, rotation3DLayout (a rotation that affects layout), SpatialContainer, and spatialOverlay (stacking views in the same 3D space). Trevor uses them to build BOT-anist’s “Automaton Arrangements” step by step — from a single robot profile, to a three-robot depth podium, to a horizontal rotating carousel, to an interactive selection ring. Not a line of RealityKit code in the whole walkthrough.
Detailed content
3D view basics (03:02). On visionOS, SwiftUI carries the 2D layout rules into 3D. Every view has a depth. Flat views like Image, Color, and Text have depth 0 and behave the same as on iOS. Model3D has a fixed depth, like Image. RealityView, GeometryReader3D, and a resizable Model3D have flexible depth, like Color.
// Many views have 0 depth
HStack {
  Image("RobotHead")
    .debugBorder3D(.red)
  Text("Hello! I'm a piece of text. I have 0 depth.")
    .debugBorder3D(.red)
  Color.blue
    .debugBorder3D(.red)
    .frame(width: 200, height: 200)
}
Key points:
Image/Text/Colorhave depth 0 on visionOS, the same as on iOS.debugBorder3Dis a small utility modifier Trevor wrote to visualize 3D frames; he shows the implementation at the end of the session.- An HStack in 3D automatically takes the maximum depth of its children as its own depth.
A Window has a fixed depth proposal — anything that exceeds it gets clipped by the system. A Volume has adjustable depth. For when to use a Window versus a Volume, see the HIG’s Designing for visionOS.
Depth alignment (08:11). The default depth alignment for Stack and Layout types is .back, so children align to the back edge. Trevor puts ResizableRobotView and RobotNameCard in a VStack, and the card hides behind the robot. Switching VStack to VStackLayout lets him add .depthAlignment(.front):
// Customizing depth alignments
struct RobotProfile: View {
  let robot: Robot

  var body: some View {
    VStackLayout().depthAlignment(.front) {
      ResizableRobotView(asset: robot.model3DAsset)
      RobotNameCard(robot: robot)
    }
    .frame(width: 300)
  }
}
Key points:
- To use the
.depthAlignmentmodifier, writeVStackLayout()instead ofVStack, because the modifier applies to Layout types. .frontaligns children to the front edge, so the text card floats in front of the model.- The three standard alignments are
.back(default),.center, and.front.
Custom DepthAlignmentID (10:27). When the three standard alignments are not enough, you can define your own. Trevor wants a “depth podium” — first place at the front, second in the middle, third at the back.
// Defining a custom depth alignment guide
struct DepthPodiumAlignment: DepthAlignmentID {
  static func defaultValue(in context: ViewDimensions3D) -> CGFloat {
    context[.front]
  }
}

extension DepthAlignment {
  static let depthPodium = DepthAlignment(DepthPodiumAlignment.self)
}
Key points:
- Conforming to
DepthAlignmentIDonly requires adefaultValuemethod that returns the view’s position on the alignment guide. - The default value uses
context[.front], so children align to the front edge by default. - Adding a static constant on
DepthAlignmentlets you use.depthPodiumjust like.front.
Then, inside an HStack, apply .depthAlignment(.depthPodium), and override the middle and back robots with .alignmentGuide(.depthPodium) { $0[DepthAlignment.center] } and $0[DepthAlignment.back]. The result is three robots staggered along Z to form a podium.
rotation3DLayout vs rotation3DEffect (12:00). rotation3DEffect is a visual effect — it does not affect layout. The HStack does not know the rocket has been rotated 90 degrees, so it collides with the next card. rotation3DLayout updates the view’s frame in the layout system. The parent layout sees the rotated geometry and wraps it in a tight axis-aligned bounding box.
// Rotate using any axis or angle
HStackLayout().depthAlignment(.front) {
  RocketDetailsCard()
  Model3D(named: "ToyRocket")
    .rotation3DLayout(.degrees(isRotated ? 45 : 0), axis: .z)
}
Key points:
rotation3DLayouttakes an angle and an axis, with a signature similar torotation3DEffect.- The difference: it updates the frame the layout system sees, so the HStack makes room for the rotated rocket.
- When the
isRotatedstate animates, the surrounding views slide to follow.
Building the carousel (14:42). Trevor reuses MyRadialLayout from the older session Compose custom layouts with SwiftUI. It was written for 2D, but it works as-is on visionOS. To turn the upright ring into a horizontal carousel lying flat:
struct RobotCarousel: View {
  let robots: [Robot]

  var body: some View {
    VStack {
      Spacer()
      MyRadialLayout {
        ForEach(robots) { robot in
          ResizableRobotView(asset: robot.model3DAsset)
            .rotation3DLayout(.degrees(-90), axis: .x)
        }
      }
      .rotation3DLayout(.degrees(90), axis: .x)
    }
  }
}
Key points:
- The outer rotation tilts
MyRadialLayout90 degrees, so the ring lies flat and its old height becomes depth. - The inner rotation tilts each robot back by -90 degrees so they stand upright again.
VStack { Spacer(); MyRadialLayout { ... } }pins the carousel to the bottom of the volume — the same Spacer trick from 2D works in 3D.
SpatialContainer and spatialOverlay (17:00). ZStack stacks children along Z, and depths add up. To put several views in the same 3D space (like nesting dolls), use SpatialContainer with a 3D alignment guide such as .topTrailingBack or .bottomLeadingFront. For overlaying a single view on another, use spatialOverlay; the overlaid view scales to match the target’s size. Trevor uses the latter to add a selection state to the carousel:
struct RobotCarouselItem: View {
  let robot: Robot
  let isSelected: Bool

  var body: some View {
    ResizableRobotView(asset: robot.model3DAsset)
      .spatialOverlay(alignment: .bottom) {
        if isSelected {
          ResizableSelectionRingModel()
        }
      }
  }
}
Key points:
- The selection ring and the robot share one 3D space; the ring aligns to
.bottom, at the robot’s feet. - The ring’s size follows the robot automatically — no manual sizing.
- For “drop one extra view into the same space,”
spatialOverlayis lighter thanSpatialContainer.
Wrap-up: debugBorder3D (18:32). The 3D border tool used throughout the session is itself a composition of the new APIs. One spatialOverlay holds two ZStacks. The outer ZStack draws the front and back 2D borders. The inner ZStack draws the top and bottom edges, and rotation3DLayout(.degrees(90), axis: .y) turns it sideways for the left and right faces. Six faces make a full 3D bounding box.
Key takeaways
-
What to do: upgrade the 3D demo views in your existing SwiftUI app to layout-aware versions.
- Why it matters: rotated models built with
rotation3DEffectoften collide with neighboring cards or spill out of the volume. Replacing them withrotation3DLayoutlets HStack/VStack make room automatically, and the UI stops clipping through itself. - How to start: search the codebase for
rotation3DEffect, then decide case by case — keep it for pure visual animation, or replace it withrotation3DLayoutwhen layout needs to react.
- Why it matters: rotated models built with
-
What to do: add
.depthAlignment(.front)to any Model3D paired with a description card on visionOS.- Why it matters: the default depth alignment is
.back, so the card hides behind the model and the user can’t read it. With.front, the description floats in front of the model. - How to start: rewrite
VStack/HStackasVStackLayout()/HStackLayout(), then chain.depthAlignment(.front).
- Why it matters: the default depth alignment is
-
What to do: implement and commit a
debugBorder3Dmodifier in your visionOS project.- Why it matters: 3D layout is harder to debug than 2D. The eye can’t easily judge how much volume each view occupies, and a 3D border is the cheapest visualization tool.
- How to start: copy the implementation from the session at 18:32 into a DEBUG-only View extension.
-
What to do: build selection visuals with
spatialOverlayinstead of ZStack.- Why it matters: ZStack stretches the total depth along Z, so a selected container grows thicker and disturbs nearby layout.
spatialOverlayshares one 3D space, and the overlay view sizes itself to the host. - How to start: at the selection toggle, replace the ZStack with
.spatialOverlay(alignment: .bottom) { if isSelected { RingView() } }.
- Why it matters: ZStack stretches the total depth along Z, so a selected container grows thicker and disturbs nearby layout.
-
What to do: define a custom
DepthAlignmentIDto express “important things go further forward.”- Why it matters: the three standard tiers — front / center / back — are not enough. A “featured product” in commerce, a “VIP avatar” in social apps, and a “Top Pick” in a collection app all need finer layering.
- How to start: define a struct that conforms to
DepthAlignmentID, call.depthAlignment(.yourGuide)on the Layout, and use.alignmentGuideon key views to set their offsets.
Related sessions
- Better together: SwiftUI and RealityKit — how SwiftUI 3D views interoperate with RealityKit entities; Maks and Amanda use BOT-anist to demonstrate the mixed approach.
- Build a SwiftUI app with the new design — how Liquid Glass is used in SwiftUI, and how it composes with spatial layout for new visual layers.
- Build a UIKit app with the new design — the migration path for the same new design language on the UIKit side.
- Explore prompt design & safety for on-device foundation models — prompt design and safety practices for on-device foundation models.
Comments
GitHub Issues · utterances