
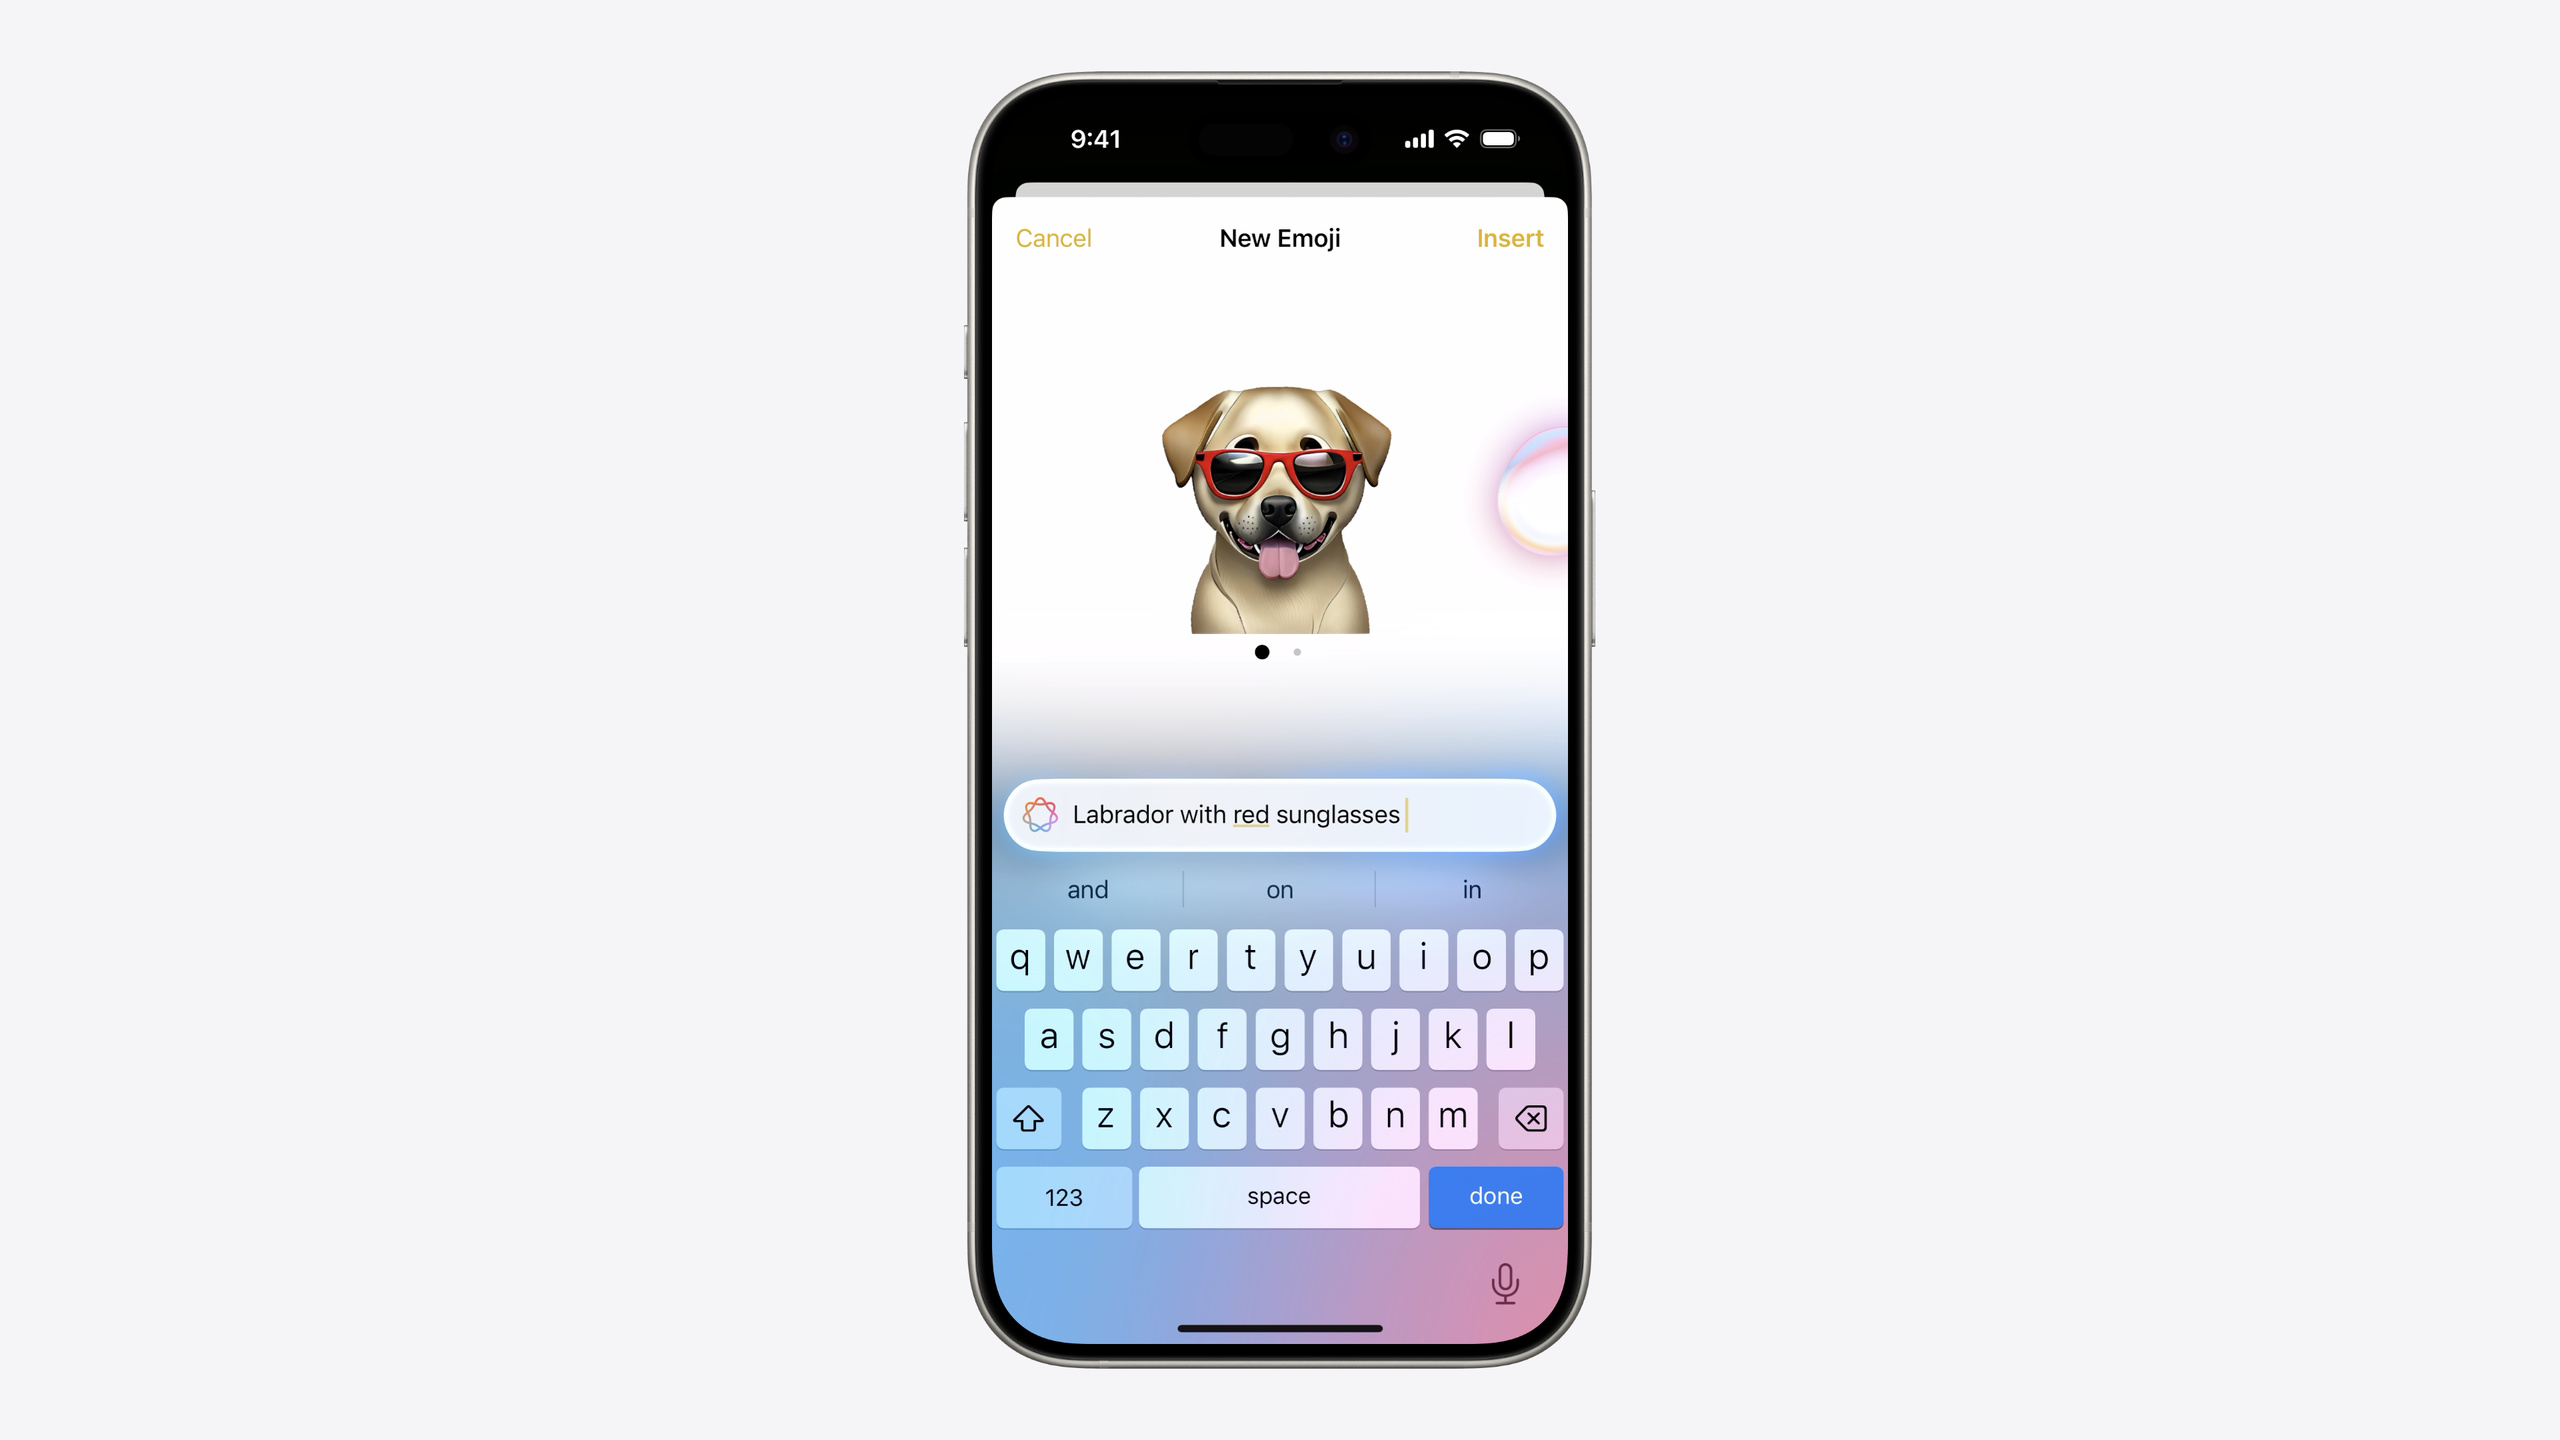
Highlight
Apple introduced Genmoji in iOS 18/macOS 15—users can generate fully custom emoji-style images. But Genmoji is not a Unicode character; it is a bitmap image with metadata. To let Genmoji work in text like standard emoji (copy, paste, formatting, serialization), Apple created a new class: NSAdaptiveImageGlyph.
Core Content
Emoji are Unicode characters sent as plain text and rendered by the receiving device. That mechanism has worked for years, but with a hard limit: you can only use emoji already defined in the Unicode standard. Genmoji breaks that limit—users can instantly generate fully custom emoji-style images from the iOS 18 emoji keyboard. The question is: Genmoji is a bitmap with no corresponding Unicode code point. How can it embed in text like regular emoji, get copied and pasted, and be serialized for storage?
Apple’s answer is NSAdaptiveImageGlyph. This new class bundles a bitmap with metadata: multi-resolution square images, a globally unique and stable contentIdentifier, a contentDescription for accessibility, and typographic metrics for text alignment. With this information, Genmoji can occupy a single character slot in rich text, scale with font size, and flow with surrounding text.
The session walks through three integration scenarios from “almost free” to “fully custom.” First: your app already uses NSTextView / UITextView in rich text mode and stores data as RTFD—Genmoji support turns on automatically with zero code. Second: your backend only accepts plain text—you need to manually decompose and recompose attributed strings, store images in an image store, and keep only references in the text. Third: you use CoreText for custom layout—use the new CTFont APIs to query typographic bounds and draw the image.
Detailed Content
Automatic support: rich text views
If your UITextView already has a pasteConfiguration or a target action that supports image paste, supportsAdaptiveImageGlyph is true by default—no extra code needed (03:36). On macOS, the corresponding property is importsGraphics.
Enabling it manually is straightforward (03:30):
let textView = UITextView()
textView.supportsAdaptiveImageGlyph = true
Key points:
supportsAdaptiveImageGlyphis a new UITextView property that controls whether Genmoji input is accepted- If the text view already supports image paste, this property is automatically true
For serialization, SecureCoding and the Pasteboard framework already natively support NSAdaptiveImageGlyph. Serialize the attributed string to RTFD the same way you always have (04:41):
// Extract contents of text view as an attributed string
let textContents = textView.textStorage

// Serialize as data for storage or transport
let rtfData = try textContents.data(from: NSRange(location: 0, length: textContents.length),
              documentAttributes: [.documentType: NSAttributedString.DocumentType.rtfd])

// Create attributed string from serialized data
let textFromData = try NSAttributedString(data: rtfData, documentAttributes: nil)

// Set on text view
textView.textStorage.setAttributedString(textFromData)
Key points:
data(from:documentAttributes:)with.rtfdserializes rich text that includes Genmoji- Deserialize with
NSAttributedString(data:documentAttributes:)—Genmoji is restored automatically - If your data layer already uses RTFD, no changes are needed
Plain text storage: decompose and recompose
Many apps have backends that only accept plain text (blog titles, message content, etc.). In that case you need to decompose the attributed string into: a plain text string, image position references, and an image data store. The session provides complete decompose and recompose code (06:08):
// Decompose an attributed string

func decomposeAttributedString(_ attrStr: NSAttributedString) -> (String, [(NSRange, String)], [String: Data]) {
    let string = attrStr.string
    var imageRanges: [(NSRange, String)] = []
    var imageData: [String: Data] = [:]
    attrStr.enumerateAttribute(.adaptiveImageGlyph, in: NSMakeRange(0, attrStr.length)) { (value, range, stop) in
        if let glyph = value as? NSAdaptiveImageGlyph {
            let id = glyph.contentIdentifier
            imageRanges.append((range, id))
            if imageData[id] == nil {
                imageData[id] = glyph.imageContent
            }
        }
    }
    return (string, imageRanges, imageData)
}

// Recompose an attributed string

func recomposeAttributedString(string: String, imageRanges: [(NSRange, String)], imageData: [String: Data]) -> NSAttributedString {
    let attrStr: NSMutableAttributedString = .init(string: string)
    var images: [String: NSAdaptiveImageGlyph] = [:]
    for (id, data) in imageData {
        images[id] = NSAdaptiveImageGlyph(imageContent: data)
    }
    for (range, id) in imageRanges {
        attrStr.addAttribute(.adaptiveImageGlyph, value: images[id]!, range: range)
    }
    return attrStr
}
Key points:
enumerateAttribute(.adaptiveImageGlyph, in:)walks all Genmoji positionscontentIdentifieris globally unique and stable—the same Genmoji is not stored twiceimageContentis the raw image Data used to rebuild NSAdaptiveImageGlyph- The decomposed result is a triple: plain text + position/ID list + ID/image data dictionary, ready for separate database fields
HTML output and web compatibility
If content needs to appear on the web, convert the attributed string to HTML (06:30):
// Converting NSAttributedString to HTML

let htmlData = try textContent.data(from: NSRange(location: 0, length: textContent.length),
               documentAttributes: [.documentType: NSAttributedString.DocumentType.html])
Key points:
- Engines that support the
apple-adaptive-glyphtype (such as WebKit) inline-render the image - Unsupported engines show a fallback image; alt text comes from
contentDescription - This is the simplest cross-platform approach for displaying Genmoji
Genmoji in push notifications
Communication notifications now support rich text messages that include Genmoji (07:33):
func didReceive(_ request: UNNotificationRequest,
      withContentHandler contentHandler: @escaping (UNNotificationContent) -> Void) {

  ...
  let message: NSAttributedString = _myAttributedMessageStringWithGlyph
  let context = UNNotificationAttributedMessageContext(sendMessageIntent: sendMessageIntent,
                                                       attributedContent: _message)

  do {
    let messageContent = try request.content.updating(from: context)
    contentHandler(messageContent)
  } catch {
    // Handle error
  }
}
Key points:
UNNotificationAttributedMessageContextis a new API that accepts an attributed string containing image glyphs- In a Notification Service Extension, parse the push payload, download resources, build the attributed string, then update the notification content
Custom layout engines: CoreText APIs
For fully custom text rendering engines, CoreText provides two new functions (09:45):
// Find typographic bounds for image in NSAdaptiveImageGlyph

let provider = adaptiveImageGlyph

let bounds = CTFontGetTypographicBoundsForAdaptiveImageProvider(font, provider)

// Draw it at the typographic origin point on the baseline

CTFontDrawImageFromAdaptiveImageProviderAtPoint(font, provider, point, context)
Key points:
CTFontGetTypographicBoundsForAdaptiveImageProviderreturns typographic bounds (advance width, etc.) relative to the origin on the baselineCTFontDrawImageFromAdaptiveImageProviderAtPointdraws the image at the specified baseline position- These two APIs let Genmoji lay out correctly in custom TextKit and CoreText pipelines
Compatibility notes
Genmoji in RTFD is encoded as standard text attachments and automatically degrades to attachment images on older systems that do not support image glyphs. If your app does not support inline images, use the text from contentDescription as a fallback rather than discarding image information. Plain text fields such as email addresses, phone numbers, and search keywords should not support image glyphs.
Core Takeaways
-
What to do: Check whether all UITextView / NSTextView instances in your app are in rich text mode; if so, confirm
supportsAdaptiveImageGlyph(iOS) orimportsGraphics(macOS) is true. Why it matters: This is a zero-cost way to get Genmoji support—users can immediately use custom emoji in input fields. How to start: Walk through text view configuration in your project and confirm data storage uses RTFD. -
What to do: Implement Genmoji decompose/recompose logic for plain-text backends. Why it matters: Scenarios like blog titles and message content are natural fits for Genmoji, but backends often accept only plain text—the decompose approach balances expressiveness with data compatibility. How to start: Reuse the session’s
decomposeAttributedStringandrecomposeAttributedStringfunctions and add an image store table to your database. -
What to do: Integrate Genmoji in Communication Notifications. Why it matters: Notifications are a core touchpoint for messaging apps; Genmoji makes notification content more distinctive. How to start: In your Notification Service Extension, replace plain-text notification content with
UNNotificationAttributedMessageContext. -
What to do: If your app has a web presence, use HTML serialization for cross-platform Genmoji display. Why it matters: User-generated content may need to appear on web, Android, and other non-Apple platforms—the HTML fallback keeps information intact. How to start: Call
data(from:documentAttributes:)with.htmland always providecontentDescriptionas alt text.
Related Sessions
- Catch up on accessibility in SwiftUI — SwiftUI accessibility updates, complementing Genmoji’s contentDescription accessibility support
- Demystify SwiftUI containers — SwiftUI container view fundamentals, understanding how text containers host Genmoji
- Evolve your document launch experience — Document app launch experience optimization, covering rich text document storage and presentation
- Extend your app’s controls across the system — Extending controls across the system, aligned with Genmoji’s cross-scenario expression approach
Comments
GitHub Issues · utterances