
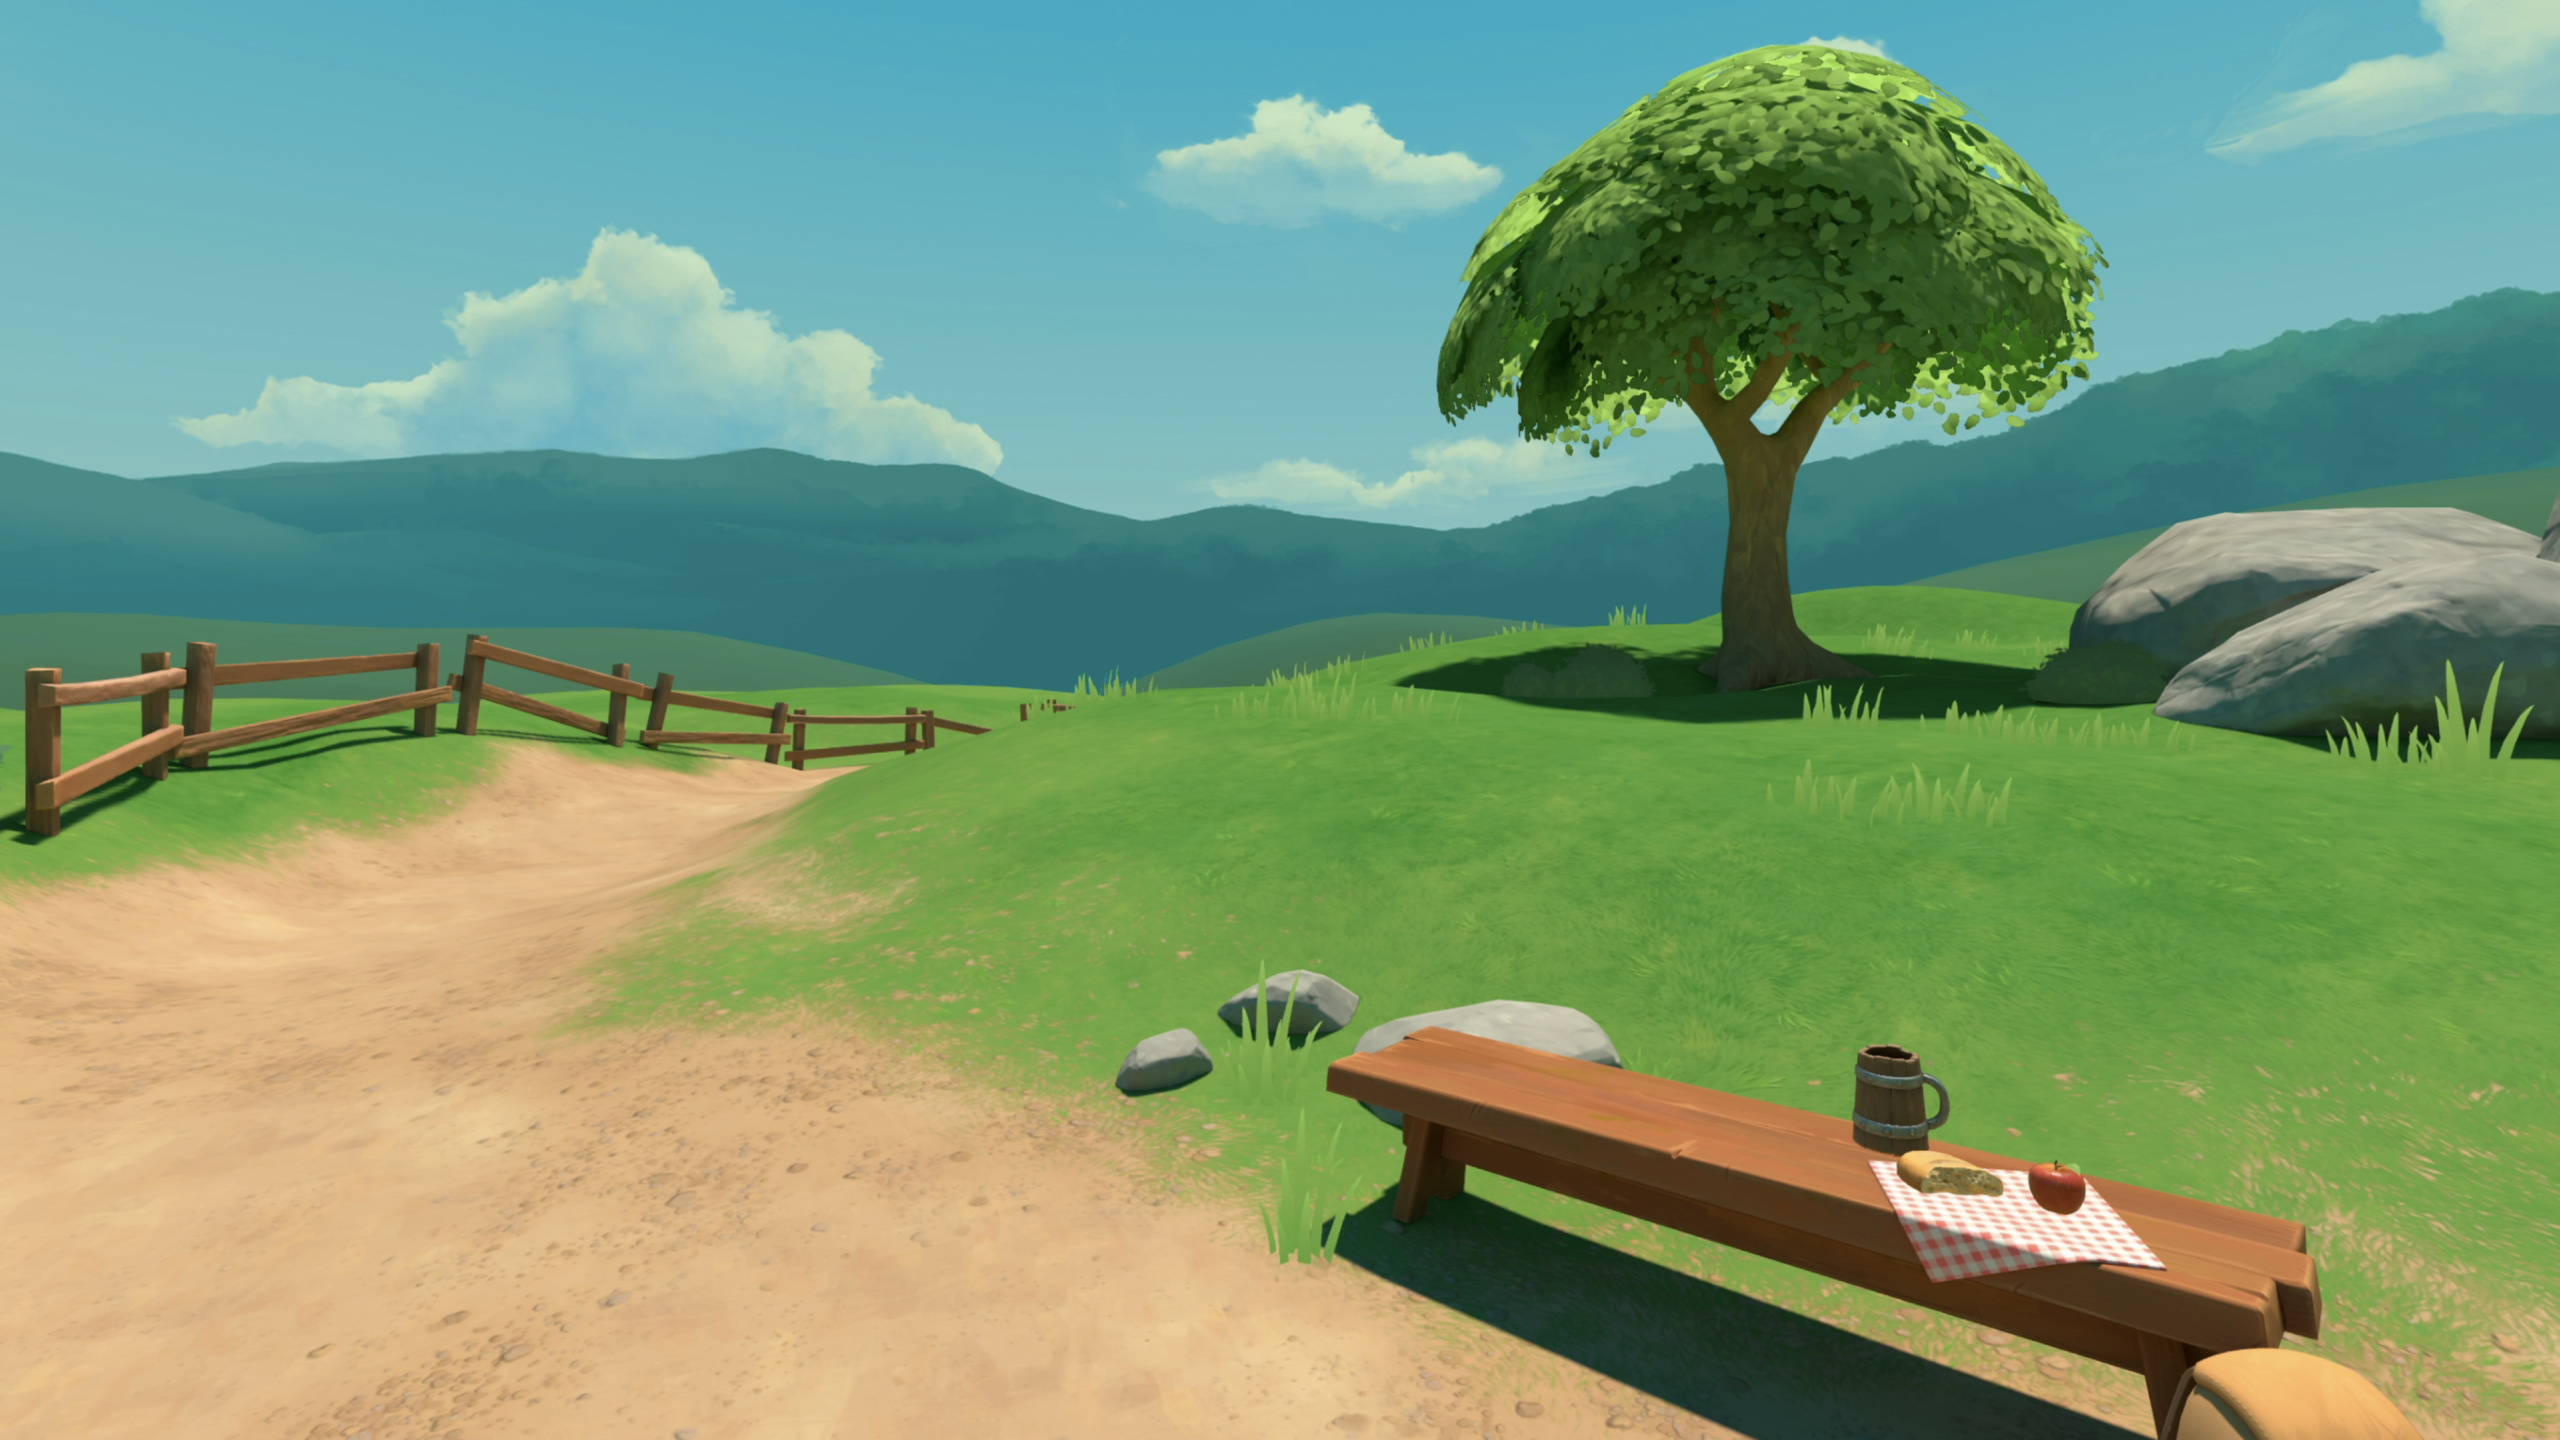
Highlight
On Apple Vision Pro, the GPU renders only the pixels your app actually draws—not passthrough video. GPU workload scales with how much of the user’s field of view your app occupies: immersive scenes render millions of extra pixels per frame; shared-space apps are much faster.
Core Content
Building a 3D scene for Apple Vision Pro: open Blender, model, export USD, drag into Reality Composer Pro—and the asset is rotated, materials are gone, textures aren’t compressed. Each of these “small issues” slows iteration, and Apple Vision Pro’s performance budget is tighter than traditional platforms.
Apple’s answer is an end-to-end optimization workflow: control polygon count during modeling, handle coordinate systems on export, pack textures and choose materials, then configure sky dome and IBL. Every step has concrete numeric targets—immersive scenes stay under 500K triangles, shared space under 250K, and keeping simultaneously visible triangles around 100K leaves plenty of headroom.
The core logic: Apple Vision Pro’s GPU renders only your app’s pixels; passthrough video uses a separate pipeline. So how much of the field of view your app occupies directly drives GPU load. Immersive apps fill the screen and render millions of pixels per frame; small shared-space windows load far less. Once you understand that, triangle budgets, texture compression, and material choices matter much more on spatial computing platforms.
Detailed Content
Polygon budget and scene splitting
Apple gives three clear tiers: 500K triangles for immersive scenes, 250K for shared space, 100K simultaneously visible. Large objects (like terrain) should be split into chunks so the engine can cull whole blocks when off-screen. A practical tip: place a 1.5-meter-tall camera in the scene to preview object scale from the user’s viewpoint (03:44).
USD format choice and coordinate systems
USD has three formats: USDA (plain text, good for collaboration and version control), USDC (binary, good for geometry storage), USDZ (packaged, good for distribution). RealityKit uses Y-up, -Z-forward; Blender uses Z-up, Y-forward—apply a -90° rotation on X when exporting (05:38). RealityKit uses meters; mismatched units in other tools cause scaling issues.
Color space: transfer function vs gamut
In Reality Composer Pro, color space is shown as two terms, e.g. sRGB - Display P3. The first is the transfer function: sRGB for perceptual textures (base color, emissive), Linear for data or HDR textures. The second is gamut: Vision Pro natively uses Display P3; other gamuts are converted automatically at Xcode build time (07:05).
Texture packing
Grayscale textures (roughness, metallic, ambient occlusion) don’t compress when used alone, inflating app size after build. Pack the three into R, G, and B channels of one RGB image. Once packed, the RGB texture compresses and total PBR asset size can drop by up to 40% (09:02).
In Shader Graph, set the packed texture node type to vector3 so the shader treats it as data and skips color-space conversion. Then use a Separate3 node to split RGB back into channels:
// Shader Graph node wiring (not code—describes connections)
PackedTexture(vector3) -> Separate3
  .r -> Roughness
  .g -> Metallic
.b -> Ambient Occlusionvector3type avoids color-space conversionSeparate3splits RGB into separate float outputs- Each channel connects to the corresponding PBR material input
Normal map format and range
RealityKit expects OpenGL-style normal maps; DirectX flips the green channel. Image storage is 0–1, but materials expect -1 to 1—map with value * 2 - 1. Shader Graph’s Normal Map Decode node does this in one step (10:58). Note: the NormalMap node does not remap range—unlike Blender’s node with the same name.
Material instances for reuse
After promoting a file reference to input with Promote to Input in Shader Graph, right-click the material and choose Create Instance. Instances can swap textures while sharing the underlying shader graph. The engine avoids loading duplicate shaders—saving time and performance (11:24).
Unlit materials + baking vs dynamic lighting
Real-time lights cost performance in RealityKit; Apple recommends baking when possible. The sample scene uses Unlit materials throughout—one baked texture per asset. Texture resolution scales with distance—over half of resolution budget goes to the 5–10 meter zone around the user (13:54).
Cost of transparent materials
Transparent materials trigger overdraw—the GPU computes the same pixel multiple times. Prefer geometry over transparent textures: grass blades use actual geometry instead of alpha cards; bushes use an opaque core plus a few transparent card edges. Trading more triangles for fewer transparent pixels is almost always worth it within the triangle budget (15:03).
Sky dome and IBL setup
Sky dome: large low-dynamic-range texture (8K horizontal recommended) + Unlit material, cropped to what the user can’t see. IBL: small HDR texture (Lat/Long); 512px is enough without specular reflections. For IBL to work, add Image Based Light and Image Based Light Receiver components and wire the reference (16:29).
EnvironmentRadiance node
A middle ground between Unlit and PBR: use EnvironmentRadiance in an Unlit material to get IBL specular highlights—lower cost than full PBR, but view-dependent metallic reflections beyond pure Unlit (18:42).
Core Takeaways
-
Texture packing tool: Automatically scan grayscale textures in a project, pack R/G/B into one image, and generate matching Shader Graph node config. Why it’s worth it: Manual packing errors (wrong channels, wrong color space) are common; automation can cut each PBR asset by up to 40%. How to start: Script over Reality Composer Pro texture files, find roughness/metallic/ao triplets under the same asset name, composite with ImageMagick, output a vector3 packed texture.
-
Scene polygon budget dashboard: Build on Reality Composer Pro’s Statistics Panel—a live view of current triangle usage with warnings near the 100K visible-triangle threshold. Why it’s worth it: Apple gives clear budgets but no automated monitoring; many teams optimize only after performance breaks. How to start: Parse exported USDA scenes, count triangles and bounds per entity, estimate visible triangles, output an HTML report.
-
Normal map auto-fix pipeline: Detect OpenGL vs DirectX normal maps and flip green; detect 0–1 range and insert Normal Map Decode. Why it’s worth it: Format and range issues are among the most common visual bugs and slow to debug manually. How to start: Add an import-step script that analyzes green-channel direction and pixel range, flags maps needing fixes, and suggests repairs.
Related Sessions
- Compose interactive 3D content in Reality Composer Pro — Use Timeline to add animation and interaction to 3D content
- What’s new in USD and MaterialX — macOS can adjust coordinates and scale in Preview, reducing manual export fixes
- Create custom environments for your immersive apps in visionOS — Design visually rich, high-performance custom environments for immersive apps
- Break into the RealityKit debugger — Inspect entity hierarchy and pinpoint rendering issues with the RealityKit debugger
Comments
GitHub Issues · utterances