
Highlight
iOS 18 adds Zoom Transition and bridges SwiftUI and UIKit animations, making continuous cross-framework interactions simpler.
Core Content
Building a smooth transition animation usually takes a lot of code. In UIKit you write CAAnimation; in SwiftUI you use withAnimation. If your view hierarchy is mixed, you also have to manually sync animation state on both sides.
iOS 18 solves this. First is Zoom Transition: tap a cell in a list and it expands into a full-screen detail page. This isn’t a simple visual effect—the transition stays interactive throughout. You can grab and drag at any time, or even reverse mid-transition. It works not only for navigation push but also for fullScreenCover and sheet.
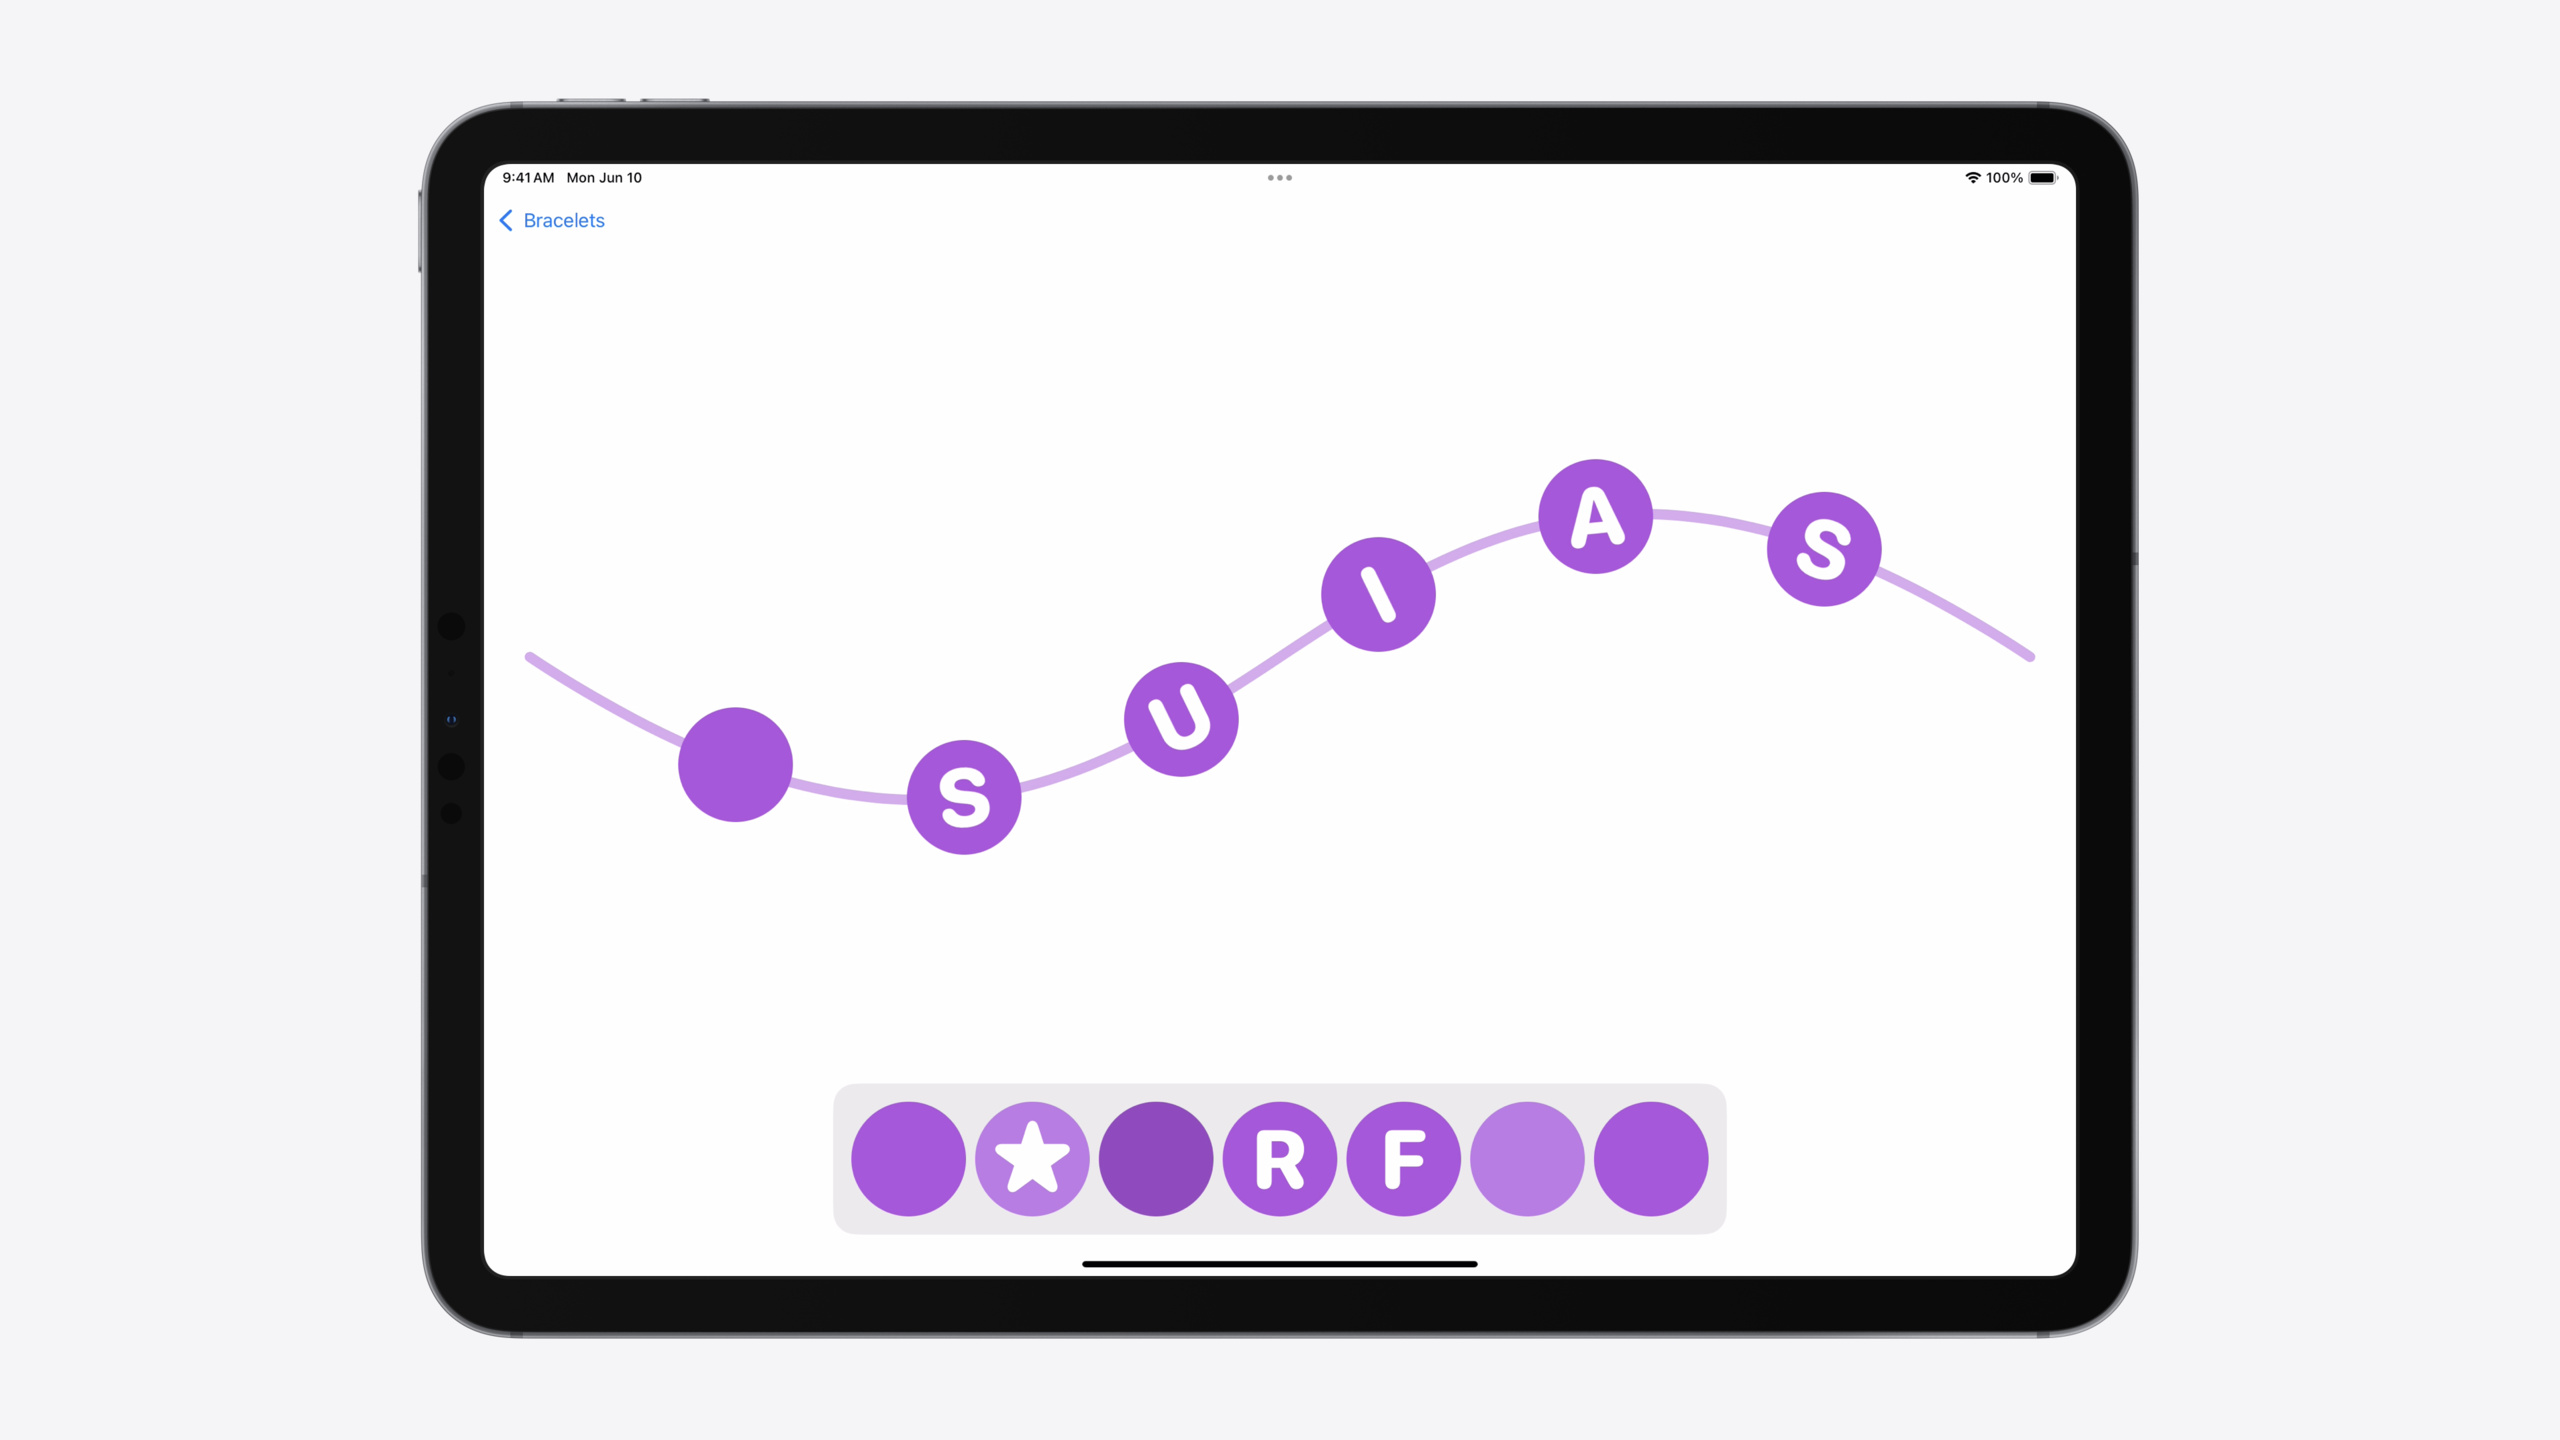
The deeper change is that SwiftUI Animation can now directly drive UIView and NSView. No more UIView.animate—just pass a SwiftUI animation type. In mixed view hierarchies, you can manage all views with one animation API.
The session also covers Zoom Transition lifecycle callback timing in UIKit. In complex scenarios like “pressing back during an in-progress push,” the system doesn’t cancel the push—it completes it immediately and converts to a pop. From the view controller’s perspective, it always reaches the appeared state, and all callbacks (viewWillAppear/willAppear/didAppear) run in the expected order.
Detailed Content
Zoom Transition Basics
Zoom Transition in SwiftUI requires two steps:
NavigationLink {
    BraceletEditor(bracelet)
        .navigationTransitionStyle(
            .zoom(
                sourceID: bracelet.id,
                in: braceletList
            )
        )
} label: {
    BraceletPreview(bracelet)
}
.matchedTransitionSource(
    id: bracelet.id,
    in: braceletList
)
Key points:
navigationTransitionStyle(.zoom(...))declares the destination view uses zoom transition (2:10).matchedTransitionSourcemarks the source view; both share the sameidandnamespace- During the transition, the source view morphs into the destination, preserving continuity of the same UI element on screen
UIKit usage is similar—set preferredTransition before push:
func showEditor(for bracelet: Bracelet) {
    let braceletEditor = BraceletEditor(bracelet)
    braceletEditor.preferredTransition = .zoom { context in
        let editor = context.zoomedViewController
            as! BraceletEditor
        return cell(for: editor.bracelet)
    }
    navigationController?.pushViewController(braceletEditor, animated: true)
}
Key points:
preferredTransitionis set on the destination view controller (3:02)- The closure is called once for zoom in and once for zoom out
- Return a stable identifier (such as a model object) rather than capturing the view directly, to avoid UICollectionView reuse issues
- Read current data from
contextso returning from detail after swiping left/right lands on the correct source view
Transition Lifecycle and Compatibility
An important design for interruptible UIKit transitions: an interrupted push is not cancelled—it completes immediately and becomes a pop.
This means:
- Push’s
viewWillAppear→viewDidAppearwill always be called - Then in the same runloop cycle, pop begins, triggering
viewWillDisappear→viewDidDisappear - From code’s perspective, it’s like push completed normally and pop started immediately
This preserves compatibility with existing code. If push were cancelled, the view controller never “truly appeared,” and much code assuming “do this once in viewWillAppear” would break.
SwiftUI Animation Driving UIKit Views
iOS 18’s biggest bridge is that SwiftUI Animation types can be used directly for UIView animation:
UIView.animate(.spring(duration: 0.5)) {
    bead.center = endOfBracelet
}
Key points:
- The parameter is no longer traditional
UIView.AnimationOptionsbut SwiftUI’sAnimationtype (8:39) - Supports all SwiftUI animation types, including CustomAnimations
- Internally it doesn’t create CAAnimation—it directly manipulates layer presentation values
- The presentation layer still correctly reflects animation state
In UIViewRepresentable, bridge animations with the new context.animate:
struct BeadBoxWrapper: UIViewRepresentable {
    @Binding var isOpen: Bool

    func updateUIView(_ box: BeadBox, context: Context) {
        context.animate {
            box.lid.center.y = isOpen ? -100 : 100
        }
    }
}

struct BraceletEditor: View {
    @State private var isBeadBoxOpen = false
    var body: some View {
        BeadBoxWrapper($isBeadBoxOpen.animated())
            .onTapGesture {
                isBeadBoxOpen.toggle()
            }
    }
}
Key points:
- The
.animated()modifier makes binding changes carry animation information (9:56) context.animatecaptures the animation on the current Transaction and applies it to UIView changes- If the Transaction has no animation, code runs immediately with no manual check needed
- SwiftUI and UIView animations stay perfectly in sync
Gesture-Driven Continuous Animation
After a drag gesture ends, preserving velocity traditionally requires calculating initial velocity:
switch gesture.state {
case .changed:
    UIView.animate(.interactiveSpring) {
        bead.center = gesture.translation
    }

case .ended:
    UIView.animate(.spring) {
        bead.center = endOfBracelet
    }
}
Key points:
- During the gesture, use
.interactiveSpring; each change creates a new animation that retargets the previous one (11:39) - After the gesture ends, use a regular
.springthat automatically inherits prior velocity - No manual unit velocity calculation—SwiftUI animations handle it automatically
- This is a SwiftUI animation advantage: animations triggered by continuous events automatically merge and preserve velocity
Core Takeaways
-
Use Zoom Transition instead of the default push animation: If your app has a “large image from list into detail page” scenario, enable Zoom Transition directly. It’s iOS 18 system design language—Photos and Messages use it. Just add the modifier and source marker for significantly improved visual continuity.
-
Use SwiftUI Animation to unify motion in mixed view hierarchies: Don’t hand-write UIView.animate in UIKit parts and withAnimation in SwiftUI parts. The new API lets you drive all views with one animation type. Especially for UIKit views in UIViewRepresentable, use
context.animateto bridge—external animation configuration passes through automatically. -
Use interactiveSpring to simplify velocity calculation for drag interactions: For any “drag then snap back” scenario (pull-to-refresh, card dragging), use
.interactiveSpringwith gesture changes; the regular spring animation on gesture end automatically inherits velocity. No manual velocity/distance ratio calculation—simpler code and more natural feel.
Related Sessions
- What’s new in SwiftUI — Annual SwiftUI framework update overview covering TabView, window management, zoom transition, and more
- What’s new in UIKit — UIKit framework new features including transitions, text input, and navigation bar updates
- Create custom visual effects with SwiftUI — How to build custom visual effects in SwiftUI including scroll effects and color processing
- Elevate your tab and sidebar experience in iPadOS — iPadOS 18 new navigation system supporting flexible switching between Tab Bar and Sidebar
- Create custom hover effects in visionOS — How to develop custom gaze-triggered hover effects
Comments
GitHub Issues · utterances