
Highlight
macOS Sequoia takes AppKit’s SwiftUI integration further: NSHostingMenu shares menu definitions, NSView supports SwiftUI Animation types for interruptible animations, and new standard components include Text Entry Suggestions, system cursors, and Save Panel file format pickers.
Core Content
Mac apps have long faced a tension: AppKit delivers full system-level control, while SwiftUI brings declarative development efficiency—but the boundary between them has never been smooth. Menus had to be built by hand with NSMenu, animations relied on legacy NSAnimationContext APIs, and text input suggestions were implemented differently in every app. These gaps slowed development and increased maintenance cost.
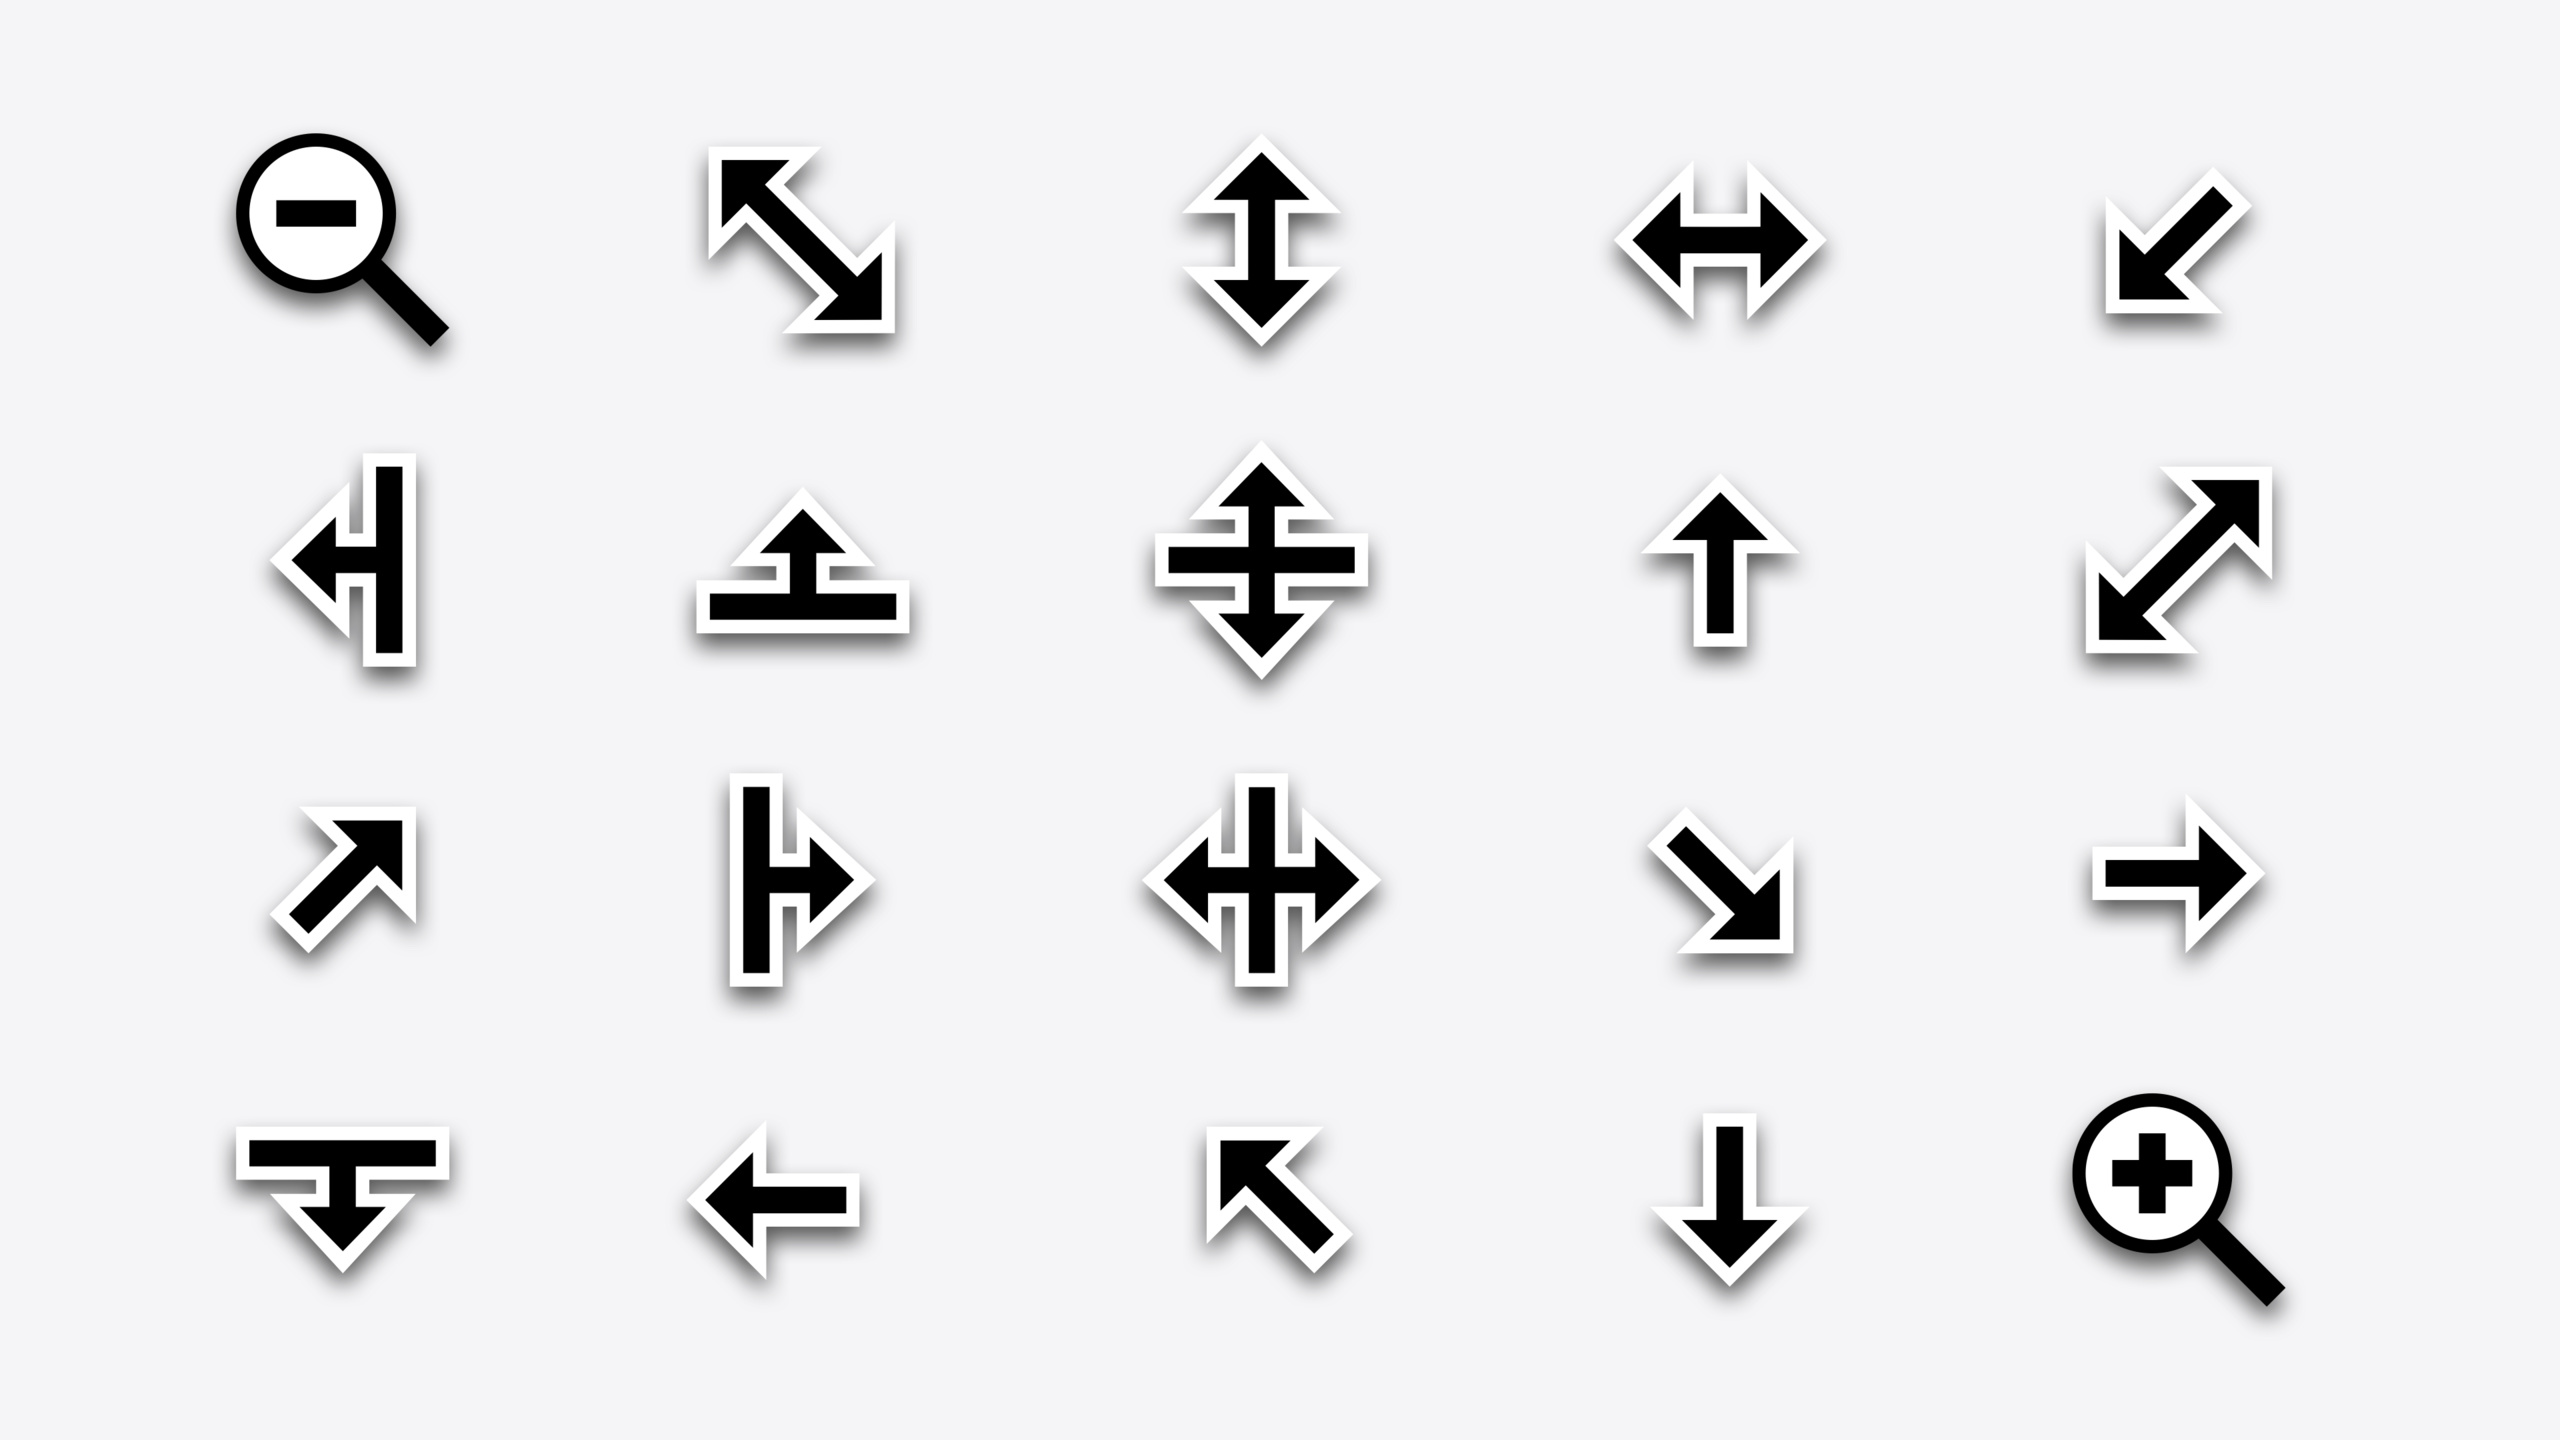
Sequoia fills them one by one. NSHostingMenu lets you define menu content with SwiftUI views, sharing the same menu definition across AppKit and SwiftUI. NSAnimationContext.animate(with:) now accepts SwiftUI Animation types, including custom animations, and animations naturally support interruption and redirection. NSTextField adds suggestionsDelegate, a standard protocol for custom input suggestions in search fields and text fields. System cursors (frame resize, column/row resize, zoom in/out) are finally exposed in the SDK—no more drawing your own.
On the system side, Writing Tools work automatically in standard NSTextView, Genmoji appear as inline images in text flows, and Image Playground integrates in a few lines via ImagePlaygroundViewController. Window Tiling applies automatically to all existing apps, but developers should verify that window min/max size constraints are reasonable.
Detailed Content
Image Playground Integration (02:09)
extension DocumentCanvasViewController {

    @IBAction
    func importFromImagePlayground(_ sender: Any?) {
        let playground = ImagePlaygroundViewController()
        playground.delegate = self

        playground.concepts = [.text("birthday card")]
        playground.sourceImage = NSImage(named: "balloons")

        presentAsSheet(playground)
    }

}

extension DocumentCanvasViewController: ImagePlaygroundViewController.Delegate {

    func imagePlaygroundViewController(
        _ imagePlaygroundViewController: ImagePlaygroundViewController,
        didCreateImageAt resultingImageURL: URL
    ) {
        if let image = NSImage(contentsOf: resultingImageURL) {
            imageView.image = image
        }
        dismiss(imagePlaygroundViewController)
    }

}
Key points:
ImagePlaygroundViewControlleris the entry point for the whole experience; set a delegate to listen for lifecycle eventsconceptsaccepts text concept descriptions;sourceImageprovides a visual reference—both are optional starting points for the user- When generation completes, the callback returns a file URL in a sandbox temp directory—you read and persist it yourself
- Present with
presentAsSheet(_:)and dismiss in the delegate callback when creation finishes
Window Tiling and Window Sizing (05:50)
Window Tiling fills half or quarter of the screen when you drag a window to an edge; Option + drag previews snap to the nearest edge. Two side-by-side windows resize in sync. New windows use cascadingReferenceFrame to get a non-tiled frame from an existing window for cascade offset. For terminal-style apps, resizeIncrements constrain resizing to character width and height steps:
window.resizeIncrements = NSSize(width: characterWidth, height: characterHeight)NSHostingMenu: SwiftUI Menus for AppKit (07:05)
struct ActionMenu: View {

    var body: some View {
        Toggle("Use Groups", isOn: $useGroups)
        Picker("Sort By", selection: $sortOrder) {
            ForEach(SortOrder.allCases) { Text($0.title) }
        }.pickerStyle(.inline)
        Button("Customize View…") { <#Action#> }
    }

}

let menu = NSHostingMenu(rootView: ActionMenu())

let pullDown = NSPopUpButton(image: image, pullDownMenu: menu)
Key points:
- Menu content uses standard SwiftUI declarations:
Togglefor switches,Pickerfor selection,Buttonfor actions NSHostingMenuis a new NSMenu subclass that wraps a SwiftUI view into an NSMenu- The wrapped menu works in any AppKit context that accepts NSMenu, such as an
NSPopUpButtonpull-down menu
SwiftUI Animations on NSView (07:43)
NSAnimationContext.animate(with: .spring(duration: 0.3)) {
    drawer.isExpanded.toggle()
}
Pair with the @Invalidating property wrapper so property changes automatically trigger relayout:
class PaletteView: NSView {

    @Invalidating(.layout)
    var isExpanded: Bool = false

    private func onHover(_ isHovered: Bool) {
        NSAnimationContext.animate(with: .spring) {
            isExpanded = isHovered
            layoutSubtreeIfNeeded()
        }
    }

}
Key points:
NSAnimationContext.animate(with:)accepts any SwiftUI Animation type, including CustomAnimation- Animations are naturally interruptible and redirectable—changing direction mid-animation won’t stutter
@Invalidating(.layout)marks the view for relayout when the property changes
Text Highlighting (10:31)
let attributes: [NSAttributedString.Key: Any] = [
    .textHighlight: NSAttributedString.TextHighlightStyle.systemDefault,
    .textHighlightColorScheme: NSAttributedString.TextHighlightColorScheme.pink,
]
Available automatically in rich-text NSTextView; the Font menu’s Highlight submenu lets users pick a color scheme.
Text Entry Suggestions (17:49)
class MuseumTextSuggestionsController: NSTextSuggestionsDelegate {

    typealias SuggestionItemType = Museum

    func textField(
        _ textField: NSTextField,
        provideUpdatedSuggestions responseHandler: @escaping ((ItemResponse) -> Void)
    ) {
        let searchString = textField.stringValue

        func museumItem(_ museum: Museum) -> Item {
            var item = NSSuggestionItem(representedValue: museum, title: museum.name)
            item.secondaryTitle = museum.address
            return item
        }

        let favoriteMuseums = Museum.favorites.filter({
            $0.matches(searchString)
        })
        let favorites = NSSuggestionItemSection(
            title: NSLocalizedString("Favorites", comment: ""),
            items: favoriteMuseums.map(museumItem(_:))
        )
        var response = NSSuggestionItemResponse(itemSections: [favorites])
        response.phase = .intermediate
        responseHandler(response)

        Task {
            let otherMuseums = await Museum.allMatching(searchString)
            let nonFavorites = NSSuggestionItemSection(items: otherMuseums.map(museumItem(_:)))
            var response = NSSuggestionItemResponse(itemSections: [favorites, nonFavorites])
            response.phase = .final
            responseHandler(response)
        }
    }

}
Key points:
- Set
textField.suggestionsDelegateto enable; works with NSTextField and subclasses like NSSearchField - You can return results in two phases: synchronous
.intermediatefirst, then async.final NSSuggestionItemsupportssecondaryTitlefor extra info;NSSuggestionItemSectionsupports grouping
Core Takeaways
-
What to do: Add Text Entry Suggestions to NSTextField for search suggestions or autocomplete. Why it’s worth it: Users expect instant feedback while typing; this API is the system-standard approach with sync + async phased results, more consistent than custom popovers. How to start: Implement
NSTextSuggestionsDelegate, settextField.suggestionsDelegate, return.intermediatelocal results first, then async.finalremote results. -
What to do: Migrate menu definitions to SwiftUI with NSHostingMenu, shared across AppKit/SwiftUI. Why it’s worth it: Maintain menu logic in one place; declarative Toggle, Picker, and Button are clearer than manually building NSMenuItem. How to start: Create a SwiftUI view as the menu body, wrap with
NSHostingMenu(rootView:), and replace existing NSMenu construction code. -
What to do: Replace legacy NSAnimationContext animations with SwiftUI Animation. Why it’s worth it: Spring and custom animations in one declaration, with natural interruption and redirection for better interaction. How to start: Replace
NSAnimationContext.runAnimationGroupwithNSAnimationContext.animate(with: .spring(duration:)), and use@Invalidating(.layout)on properties that should animate. -
What to do: Integrate Image Playground as an image input source. Why it’s worth it: If your app already supports inserting images from Photos or Finder, Image Playground is a zero-friction third path—
ImagePlaygroundViewControlleropens the generation UI in a few lines. How to start: CreateImagePlaygroundViewController, set delegate and optional concepts/sourceImage, present as a sheet, and read the file URL in the delegate callback. -
What to do: Replace custom-drawn cursors with system cursor APIs. Why it’s worth it: System cursors automatically support accessibility large sizes and pointer color customization; custom cursors need extra handling. How to start: Use
NSCursor.frameResize(position:directions:),NSCursor.columnResize(directions:),NSCursor.zoomIn/.zoomOutinstead of custom cursor images.
Related Sessions
- Enhance your UI animations and transitions — Deep dive into using SwiftUI Animation in UIKit and AppKit
- Get started with Writing Tools — How Writing Tools work and interact with your app
- Bring expression to your app with Genmoji — How to adopt custom emoji as inline images in your app
- What’s new in SF Symbols 6 — New symbols, animation effects, and custom symbols in SF Symbols 6
- Animate symbols in your app — How to use the new symbol animation effects in your app
Comments
GitHub Issues · utterances