
Highlight
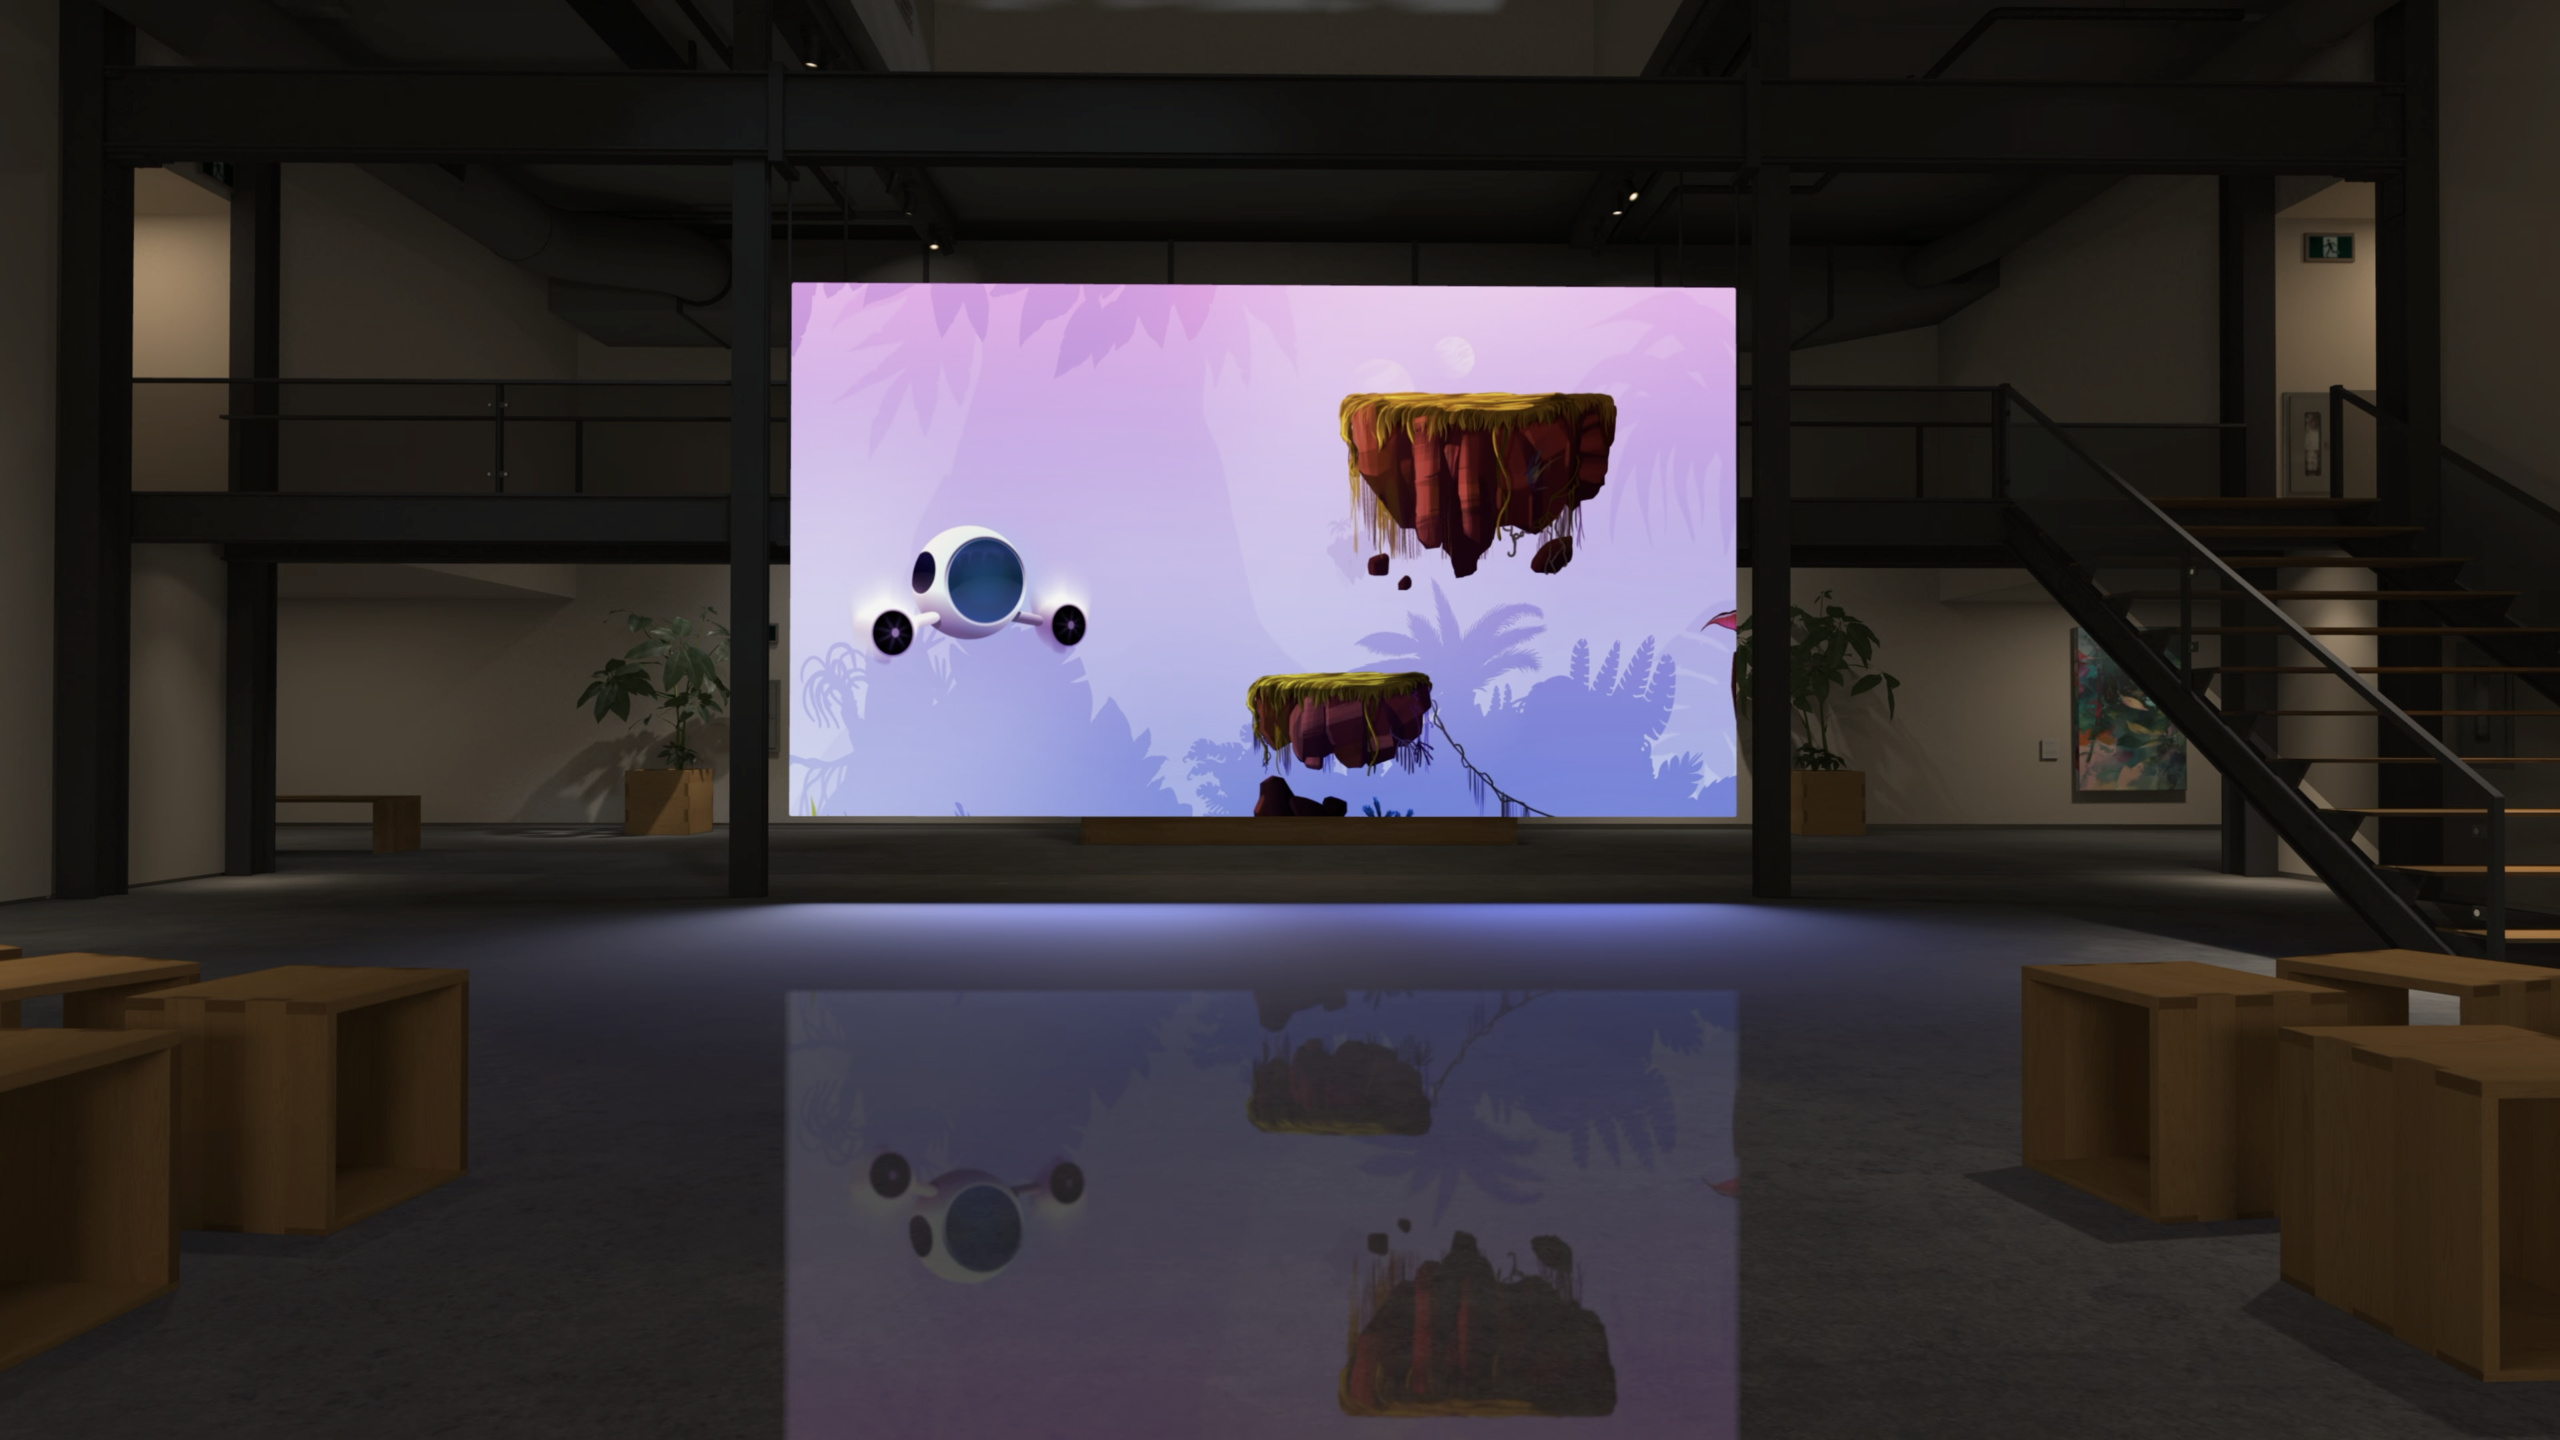
This session covers building immersive media viewing experiences in visionOS custom environments. Using the Destination Video sample project’s Studio environment as a blueprint, it walks through the full workflow from basic setup to advanced effects.
Core Content
Watching video on visionOS, the default experience is a draggable, resizable window. The window experience itself is fine, but Apple Vision Pro’s immersion capabilities go far beyond that. The problem: when you put video in a custom 3D environment, the video floats in mid-air with no interaction with the environment—it looks like a floating screen pasted into a room, and viewers don’t feel the atmosphere of “watching a movie in this space.”
Apple provides a system-level solution in visionOS 2. The core idea is to “dock” video to a fixed position in the environment, then blend video and environment through media reflections, environmental lighting, spatial reverb, and passthrough tint. Specifically, ImmersiveSpace provides progressive immersion (users adjust from none to full via Digital Crown), AVPlayerViewController automatically participates in system docking behavior in full-screen mode. This year’s new Docking Region component lets you customize the dock position, placing video precisely where you designed in the environment. Combined with Virtual Environment Probe for environmental lighting, Reverb for spatial reverb, and Brightness and Tint to match passthrough to environment tone, the experience transforms from “window pasted in a room” to “giant screen in a theater.”
Detailed Content
Foundation: ImmersiveSpace + AVPlayerViewController
The foundation of media viewing is the ImmersiveSpace scene type paired with AVPlayerViewController (02:07). ImmersiveSpace supports progressive immersion; users control immersion level via Digital Crown. AVPlayerViewController supports HLS streaming with playback controls consistent with system TV and Music apps. When AVPlayerViewController enters full-screen mode, the system automatically “docks”—placing video at a fixed position (03:26).
Custom dock position: Docking Region
By default, the system decides where video docks. This year you can customize this position via the Docking Region Component in Reality Composer Pro (03:37). Steps: In Reality Composer Pro’s insert menu, select Environment > Video Dock preset, expand the Video Dock entity to find the Player entity, adjust the Docking Region Component’s width property in the Inspector. Width defines maximum playback size at 2.4:1 aspect ratio; videos exceeding this size auto-scale (06:01). After adjusting dimensions, raise the display by modifying the Player entity’s position transform—like a theater screen slightly above floor level (06:30).
Note the ImmersiveSpace coordinate origin: the origin is near the viewer’s feet when the space first opens. All entity positions are relative to this origin (05:36). Destination Video’s Studio environment places the Docking Region directly in front of the viewer, symmetric with surrounding architecture, ensuring unobstructed sight lines (07:01).
Media reflections: Specular and Diffuse
Video can produce reflections on environmental surfaces, enhancing realism. Reality Composer Pro’s ShaderGraph provides two reflection nodes (08:22):
- Reflection Specular: Direct video reflection, for smooth surfaces (metal, mirrors, water). Setup: entity with Docking Region in scene + surface material connected to
Reflection_Specularnode; RealityKit auto-calculates reflection based on Docking Region position and floor texture coordinates (08:55). - Reflection Diffuse: Soft attenuated reflection, for rough surfaces (wood floors, concrete). Studio environment uses Diffuse reflection because soft attenuation better matches floor material. Note: if you move the Docking Region, floor entity, or use custom mesh, recalculate
Reflection_Diffusetexture coordinates and import into Reality Composer Pro (09:25).
Virtual Environment Probe, Brightness & Tint, Reverb
Virtual Environment Probe describes color variation and lighting intensity in the environment; the system uses this to automatically shade PBR materials, approximating light bouncing between objects (10:30). If your environment supports light and dark variants (like Studio’s Dark and Light), configure two pre-generated Environment Resources and a blend factor; app code drives transition between them while the system drives immersion blending. Keep transition time short—system environment light/dark transitions are 1.5 seconds (11:13).
Brightness & Tint lets passthrough lighting on the viewer’s hands match the custom environment’s tone, like how hands look when theater lights dim (11:44). Corresponding code properties are immersiveContentBrightness and surroundingsEffect.
Reverb component is new this year, added via Add Component in Reality Composer Pro’s Inspector (13:21). Presets include Medium Room (Treated), Outdoor, Very Large Room, etc. Studio uses Very Large Room preset. Even without custom audio in your environment, choose a Reverb preset so the system can spatialize UI button sounds and other system audio (13:46).
Immersive Environment Picker
With the .immersiveEnvironmentPicker modifier, your custom environment appears in the same selection list as system environments (14:45):
WindowGroup {
    ContentView()
        .immersiveEnvironmentPicker {
            ForEach(viewModel.environmentItems) { item in
                Button(item.title, image: item.thumbnail) {
                    Task {
                        await openImmersiveSpace(id: item.id)
                    }
                }
            }
        }
}
Key points:
.immersiveEnvironmentPickermodifier onContentView()defines the environment selection list for the video player in that viewForEachiterates environment data; each entry needstitleandthumbnailimage- In the
Buttonaction, open the corresponding immersive space viaopenImmersiveSpace(id:) - Users see your custom environment in the system environment list; after selection, video auto-docks to that environment’s Docking Region
SharePlay environment sync
SharePlay can now sync environment state—multiple participants can share the same immersive experience (15:35):
import AVKit
import GroupActivities

for await session in MyActivity.sessions() {
    // join the session, activate the activity, etc.

    playerViewController
        .player?
        .playbackCoordinator
        .coordinateWithSession(session)

    playerViewController
        .groupExperienceCoordinator
        .coordinateWithSession(session)
}
Key points:
- Import
AVKitandGroupActivitiesframeworks playbackCoordinator.coordinateWithSession(session)syncs media playback progress—existing APIgroupExperienceCoordinator.coordinateWithSession(session)is new, syncing viewing environment state- Both use the same
GroupSession; participants share the same environment when watching full-screen
Core Takeaways
-
What to do: Add Docking Region to existing ImmersiveSpace media apps. Add Video Dock preset to existing environment in Reality Composer Pro, adjust Player entity position and dimensions, transforming video from “floating window” to “fixed screen embedded in environment.” Why it matters: Lowest-cost immersion upgrade—no code logic changes, just component property adjustments in Reality Composer Pro. How to start: Open existing environment’s Reality Composer Pro project, insert Video Dock preset, adjust Docking Region Component width and Player entity position.
-
What to do: Add Reverb component and media reflections to custom environments. Choose reverb preset matching acoustic characteristics (Medium Room Treated for indoors, Outdoor for outside, Very Large Room for large spaces), connect Reflection_Diffuse or Reflection_Specular nodes in floor material. Why it matters: These effects enhance “being in this space” realism from auditory and visual dimensions at low implementation cost. How to start: Add Component > Reverb on root entity in Reality Composer Pro Inspector, select preset; connect reflection nodes in floor material’s ShaderGraph.
-
What to do: Implement multi-environment variants and Immersive Environment Picker. Prepare light and dark variants for the same environment assets, configure two Environment Resources with Virtual Environment Probe, then let users select your custom environment via
.immersiveEnvironmentPicker. Why it matters: Environment variants give users choice; Environment Picker displays your environment alongside system environments, reducing discovery cost. How to start: Reference Destination Video’s Studio project structure—it fully demonstrates Dark/Light dual variants + Environment Picker implementation.
Related Sessions
- Create custom environments for your immersive apps in visionOS — Complete workflow for creating custom immersive environments
- Create enhanced spatial computing experiences with ARKit — Advanced ARKit immersive experience building
- Bring your iOS or iPadOS game to visionOS — Practice migrating existing iOS games to visionOS immersive spaces
- Design interactive experiences for visionOS — Design methodology for visionOS interactive narrative experiences
Comments
GitHub Issues · utterances