
Highlight
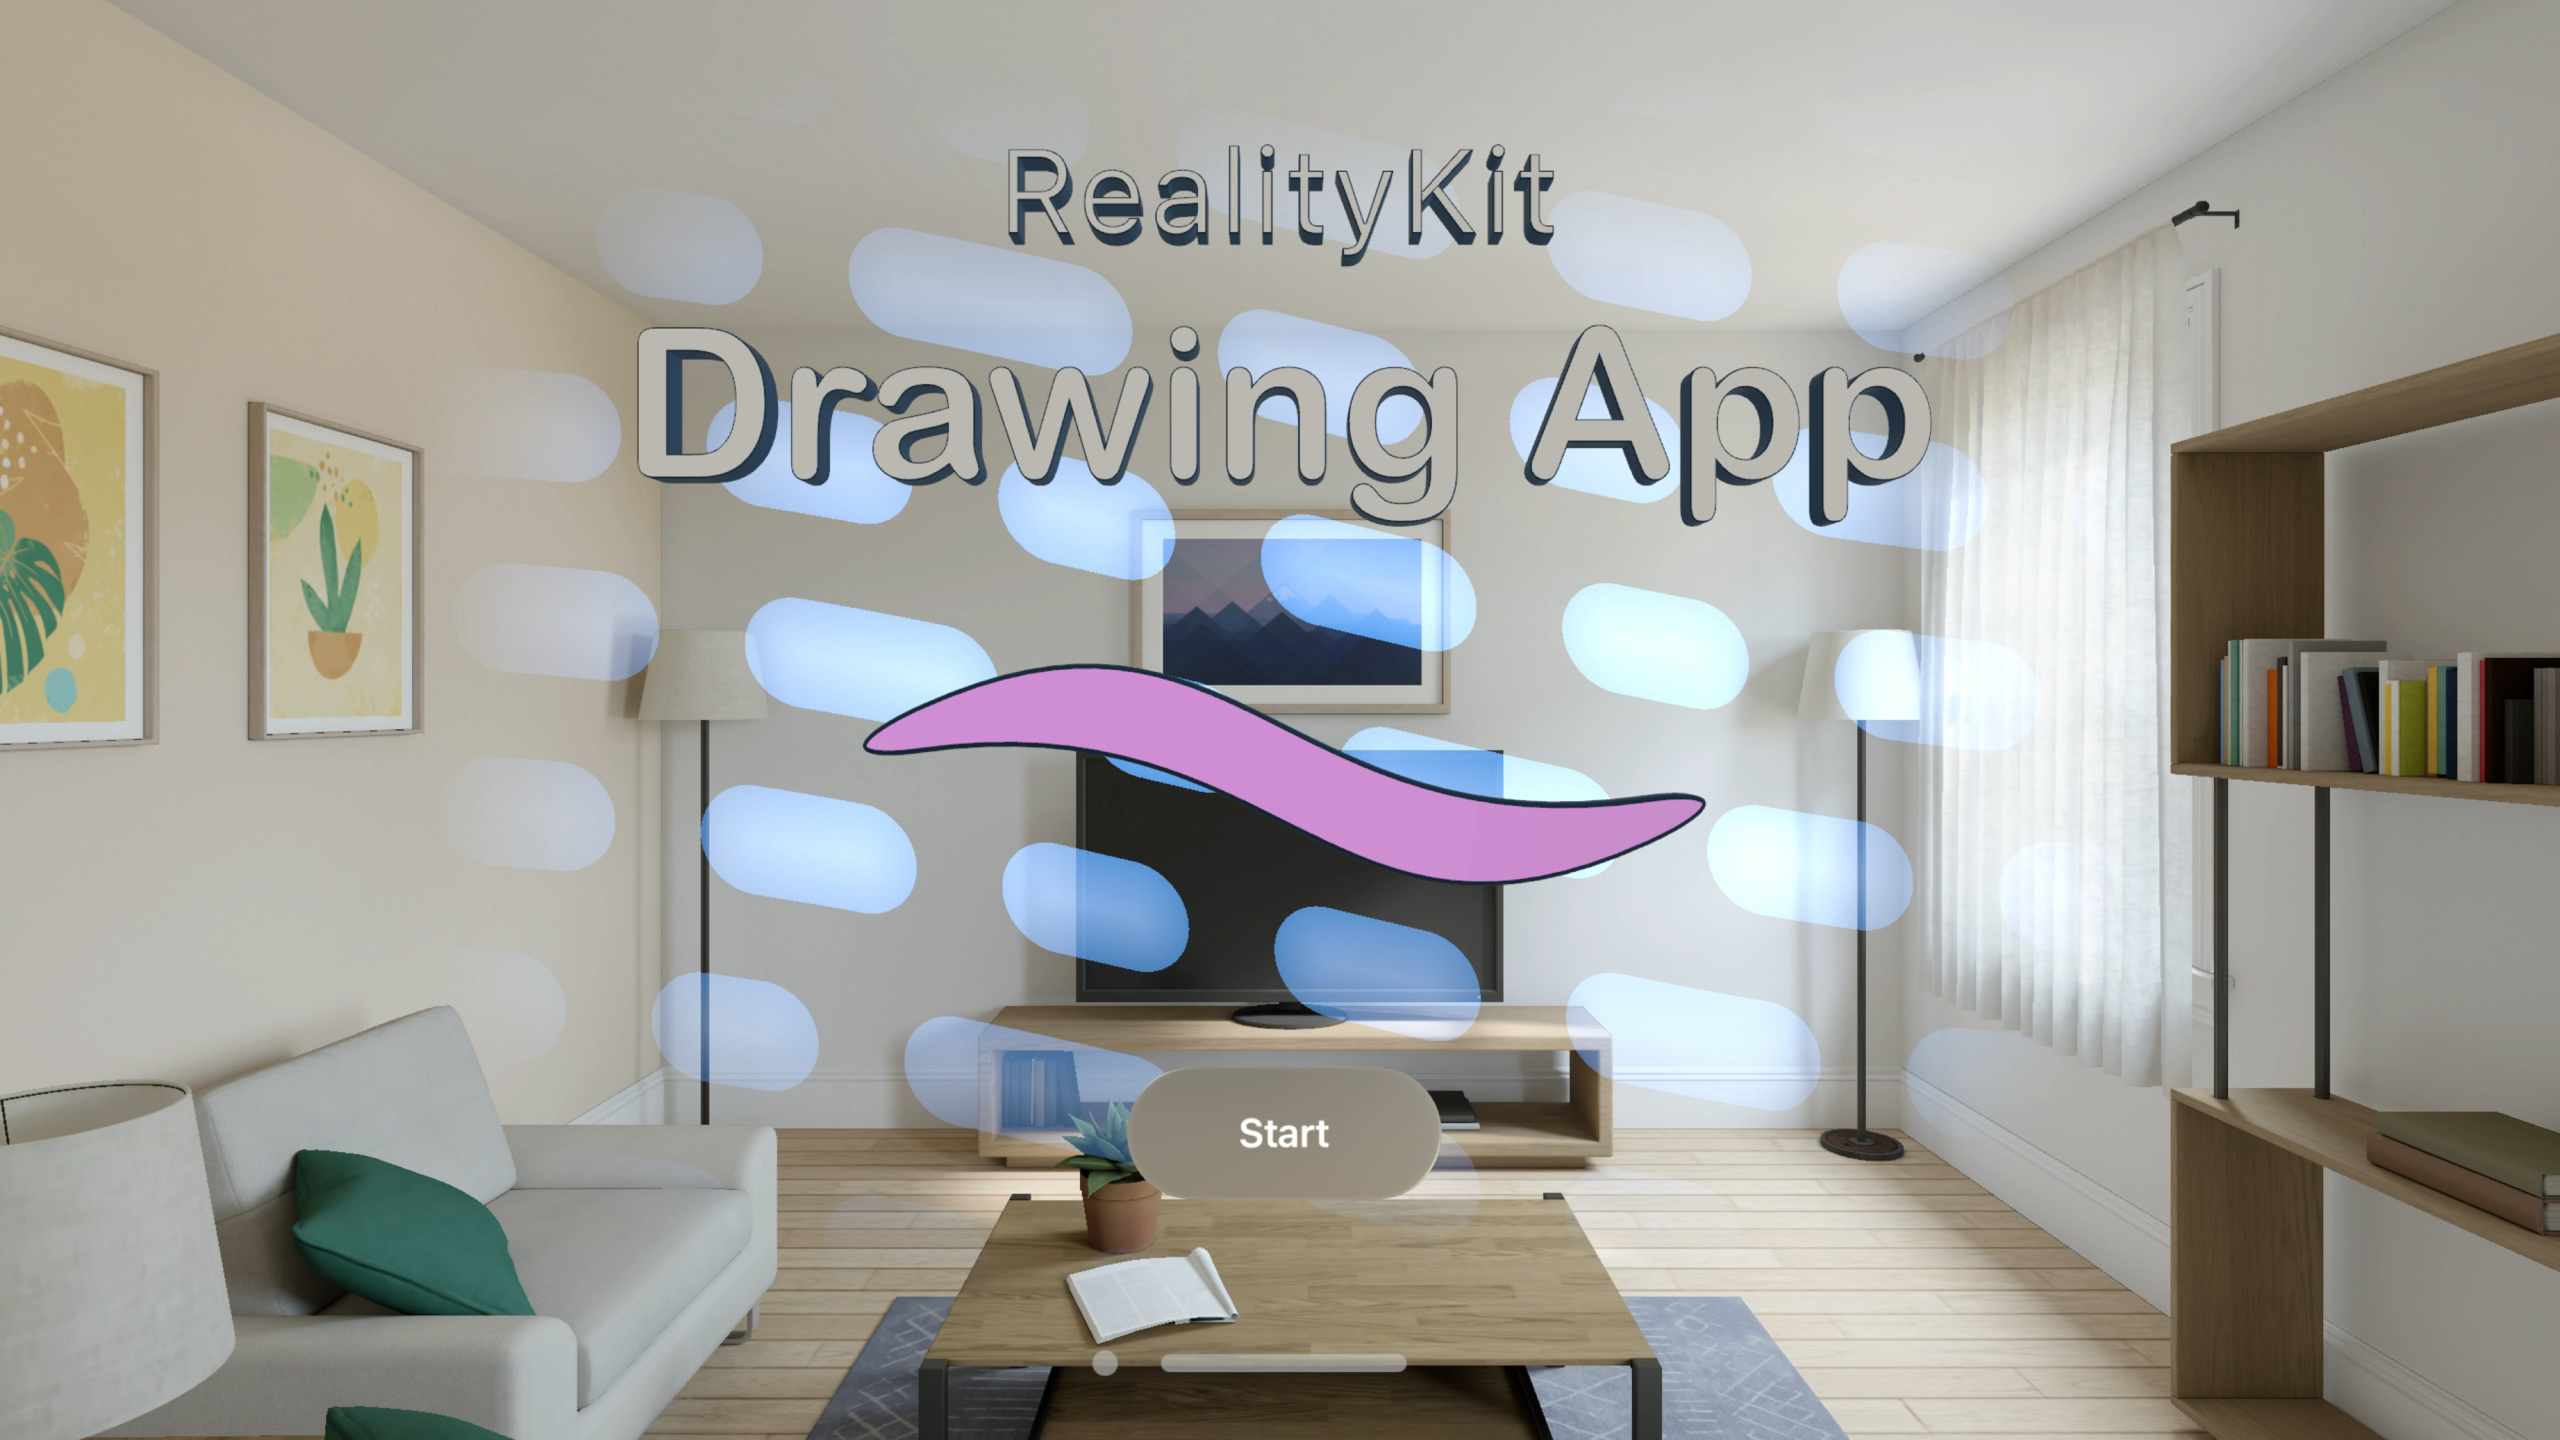
This session walks through building a spatial drawing app, introducing multiple new RealityKit capabilities in visionOS 2.0. The app lets users draw in space by pinching with their fingers, with solid and sparkle brush types and adjustable color and thickness.
Core Content
The first step in building a spatial drawing app on visionOS is getting finger positions. visionOS 1.0 required indirectly fetching hand anchor data through ARKit—verbose steps, and ARKit session and RealityKit immersive space were two separate systems. visionOS 2.0 introduces SpatialTrackingSession, requesting tracking permission directly at the RealityKit layer; AnchorEntity transforms update hand poses automatically, reducing code and clarifying logic.
With hand data in hand, the app needs to render user strokes as 3D geometry in real time. Traditional RealityKit MeshResource uses a contiguous memory layout—all vertex positions together, all normals together—requiring heavy data movement when appending vertices. For stroke meshes that grow every frame, this layout is a performance bottleneck. visionOS 2.0’s new LowLevelMesh API lets you customize vertex buffer layout, supporting interleaved layout, multiple buffers, triangle strip topology, and even filling vertex data directly from Metal compute shaders. Your existing GPU geometry pipeline can plug into RealityKit zero-copy. Combined with the new LowLevelTexture API, the entire drawing app’s mesh generation and texture updates run on GPU with reliable frame rates.
Detailed Content
SpatialTrackingSession: Tracking Entry Point Replacing ARKit
In ImmersiveSpace, AnchorEntity can anchor to hand joints. But for AnchorEntity transforms to actually update, you need to request tracking permission. SpatialTrackingSession is the new visionOS 2.0 API (04:18):
// Retain the SpatialTrackingSession while your app needs access

let session = SpatialTrackingSession()

// Declare needed tracking capabilities
let configuration = SpatialTrackingSession.Configuration(tracking: [.hand])

// Request authorization for spatial tracking
let unapprovedCapabilities = await session.run(configuration)

if let unapprovedCapabilities, unapprovedCapabilities.anchor.contains(.hand) {
    // User has rejected hand data for your app.
    // AnchorEntities will continue to remain anchored and update visually
    // However, AnchorEntity.transform will not receive updates
} else {
    // User has approved hand data for your app.
    // AnchorEntity.transform will report hand anchor pose
}
Key points:
SpatialTrackingSession()creates a session instance—keep a reference while tracking is neededConfiguration(tracking: [.hand])declares hand tracking capabilitysession.run(configuration)triggers the system authorization prompt and returns unapproved capabilities- When permission is denied, AnchorEntity still updates visually but transform won’t receive data—check the return value for graceful degradation
- With SpatialTrackingSession, AnchorEntity can also interact with the RealityKit physics system
MeshResource Extruding: 2D Paths to 3D Models
The app’s canvas edge is a ring defined by two concentric circles in SwiftUI Path, then extruded to 3D (07:07):
let path = SwiftUI.Path { path in
    path.addArc(center: .zero, radius: outerRadius,
        startAngle: .degrees(0), endAngle: .degrees(360),
        clockwise: true)
    path.addArc(center: .zero, radius: innerRadius,
        startAngle: .degrees(0), endAngle: .degrees(360),
        clockwise: true)
}.normalized(eoFill: true)
var options = MeshResource.ShapeExtrusionOptions()
options.boundaryResolution
    = .uniformSegmentsPerSpan(segmentCount: 64)
options.extrusionMethod = .linear(depth: extrusionDepth)

return try MeshResource(extruding: path,
                        extrusionOptions: extrusionOptions)
Key points:
normalized(eoFill: true)enables even-odd fill rule—the area between two concentric circles forms a ringboundaryResolutioncontrols arc subdivision—64 segments is smooth enough for a ringextrusionMethod = .linear(depth:)extrudes along Z axis by specified depth- Same API supports AttributedString extrusion for 3D text (27:01) with per-face material index and bevel radius
Note: visionOS foveated rendering can cause flicker on thin, high-contrast edges. The session explicitly recommends avoiding thin-line geometry in visionOS scenes—thicken edges instead to eliminate visual artifacts.
HoverEffectComponent: New Highlight and Shader Hover Effects
visionOS 2.0 adds two new hover effects to HoverEffectComponent (09:33):
let hover = HoverEffectComponent(
    .highlight(.init(
        color: UIColor(/* ... */),
        strength: 5.0)
    )
)
placementEntity.components.set(hover)
Key points:
.highlightapplies uniform highlight color to the entity;strengthcontrols vividness.shader(.default)allows custom hover behavior via ShaderGraphMaterial- Hover State nodes in ShaderGraph provide
Time Since Hover StartandIntensityproperties for a glow sweeping along the stroke (13:45)
LowLevelMesh: Custom Vertex Layout, Zero-Copy GPU Pipeline Integration
Solid brush vertex struct (16:56):
struct SolidBrushVertex {
    packed_float3 position;
    packed_float3 normal;
    packed_float3 bitangent;
    packed_float3 materialProperties;
    float curveDistance;
    packed_half3 color;
};
Then describe each field’s semantics and offset with LowLevelMesh.Attribute (19:27):
extension SolidBrushVertex {
    static var vertexAttributes: [LowLevelMesh.Attribute] {
        typealias Attribute = LowLevelMesh.Attribute
        return [
            Attribute(semantic: .position, format: MTLVertexFormat.float3, layoutIndex: 0,
                      offset: MemoryLayout.offset(of: \Self.position)!),
            Attribute(semantic: .normal, format: MTLVertexFormat.float3, layoutIndex: 0,
                      offset: MemoryLayout.offset(of: \Self.normal)!),
            Attribute(semantic: .bitangent, format: MTLVertexFormat.float3, layoutIndex: 0,
                      offset: MemoryLayout.offset(of: \Self.bitangent)!),
            Attribute(semantic: .color, format: MTLVertexFormat.half3, layoutIndex: 0,
                      offset: MemoryLayout.offset(of: \Self.color)!),
            Attribute(semantic: .uv1, format: MTLVertexFormat.float, layoutIndex: 0,
                      offset: MemoryLayout.offset(of: \Self.curveDistance)!),
            Attribute(semantic: .uv3, format: MTLVertexFormat.float2, layoutIndex: 0,
                      offset: MemoryLayout.offset(of: \Self.materialProperties)!)
        ]
    }
}
Key points:
semantictells RealityKit how to interpret the attribute; custom attributes map to UV channels (up to 8)formatcorresponds to Metal vertex format, supporting half-precision and compressed formatsoffsetusesMemoryLayout.offset(of:)for automatic calculation, avoiding manual errorslayoutIndexpoints to an entry in the vertex layout list, determining which buffer holds the data
Create LowLevelMesh with buffer capacity and layout (21:14):
private static func makeLowLevelMesh(vertexBufferSize: Int, indexBufferSize: Int,
                                     meshBounds: BoundingBox) throws -> LowLevelMesh
{
    var descriptor = LowLevelMesh.Descriptor()
    descriptor.vertexCapacity = vertexBufferSize
    descriptor.indexCapacity = indexBufferSize
    descriptor.vertexAttributes = SolidBrushVertex.vertexAttributes

    let stride = MemoryLayout<SolidBrushVertex>.stride
    descriptor.vertexLayouts = [LowLevelMesh.Layout(bufferIndex: 0,
                                                    bufferOffset: 0, bufferStride: stride)]

    let mesh = try LowLevelMesh(descriptor: descriptor)
    mesh.parts.append(LowLevelMesh.Part(indexOffset: 0, indexCount: indexBufferSize,
                                        topology: .triangleStrip, materialIndex: 0,
                                        bounds: meshBounds))
    return mesh
}
Key points:
vertexCapacityandindexCapacitypreallocate buffer sizesvertexLayoutsdeclares interleaved layout—all attributes in one buffer, arranged per vertextopology: .triangleStripsaves indices vs triangle list, ideal for tubular geometry- Each Part can specify a different materialIndex for multi-material support
Update vertex and index data with withUnsafeMutableBytes (22:37):
mesh.withUnsafeMutableBytes(bufferIndex: 0) { buffer in
    let vertices: UnsafeMutableBufferPointer<SolidBrushVertex>
        = buffer.bindMemory(to: SolidBrushVertex.self)
    // Write to vertex buffer `vertices`
}
GPU-Driven Particle Brush: LowLevelMesh + Metal Compute
Sparkle brush updates particle positions each frame; Metal compute shader writes directly to LowLevelMesh buffer (25:28):
let inputParticleBuffer: MTLBuffer
let lowLevelMesh: LowLevelMesh

let commandBuffer: MTLCommandBuffer
let encoder: MTLComputeCommandEncoder
let populatePipeline: MTLComputePipelineState

commandBuffer.enqueue()
encoder.setComputePipelineState(populatePipeline)

let vertexBuffer: MTLBuffer = lowLevelMesh.replace(bufferIndex: 0, using: commandBuffer)

encoder.setBuffer(inputParticleBuffer, offset: 0, index: 0)
encoder.setBuffer(vertexBuffer, offset: 0, index: 1)
encoder.dispatchThreadgroups(/* ... */)

encoder.endEncoding()
commandBuffer.commit()
Key points:
lowLevelMesh.replace(bufferIndex:using:)returns an MTLBuffer bindable to compute shader like any Metal buffer- After command buffer submission, RealityKit automatically renders with updated vertex data—no manual sync
- Input is particle simulation buffer, output writes directly to LowLevelMesh vertex buffer—zero-copy in between
LowLevelTexture: GPU Dynamic Textures
Splash screen background texture generated with LowLevelTexture (29:44):
let descriptor = LowLevelTexture.Descriptor(pixelFormat: .rg16Float,
                                            width: textureResolution,
                                            height: textureResolution,
                                            textureUsage: [.shaderWrite, .shaderRead])

let lowLevelTexture = try LowLevelTexture(descriptor: descriptor)
var textureResource = try TextureResource(from: lowLevelTexture)

var material = UnlitMaterial()
material.color = .init(tint: .white, texture: .init(textureResource))
Key points:
pixelFormatsupports compressed formats—new in visionOS 2.0textureUsagedeclares shader read/write permissions- Create TextureResource and assign directly to material’s color.texture
- GPU-side updates use
lowLevelTexture.replace(using: commandBuffer)to get MTLTexture—symmetric with LowLevelMesh
Core Takeaways
-
What to do: Use LowLevelMesh to bridge existing Metal geometry pipelines to RealityKit. Why it’s worth it: If you already have Metal-based mesh generation (CAD, game engine exporters), zero-copy integration means no extra conversion layer and direct frame rate benefits. How to start: Describe your vertex struct with LowLevelMesh.Attribute, specify layoutIndex and offset, create LowLevelMesh.Descriptor, fill data with
withUnsafeMutableBytes. -
What to do: Use ShaderGraph Hover State nodes for hover glow sweeping along a path. Why it’s worth it: More spatial than static highlight—users intuitively sense which 3D element they’re gazing at, noticeably improving interaction quality. How to start: Create ShaderGraphMaterial in Reality Composer Pro, add Hover State node, drive glow position along curveDistance with
Time Since Hover Start, activate withHoverEffectComponent(.shader(.default))in code. -
What to do: Use MeshResource extruding to quickly convert SwiftUI Path and AttributedString into 3D UI elements. Why it’s worth it: Vector icons and text titles from 2D designs become spatial entities directly, skipping modeling, with dynamic parameters (depth, bevel, material zones). How to start: Define SwiftUI.Path or AttributedString, configure ShapeExtrusionOptions (depth, bevel radius, material assignment), one line
MeshResource(extruding:)generates the mesh.
Related Sessions
- Discover RealityKit APIs for iOS, macOS, and visionOS — Panoramic overview of new cross-platform RealityKit APIs
- Compose interactive 3D content in Reality Composer Pro — Create interactive 3D content with Timeline and ShaderGraph in Reality Composer Pro
- Enhance your spatial computing app with RealityKit audio — Add immersive audio to spatial computing apps
- Explore rendering for spatial computing — Deep dive into visionOS foveated rendering and performance optimization
Comments
GitHub Issues · utterances