
Highlight
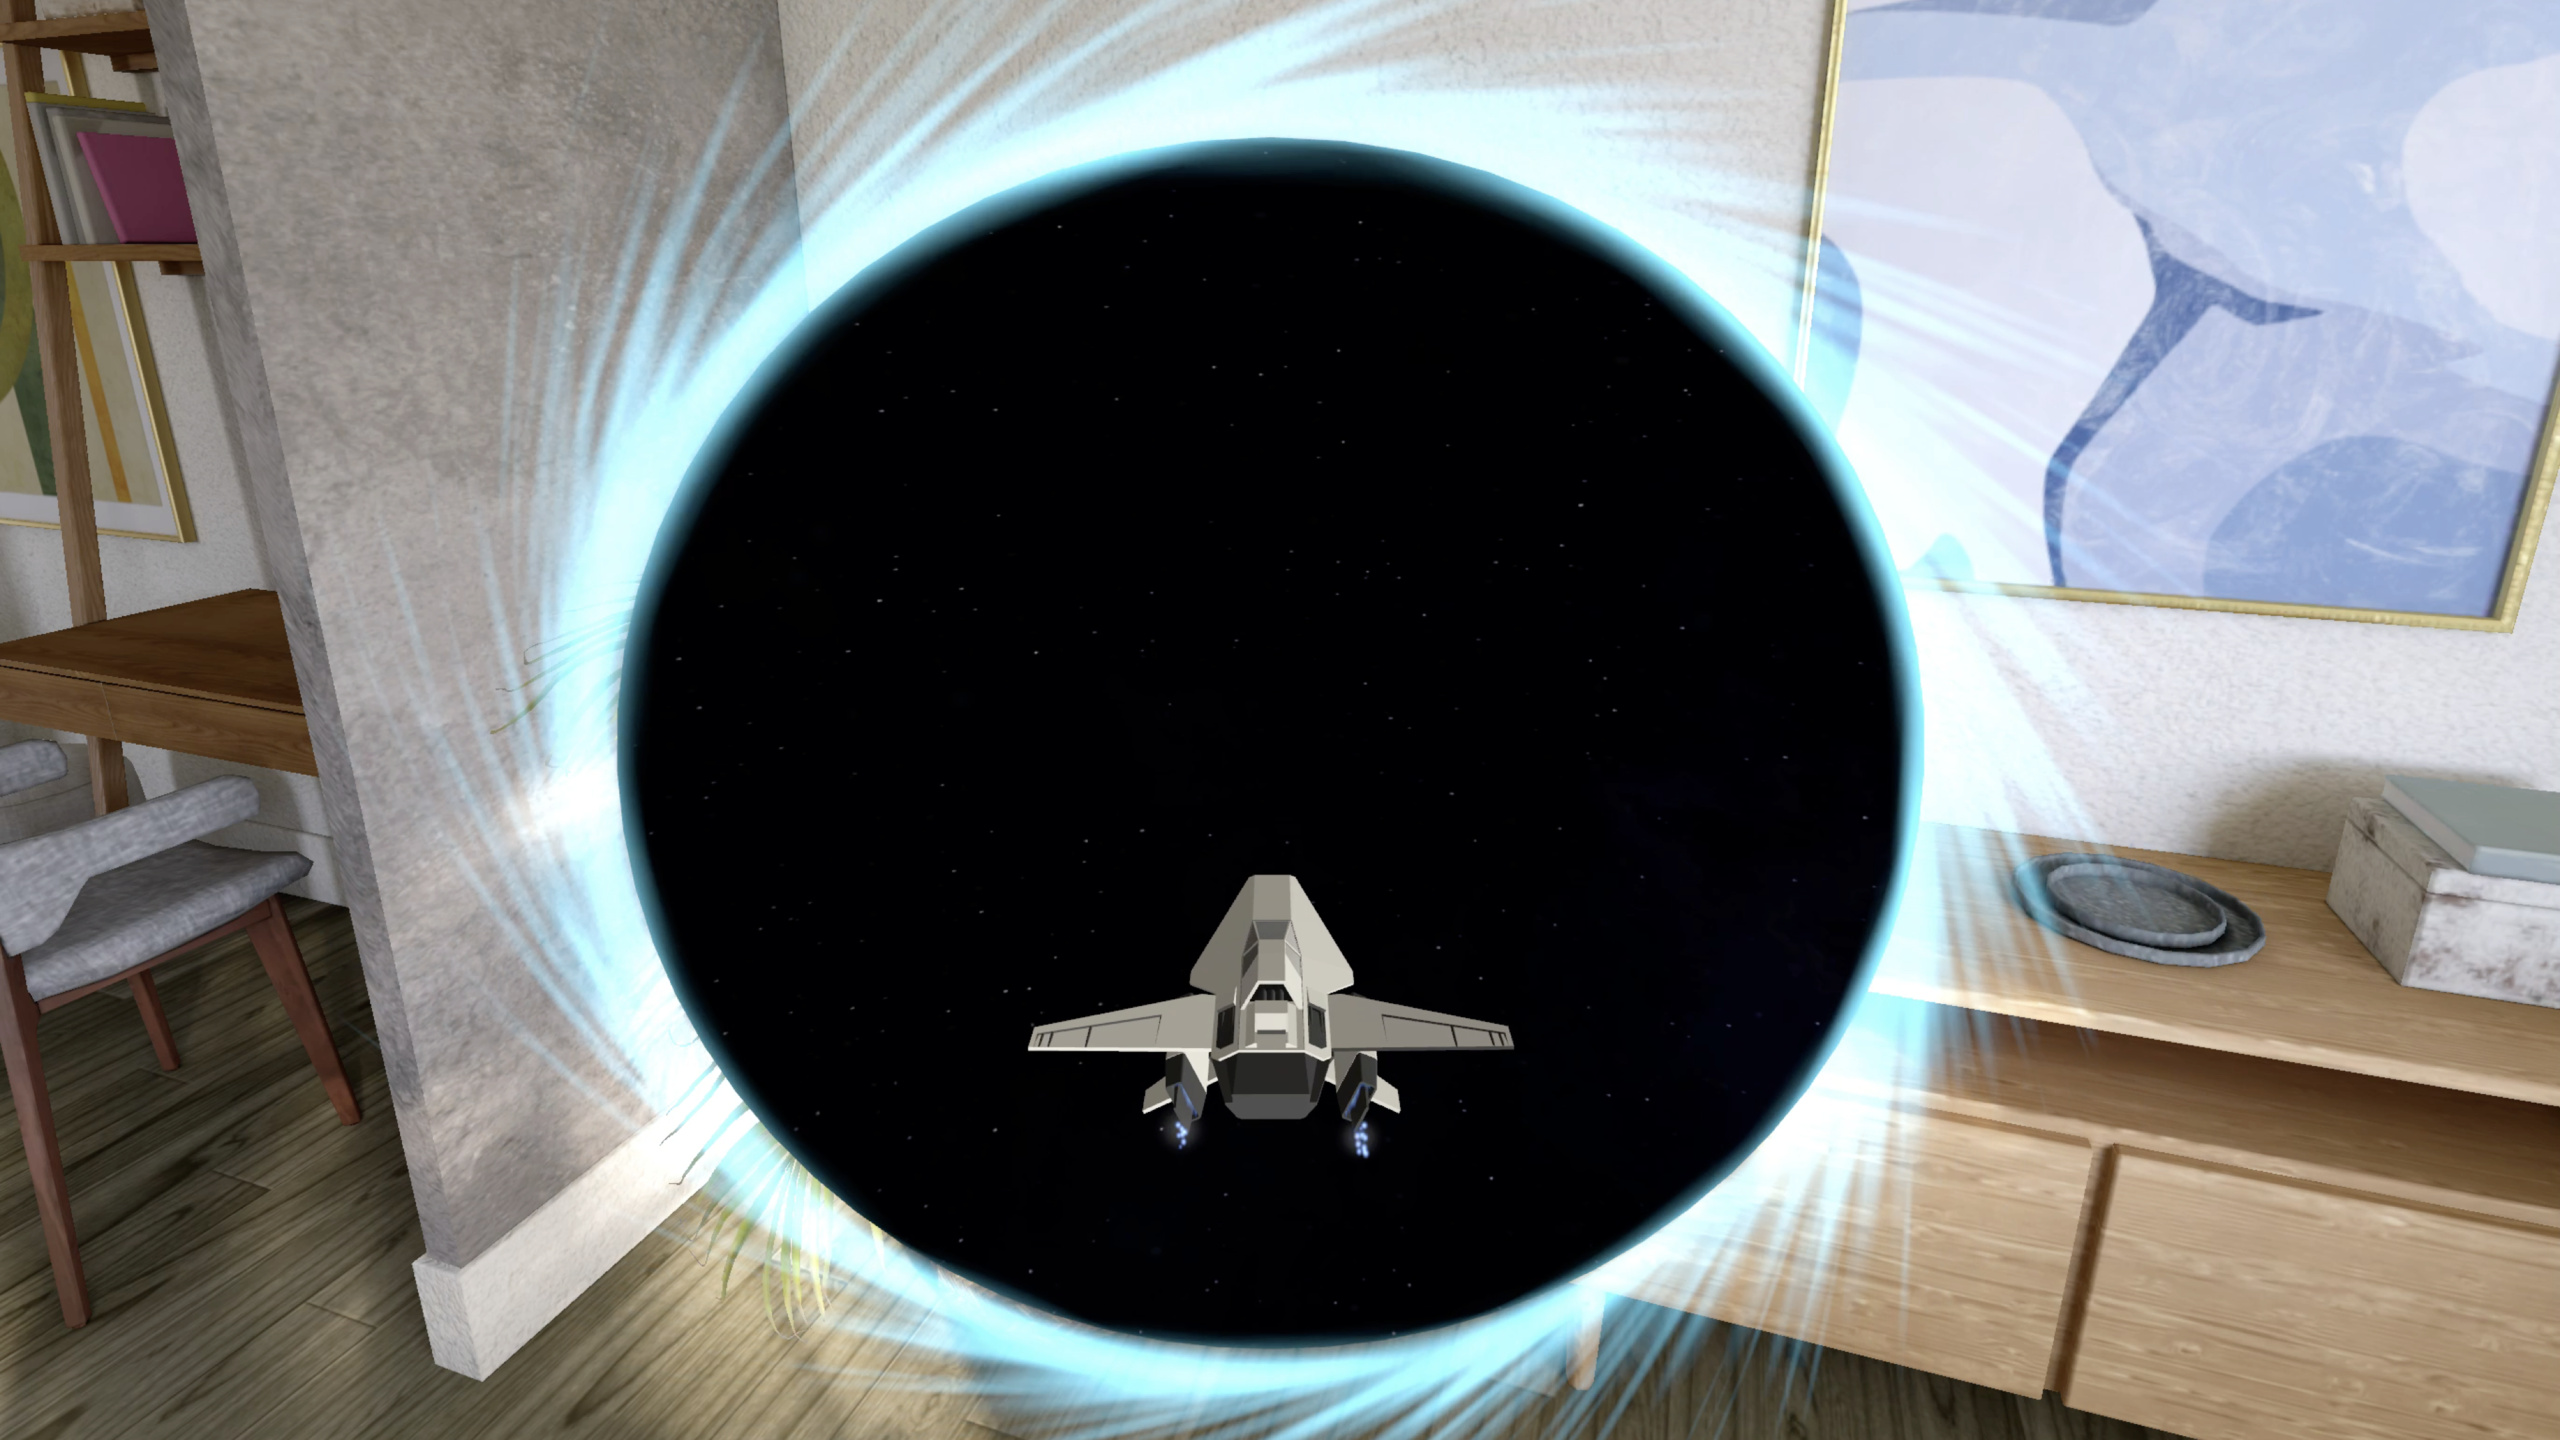
RealityKit this year adds custom hover effects, SpatialTrackingSession hand tracking, force effects and joint physics simulation, dynamic lights and shadows, portal crossing, and cross-platform support—all demonstrated through a spaceship game.
Core Content
When displaying 3D models on visionOS, one of the most common interaction gaps is that users look at an object and get no visual feedback. RealityKit’s previous HoverEffectComponent offered only a default spotlight effect that couldn’t match your app’s art direction. This year adds highlight and shader styles: highlight uniformly tints the entire mesh with adjustable tint and strength; shader connects to Shader Graph materials for fine-grained effects like “portholes light up on gaze.”
Visual feedback alone isn’t enough—3D interactive apps also need to map hand gestures to game input. Last year, hand tracking meant calling ARKit directly with lots of boilerplate and manual permission handling. This year RealityKit introduces SpatialTrackingSession: one line for permission, then anchor entities track fingertip positions—a few lines of code for “pinch to control throttle.” Force effects and joints fill in physics simulation: four built-in force fields (radial, vortex, drag, turbulence) with custom ForceEffectProtocol for gravity-like fields; five built-in joints (fixed, ball, revolute, prismatic, distance) with PhysicsCustomJoint for per-axis linear and angular constraints. Dynamic lights and shadows help players judge distance; portal crossing lets the ship actually fly through a portal into another scene; EnvironmentLightingConfigurationComponent smooths lighting transitions when crossing. Finally, these APIs work on iOS and macOS too—swap input methods and RealityView camera mode to port.
Detailed Content
Custom Hover Effects (04:23)
Highlight style is the fastest to adopt. Create HighlightHoverEffectStyle, set color and strength, wrap it in HoverEffectComponent, and assign to the entity:
// Add a highlight HoverEffectComponent

let highlightStyle = HoverEffectComponent.HighlightHoverEffectStyle(color: .lightYellow,
                                                                    strength: 0.8)
let hoverEffect = HoverEffectComponent(.highlight(highlightStyle))
spaceship.components.set(hoverEffect)HighlightHoverEffectStyletakescolor(tint) andstrength(0~1 intensity) for uniform mesh highlighting.highlight(highlightStyle)selects highlight style instead of the default spotlightcomponents.set()assigns directly—no need to check for existing component first
Shader style is more flexible. Configure HoverState nodes in Shader Graph in Reality Composer Pro; code needs only one line:
// Add a shader effect

let hoverEffect = HoverEffectComponent(.shader(.default))
spaceship.components.set(hoverEffect).shader(.default)uses the HoverState node already configured in Shader Graph- HoverState provides an intensity value (0→1 animation) that can connect to a Mix node controlling emissive color
SpatialTrackingSession Hand Tracking (08:04)
Create two anchor entities tracking index and thumb tips; in a custom System’s update, compute distance, map to throttle, and apply force along the ship’s forward direction:
// Control acceleration with left hand

class HandTrackingSystem: System {

    func update(context: SceneUpdateContext) {
        let indexTipPosition = indexTipEntity.position(relativeTo: nil)
        let thumbTipPosition = thumbTipEntity.position(relativeTo: nil)

        let distance = distance(indexTipPosition, thumbTipPosition)

        let throttle = computeThrottle(with: distance)

        let force = spaceship.transform.forward * throttle
        spaceship.addForce(force, relativeTo: nil)
    }
}
position(relativeTo: nil)gets anchor entity position in world spacedistance()is a global SIMD3 function computing distance between two 3D pointscomputeThrottle(with:)is a custom function—shorter distance means higher throttleaddForce(_:relativeTo:)applies force along the ship’s local forward; the physics engine handles motion
Custom Force Effects (10:50)
When the four built-in force fields can’t model “gravity that falls off with distance,” implement ForceEffectProtocol:
// Adding a gravity force effect

struct Gravity: ForceEffectProtocol {

    var parameterTypes: PhysicsBodyParameterTypes { [.position, .distance] }
    var forceMode: ForceMode = .force

    func update(parameters: inout ForceEffectParameters) {
        guard let distances = parameters.distances,
              let positions = parameters.positions else { return }

        for i in 0..<parameters.physicsBodyCount {
            let force = computeForce(distances[i], positions[i])
            parameters.setForce(force, index: i)
        }
    }
}parameterTypesdeclares position and distance—the physics engine precomputes theseforceModeset to.forcemeans output is force, not acceleration or impulse- In
update, iterate all affected physics bodies, compute and set force vectors individually
Activate the force field with spatial falloff and collision mask:
// Activating the gravity force effect

let gravity = ForceEffect(effect: Gravity(),
                          spatialFalloff: SpatialForceFalloff(bounds: .sphere(radius: 8.0)),
                          mask: .asteroids)

planet.components.set(ForceEffectComponent(effects: [gravity]))spatialFallofflimits the field to objects within an 8-meter radiusmaskapplies only to bodies in the.asteroidscollision group- Asteroids also need
PhysicsMotionComponentwith initial velocity for orbital motion (13:11)
PhysicsCustomJoint (16:19)
The ship towing a cargo pod needs limited rotation and no translation:
// Add a custom joint

guard let hookEntity = spaceship.findEntity(named: "Hook") else { return }
let hookOffset: SIMD3<Float> = hookEntity.position(relativeTo: spaceship)

let hookPin = spaceship.pins.set(named: "Hook", position: hookOffset)
let trailerPin = trailer.pins.set(named: "Trailer", position: .zero)

var joint = PhysicsCustomJoint(pin0: hookPin, pin1: trailerPin)

joint.angularMotionAroundX = .range(-.pi * 0.05 ... .pi * 0.05)
joint.angularMotionAroundY = .range(-.pi * 0.2 ... .pi * 0.2)
joint.angularMotionAroundZ = .range(-.pi * 0.2 ... .pi * 0.2)

joint.linearMotionAlongX = .fixed
joint.linearMotionAlongY = .fixed
joint.linearMotionAlongZ = .fixed

try joint.addToSimulation()pins.set(named:position:)defines anchor positions on entities; the joint connects two pinsangularMotionAroundX/Y/Zsets rotation range per axis—X axis tighter (±0.05π) to limit vertical swaylinearMotionAlongX/Y/Z = .fixedcompletely prevents translation, simulating a rigid connectionaddToSimulation()activates the joint—handle thrown exceptions
Dynamic Lights and Shadows (19:12)
Add spotlight and shadow to the ship’s headlight:
// Add a spotlight with shadow

guard let lightEntity = spaceship.findEntity(named: "HeadLight") else { return }

lightEntity.components.set(SpotLightComponent(color: .yellow,
                                              intensity: 10000.0,
                                              attenuationRadius: 6.0))

lightEntity.components.set(SpotLightComponent.Shadow())SpotLightComponentconfigures color, intensity (lumens), and attenuation radiusSpotLightComponent.Shadow()added as a separate component—by default all dynamically lit objects cast shadows- To prevent an object from casting shadows, add
DynamicLightShadowComponent(castsShadow: false)(20:01)
Portal Crossing (21:36)
Configure portal crossing mode and ship crossing component:
// Enable portal crossing

portal.components.set(PortalComponent(target: portalWorld,
                                      clippingMode: .plane(.positiveZ),
                                      crossingMode: .plane(.positiveZ)))

spaceship.components.set(PortalCrossingComponent())
crossingMode: .plane(.positiveZ)sets the crossing plane—must align with the portal geometry’s planeclippingMode: .plane(.positiveZ)also sets the clipping planePortalCrossingComponent()on entities that should cross; entities without it are still clipped by the portal surface
Lighting changes abruptly when the ship crosses—use EnvironmentLightingConfigurationComponent for smooth transition (24:33):
// Configure environmental lighting on the spaceship

var lightingConfig = EnvironmentLightingConfigurationComponent()

let distance: Float = computeShipDistanceFromPortal()
lightingConfig.environmentLightingWeight = mapDistanceToWeight(distance)

spaceship.components.set(lightingConfig)environmentLightingWeightrange 0~1: 1 = fully use environment probe lighting, 0 = none- As the ship approaches the portal, gradually drop from 1 to 0; after crossing, only interior IBL lighting applies
- This component works even without portals to control environment lighting weight
Cross-Platform Support (27:21)
RealityView on iOS uses world tracking camera:
// World tracking camera

RealityView { content in

#if os(iOS)

    content.camera = .worldTracking

#endif

}.worldTrackingenables AR world tracking and camera feed background- Input switches from hand tracking to multi-touch—left slider for throttle, right virtual joystick for pitch and roll
Core Takeaways
-
Add hover effects to 3D models as interaction hints: Without visual feedback when users gaze at 3D objects, they wonder “can I tap this?” Highlight style takes two lines; shader style suits fine-grained effects. How to start: Add
HoverEffectComponent(.highlight(...))to all interactive entities; switch to shader style when art needs it. -
Use SpatialTrackingSession instead of ARKit hand tracking: ARKit requires managing session and permissions yourself with lots of code. SpatialTrackingSession merges permission and anchor management into one session. How to start: Create
SpatialTrackingSession, create anchor entities fromHandAnchor, read positions in a customSystem’supdateto compute gestures. -
Prefer force effects over manual position updates in physics scenes: Hand-written per-frame transform updates are bug-prone (collisions, clipping); force effects let the physics engine handle everything. Four built-in force fields cover common cases; custom
ForceEffectProtocolneeds only one update function. How to start: Replace “set transform each frame” withaddForce+ForceEffectComponentand let the engine drive motion. -
Cross-platform porting only needs input and RealityView camera mode changes: Hover effects, force effects, joints, lighting, and portal APIs have identical signatures on iOS/macOS. What changes: visionOS ImmersiveSpace becomes iOS RealityView +
.worldTracking; hand tracking becomes multi-touch. How to start: Use#if os(iOS)to isolate platform differences; core logic stays unchanged.
Related Sessions
- Build a spatial drawing app with RealityKit — Build a spatial drawing app with RealityKit, including detailed SpatialTrackingSession usage
- Compose interactive 3D content in Reality Composer Pro — Create interactive 3D content with Timeline and Shader Graph in Reality Composer Pro
- Enhance your spatial computing app with RealityKit audio — Add spatial audio to spatial computing apps; this session’s spaceship game sound implementation is covered there
- Create custom hover effects in visionOS — SwiftUI-level custom hover effects API, complementary to RealityKit hover effects
Comments
GitHub Issues · utterances