
Highlight
Reality Composer Pro adds Timelines, letting you orchestrate Spin, Transform To, Animation, Audio, and other actions on a visual timeline, and start playback through triggers such as tap, collision, and notification—without hand-writing animation sequence code.
Core Content
When building interactive 3D content for visionOS, animation orchestration is often the hardest part. A simple sequence like “character walks to a target and reaches out” requires manually managing the timing and parallelism of rotation, movement, skeletal animation, and sound effects in code—change one timestamp and everything shifts.
Reality Composer Pro’s Timelines feature addresses this. It adds a timeline panel at the bottom of the editor: Timelines on the left, a drag-and-drop editing area in the center, and a list of preset actions on the right (Spin, Transform To, Animation, Audio, Notification, and more). Drag actions onto the timeline to set order and parallelism, drag the tail to adjust duration, and right-click a Timeline to nest it inside another for reuse. Playback can be triggered two ways: call entity.playAnimation in code, or add a Behaviors component to an entity in Reality Composer Pro and bind tap / collision / notification triggers for zero-code startup.
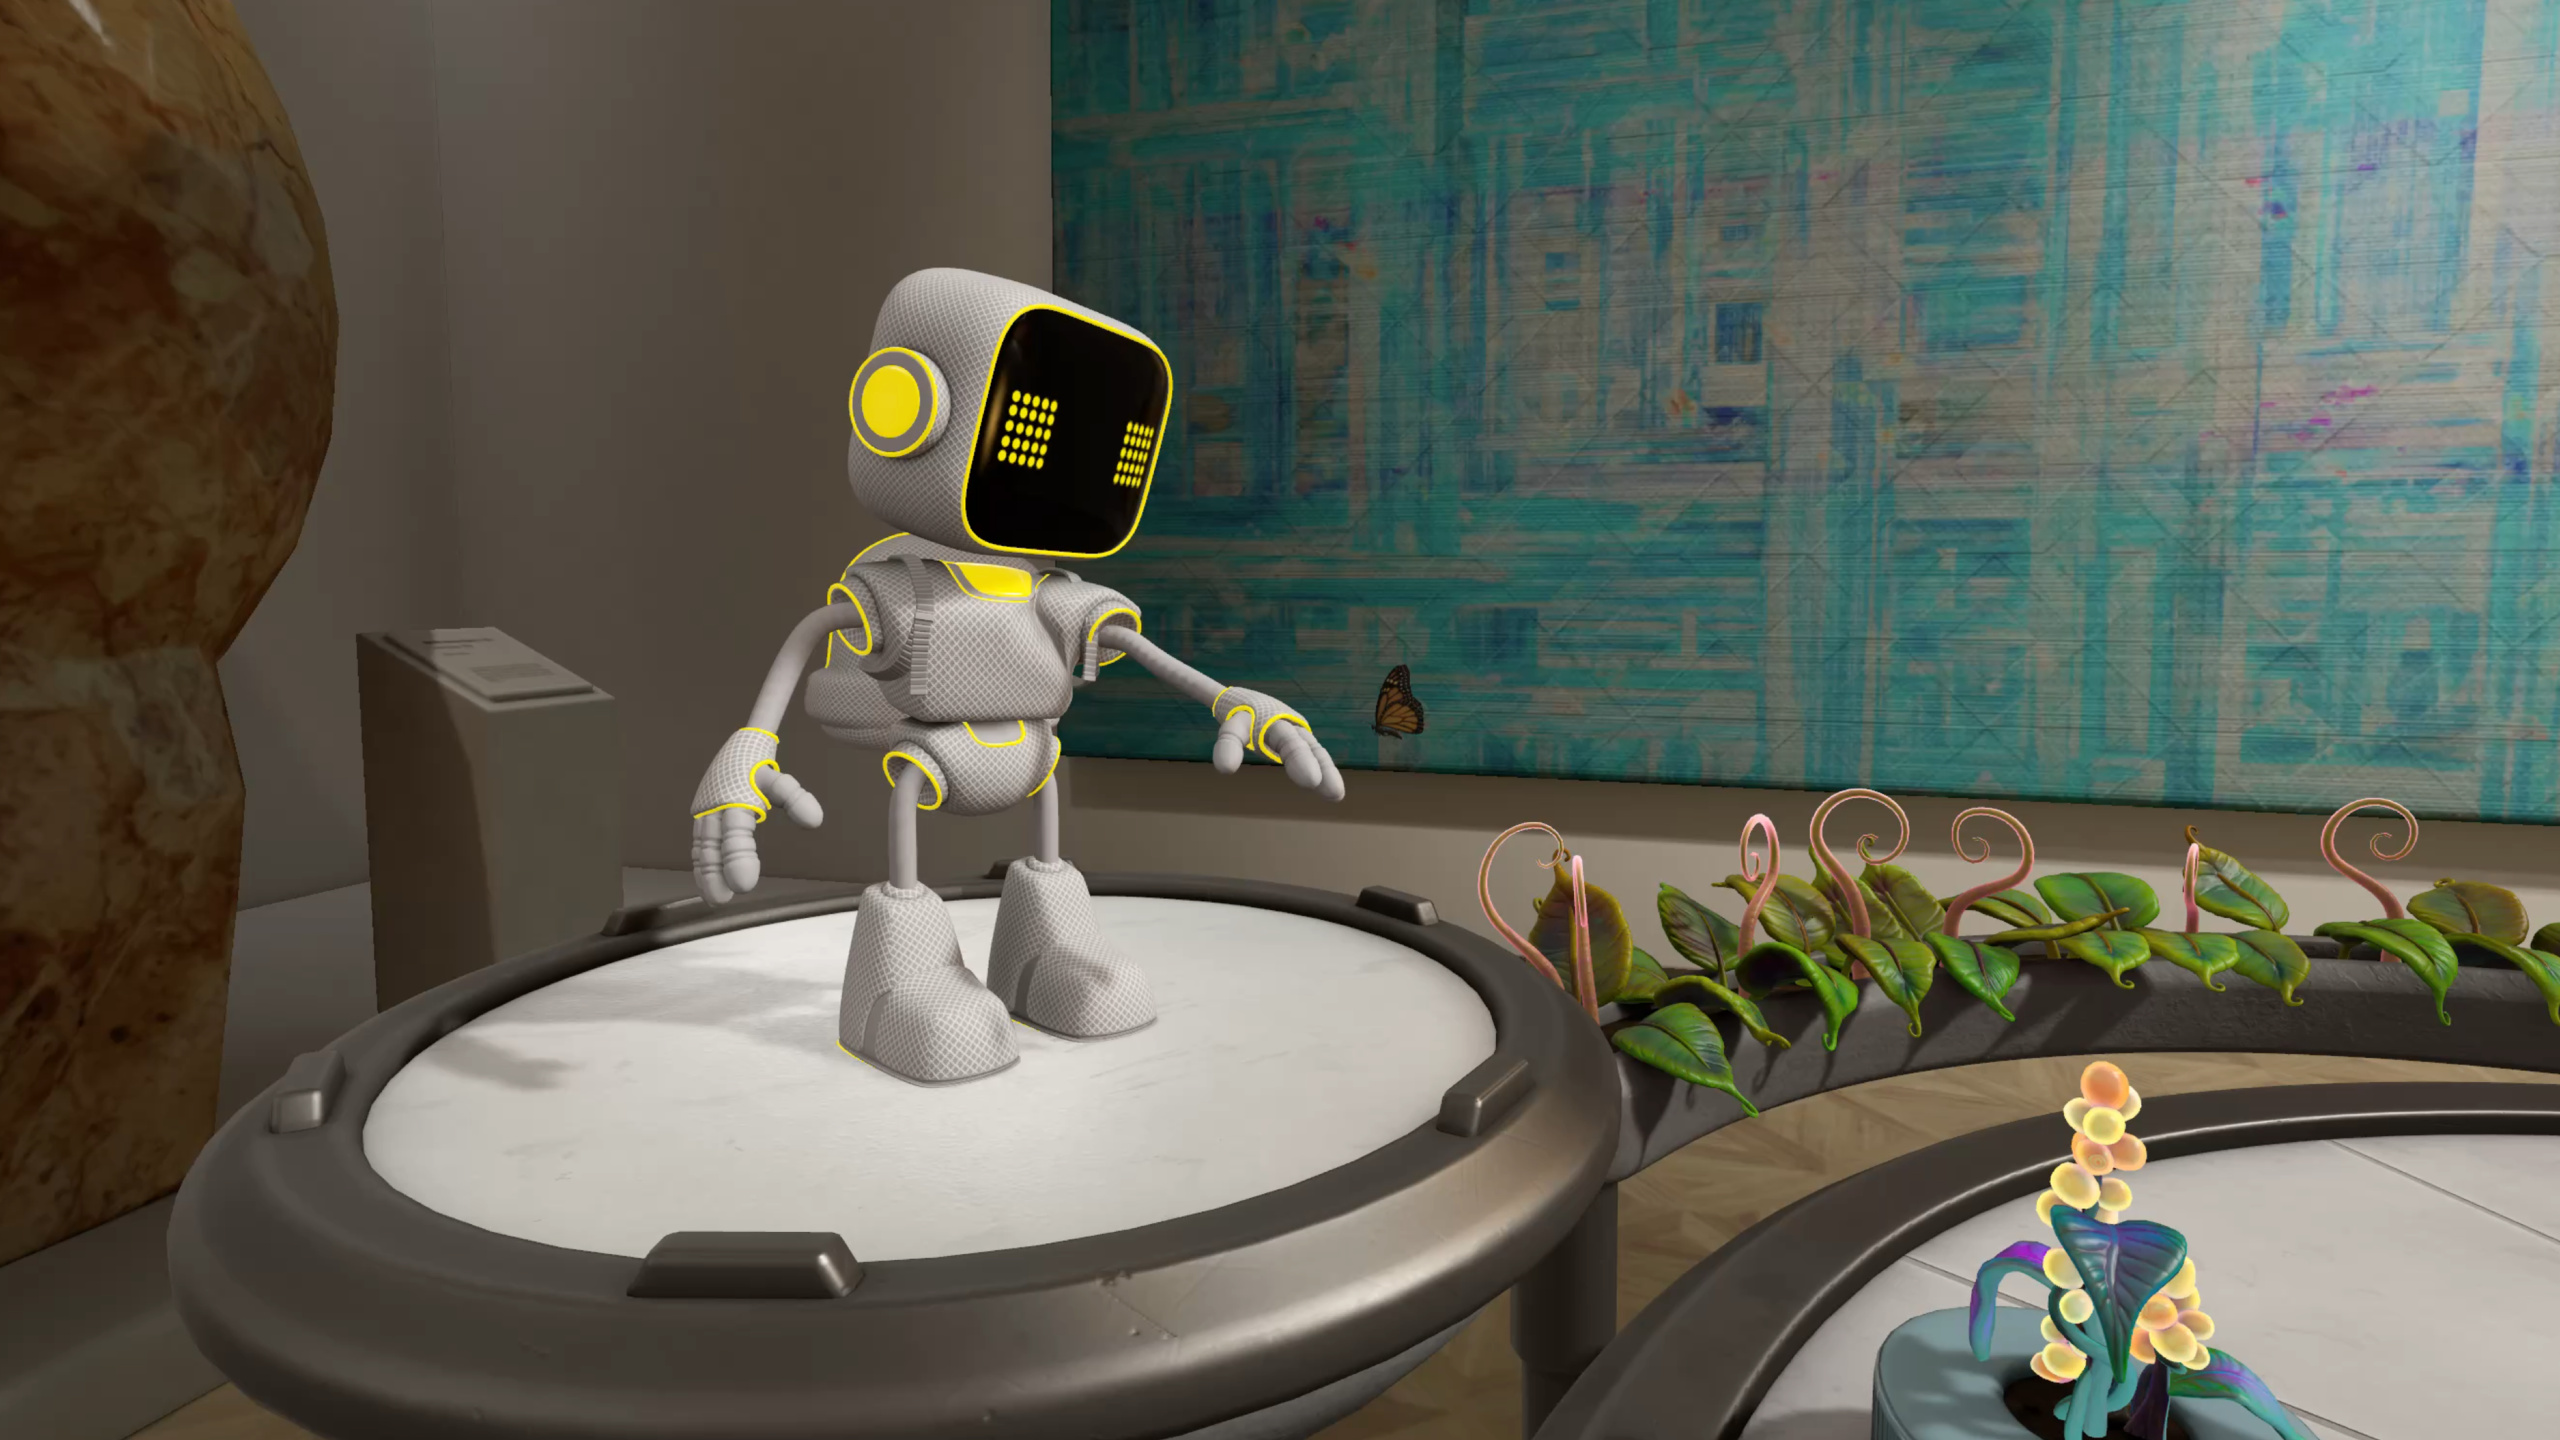
The session walks through an extended Botanist sample: three withered plants. After tapping, the robot turns, moves over, reaches out to water them, the plants recover, and the robot returns home. Each step demonstrates one of five animation techniques: Timelines orchestration, Full Body IK, Animation Actions, Blend Shape, and Skeletal Poses.
Detailed Content
Timelines Orchestration
Timelines are the core new feature in Reality Composer Pro. After creating a Timeline, drag actions from the right panel and set target entities and parameters in the Inspector. For example, set revolutions to 0.12 on a Spin action for fine rotation adjustment, and use a Transform To action with the manipulator to drag the target position in front of a plant. Timelines support nesting—first create a RobotMove Timeline with walk animation plus footstep audio, then right-click insert RobotMove inside the MoveToPoppy Timeline so animation and movement play in parallel (04:17).
AnimationLibraryComponent and AudioLibraryComponent are two companion components. When USD animations are imported, Reality Composer Pro automatically creates AnimationLibraryComponent; in the Inspector, use the scissors icon to split a long animation into startWalk / endWalk segments and drag them back-to-back onto the timeline. AudioLibraryComponent must be added manually—click the plus button to pick audio files from the project (07:32).
Full Body Inverse Kinematics
After the robot reaches the plant, it reaches out to water it using RealityKit’s new Full Body IK system. IKRig defines solver configuration, constraints control joint range, IKResource holds runtime data, and IKComponent attached to an entity updates target positions each frame.
// Setup IKComponent
import RealityKit

struct HeroRobotRuntimeComponent: Component {
    var rig = try? IKRig(for: modelSkeleton)

    rig.maxIterations = 30
    rig.globalFkWeight = 0.02

    let hipsJointName = "root/hips"
    let chestJointName = "root/hips/spine1/spine2/chest"
    let leftHandJointName = "root/hips/spine1/spine2/chest/…/L_arm3/L_arm4/L_arm5/L_wrist"

    rig.constraints = [
        .parent(named: "hips_constraint",
                on: hipsJointName,
                positionWeight: SIMD3(repeating: 90.0),
                orientationWeight: SIMD3(repeating: 90.0)),
        .parent(named: "chest_constraint",
                on: chestJointName,
                positionWeight: SIMD3(repeating: 120.0),
                orientationWeight: SIMD3(repeating: 120.0)),
        .point(named: "left_hand_constraint",
               on: leftHandJointName,
               positionWeight: SIMD3(repeating: 10.0))
    ]

    let resource = try? IKResource(rig: rig)
    modelComponentEntity.components.set(IKComponent(resource: resource))
}
Key points:
IKRig(for:)takes the model skeleton and initializes solver configurationmaxIterationscontrols solver precision—30 is a practical value;globalFkWeightat 0.02 keeps forward kinematics weight very low so IK dominates.parentconstraints limit both position and orientation—for hips and chest;.pointconstraints limit position only—for the palm- Higher
positionWeightmeans stronger constraints—chest at 120 is more stable than hips at 90; palm at 10 is most flexible
When updating each frame, fade animationOverrideWeight between 0–1 for a smooth transition: “when reaching out, IK influence ramps from 0 to 1; when retracting, from 1 to 0” (21:33).
Animation Actions
The robot returning home uses the Animation Actions API—the underlying API for Timelines. Built-in actions include SpinAction, PlayAnimationAction, and more; when those aren’t enough, define a custom EntityAction.
// Sequence and play animation actions
import RealityKit

struct HeroRobotRuntimeComponent: Component {
    let rotateAnimationResource = createRotateAnimationResource()
    let walkAndMoveAnimationGroup = createWalkAndMoveAnimationGroup()
    let alignAtHomeActionResource = createAlignAtHomeActionResource()
    let robotTravelHomeCompleteActionResource = createRobotTravelHomeCompleteAction()

    let moveHomeSequence = try? AnimationResource.sequence(with: [
        rotateAnimationResource,
        walkAndMoveAnimationGroup,
        alignAtHomeActionResource,
        robotTravelHomeCompleteActionResource
    ])

    _ = robotEntity.playAnimation(moveHomeSequence)
}
Key points:
AnimationResource.sequence(with:)chains multiple resources in orderAnimationResource.group(with:)plays multiple resources in parallel- Custom EntityAction requires implementing
animatedValueType(return nil when there’s no interpolation data), then usemakeActionAnimationto generate a resource - Listen to custom action lifecycle events via
EntityAction.subscribe(to: .started / .ended)(26:39)
Blend Shape Animation
Plants recovering from withered to healthy use BlendShapeWeightsComponent. Weight 1 = withered, 0 = healthy; values in between are transitional states.
// Setup BlendShapeWeightsComponent
import RealityKit

struct HeroPlantComponent: Component, Codable {
    guard let modelComponentEntity = findModelComponentEntity(entity: entity),
          let modelComponent = modelComponentEntity.components[ModelComponent.self]
    else { return }

    let blendShapeWeightsMapping
        = BlendShapeWeightsMapping(meshResource: modelComponent.mesh)

    entity.components.set(BlendShapeWeightsComponent(weightsMapping:
                                                        blendShapeWeightsMapping))
}
Key points:
BlendShapeWeightsMappingreads blend target definitions fromMeshResource- After attaching
BlendShapeWeightsComponentto an entity, update weights inweightSeteach frame to drive deformation - You can also play USD blend shape animations directly via the
playAnimationpath
Skeletal Poses
The second robot chasing a butterfly uses SkeletalPosesComponent for head tracking. USD-imported skeletal characters carry this component automatically—no manual setup needed.
// Update Skeletal Poses
import RealityKit

struct StationaryRobotRuntimeComponent: Component {
    guard var component = entity.components[SkeletalPosesComponent.self]
    else { return }

    let neckRotation = calculateRotation()

    component.poses.default?.jointTransforms[neckJointIndex].rotation = neckRotation
}
Key points:
- Get
SkeletalPosesComponentfrom the entity and modify the specified joint’s rotation (local space) - Call each frame in a RealityKit System update function for real-time tracking
- You can modify translation, scale, or rotation individually, or update the entire jointTransform
Core Takeaways
-
What to do: Use Timelines instead of hand-written animation sequence code. Arrange character movement, rotation, and animation/audio timing entirely in Reality Composer Pro via drag-and-drop; code only triggers playback. Why it’s worth it: Animation timing changes no longer require recompilation—artists can iterate independently. How to start: Create a Timeline in the Reality Composer Pro bottom panel, drag in Spin + Transform To + Animation actions, add a Behaviors component to the target entity, and bind a tap trigger.
-
What to do: Use Full Body IK for natural reach/grab motions. Set palm target positions and joint constraints; RealityKit computes intermediate joint poses automatically; fade
animationOverrideWeightfor smooth transitions. Why it’s worth it: Hand-keying reach animations requires tweaking every joint repeatedly—IK only needs a target point. How to start: Create anIKRig, add.parentand.pointconstraints, generateIKResourceandIKComponent, and settarget.translationandanimationOverrideWeightin per-frame updates. -
What to do: Use BlendShapeWeightsComponent for facial expressions or shape morphing. Drive blend targets with 0–1 weights and update each frame for smooth transitions between forms. Why it’s worth it: Lighter than skeletal animation—ideal for facial expressions, plant wither/recovery, and other non-skeletal shape changes. How to start: Create
BlendShapeWeightsMappingfromMeshResource, initializeBlendShapeWeightsComponenton the entity, and modifyweightSetweights in update. -
What to do: Use SkeletalPosesComponent for real-time local joint control—head gaze tracking, independent finger bending, and similar cases. Why it’s worth it: No need to author animation clips for every follow motion; compute rotation values in code and write them to joints each frame. How to start: Get
SkeletalPosesComponentfrom a USD-imported entity and modifyjointTransforms[jointIndex].rotationin a RealityKit System update.
Related Sessions
- Discover RealityKit APIs for iOS, macOS, and visionOS — Overview of new cross-platform RealityKit APIs, including video docking and environment authoring
- Build a spatial drawing app with RealityKit — Hands-on case study building a spatial drawing app with RealityKit
- Work with RealityKit APIs — RealityKit API usage and best practices
- Enhance the immersion of media viewing in custom environments — Video docking and environment authoring for stronger immersion
Comments
GitHub Issues · utterances