
Highlight
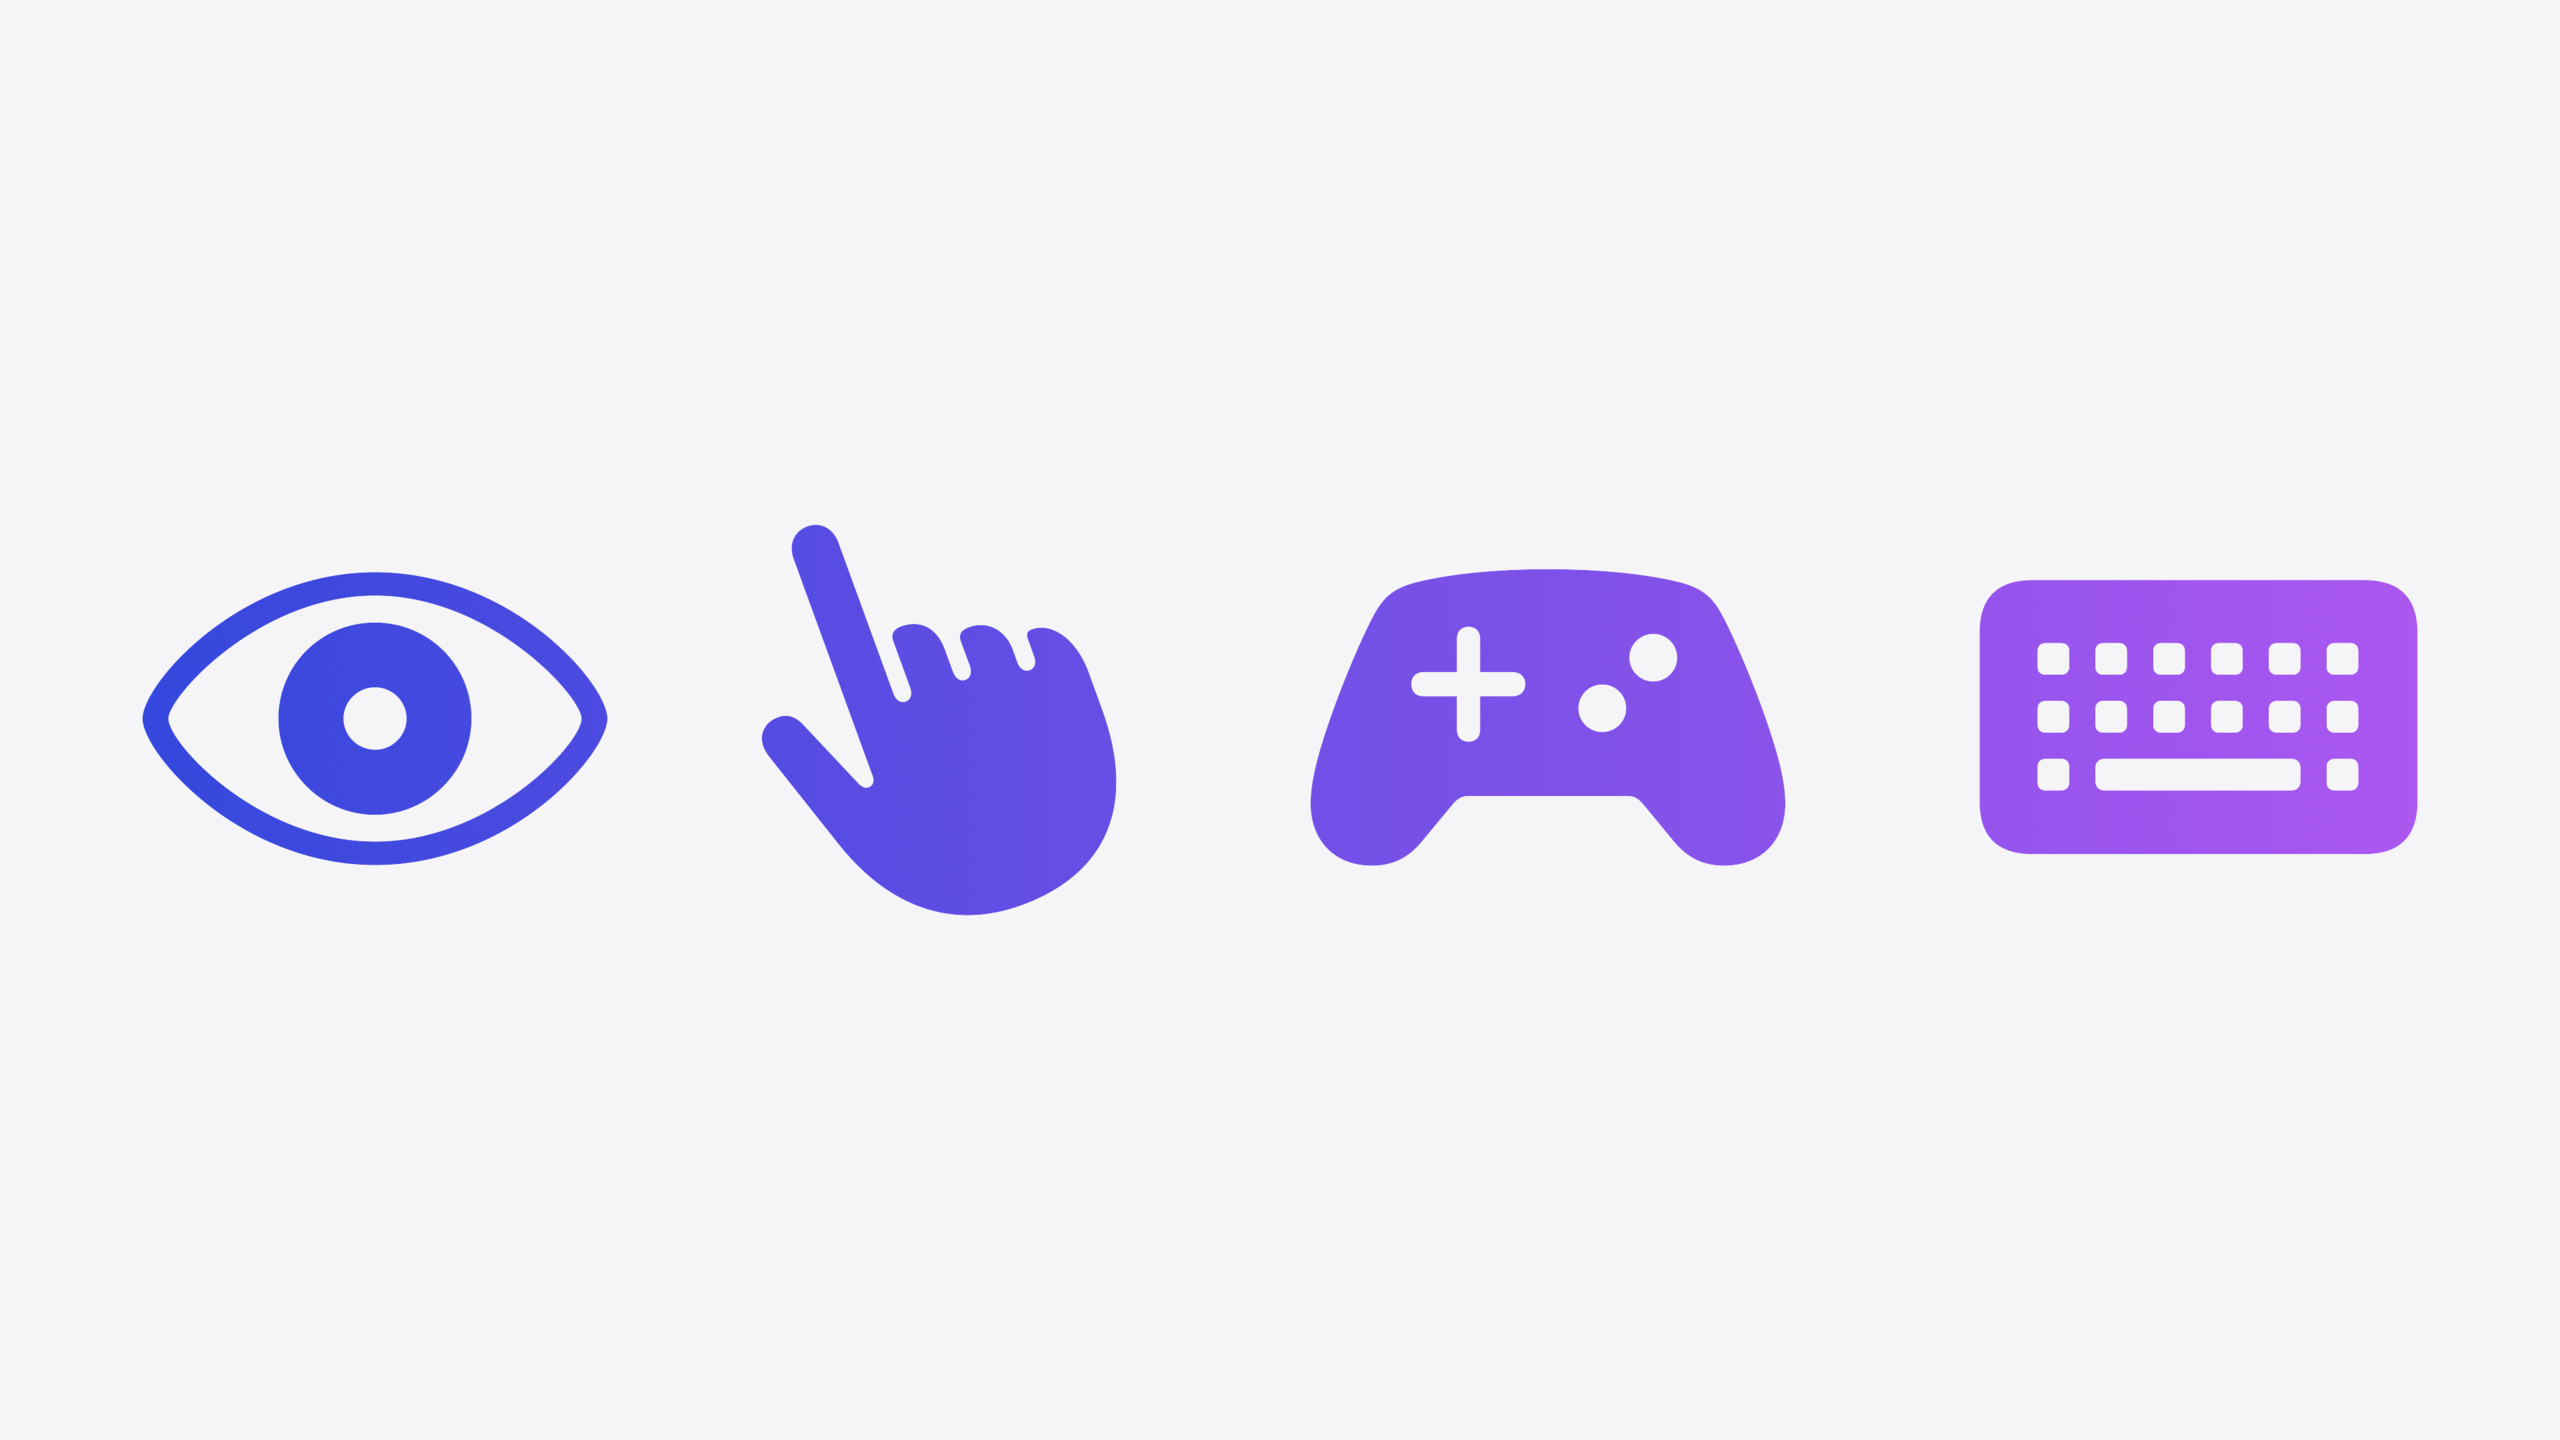
visionOS game input has three tiers: system gestures (the default choice), combined gestures (finer control), and custom gestures (ARKit hand tracking, Full Space only)—with physical peripherals as supplements.
Core Content
When building visionOS games, input choice directly determines whether players can pick up and play. On Apple Vision Pro, people use their eyes and hands for everything—but “hands” work two ways: direct (reaching out to touch virtual objects) and indirect (looking at a target, pinching from a distance). Direct suits high-energy games but raising your arms gets tiring; indirect lets hands stay at your sides, amplifying small movements into large ones—better for long sessions. Loona puzzle game in the session is a classic indirect example—look at a piece, pinch to grab, drag, double-tap to snap into place, playable standing or sitting. Super Fruit Ninja takes the direct route, slashing incoming fruit with lightning trails and splash sounds compensating for no haptics.
Apple’s advice is straightforward: system gestures should be the default. Players already know them from the platform—no teaching needed; no extra hardware, works out of the box; supported from Shared Space to Full Space. If system gestures aren’t enough, combine multiple with simultaneously(with:). Only when system and combined gestures can’t meet your needs should you consider ARKit hand skeleton tracking for custom gestures—but custom gestures only work in Full Space; ARKit isn’t available in Shared Space. Physical peripherals (Xbox, PlayStation controllers, Bluetooth keyboard/trackpad) suit games needing more than two simultaneous inputs or ported from other platforms. GameController framework is identical across iOS, iPadOS, macOS, and visionOS.
Detailed Content
System Gestures: The Simplest Starting Point
visionOS system gestures include: single tap, double tap, pinch and hold, pinch and drag, and two-hand scale and rotate. To make RealityView entities respond to tap, two steps: add InputTargetComponent and CollisionComponent to the entity, then attach a tap gesture to RealityView. (05:16)
struct ContentView: View {
  var body: some View {
    RealityView { content in
      // For entity targeting to work, entities must have an InputTargetComponent
      // and a CollisionComponent!
    }
    .gesture(TapGesture().targetedToAnyEntity().onEnded { value in
      print("Tapped entity \(value.entity)!")
    })
  }
}
Key points:
InputTargetComponentmakes the entity an interactive targetCollisionComponentprovides collision detection bounds for the entitytargetedToAnyEntity()means any entity in RealityView can triggeronEndedclosure runs when tap ends;value.entitygets the tapped entity
Combined Gestures: Drag + Scale + Rotate Simultaneously
Use simultaneously(with:) to let multiple gestures work at once. The session demos a satellite manipulation scene: drag to move, pinch to scale, wrist rotation—all recognized instantly as each gesture occurs. (07:08)
var manipulationGesture: some Gesture<AffineTransform3D> {
  DragGesture()
    .simultaneously(with: MagnifyGesture())
    .simultaneously(with: RotateGesture3D())
    .map { gesture in
      let (translation, scale, rotation) = gesture.components()

      return AffineTransform3D(
        scale: scale,
        rotation: rotation,
        translation: translation
      )
    }
}
Key points:
simultaneously(with:)enables parallel gesture detection—even while a previous gesture hasn’t endedgesture.components()destructures translation, scale, and rotationAffineTransform3Dcombines all three into one unified 3D affine transformSpatialEventGestureprovides lower-level access, tracking Tap Begins/Moves/Ends—good for two hands operating two different targets
Custom Gestures: ARKit Hand Skeleton Tracking
Custom gestures require Full Space. ARKit isn’t available in Shared Space—that’s a hard limit. Blackbox is an example mixing system and custom gestures: custom gestures create new bubbles (enter/exit levels), system gestures tap bubbles. The session demos a “draw circles with both fingertips” custom gesture. (09:33)
let leftHandIndexFingerTip = leftHandAnchor.skeleton.joint(named: .handIndexFingerTip)
// ...
let leftHandIndexFingerTipWorldPosition = matrix_multiply(leftHandAnchor.originFromAnchorTransform,
                leftHandIndexFingerTip.anchorFromJointTransform).columns.3.xyz
// ...
let isCircleShapeGesture = indexFingersDistance < 0.04 && thumbsDistance < 0.04
if isCircleShapeGesture {
  // respond to gesture
}
Key points:
skeleton.joint(named:)gets the anchor for a specific joint- Multiply
originFromAnchorTransformandanchorFromJointTransformfor world-space joint position .columns.3.xyzextracts translation from the 4x4 matrix (world xyz)- Circle gesture recognized when both index fingertips and both thumb tips are within 4 cm
- Custom gestures must have visual and audio feedback so players know they’re executing correctly
Game Controllers: GameController Framework
visionOS supports the same game controllers as iOS/macOS, including Xbox Series X and PlayStation DualSense. Detect connection with GCControllerDidConnect notification. (14:00)
NotificationCenter.default.addObserver(
    forName: NSNotification.Name.GCControllerDidConnect,
    object: nil, queue: nil) { note in
      guard let _controller = note.object as? GCController else { return }
      _controller.physicalInputProfile[GCInputButtonA]?.valueChangedHandler = {
        //...
      }
    }
Key points:
GCControllerDidConnectalso fires at game launch for already-connected devices—nothing missedphysicalInputProfile[GCInputButtonA]accesses specific buttons via key path- Set
valueChangedHandlercallbacks or activelypollbutton state - Also listen for
GCControllerDidDisconnectto fall back to gesture input when controller disconnects
In visionOS 2, also add .handlesGameControllerEvents(matching:) to RealityView to receive controller input. (14:24)
struct ContentView: View {
  var body: some View {
    RealityView { content in
      // Tag your RealityView to respond to controller input events.
    }
    .handlesGameControllerEvents(matching .gamepad)
  }
}
Key points:
.handlesGameControllerEvents(matching:)lets RealityView receive specified controller events.gamepadmatches standard controller input;.extendedGamepadand others available- Required new step in visionOS 2—without this modifier, controller input won’t route to your view
Input Methods and Space Type Mapping
| Input Method | Shared Space | Full Space |
|---|---|---|
| System gestures | Supported | Supported |
| Game controller/keyboard/trackpad | Supported | Supported |
| Custom gestures (ARKit) | Not available | Supported |
Accessibility
Whatever input method you use, provide alternatives for players with different abilities. Synth Riders offers a one-hand mode. RealityKit works with native accessibility frameworks; Unity can use the Apple Accessibility plugin.
Core Takeaways
-
What to do: Prioritize indirect input + system gestures for new projects. Why it’s worth it: indirect input lets hands stay at your sides for comfortable long sessions; system gestures have zero learning curve. How to start: Add
InputTargetComponentandCollisionComponentto entities, attachTapGesture().targetedToAnyEntity(), ensure it runs in both Shared Space and Full Space. -
What to do: Combine Drag + Magnify + Rotate with
simultaneously(with:). Why it’s worth it: manipulating objects in 3D space naturally needs move, scale, and rotate simultaneously—combined gestures make it seamless. How to start: Follow the session’smanipulationGesturepattern, use.mapto combine three components intoAffineTransform3D. -
What to do: Auto-detect and switch controller input instead of making players dig through settings. Why it’s worth it: Wylde Flowers switches input automatically when a controller connects—that’s what players expect. How to start: Listen for
GCControllerDidConnect/GCControllerDidDisconnect, switch to controller when connected and fall back to gestures when disconnected, add.handlesGameControllerEvents(matching .gamepad)to RealityView. -
What to do: Add visual feedback and sound for all input methods. Why it’s worth it: Vision Pro has no haptics—visual and audio are the only way to tell players “you touched something.” How to start: Play sound (AVFoundation) + visual animation on entity when gestures trigger; use CoreHaptics for controller rumble.
Related Sessions
- Create custom hover effects in visionOS — Trigger visual feedback on gaze hover, enhancing gesture input
- Create custom visual effects with SwiftUI — SwiftUI visual effects for dynamic gesture-triggered feedback
- Elevate your tab and sidebar experience in iPadOS — iPadOS navigation updates, cross-platform input design reference
- Add personality to your app through UX writing — Interaction copy design; custom gesture tutorials can reference this
Comments
GitHub Issues · utterances