
Highlight
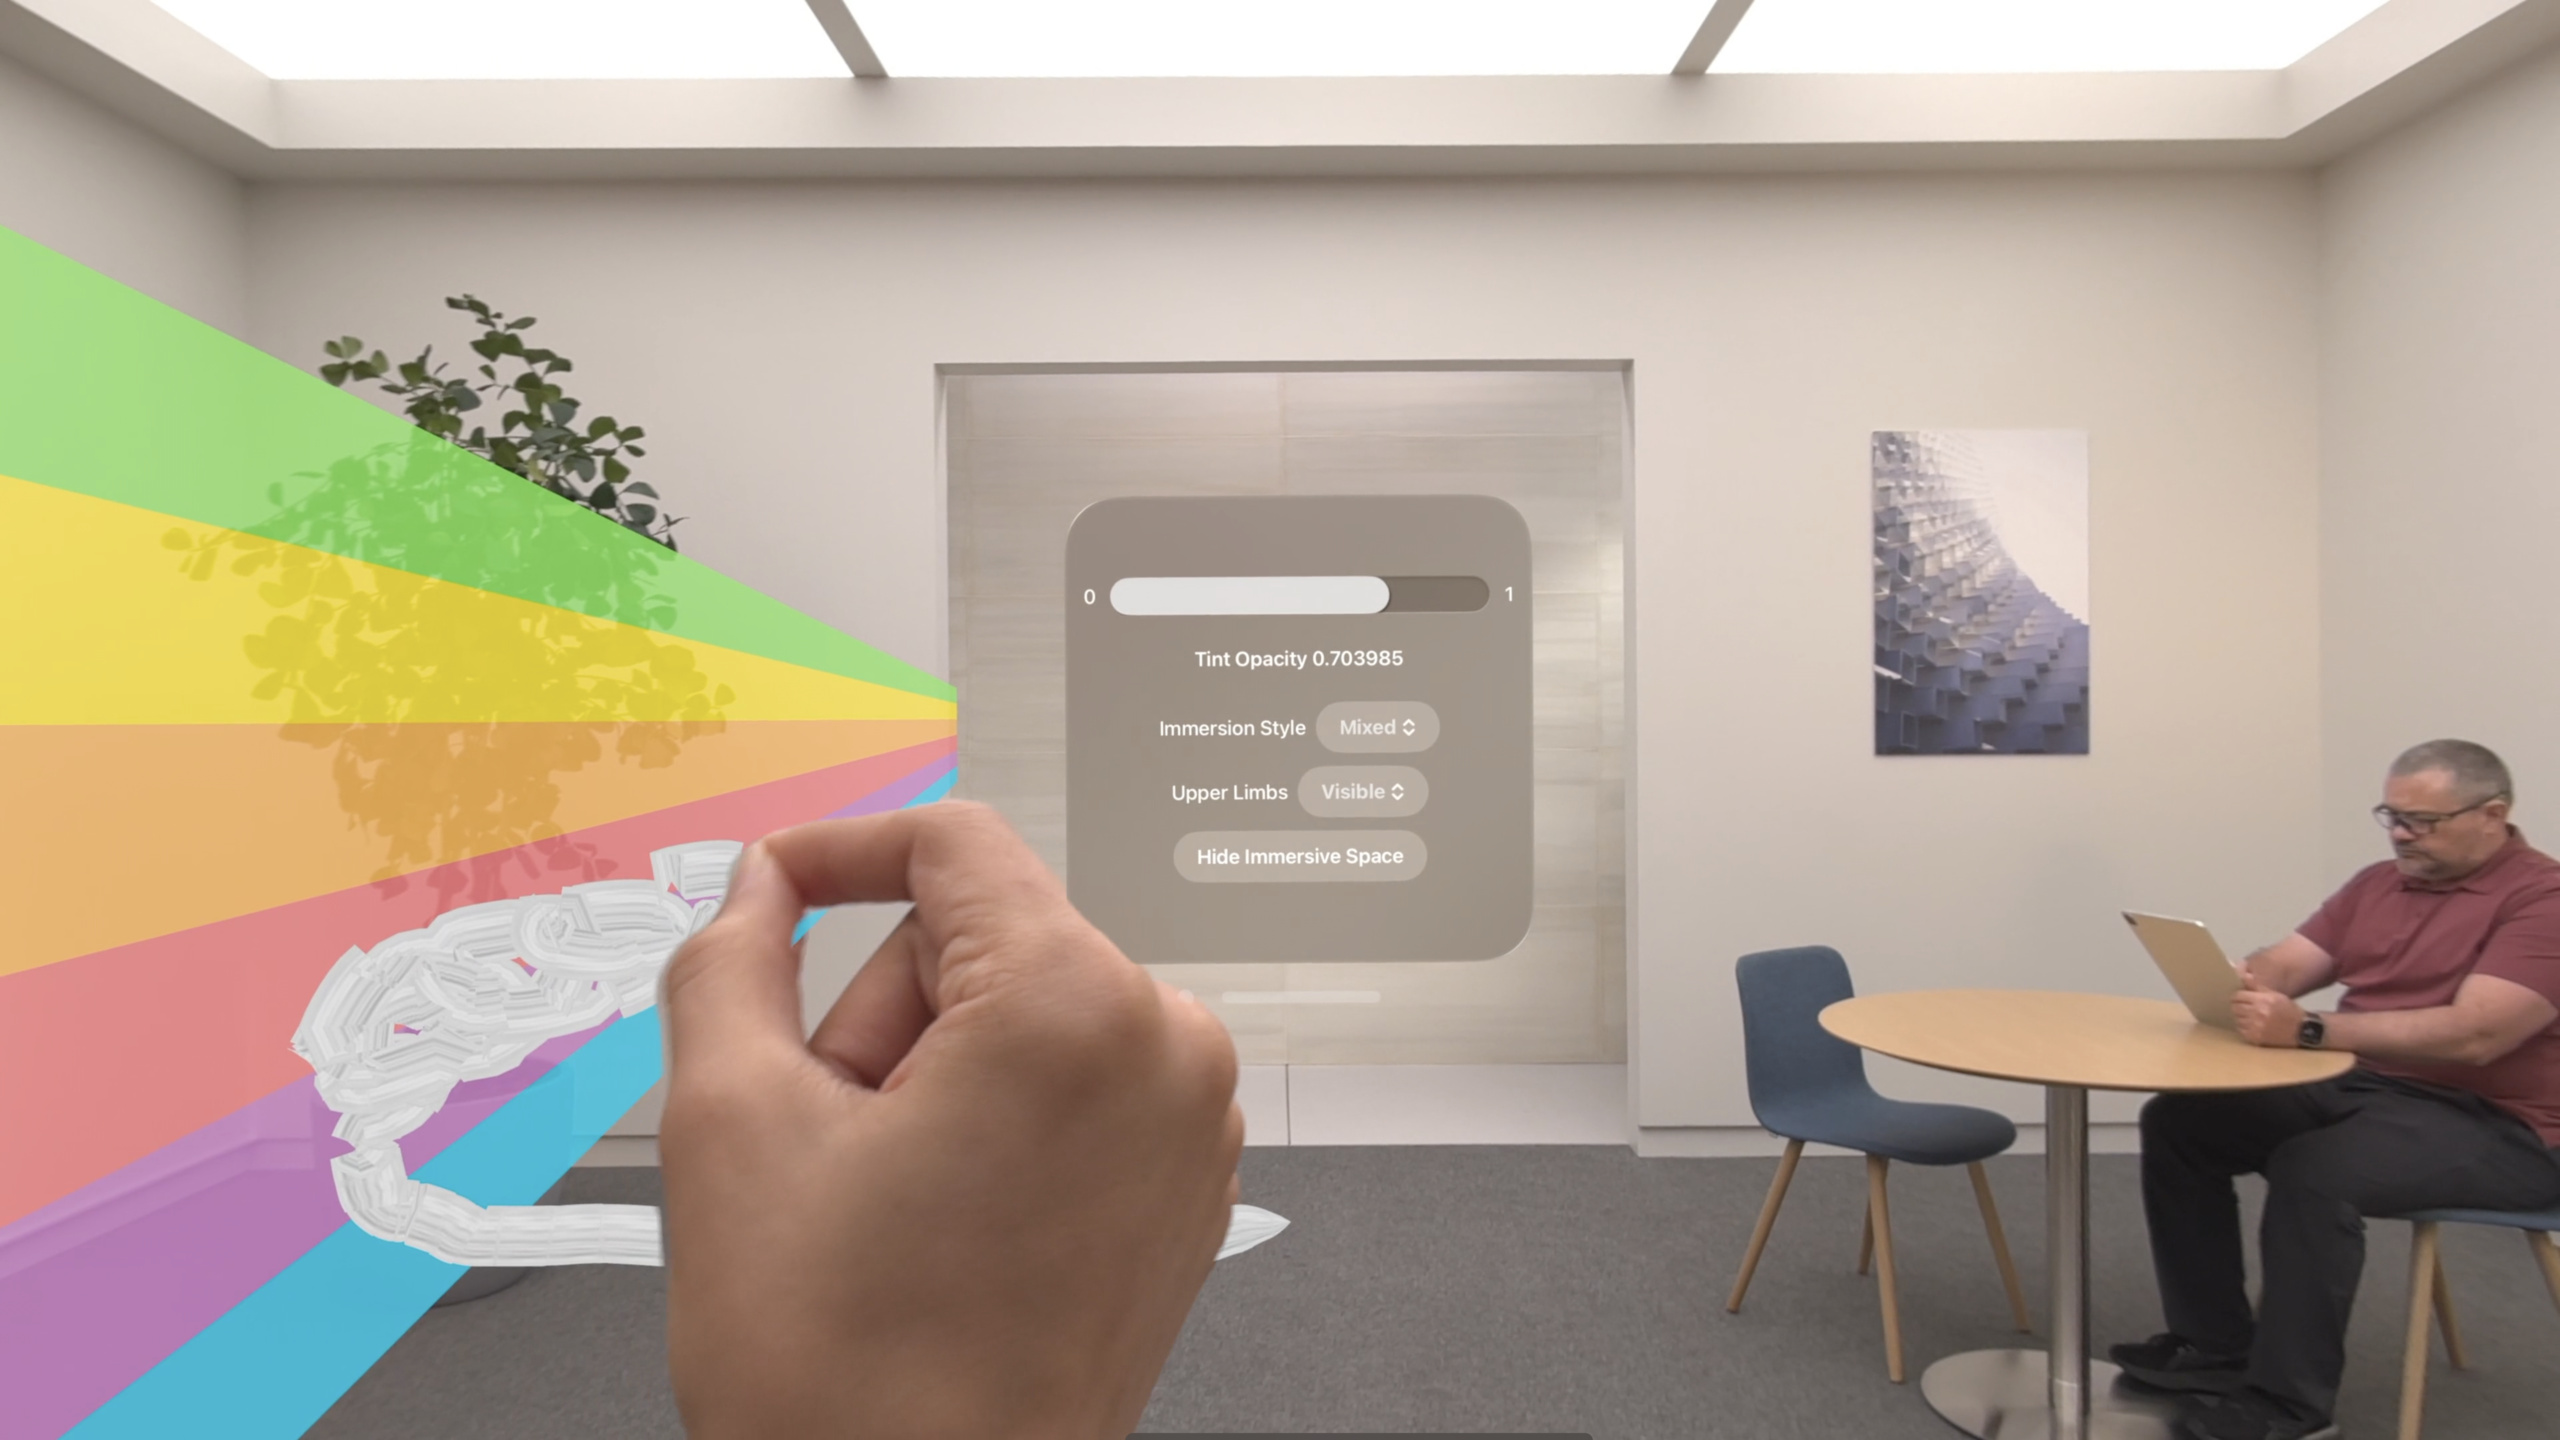
Last year in visionOS 1, Metal rendering only supported Full Immersion mode (completely occluding the real environment). This year adds Mixed Immersion mode—users can see both the real environment and your virtual content at the same time. This session, led by Pooya, focuses on three core technical topics.
Core Content
In visionOS 1, developers building custom rendering pipelines with Compositor Services + Metal + ARKit could only run Full Immersion—the real environment was fully occluded and users saw only your virtual world. That works for games and cinematic experiences, but many scenarios need virtual objects and the real environment to coexist: placing a 3D model on a desk, having a virtual ball collide with a real table, grabbing virtual objects with your fingers. None of that is possible in Full Immersion.
visionOS 2 adds Mixed Immersion mode. Add .mixed in .immersionStyle(selection: $style, in: .mixed, .full) and your Metal-rendered content composites with the passthrough view. Compositor Services blends your color/depth textures with the camera feed, ARKit provides scene understanding data to anchor virtual objects to the real world, and you just need to ensure your rendering pipeline outputs colors and depth values that match system conventions.
The session covers three technical topics: rendering blending (clear color, pre-multiplied alpha, reverse Z), spatial positioning (scene-aware projection matrix), and trackable anchor prediction (querying device and hand anchors with different timestamps to reduce latency error).
Detailed Content
1. Rendering Conventions for Mixed Immersion
Enable Mixed Immersion by declaring the style in SwiftUI’s ImmersiveSpace (03:07):
@main
struct MyApp: App {
    var body: some Scene {
        ImmersiveSpace {
            CompositorLayer(configuration: MyConfiguration()) { layerRenderer in
                 let engine = my_engine_create(layerRenderer)
                 let renderThread = Thread {
                     my_engine_render_loop(engine)
                 }
                 renderThread.name = "Render Thread"
                 renderThread.start()
            }
            .immersionStyle(selection: $style, in: .mixed, .full)
        }
    }
}
Key points:
.immersionStyle(selection:in:)declares both.mixedand.full, letting users switch at runtimeCompositorLayeris the entry point for Metal rendering—you getlayerRendererhere and start your own render thread- To launch directly into Mixed Immersion, set
InitialImmersionStyletoUIImmersionStyleMixedandPreferredDefaultSceneSessionRoletoCPSceneSessionRoleImmersiveApplicationin Info.plist
In Mixed Immersion, clear color must be all zeros (04:43):
let renderPassDescriptor = MTLRenderPassDescriptor()

renderPassDescriptor.colorAttachments[0].texture = drawable.colorTextures[0]
renderPassDescriptor.colorAttachments[0].loadAction = .clear
renderPassDescriptor.colorAttachments[0].storeAction = .store
renderPassDescriptor.colorAttachments[0].clearColor = .init(red: 0.0, green: 0.0, blue: 0.0, alpha: 0.0)

renderPassDescriptor.depthAttachment.texture = drawable.depthTextures[0]
renderPassDescriptor.depthAttachment.loadAction = .clear
renderPassDescriptor.depthAttachment.storeAction = .store
renderPassDescriptor.depthAttachment.clearDepth = 0.0
Key points:
- Full Immersion clear color is
(0, 0, 0, 1)(opaque black); Mixed Immersion is(0, 0, 0, 0)(fully transparent) - Pixels with alpha 0 won’t appear on screen—Compositor Services only draws when alpha > 0 and depth is valid
- Depth must use reverse Z convention with clearDepth 0.0 (farthest)
- Pixels with alpha 0 should also have depth 0.0, improving compositing performance
For color, visionOS’s compositing pipeline uses pre-multiplied alpha and Display P3 color space. Multiply RGB by alpha before your shader outputs; assets should be authored in Display P3 so virtual content matches passthrough color.
2. Upper Limb Visibility
In Mixed Immersion, the user’s hands and your virtual content appear together. Control hand visibility with the .upperLimbVisibility() modifier (09:08):
@main
struct MyApp: App {
    var body: some Scene {
        ImmersiveSpace {
            CompositorLayer(configuration: MyConfiguration()) { layerRenderer in
                 let engine = my_engine_create(layerRenderer)
                 let renderThread = Thread {
                     my_engine_render_loop(engine)
                 }
                 renderThread.name = "Render Thread"
                 renderThread.start()
            }
            .immersionStyle(selection: $style, in: .mixed, .full)
            .upperLimbVisiblity(.automatic)
        }
    }
}
Key points:
.visible: hands always render in front of virtual content, ignoring depth.hidden: hands are always occluded by virtual content.automatic: Compositor Services decides from your depth texture—hands visible in front of objects, fade out behind them
3. Scene-aware Projection Matrix
A new computeProjection() API returns a projection matrix combining camera intrinsics and real-time scene understanding. If your app uses Mixed Immersion, you must use this new API (13:37):
func renderLoop {
    //...

    let deviceAnchor = worldTracking.queryDeviceAnchor(atTimestamp: presentationTime)
    drawable.deviceAnchor = deviceAnchor

    for viewIndex in 0...drawable.views.count {
        let view = drawable.views[viewIndex]
        let originFromDevice = deviceAnchor?.originFromAnchorTransform
        let deviceFromView = view.transform
        let viewMatrix = (originFromDevice * deviceFromView).inverse
        let projection = drawable.computeProjection(normalizedDeviceCoordinatesConvention:
                                                    .rightUpBack,
                                                    viewIndex: viewIndex)

        let projectionViewMatrix = projection * viewMatrix;

        //...
    }
}
Key points:
originFromDevicecomes from ARKit’squeryDeviceAnchor, the device transform in origin coordinatesdeviceFromViewcomes from Compositor Services’view.transform- viewMatrix =
(originFromDevice * deviceFromView).inverse, the view matrix from origin computeProjectionNDC convention must be.rightUpBack(X right, Y up, Z back)—what Compositor Services expects- Re-query every frame—don’t cache transforms from previous frames
4. Trackable Anchor Prediction
When using trackable anchors (like hand tracking) to position virtual content, query device and trackable anchors with different timestamps to reduce prediction error (18:27):
func renderFrame() {
    //...

    // Get the trackable anchor and presentation time.
    let presentationTime = drawable.frameTiming.presentationTime
    let trackableAnchorTime = drawable.frameTiming.trackableAnchorTime

    // Convert the timestamps into units of seconds
    let devicePredictionTime = LayerRenderer.Clock.Instant.epoch.duration(to:    presentationTime).timeInterval
    let anchorPredictionTime = LayerRenderer.Clock.Instant.epoch.duration(to:    trackableAnchorTime).timeInterval

    let deviceAnchor = worldTracking.queryDeviceAnchor(atTimestamp: devicePredictionTime)
    let leftAnchor = handTracking.handAnchors(at: anchorPredictionTime)

    if (leftAnchor.isTracked) {
        //...
    }
Key points:
presentationTime: when the frame appears on screen—use for device anchor queriestrackableAnchorTime: when the camera saw the environment—use for trackable anchors (like hands)- The two times differ: there’s latency between camera capture and screen presentation; using
trackableAnchorTimefor trackable anchors reduces about one frame of prediction error - Finish non-critical work (like physics) first, then query anchors after optimal input time for better accuracy
- Static objects not attached to trackable anchors (like a block on a table) only need
presentationTimefor device anchor queries
Core Takeaways
-
Build a Mixed Immersion 3D utility app: Use passthrough to let users place and manipulate 3D models on a real desk, with
.automatichand visibility. Why it’s worth it: Mixed Immersion has a lower barrier than Full Immersion—users don’t need to cut off from reality. How to start: Start from the Compositor Layer template, set.mixedimmersionStyle, anchor models to the desk with ARKit plane anchors. -
Use trackable anchor prediction for hand-grab interaction: When virtual objects follow hand position, query hand anchors with
trackableAnchorTimeinstead ofpresentationTimeto reduce about one frame of latency. Why it’s worth it: hand-grab scenarios are extremely latency-sensitive—one less frame of error moves the experience from “usable” to “good.” How to start: In the render loop’s update phase, query hand and device anchors separately withframeTiming.trackableAnchorTimeandframeTiming.presentationTime. -
Migrate an existing Full Immersion Metal project to Mixed Immersion: Checklist—clear color to all zeros, shader outputs pre-multiplied alpha, reverse Z depth with alpha=0 pixels at depth=0, choose an upper limb visibility strategy. Why it’s worth it: once you meet Mixed Immersion constraints, the same pipeline supports both modes and users can switch as needed. How to start: Change clear color first, then check each shader’s alpha output, finally declare
.mixedstyle and.upperLimbVisibility(.automatic)in SwiftUI.
Related Sessions
- Bring your iOS or iPadOS game to visionOS — Complete guide to migrating iOS/iPadOS games to visionOS
- Create custom environments for your immersive apps in visionOS — Creating custom environments for immersive apps
- Create enhanced spatial computing experiences with ARKit — Deep ARKit applications in spatial computing
- Design interactive experiences for visionOS — Designing interactive narrative experiences on visionOS
Comments
GitHub Issues · utterances