
Highlight
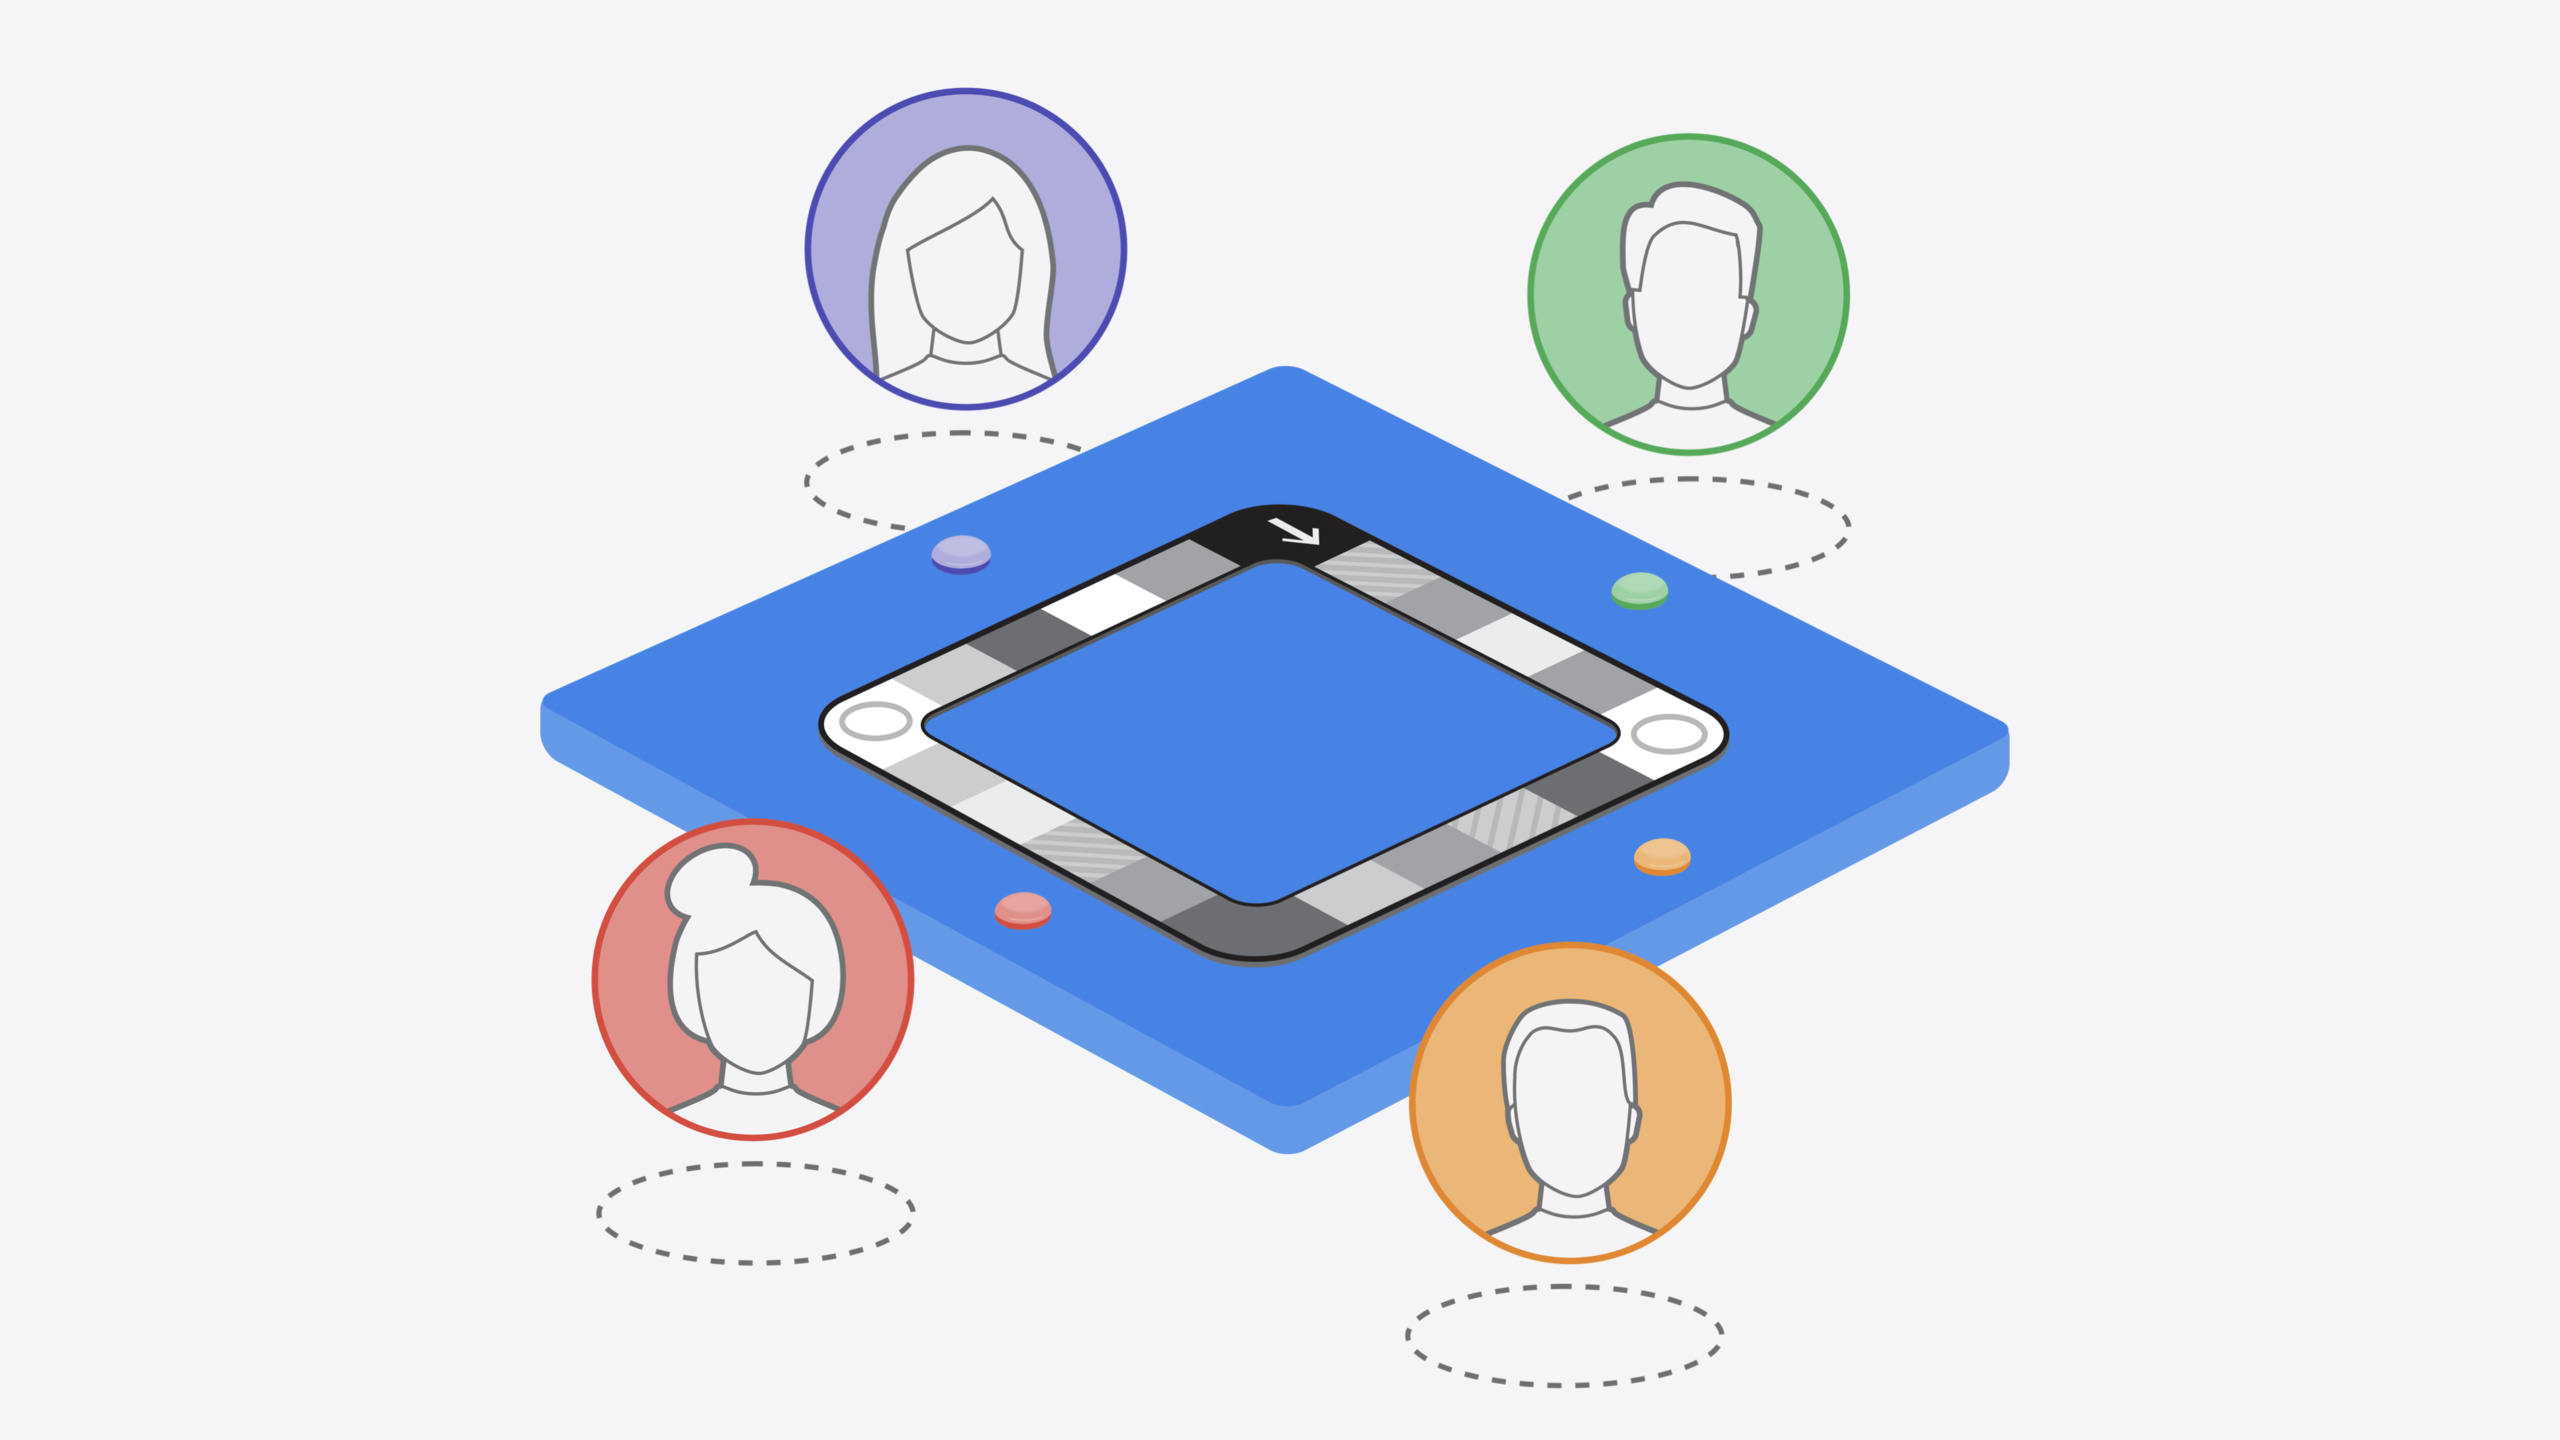
Building board games on visionOS means wrestling with gesture recognition, collision detection, and multiplayer sync—each problem can eat weeks. TabletopKit builds all of that in. You describe the table shape, define seats, and place pieces; the framework handles pinch-drag gestures, collision detection, and SharePlay multiplayer sync automatically.
Core Content
Building a board game on Vision Pro means tackling a pile of engineering problems that have nothing to do with “fun”: how to define the table’s layout coordinate system, how to bind pinch-drag gestures to pieces, how to sync game state in multiplayer, how to run physics when you roll dice. Each one can consume weeks, and every board game repeats the same work.
TabletopKit is Apple’s answer. You do three things: describe the table, place Equipment (pieces/cards/dice), and write interaction callbacks. The framework handles gesture recognition, collision detection, and multiplayer networking. It integrates deeply with RealityKit—3D models, shadows, lighting, and spatial audio all go through RealityKit’s rendering pipeline. Multiplayer is built on GroupActivities (the SharePlay framework): add a TabletopGame activity type and a single-player game becomes multiplayer without writing network code.
The session walks through building a board game from scratch: defining the table and seats, creating Equipment, writing interaction logic, adding visual effects and sound, and hooking up multiplayer.
Detailed Content
1. Define the Table and Seats
The first step is describing the table. TabletopKit supports two shapes: circular (with a radius) and rectangular (with width and depth). All positions and orientations are based on the table origin coordinate system. (03:07)
// Make a rectangular table.

let entity = try! Entity.load(named: "table", in: table_Top_KitBundle)
let table: Tabletop = .rectangular(entity: entity)
Key points:
Entity.loadloads a RealityKit 3D model from the bundle.rectangular(entity:)declares a rectangular table; the framework computes the bounding box from the entity- The table shape defines the playable area—it doesn’t have to match the 3D model exactly
Seats are placed around the table. Each seat can only be occupied by one player at a time, and only seated players can manipulate objects on the table. (04:04)
// Place 3 seats around the table, facing the center.

static let seatPoses: [TableVisualState.Pose2D] = [
  .init(position: .init(x: 0, y: Double(GameMetrics.tableDimensions.z)),
        rotation: .degrees(0)),
  .init(position: .init(x: -Double(GameMetrics.tableDimensions.x), y: 0),
        rotation: .degrees(-90)),
  .init(position: .init(x: Double(GameMetrics.tableDimensions.x), y: 0),
        rotation: .degrees(90))
]
Key points:
- Three seats are evenly distributed around the table, facing the center
rotationcontrols which direction the player faces- In multiplayer, members who aren’t seated can only watch—they can’t interact
2. Define Equipment
Every interactive object on the table is Equipment. There are two protocols: EntityEquipment (with a RealityKit entity, like a game piece) and Equipment (without an entity, like a board tile).
Piece example—EntityEquipment, with a physical model, movable only by the player in the corresponding seat: (05:40)
// Define an object that describes a pawn for each player.

struct PlayerPawn: EntityEquipment {
  let id: ID
  let entity: Entity
  var initialState: BaseEquipmentState

  init(id: ID, seat: PlayerSeat, pose: TableVisualState.Pose2D, entity: Entity) {
    self.id = id
    self.entity = entity
    initialState = .init(seatControl: .restricted([seat.id]),
                pose: pose,
                entity: entity)
  }
}
Key points:
- The
EntityEquipmentprotocol requires anentity; the framework uses it to compute the bounding box seatControl: .restricted([seat.id])limits manipulation to the player in that seatposesets the piece’s initial position relative to the table coordinate system
Board tile example—Equipment, no physical model, bounding box specified manually: (06:55)
// Define an object that describes a tile on the conveyor belt

struct ConveyorTile: Equipment {
  enum Category: String {
    case red
    case green
    case grey
  }

  let id: ID
  let category: ConveyorTile.Category
  let initialState: BaseEquipmentState

  init(id: ID, boardID: EquipmentIdentifier, position: TableVisualState.Point2D, category: ConveyorTile.Category) {
    self.id = id
    self.category = category
    initialState = .init(parentID: boardID,
              pose: .init(position: position, rotation: .init()),
              boundingBox: .init(center: .zero, size: .init(x: 0.06, y: 0, z: 0.06)))
Key points:
- The
Equipmentprotocol has no entity, so you must provide aboundingBoxmanually parentID: boardIDmeans the tile is a child of the board; position is relative to the board coordinate system- The same tile can hold multiple pieces (when two players land on the same space)
3. Interaction Logic
TabletopKit listens for system gestures (pinch-drag) and converts them into TabletopInteraction callbacks. You decide how game state changes in the callback. (09:53)
// The view contains all the content in the game.

RealityView { (content: inout RealityViewContent) in
  content.entities.append(loadedGame.renderer.root)
}.tabletopGame(loadedGame.tabletop, parent: loadedGame.renderer.root) { _ in
  GameInteraction(game: loadedGame)
}


// Define an object that manages player interactions.

struct GameInteraction: TabletopInteraction {
  func update(context: TabletopKit.TabletopInteractionContext,
                value: TabletopKit.TabletopInteractionValue) {
    switch value.phase {
      //...
  }
Key points:
- The
.tabletopGame()modifier attaches a TabletopKit game to RealityView - The
TabletopInteractionprotocol’supdatemethod is called on every gesture change contexthas writable properties (which Equipment is involved) and methods (cancel or end the interaction)valueprovides read-only info: gesture phase, interaction phase, and suggested destination
After a gesture ends, modify game state via addAction: (10:48)
// Respond to interaction updates.

func update(context: TabletopKit.TabletopInteractionContext,
              value: TabletopKit.TabletopInteractionValue) {
  switch value.phase {
    //...
    case .ended: {
      guard let dst = value.proposedDestination.equipmentID else {
        return
      }
      context.addAction(.moveEquipment(matching: value.startingEquipmentID, childOf: dst))
    }
 }
Key points:
value.proposedDestination.equipmentIDis the framework’s suggested drop targetaddAction(.moveEquipment(...))moves the piece under the target Equipment- Actions execute one by one in queue order, keeping game state consistent
- You fully control what’s allowed—you can enforce rules in “tutorial mode” or allow anything in “free mode”
4. Sound Effects
RealityKit spatial audio makes sounds emit from the 3D model’s actual position. Adding sound to a die takes just a few lines: (12:52)
// Respond to interaction updates.

  func update(context: TabletopKit.TabletopInteractionContext,
                value: TabletopKit.TabletopInteractionValue) {
    switch value.gesturePhase {
      //...
      case .ended: {
        if let die = game.tabletop.equipment(of: Die.self,
                                       matching: value.startingEquipmentID) {
          if let audioLibraryComponent = die.entity.components[AudioLibraryComponent.self] {
            if let soundResource = audioLibraryComponent.resources["dieSoundShort.mp3"] {
              die.entity.playAudio(soundResource)
            }
          }
        }
      }
    }
  }
Key points:
- Use
AudioLibraryComponentto retrieve preloaded audio resources from the entity entity.playAudio()plays spatial audio from the entity’s current position- Visual effects work the same way—attach any RealityKit component to the entity and trigger it in the interaction callback
5. Multiplayer
SharePlay integration takes two steps: activate a GroupActivities session, then let TabletopKit coordinate. (14:44)
// Set up multiplayer using SharePlay.
// Provide a button to begin SharePlay.

import GroupActivities
func shareplayButton() -> some View {
  Button("SharePlay", systemImage: "shareplay") {
  Task {try! await Activity().activate() }
  }
}


// After joining the SharePlay session, start multiplayer.

    sessionTask = Task.detached { @MainActor in
      for await session in Activity.sessions() {
        tabletopGame.coordinateWithSession(session)
      }
    }
Key points:
Activity().activate()starts a SharePlay sessiontabletopGame.coordinateWithSession(session)hands network sync to TabletopKit- The framework syncs actions to keep all players’ game states consistent
- Animations and physics run locally for smooth performance
- By default, TabletopKit generates Spatial Persona templates from seats; use the Custom Spatial Template API to override the layout if needed
Core Takeaways
-
What to do: Build a card battle game quickly with TabletopKit. Why it’s worth it: card game rules are simple, Equipment types are few (deck + hand + discard pile), making it a good first project to validate the framework. How to start: define a circular table and two seats, define cards with the
Equipmentprotocol, handle only draw and discard actions in the interaction callback—a working prototype in 2–3 days. -
What to do: Migrate an existing visionOS board game to TabletopKit and get gesture handling and multiplayer sync for free. Why it’s worth it: if you’ve hand-written pinch-drag gesture code and network sync, migration removes a lot of boilerplate and maintenance. How to start: redefine the table and seats with TabletopKit APIs, convert existing pieces/cards to
EntityEquipment, then replace your gesture handling withTabletopInteraction. RealityKit entities for visuals don’t need to change. -
What to do: Build a board game with “tutorial + free” dual modes. Why it’s worth it: TabletopKit separates rule enforcement from gestures—you can enforce rules or allow any operation in the interaction callback, which naturally fits dual modes. Tutorial mode helps beginners learn rules; free mode lets experienced players experiment. How to start: add an
isRuleEnforcedflag in theupdatecallback; in tutorial mode validate each move and callcontext.cancelInteraction()if invalid; in free mode allow all move actions. -
What to do: Use spatial audio and RealityKit effects for an immersive dice game. Why it’s worth it: physical board games can’t do “3D sound from where the die lands,” but visionOS can—that’s a spatial computing advantage. How to start: attach
AudioLibraryComponentto the die entity to preload sounds, play ongesturePhase == .ended; visual effects work the same way—trigger celebration/frustration animations on specific tile categories with RealityKit animation components.
Related Sessions
- Bring your iOS or iPadOS game to visionOS — Complete guide to porting iOS/iPadOS games to visionOS
- Create custom environments for your immersive apps in visionOS — Creating custom environments for immersive apps
- Create enhanced spatial computing experiences with ARKit — Building stronger spatial computing experiences with ARKit
- Design interactive experiences for visionOS — Methodology for designing visionOS interaction experiences
Comments
GitHub Issues · utterances