
Highlight
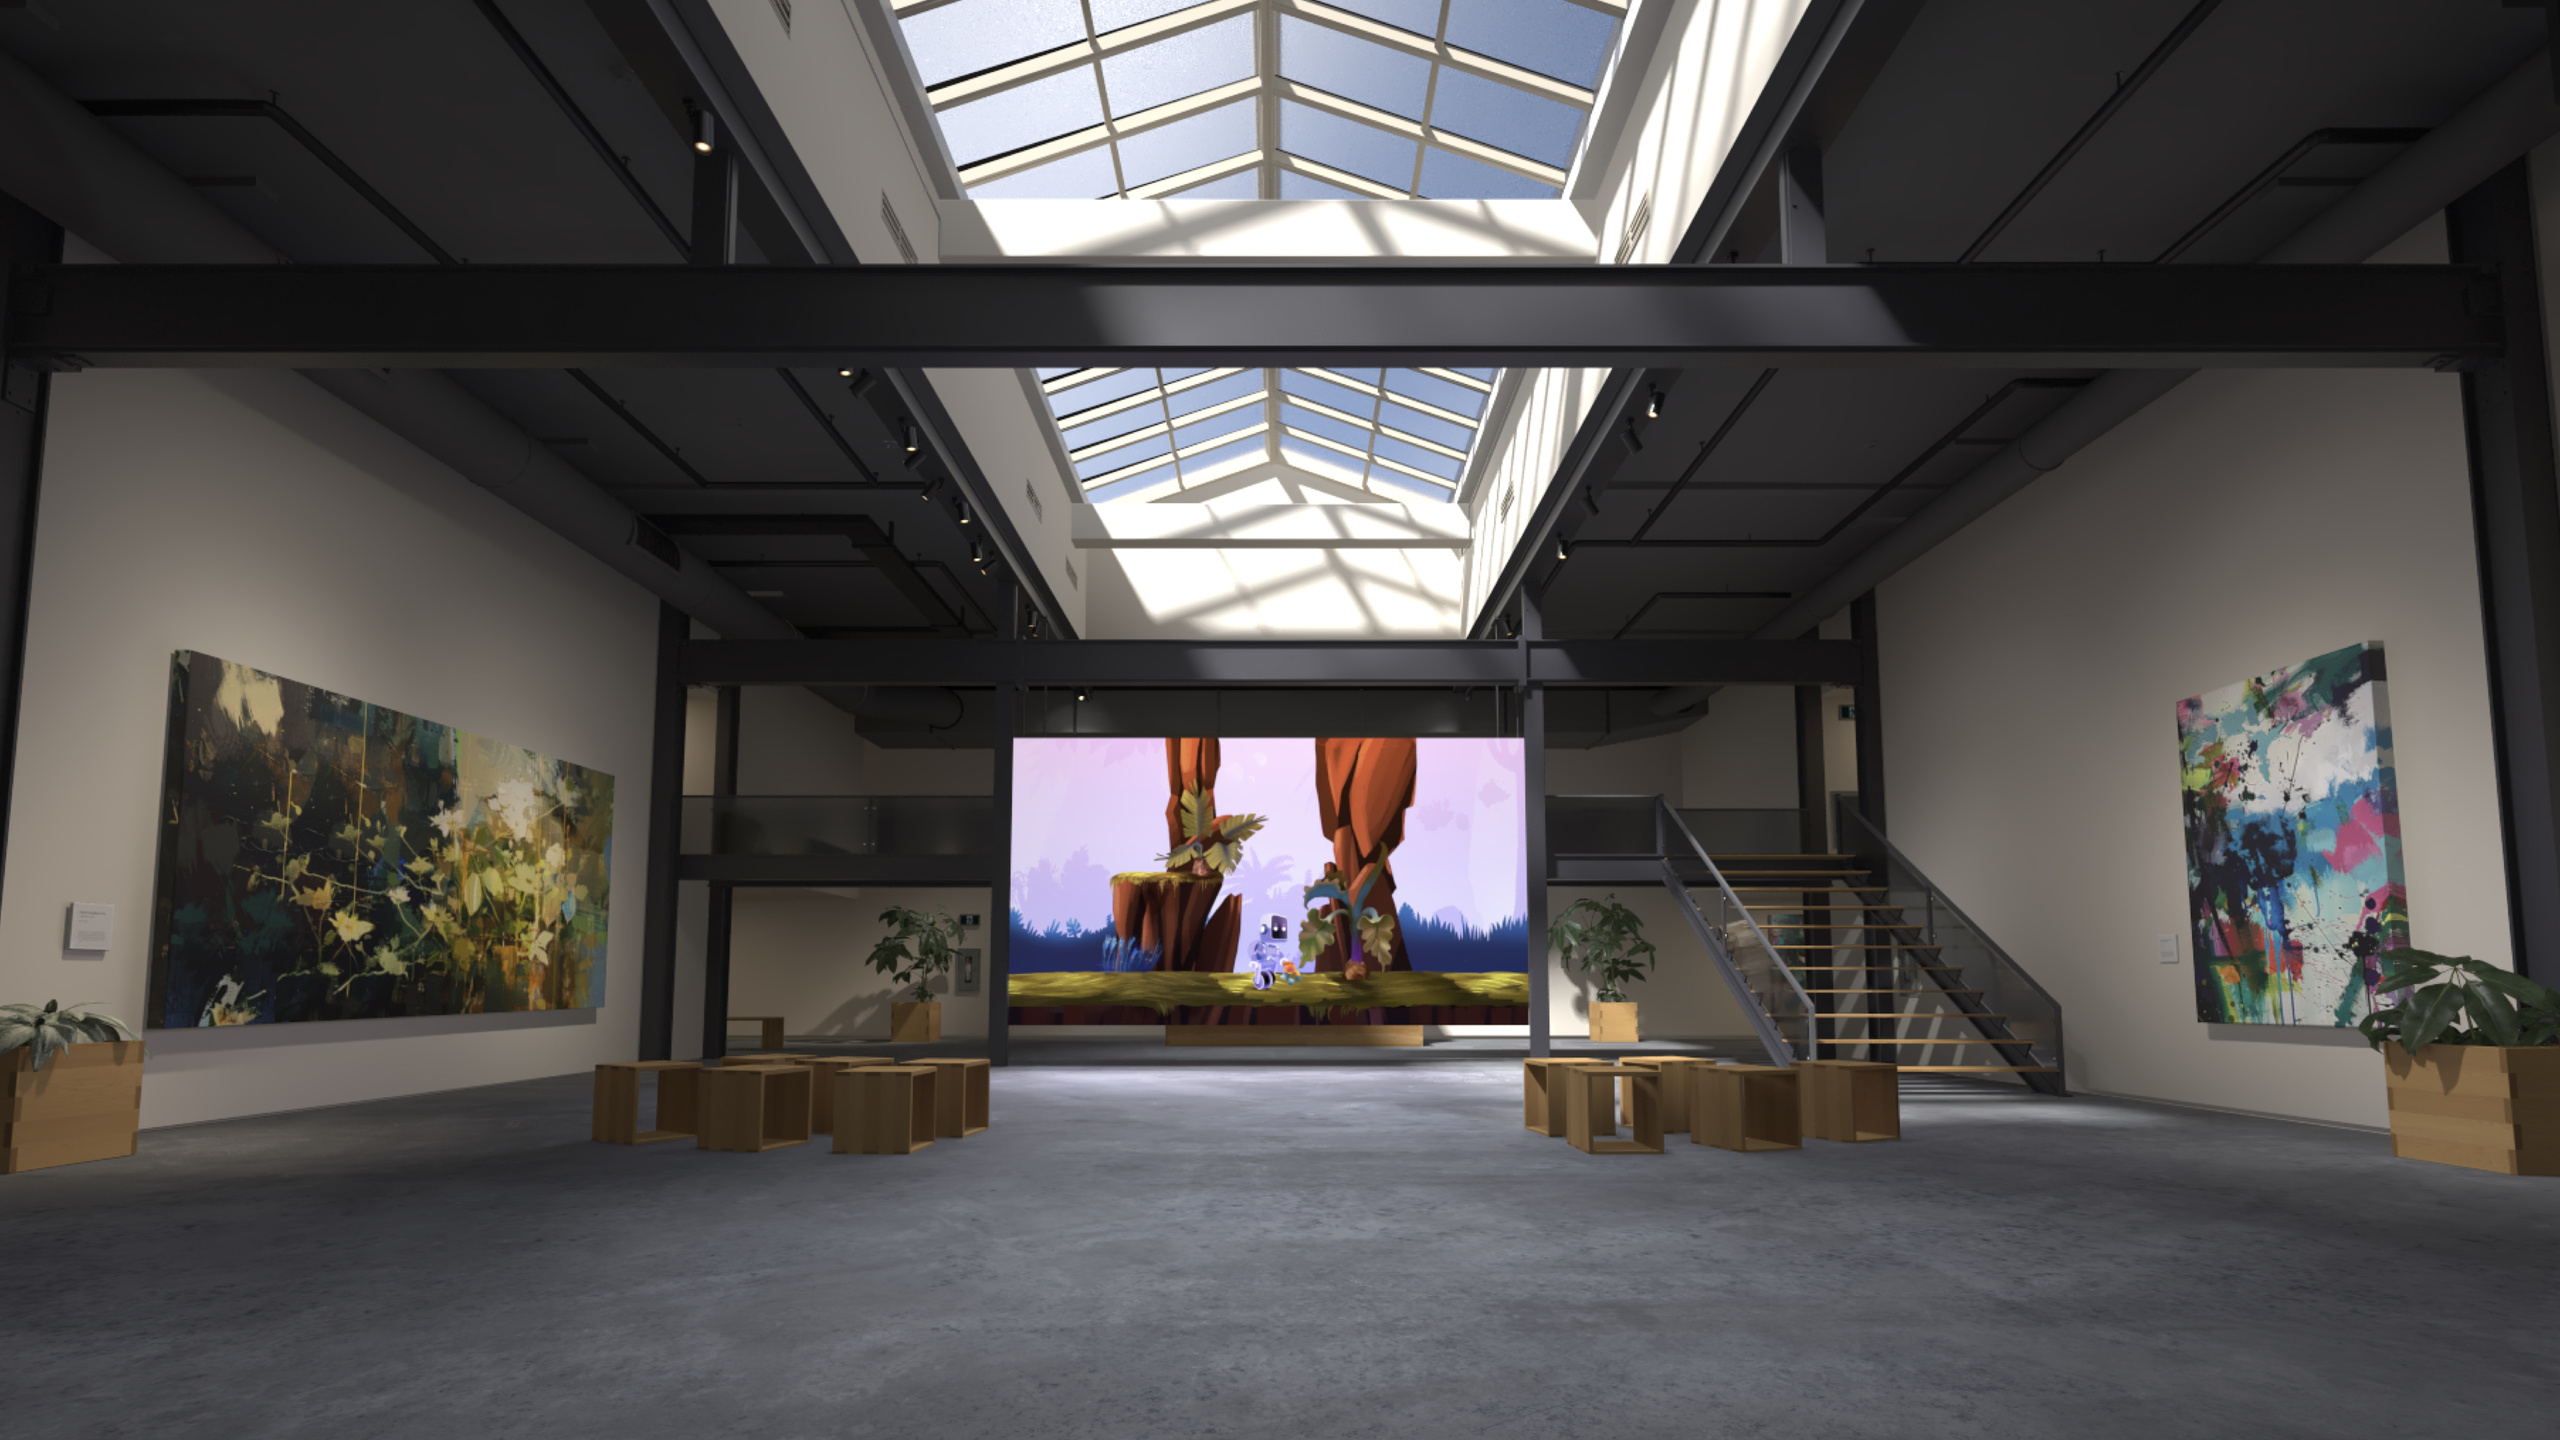
Repack the entire scene into 6 UV groups, bake lightmaps, then switch to unlit materials to present a high-quality immersive environment on Vision Pro at minimal GPU cost.
Core Content
The common dilemma for immersive apps on Vision Pro: the richer the environment, the lower the frame rate. Real-time lights, high-res textures, complex geometry—each eats GPU budget. Full-screen immersive spaces render far more pixels than ordinary windows, multiplying pressure.
Apple’s answer is “bake first”: in DCC tools (Blender, Maya, Houdini), bake lighting, shadows, and surface detail into texture maps; import to Reality Composer Pro and switch materials to unlit—the scene looks like real-time rendering but the GPU no longer computes lighting, fixing frame rate at the root. The workflow hinge: repack scene UVs into 6 groups (Mid section, Ceiling, Floor, Front section, Rear section, Props)—one map per group, shrinking hundreds of textures to 6, slashing material count, making the scene light and manageable.
Detailed Content
1. Start from blockout (00:31)
Block out space quickly with simple geometry (box, plane) in a DCC tool. Build at real-world scale with a human model for reference. Scale perception in-headset differs from a 2D screen—iterate by switching between both.
2. Texture creation (03:44)
Using a concrete floor as example, a four-step pipeline:
- Generate procedural maps in Adobe Substance Designer as a base—high-frequency detail, seamless tiling
- Layer real photography
- Add two variation layers to break repetition
- Composite one map covering the whole floor
3. Lighting design (04:41)
Spotlights evenly light wall art and floor; skylight uses daytime HDRI for natural light. Prepare multiple lighting setups—the sample has Light and Dark modes; Dark switches to night HDRI and boosts spot intensity. Brightness in-headset differs from the monitor—calibrate on device.
4. Texture baking and UV repacking (05:39)
Baking captures all surface info (color, normals, lighting, shadows) into a single image; reapplied, appearance is restored without ray tracing. The whole scene’s UVs repack into 6 groups:
UV Groups:
  Mid section
  Ceiling
  Floor
  Front section
  Rear section
  Props
Key points:
- One UV map and one texture per group—from hundreds down to 6
- Greatly cuts GPU texture sampling and memory
- Scene stays light and easy to manage in Reality Composer Pro
5. Export to Reality Composer Pro (06:29)
When exporting USD from Blender, rename the Root Prim—it carries into Reality Composer Pro and affects hierarchy. After import, switch all baked materials to unlit:
Material workflow in Reality Composer Pro:
  1. Select baked material
  2. Change material type → "Unlit"
  3. Connect each UV map to corresponding material
  4. Disable "Apply Post Process" tone map
  5. For glass elements → assign PBR material
  6. Adjust Roughness + Opacity for glass effect
Key points:
- Baked materials use unlit—GPU skips lighting
- Disable tone map to match DCC look
- Glass and refractive objects keep PBR, not baked
- Plan naming in DCC so import makes assets easy to find and edit
6. Skip geometry outside the visible area (02:47)
The viewing area is marked by a circle on the floor; users face the screen by default within system bounds. Don’t build geometry you can’t see from there—save polygons and textures, reduce render load. Avoid placing objects in front of the screen that cause depth conflict.
Core Takeaways
-
What to do: Build baked environments for immersive media players. Why it’s worth it: Video playback already uses heavy GPU; unlit baked environments free budget for decode and reflections. How to start: Simple theater in Blender, 6 UV groups baked; see Apple’s Destination Video sample.
-
What to do: Offer Light / Dark lighting modes. Why it’s worth it: Users prefer different brightness by time and mood—a low-cost upgrade. How to start: Bake two lightmap sets; swap texture groups at runtime.
-
What to do: Decimate distant objects. Why it’s worth it: Far detail is barely visible but still costs polygons and textures. How to start: Blender Decimate Modifier on distant props; target poly count by distance from viewing area.
-
What to do: Use procedural textures for large surfaces instead of hand painting. Why it’s worth it: Procedural tiles seamlessly and iterates by parameter—far faster than painting. How to start: Substance Designer for concrete/wood bases; export tilable maps and layer photo detail.
Related Sessions
- Bring your iOS or iPadOS game to visionOS — Practical guide to porting iOS games to visionOS immersive spaces
- Create enhanced spatial computing experiences with ARKit — Richer immersive interactions with ARKit
- Design interactive experiences for visionOS — Methodology for narrative immersive interaction
- Dive deep into volumes and immersive spaces — New APIs for customizing Volumes and Immersive Spaces
Comments
GitHub Issues · utterances