
Highlight
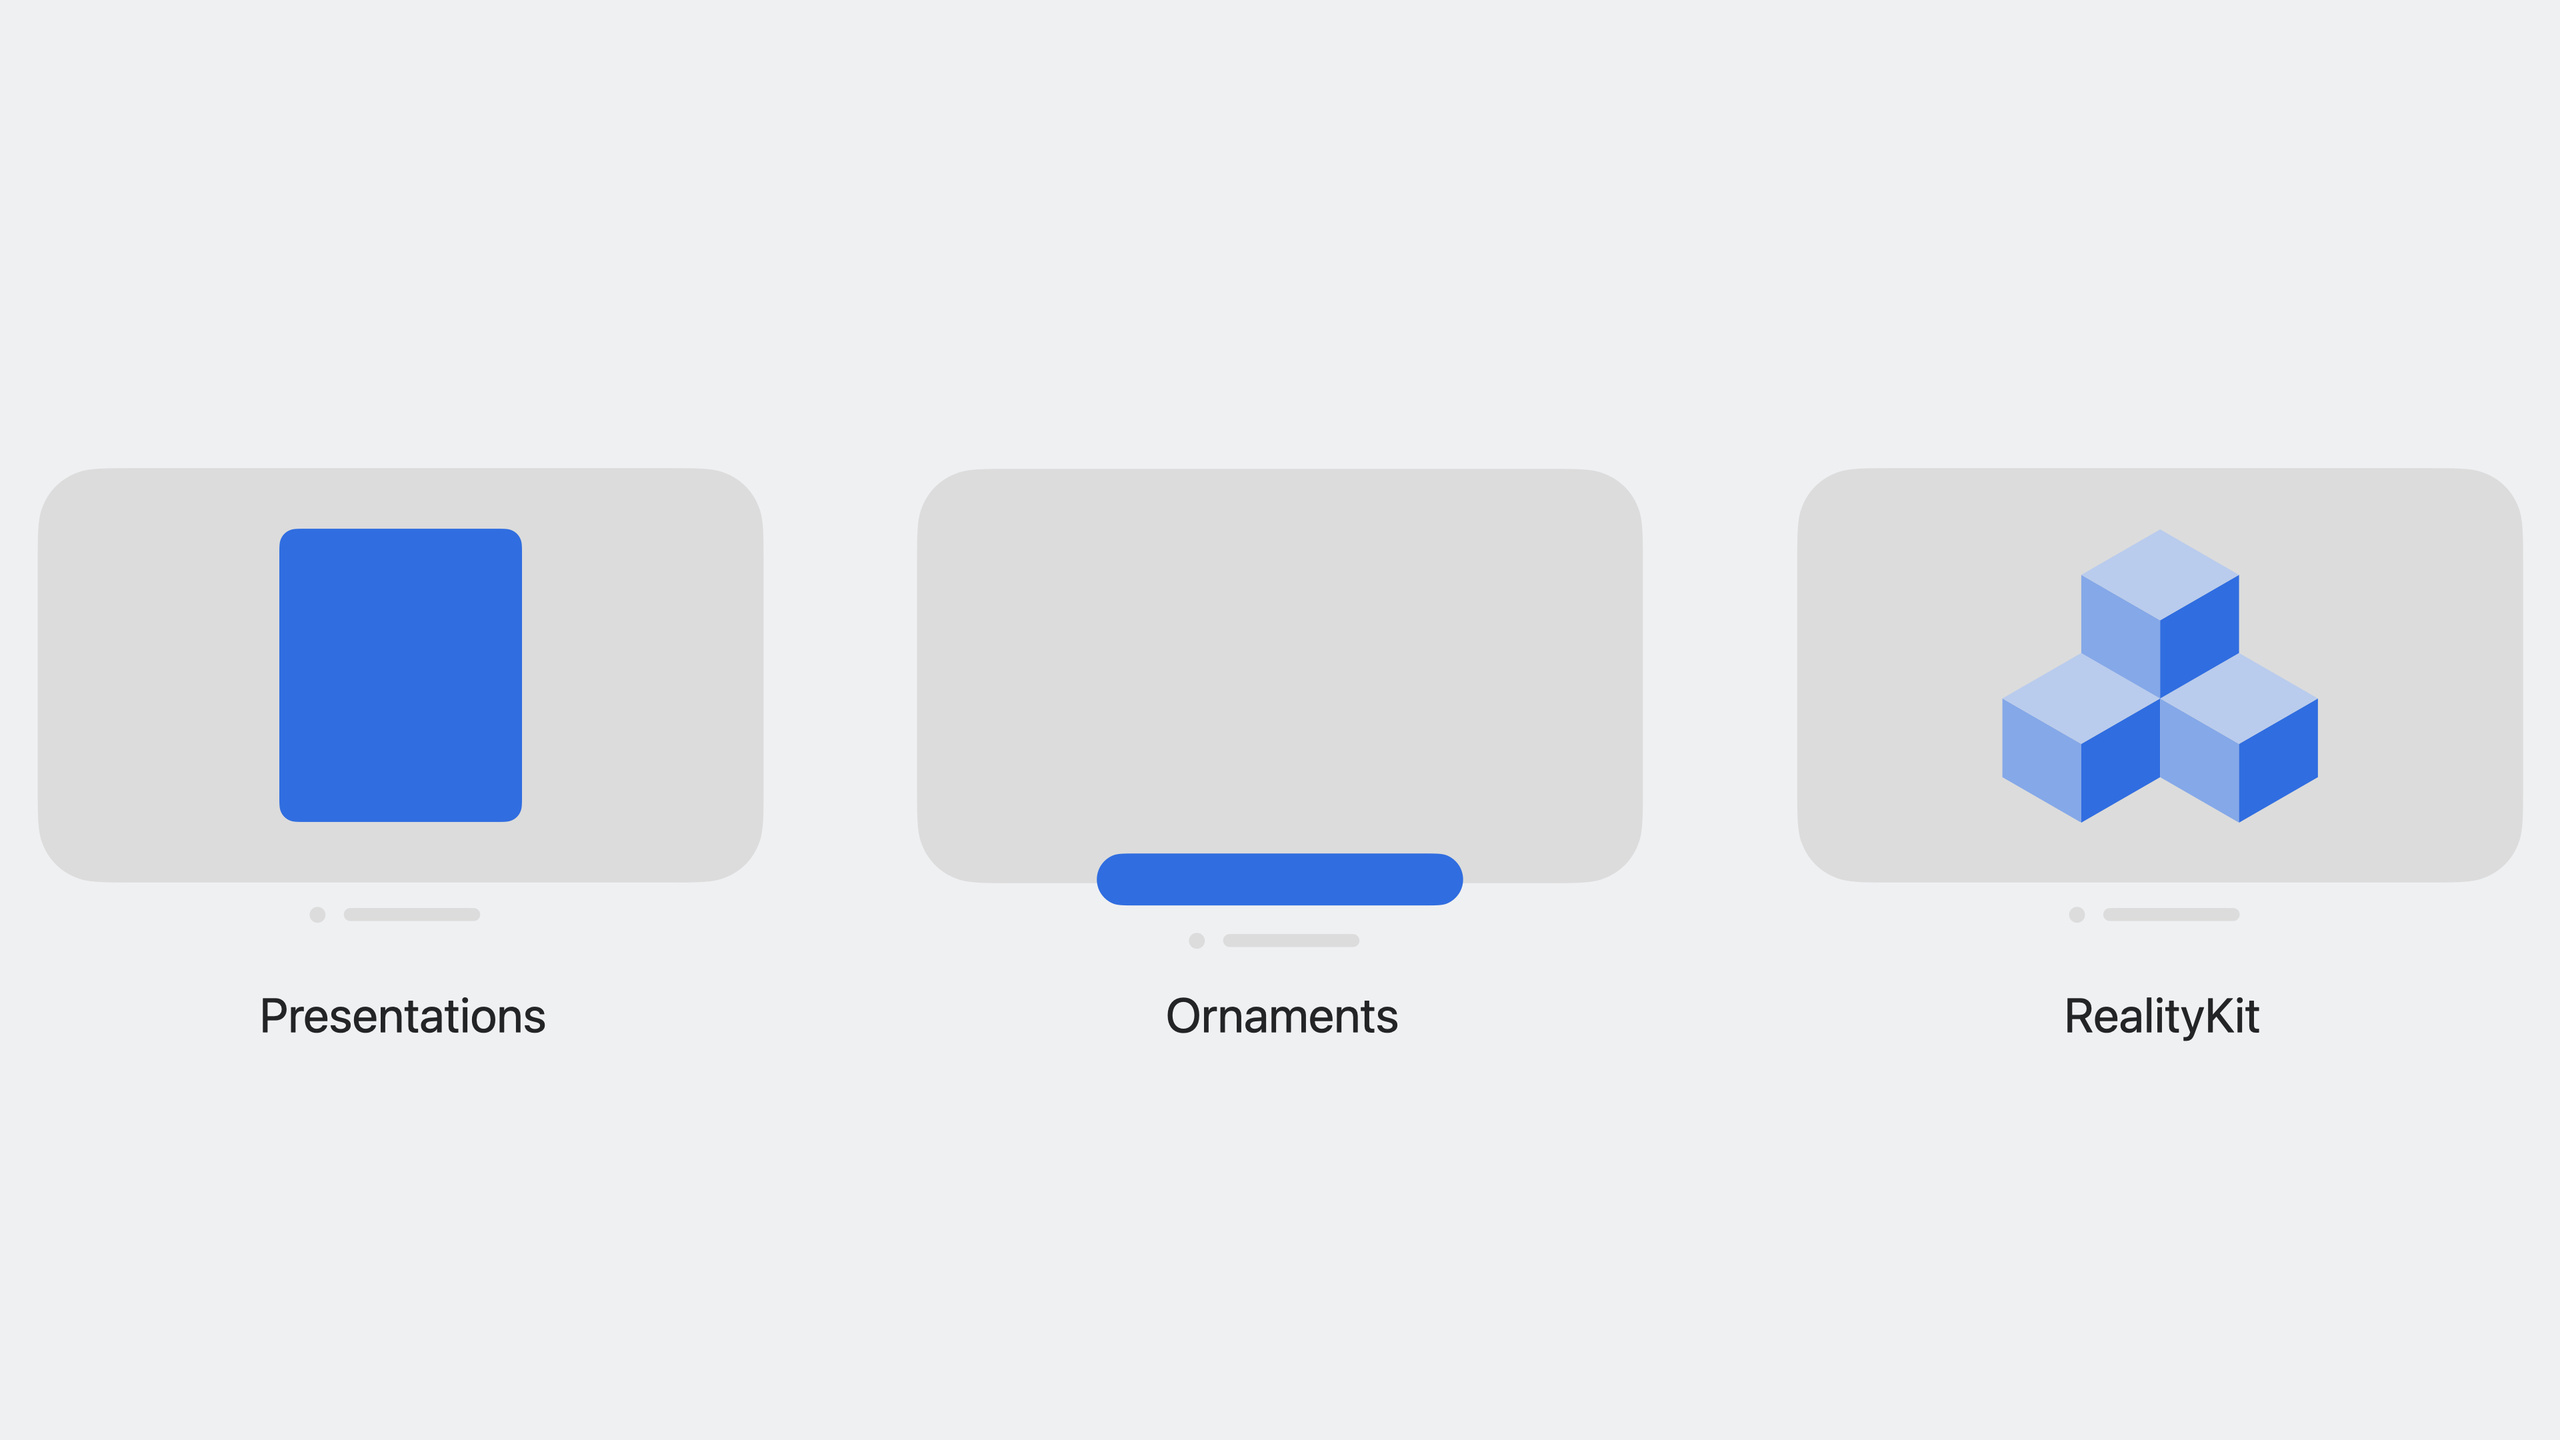
UIKit apps can run on visionOS without rewriting: add new targets, handle unavailable APIs, use semantic colors and hover effects to adapt to platform styles, and extend content into three-dimensional space through Ornament and RealityKit.
Core Content
Step one: Move iPad apps to visionOS
You have an iPad app written in UIKit and want it to run on visionOS. The first step is to add a new run target in the General tab of Xcode.
The application icon of visionOS is also very special. It is composed of three superimposed images that produce a dynamic response when the user looks at the icon. You need to add this set of layered icons to your Asset Catalog.
(02:01)
If you compile directly after adding the target, you may encounter errors. visionOS is a brand new platform and some APIs no longer apply.
Handling unavailable APIs
visionOS does not support APIs deprecated before iOS 14. Additionally, some APIs are marked as unavailable due to differences in platform features:
- UIDeviceOrientation: Assume the device can be rotated, does not apply to visionOS
- UIScreen: The concept of single screen presentation does not hold on this platform
- UITabBar’s leadingAccessoryView/trailingAccessoryView: Tab Bar layout directions are different
(03:22)
The pixel art application in the example usesUIPencilInteraction, visionOS does not support Apple Pencil, this API is not available. The solution is to use conditional compilation to exclude it:
#if !os(xrOS)
// Apple Pencil interaction code
let pencilInteraction = UIPencilInteraction()
pencilInteraction.delegate = self
view.addInteraction(pencilInteraction)
#endif
After fixing the compilation errors, the app can run in Shared Space. The glass material background and hover effect are provided by the system by default.
Semantic colors and materials: integrating applications into the platform
The app looks great with black title text on a white background on the iPad, but looks jarring on the glass background of visionOS.
Semantic colors are particularly important on this platform.UIColor.label、UIColor.secondaryLabelSystem colors will automatically adapt to platform, appearance, and accessibility settings. UILabel gets vibrancy effect by default when using semantic colors.
(06:58)
Hover effect: Make interaction perceptible
On visionOS, a hover effect occurs when the user looks at an element. System controls come with hover effects by default, but you can also add them for custom views.
UIView addedhoverStyleproperty. can be set to.highlightor.lifteffect, you can also useUIShapeAPI custom shapes. set tonilthen remove the hover effect.
(10:49)
Changes in input methods
visionOS introduces a new input system:
- Gaze + Pinch Release = Tap gesture
- Gaze + Pinch and Move Hand = Pan gesture
- Direct touch at close range = physical touch
- Trackpad = Available after pairing
- Accessibility = Both VoiceOver and Switch Control are supported
The platform supports up to two simultaneous inputs (one in each hand). The sample application originally used four-finger swiping to delete all content. On visionOS, it can be changed to two-finger swiping.
(12:17)
Detailed Content
Spatial UIKit presentations
UIKit presentations get a spatial style on visionOS:
Sheet: Push the presenting view controller back and dim it when pushed out. Unlike the iPad, tapping outside the sheet will not automatically close it.
Alert: Place a 2D representation of the app icon on top. Always present from the view controller that should be pushed back.
Popover: On visionOS, it is not restricted by scene boundaries and can exceed the application window. But be carefulpermittedArrowDirectionssettings.
(14:26)
Code Example: Fix Popover Arrow Direction
import UIKit

extension EditorViewController {

    @objc func showDocumentPopover(sender: UIBarButtonItem) {
        let controller = DocumentInfoViewController(document: pixelDocument)
        controller.modalPresentationStyle = .popover
        if let presentationController = controller.popoverPresentationController {
            presentationController.barButtonItem = sender
            if traitCollection.userInterfaceIdiom == .reality {
                presentationController.permittedArrowDirections = .any
            } else {
                presentationController.permittedArrowDirections = .right
            }
        }
        present(controller, animated: true, completion: nil)
    }

}
Key points:
traitCollection.userInterfaceIdiom == .realityCheck if running on visionOS- Popover on visionOS is not restricted by scene boundaries, use
.anyLet the system choose the best location - Keep on iPad
.rightLimit to prevent popover from going beyond the screen
Ornament: Put content outside the scene
Ornament is a new concept in visionOS that allows content to be placed around the application scene. System components are also used: SwiftUI’s TabView puts the tab bar in the leading edge ornament, Safari uses ornament to place the navigation bar, and Freeform uses ornament as the bottom toolbar.
Ornament is elevated in front of the main content, adding a sense of depth. They are bound to the view controller’s life cycle and will maintain their relative position when the sheet is rendered.
(17:15)
Code example: Create Ornament
import UIKit
import SwiftUI

extension EditorViewController {

    func showEditingControlsOrnament() {
        let ornament = UIHostingOrnament(
            sceneAlignment: .bottom,
            contentAlignment: .center
        ) {
            EditingControlsView(model: controlsViewModel)
                .glassBackgroundEffect()
        }

        self.ornaments = [ornament]
        editorView.style = .edgeToEdge
    }

}
Key points:
UIHostingOrnamentHosting SwiftUI content, requiredimport SwiftUIsceneAlignment: .bottomPlace the ornament on the bottom edge of the scene -contentAlignment: .centerCenter content around the edges -.glassBackgroundEffect()Add glass background to ornament -ornamentsIs a new property of UIViewController that accepts an array of ornaments- The ornament is bound to the view controller’s life cycle. When the view controller is removed, the ornament automatically disappears.
Code Example: Using Semantic Colors
private let titleLabelTextField: UITextField = {
    let textField = UITextField()
    textField.textColor = UIColor.label
    return textField
}()

private let authorLabel: UILabel = {
    let label = UILabel()
    label.textColor = UIColor.secondaryLabel
    return label
}()
Key points:
UIColor.labelIt is the main text color and automatically adapts to the platform and appearance. -UIColor.secondaryLabelUsed for auxiliary text to reduce visual hierarchy- UILabel using semantic color automatically gets vibrancy effect
- Avoid hardcoding RGB values to keep your app looking consistent across platforms
Code example: Add a sunken appearance to a text box
textField.borderStyle = .roundedRectKey points:
- on visionOS
.roundedRectWill automatically take on a recessed appearance - This is the default style designed by the system for this platform, no additional configuration is required
Code example: Custom container background style
class MyViewController: UIViewController {
    override var preferredContainerBackgroundStyle: UIContainerBackgroundStyle {
        return .glass
    }
}
Key points:
preferredContainerBackgroundStyleIs a new property of UIViewController- Optional values:
.automatic、.glass、.hidden- UINavigationController and UISplitViewController use glass background by default
Code example: Customizing the Hover effect
class CollectionViewCell: UICollectionViewCell {
    init(document: PixelArtDocument) {
        super.init(frame: .zero)
        self.hoverStyle = .init(
            effect: .highlight,
            shape: .roundedRect(cornerRadius: 8.0)
        )
    }
}
Key points:
hoverStyleIs a new property of UIView -effectOptional.highlightor.liftshapeuseUIShapeAPI, supports shapes such as rounded rectangles- set to
nilCan remove hover effects
Code example: Adjust gestures based on platform
func fourFingerSwipe() {
    let gesture = UISwipeGestureRecognizer(
        target: self,
        action: #selector(self.deleteAll)
    )
    gesture.direction = .left
    if traitCollection.userInterfaceIdiom == .reality {
        gesture.numberOfTouchesRequired = 2
    } else {
        gesture.numberOfTouchesRequired = 4
    }
    self.view.addGestureRecognizer(gesture)
}
Key points:
traitCollection.userInterfaceIdiom == .realityThis is the recommended way to detect visionOS- visionOS supports up to two simultaneous inputs, so a two-finger swipe is enough
- Keep four-finger swiping on iPad to avoid conflicting with other gestures
Using RealityKit with UIKit
RealityView is the new SwiftUI view for hosting RealityKit content. passUIHostingController, you can embed a RealityView in a UIKit app without rewriting the entire app.
(21:56)
Code Example: Embedding RealityView in UIKit
import UIKit
import SwiftUI
import RealityKit

extension EditorViewController {

    func showEntityPreview() {
        let entityView = PixelArtEntityView(model: entityViewModel)
        let controller = UIHostingController(rootView: entityView)
        addChild(controller)
        view.addSubview(controller.view)
        controller.didMove(toParent: self)
        prepareEditorInteractions()
    }

}
Key points:
UIHostingControllerEmbed SwiftUI view into UIKit view hierarchy -PixelArtEntityViewInternal useRealityViewRendering RealityKit entities- Standard child view controller life cycle management:
addChild→addSubview→didMove(toParent:)- This method allows existing UIKit applications to gain 3D capabilities without rewriting
Core Takeaways
-
Port existing iPad apps to visionOS
- What to do: Add the visionOS target to an existing UIKit application (such as drawing tools, note-taking applications, readers) and let it run in the space
- Why it’s worth doing: UIKit applications get a new running environment at almost zero cost, and users can use your applications in a larger virtual space.
- How to get started: Add the visionOS target in the General tab of Xcode, handle compilation errors (deprecated APIs and platform-incompatible APIs), and replace hard-coded colors with semantic colors
-
Redesign toolbar with Ornament
- What to do: Extract the traditional bottom toolbar or sidebar into Ornament to maximize the main content area
- Why it’s worth doing: Ornament breaks the boundaries of the 2D window. The tool controls are suspended around the main content, which is not blocked and can be accessed quickly.
- How to start: Use
UIHostingOrnamentWrap the SwiftUI toolbar view, setting the appropriatesceneAlignmentandcontentAlignment, add to ornament.glassBackgroundEffect()
-
Add 3D preview functionality to your app
- What: Embed a RealityView in a UIKit app so users can view 3D content from any angle
- Why it’s worth doing: No need to rewrite the entire application, just one
UIHostingControllercan inject 3D capabilities into existing interfaces - How to get started: Create a SwiftUI view containing
RealityView,useUIHostingControllerEmbedded in UIKit’s view controller and managed through child view controller life cycle
-
Design spatial Popover interaction
- What to do: Use the popover feature on visionOS that is not restricted by scene boundaries to design a more flexible context menu
- Why it’s worth doing: popover can extend beyond the application window to provide more natural directional interaction
- How to start: Check
permittedArrowDirections, used on visionOS.anyLet the system automatically select the best location and avoid hard-coded platform assumptions
Related Sessions
- Meet SwiftUI for spatial computing — Basic introduction to SwiftUI on spatial computing platform
- Build spatial experiences with RealityKit — Learn more about the usage of RealityKit and RealityView
- Principles of spatial design — Spatial design principles guide how to design visionOS applications
- Elevate your windowed app for spatial computing — An advanced guide to elevating your windowed app for spatial computing environments
Comments
GitHub Issues · utterances