
Highlight
Quick Look displays the 3D model in the Volume window on visionOS, and the system automatically handles the initial orientation, ground plane and shadow. Developers need to focus on real-world size, visual quality, and performance optimization of USDZ models.
Core Content
Quick Look’s 3D display method
On visionOS, Quick Look displays the 3D model in the Volume window. Volumes have clear boundaries and can be used side by side with other applications. Users can freely reposition the Volume to view the model from different angles.
(01:14)
System behavior:
- The model is always placed in the center of the Volume
- When first appearing, the Volume will adjust its orientation so that the content faces the user head-on.
- Users can reposition content via the Volume window bar
- Quick Look automatically adjusts Volume size based on user zoom
Size and scaling
Quick Look respects themetersPerUnitto determine the proportional relationship to the real world.
(02:32)
Scaling strategy:
- Very small models (such as toy cars): impose a minimum zoom limit to ensure content is visible
- Extremely large models: impose a cap limit to avoid taking up too much space
- Medium size model: 100% displayed at real world size
- Users can view real-world dimensions at any time with the click of a button
Ground plane and shadow
Quick Look automatically displays the ground plane and shadow beneath the model, helping users understand the model’s size and position relative to the ground.
(03:56)
Don’t add your own ground plane and shadows to the model, let the system handle that part.
Four ways to create USDZ
- Reuse existing USDZ: USDZ files created for iOS can be used directly in visionOS
- Professional 3D Creation Tool: Create 3D content and export it to USDZ
- RealityKit Object Capture API: Scan real-world objects to generate 3D models, supports iOS and macOS
- RoomPlan API: Create 2D or 3D house plans
(04:51)
Complete workflow case
Session shows the complete process of creating a room model by designer Jerry:
- Scan a room using the RoomPlan sample app
- Preview 3D layout or export USDZ to Mac
- Import 3D creation tools to add materials and textures
- Preview and adjust in Reality Composer Pro
(06:31)
Detailed Content
Preview in Reality Composer Pro
The device preview button in the upper right corner of Reality Composer Pro allows you to preview Quick Look effects directly on the device.
(07:37)
Frequently Asked Questions: Initial model orientation is incorrect. Quick Look uses a right-handed coordinate system, which requires adjusting the Y-axis rotation in the content creation tool or Reality Composer Pro to ensure that the most interesting parts are facing the user.
Visual quality issues
Z-fighting (flash overlay)
Multiple objects will overlap and flicker when rendered at the same location. Solution: Remove overlapping geometry in authoring tools, or increase object spacing.
(09:44)
High Frequency Normal Map
High-frequency normal maps are prone to aliasing artifacts at close range or in moving scenes. It is recommended to use low-frequency normal maps, or replace them with geometric details.
(10:06)
Small object rendering
When rendering small objects, such as leaves, the system may not consistently sample at variable rasterization rates, causing flickering in the surrounding areas. It is recommended to store fine geometric details in a transparency texture and render with a larger triangle mesh.
(10:22)
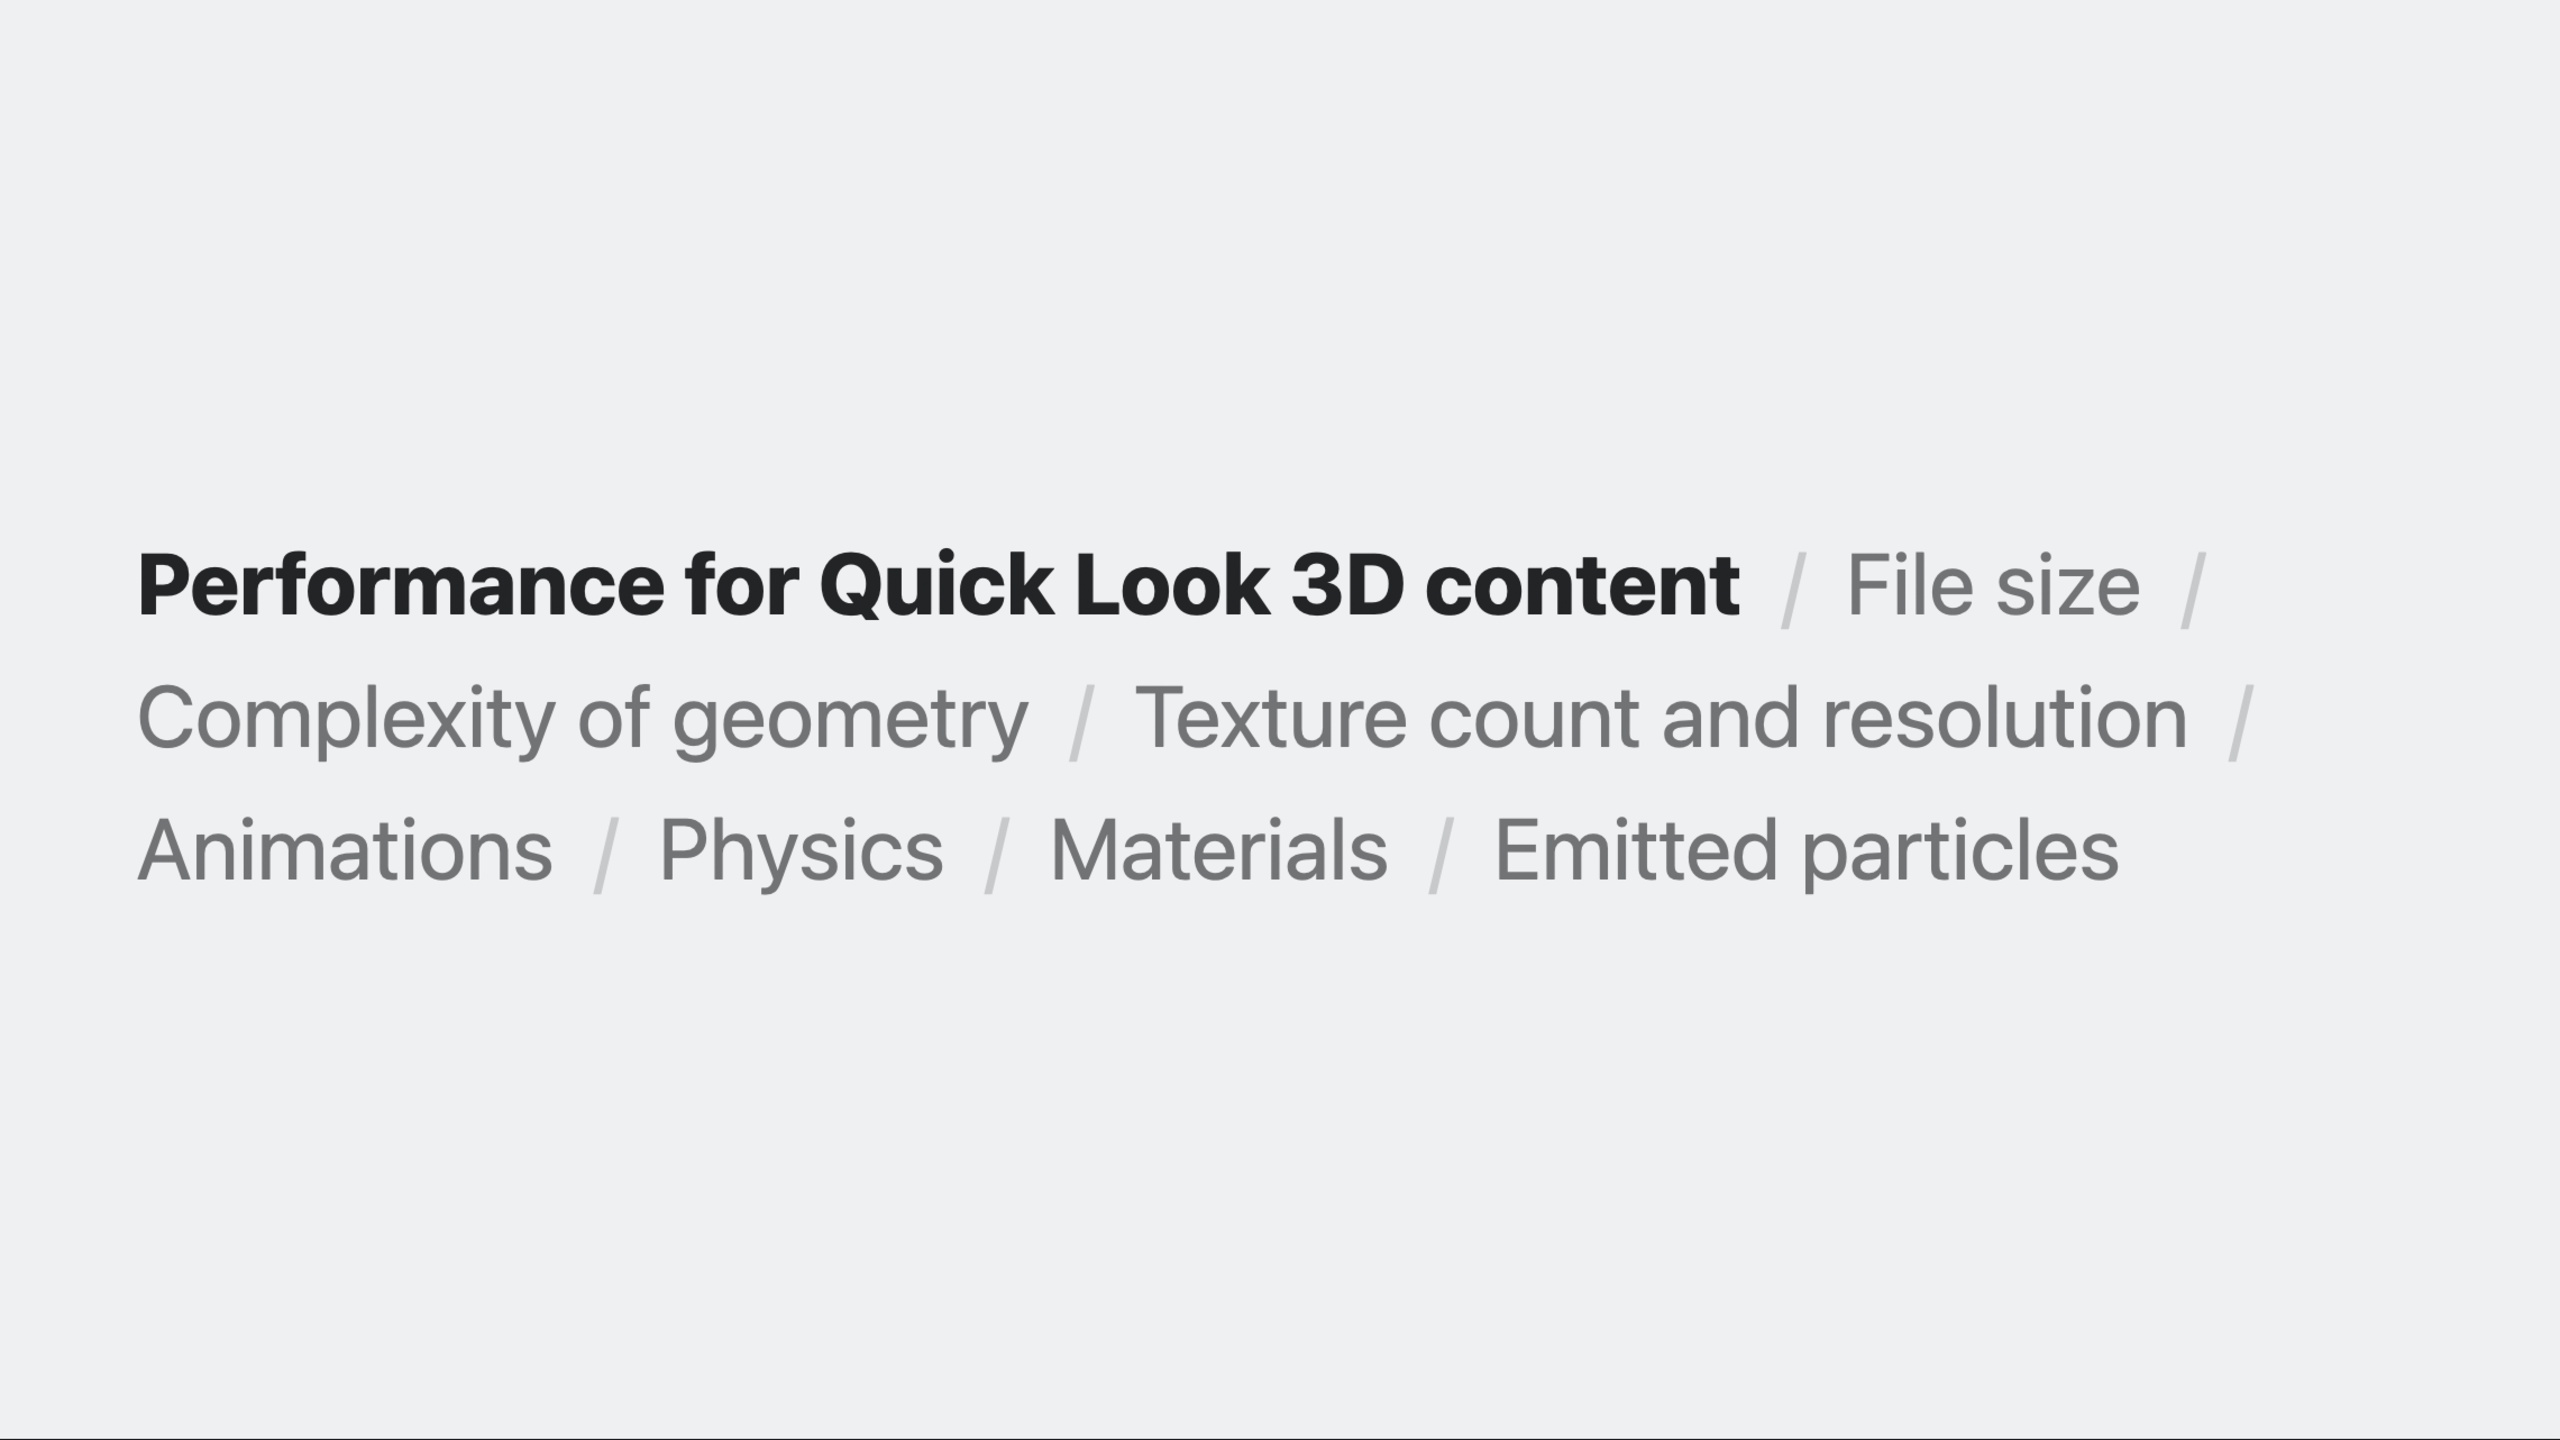
Performance optimization
File Size
- Smaller files mean faster downloads and loads
- Only include resources actually used in the final scene
- Removed old versions of audio, animations and textures that are no longer used
- Recommended file size to be kept under 25MB
(13:42)
Geometry Optimization
- Remove parts that are completely obscured and will never be shown
- Merge small grids into a single larger grid to reduce system load
- Single model recommendation: less than 200 mesh parts, less than 100,000 vertices
(15:01)
Texture Optimization
- Use grayscale images for non-color input to save memory
- Pack multiple grayscale images into different channels of a single texture
- Use material constant values instead of texture loading whenever possible
- The recommended maximum texture size for a single PBR material is 2K x 2K
- Use 8-bit instead of 16-bit per-channel textures
- Invest your texture budget in areas that will add the most realism
(15:51)
Material optimization
- Merge mesh parts that share the same material to reduce material compilation on load
- Use independent materials for small area transparent or varnish effects instead of using them on the entire model
- Avoid overlapping transparency, rendering transparent objects in real time requires more calculations
- Use MaterialX Unlit surface for baked lighting or parts that do not require lighting
(16:59)
Physics Optimization
- Reduce the total number of colliders
- Entities that do not move or are not affected by other objects use static collider
(18:26)
Animation Optimization
- Limit the number of animation weights per vertex
- Deformation or skinning animations follow the same optimization guidelines as geometry
(19:17)
Particle System
- Limit the number of particle emitters
- Keep the number of particles on the screen to a minimum
- Achieve similar effects with simpler shapes and styles, reducing overdraw
(19:52)
Performance analysis tools
Statistics Panel: The Statistics panel in Reality Composer Pro displays key metrics such as triangle count, texture memory usage, and more.
(11:55)
RealityKit Trace: A more advanced runtime performance analysis tool that can deeply analyze individual rendering frames, identify performance bottlenecks and make recommendations. Requires attachment to the Quick Look process for use.
(12:15)
Core Takeaways
-
Quickly create room presentations with RoomPlan + Reality Composer Pro
- What to do: Scan the room to generate a 3D model, add materials and preview in Quick Look
- Why it’s worth it: Create an interactive 3D representation of a room in minutes, no professional modeling skills required
- How to get started: Scan using RoomPlan API, export USDZ, preview and adjust orientation in Reality Composer Pro
-
Create optimized USDZ previews for e-commerce products
- What to do: Control the product 3D model within 25MB and ensure that it is less than 100,000 vertices
- Why it’s worth it: Quick Look allows users to view products at real size in real space, increasing purchasing confidence
- How to get started: Scan with Object Capture or export from a 3D tool, check the metrics in the Statistics panel of Reality Composer Pro
-
Replace fine geometry with transparency texture
- What: Bake geometric details of small objects like leaves into transparency textures
- Why it’s worth it: Avoid flickering issues with variable rasterization rates while reducing vertex count
- How to get started: Create a low-poly model in a 3D authoring tool, using alpha maps to control outlines
-
Merging materials to reduce compilation overhead
- What: Merge mesh parts that share the same material
- Why it’s worth doing: Custom materials need to be compiled when first loaded. After merging, the number of compilations is reduced.
- How to start: Check material assignments in 3D authoring tools and merge sub-meshes of the same material
Related Sessions
- Discover Quick Look for spatial computing — Use Quick Look on spatial computing platforms
- Explore rendering for spatial computing — Exploration of spatial computing rendering technology
- Meet Reality Composer Pro — Reality Composer Pro tool introduction
- Object Capture — Create 3D models with Object Capture
Comments
GitHub Issues · utterances