
Highlight
3D content in Reality Composer Pro projects can be accessed via
RealityViewLoad it into SwiftUI and combine it with custom Component and Attachments API to achieve hybrid interaction between data-driven 3D scenes and 2D SwiftUI views.
Core Content
From Reality Composer Pro to Xcode
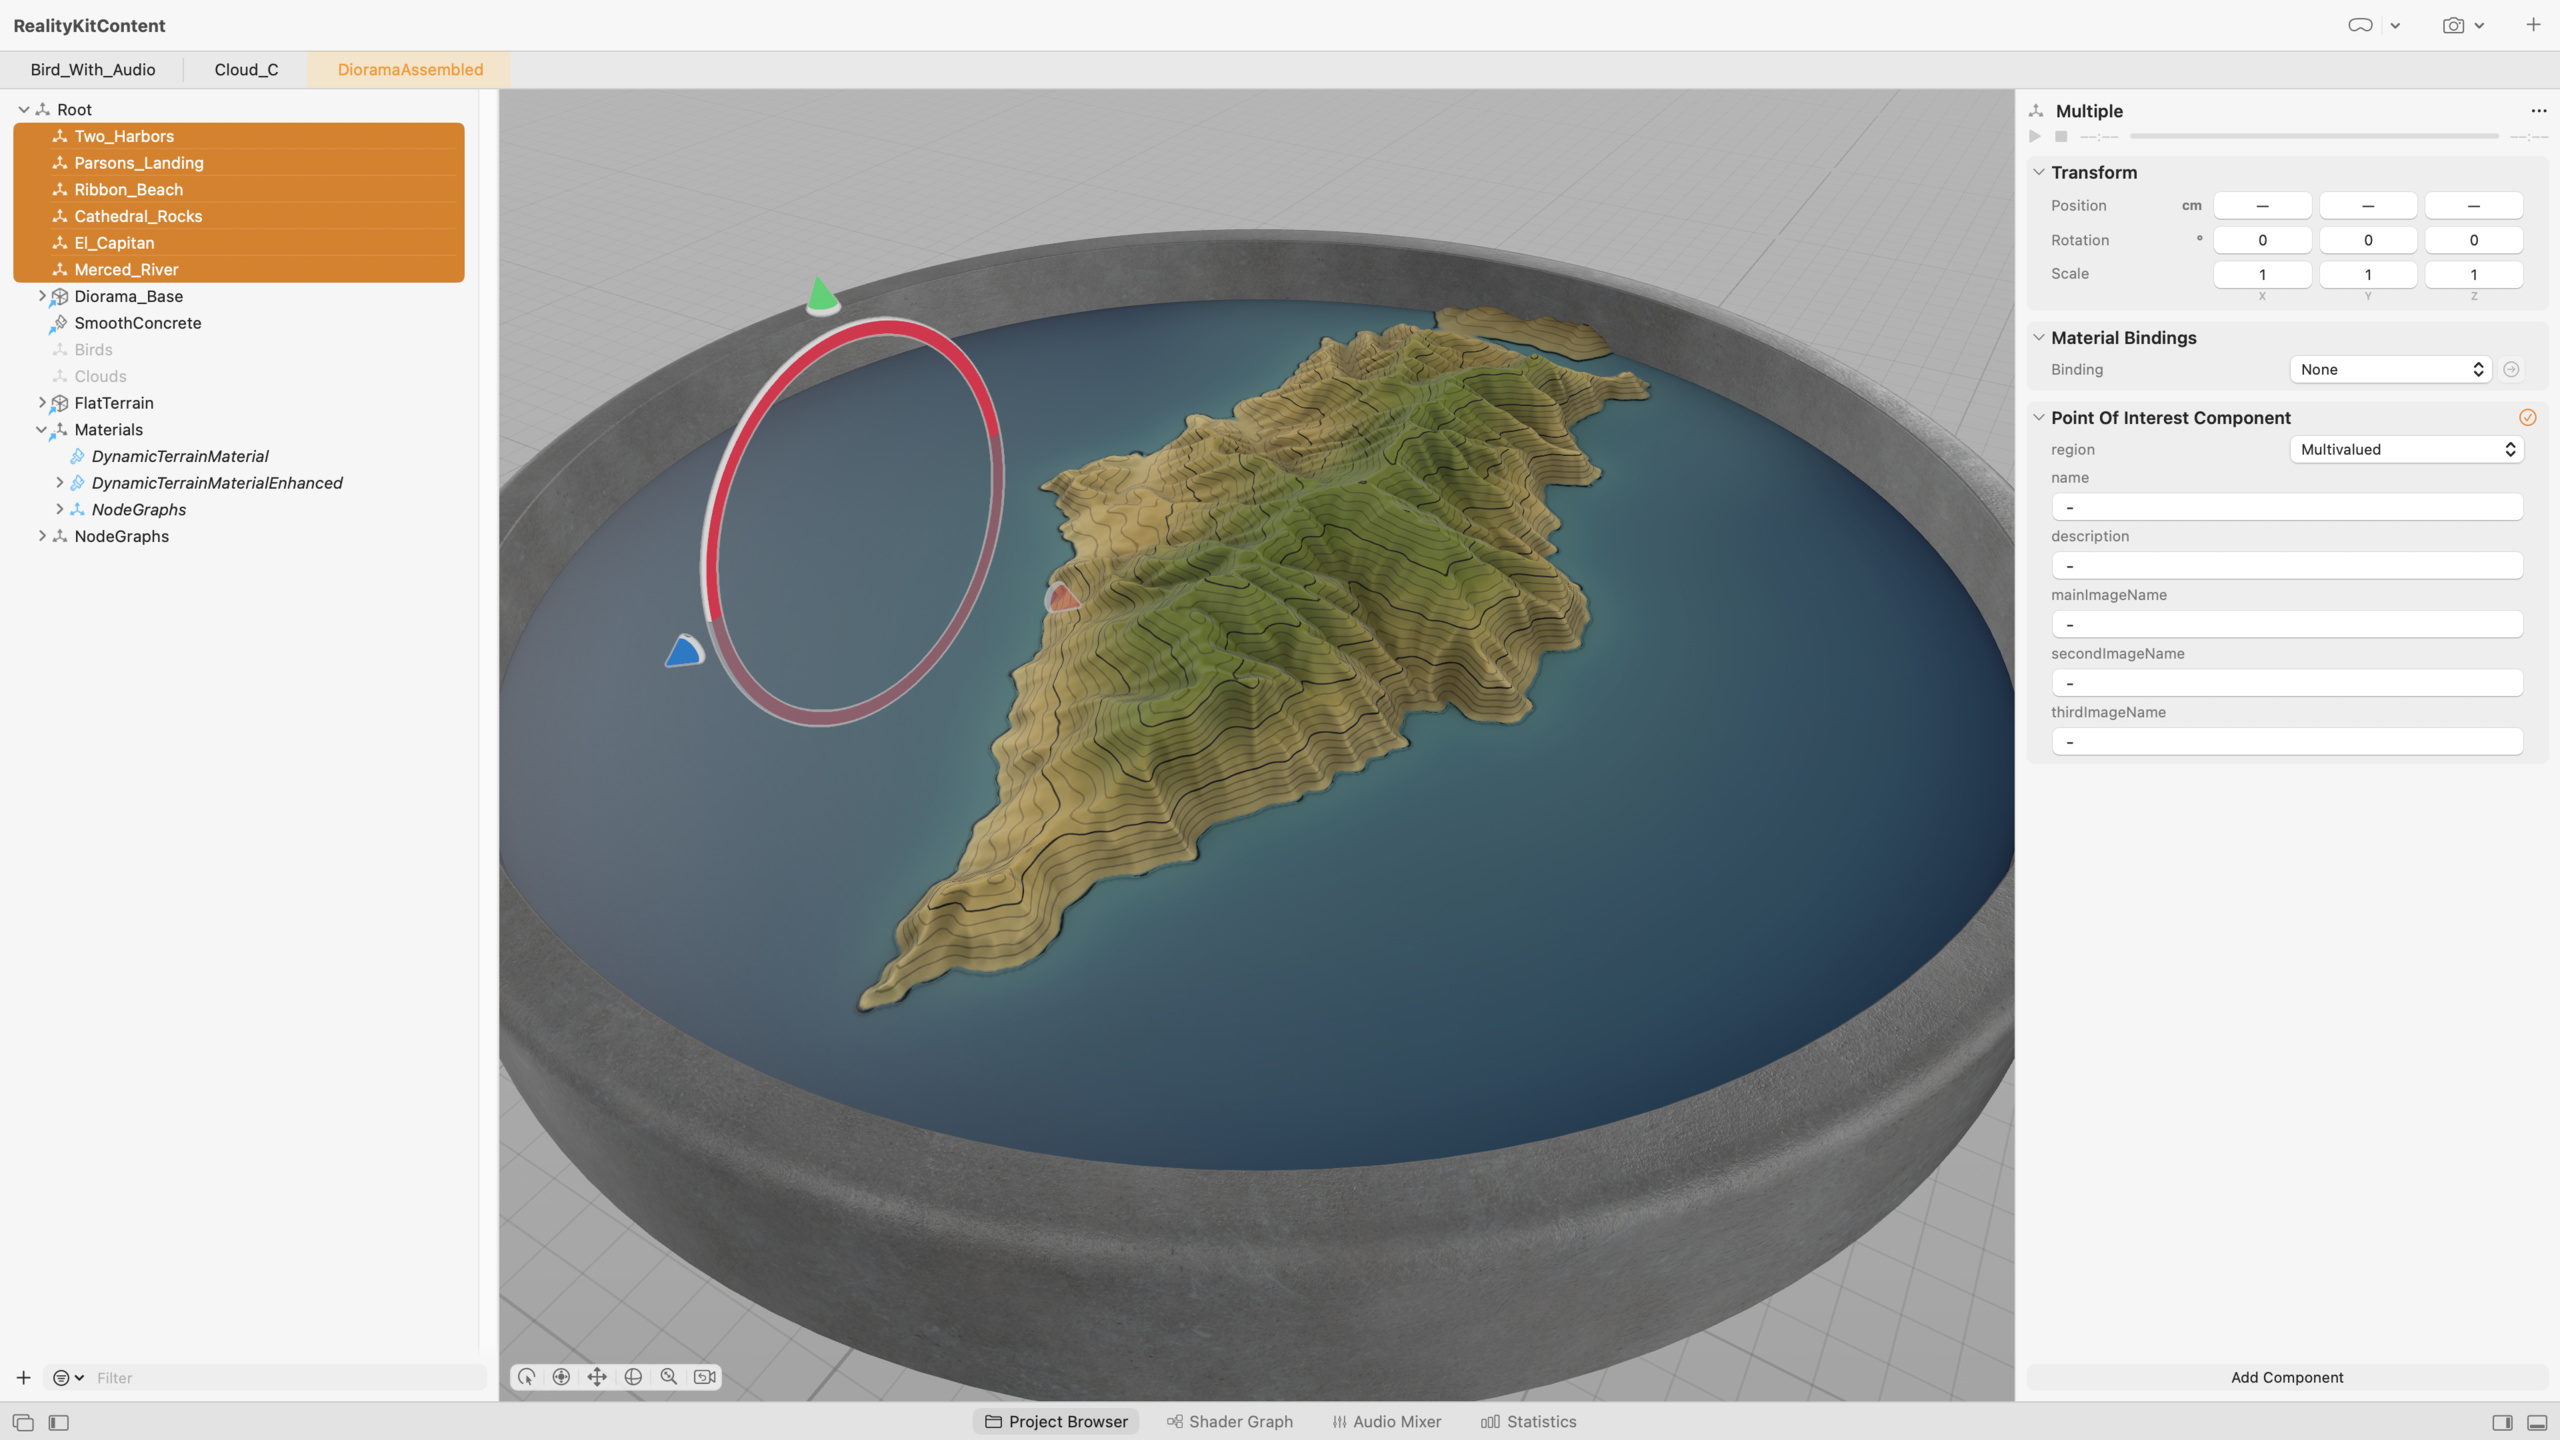
Reality Composer Pro is a developer tool for preparing RealityKit content. Each top tab in the project represents a root entity that can be loaded at runtime.
(02:40)
Load scene usageRealityViewan asynchronous initializer, viaEntity(named:in:)Loads an entity of the specified name from a Reality Composer Pro package.realityKitContentBundleIt is a constant automatically generated by Xcode, and the loaded entity is the root node of the entire hierarchy.
Detailed Content
ECS Architecture
RealityKit uses the Entity-Component-System (ECS) architecture:
- Entity: Any object in the scene, no data is stored
- Component: stores data and can be added/removed dynamically
- System: Logic executed every frame, query specific Component and update
(04:49)
This design is different from object-oriented: the “nature” of an Entity is determined by the combination of Components it owns, not the inheritance hierarchy.
Custom Component
Create a custom Component in Reality Composer Pro, and Xcode will automatically generate the corresponding Swift file.
(07:26)
Example: Create a Component for points of interest on a terrain map
// Design-time component
public struct PointOfInterestComponent: Component, Codable {
    public var region: Region = .yosemite
    public var name: String = "Ribbon Beach"
    public var description: String?
}(22:31)
Key points:
- must be followed
CodableProtocols can be displayed and edited in Reality Composer Pro - Simple data types (Int, String, SIMD) can be directly serialized
- Complex types cause Xcode compilation errors
Attachments API
Attachments allow SwiftUI views to be embedded into 3D scenes.
(12:00)
RealityViewThe three-parameter initializer:
RealityView { content, _ in
    // make: load the initial scene, executed only once
    if let entity = try? await Entity(named: "MyScene", in: realityKitContentBundle) {
        content.add(entity)
    }
} update: { content, attachments in
    // update: called when state changes
    if let attachmentEntity = attachments.entity(for: "🐠") {
        content.add(attachmentEntity)
    }
} attachments: {
    // attachments: declare SwiftUI views to embed
    Button { ... }
       .background(.green)
       .tag("🐠")
}(15:48)
Key points:
makeThe closure is only executed once, used to load the scene -updateClosure is called when SwiftUI state changes, not every frame -attachmentsViews in ViewBuilder will be converted to Entity- use
tagIdentifies the attachment, passed in updateattachments.entity(for:)get
Data-driven dynamic attachments
Let data-driven attachment generation in Reality Composer Pro:
@Observable final class AttachmentsProvider {
    var attachments: [ObjectIdentifier: AnyView] = [:]
    var sortedTagViewPairs: [(tag: ObjectIdentifier, view: AnyView)] { ... }
}

// Query points of interest and create attachments
static let markersQuery = EntityQuery(where: .has(PointOfInterestComponent.self))

rootEntity.scene?.performQuery(Self.markersQuery).forEach { entity in
    guard let pointOfInterest = entity.components[PointOfInterestComponent.self] else { return }

    let attachmentTag: ObjectIdentifier = entity.id
    let view = LearnMoreView(name: pointOfInterest.name, description: pointOfInterest.description)
                           .tag(attachmentTag)

    attachmentsProvider.attachments[attachmentTag] = AnyView(view)
}(20:43)
Key points:
- use
EntityQueryQuery all entities that own a specific Component -entity.idAs a unique identifier, avoid manually managing tags in Reality Composer Pro -AttachmentsProvideruse@ObservableTrigger SwiftUI updates
Runtime Component
Separate design-time data and run-time data:
// Run-time component
public struct PointOfInterestRuntimeComponent: Component {
    public let attachmentTag: ObjectIdentifier
}

// Add a runtime component after creating the attachment
let runtimeComponent = PointOfInterestRuntimeComponent(attachmentTag: attachmentTag)
entity.components.set(runtimeComponent)(25:38)
Runtime components are not requiredCodable, will not be displayed in Reality Composer Pro.
Audio playback
Play audio set in Reality Composer Pro:
func playOceanSound() {
    guard let entity = entity.findEntity(named: "OceanEmitter"),
        let resource = try? AudioFileResource(named: "/Root/Resources/Ocean_Sounds_wav",
                                   from: "DioramaAssembled.usda",
                                   in: RealityContent.realityContentBundle) else { return }

    let audioPlaybackController = entity.prepareAudio(resource)
    audioPlaybackController.play()
}(28:55)
Key points:
findEntity(named:)Locate audio entities -AudioFileResourceRequires full path, source usda file and bundle -prepareAudioreturnAudioPlaybackController, support play/pause/stop
Shader Graph material control
Driving the parameters of the Shader Graph material in code:
@State private var sliderValue: Float = 0.0

Slider(value: $sliderValue, in: (0.0)...(1.0))
    .onChange(of: sliderValue) { _, _ in
        guard let terrain = rootEntity.findEntity(named: "DioramaTerrain"),
                var modelComponent = terrain.components[ModelComponent.self],
                var shaderGraphMaterial = modelComponent.materials.first
                    as? ShaderGraphMaterial else { return }
        do {
            try shaderGraphMaterial.setParameter(name: "Progress", value: .float(sliderValue))
            modelComponent.materials = [shaderGraphMaterial]
            terrain.components.set(modelComponent)
        } catch { }
}(31:02)
Key points:
- Command-click node selection “Promote” to expose parameters in Reality Composer Pro
-
ShaderGraphMaterial.setParameter(name:value:)Set runtime value - The material needs to be saved back after modification
ModelComponent, and then save the Component back to the Entity
Audio and slider linkage
static let audioQuery = EntityQuery(where: .has(RegionSpecificComponent.self)
                                    && .has(AmbientAudioComponent.self))

rootEntity?.scene?.performQuery(Self.audioQuery).forEach({ audioEmitter in
    guard var audioComponent = audioEmitter.components[AmbientAudioComponent.self],
          let regionComponent = audioEmitter.components[RegionSpecificComponent.self]
    else { return }

    let gain = regionComponent.region.gain(forSliderValue: sliderValue)
    audioComponent.gain = gain
    audioEmitter.components.set(audioComponent)
})(31:57)
Core Takeaways
-
Use Reality Composer Pro as a data source for 3D content
- What to do: Place invisible entities as markers in Reality Composer Pro, using a custom Component to store data
- Why it’s worth doing: Designers can adjust positions and attributes independently, and the code automatically adapts to changes
- How to get started: Create
CodableCustom Component, added to the entity and filled in properties in Reality Composer Pro
-
Hover SwiftUI information card in 3D scene
- What: Use the Attachments API to display a 2D button or information panel over a point of interest
- Why it’s worth doing: Combining SwiftUI’s rich UI capabilities and RealityKit’s 3D positioning
- How to get started: Create
AttachmentsProvider,useEntityQueryDynamically generate attachments inRealityViewPositioned in update
-
Use sliders to control materials and audio transitions in 3D scenes
- What: Create a slider that controls both terrain deformation and audio fade
- Why it’s worth it: Shader Graph parameters and audio gains can be driven by code to create immersive transition effects
- How to start: Promote Shader Graph parameters in Reality Composer Pro, use
onChangeAlso update the material andAmbientAudioComponent
-
Put USD assets into the .rkassets directory
- What to do: Put the USD file into the .rkassets directory of the Swift Package
- Why it’s worth doing: Xcode compiles to a format that loads faster at runtime
- How to start: Create the .rkassets directory in Swift Package and move the USD files into it
Related Sessions
- Meet Reality Composer Pro — Reality Composer Pro tool introduction
- Explore materials in Reality Composer Pro — Explore materials in Reality Composer Pro
- Build spatial experiences with RealityKit — Build spatial experiences with RealityKit
- Work with Metal on visionOS — Working with Metal on visionOS
Comments
GitHub Issues · utterances