
Highlight
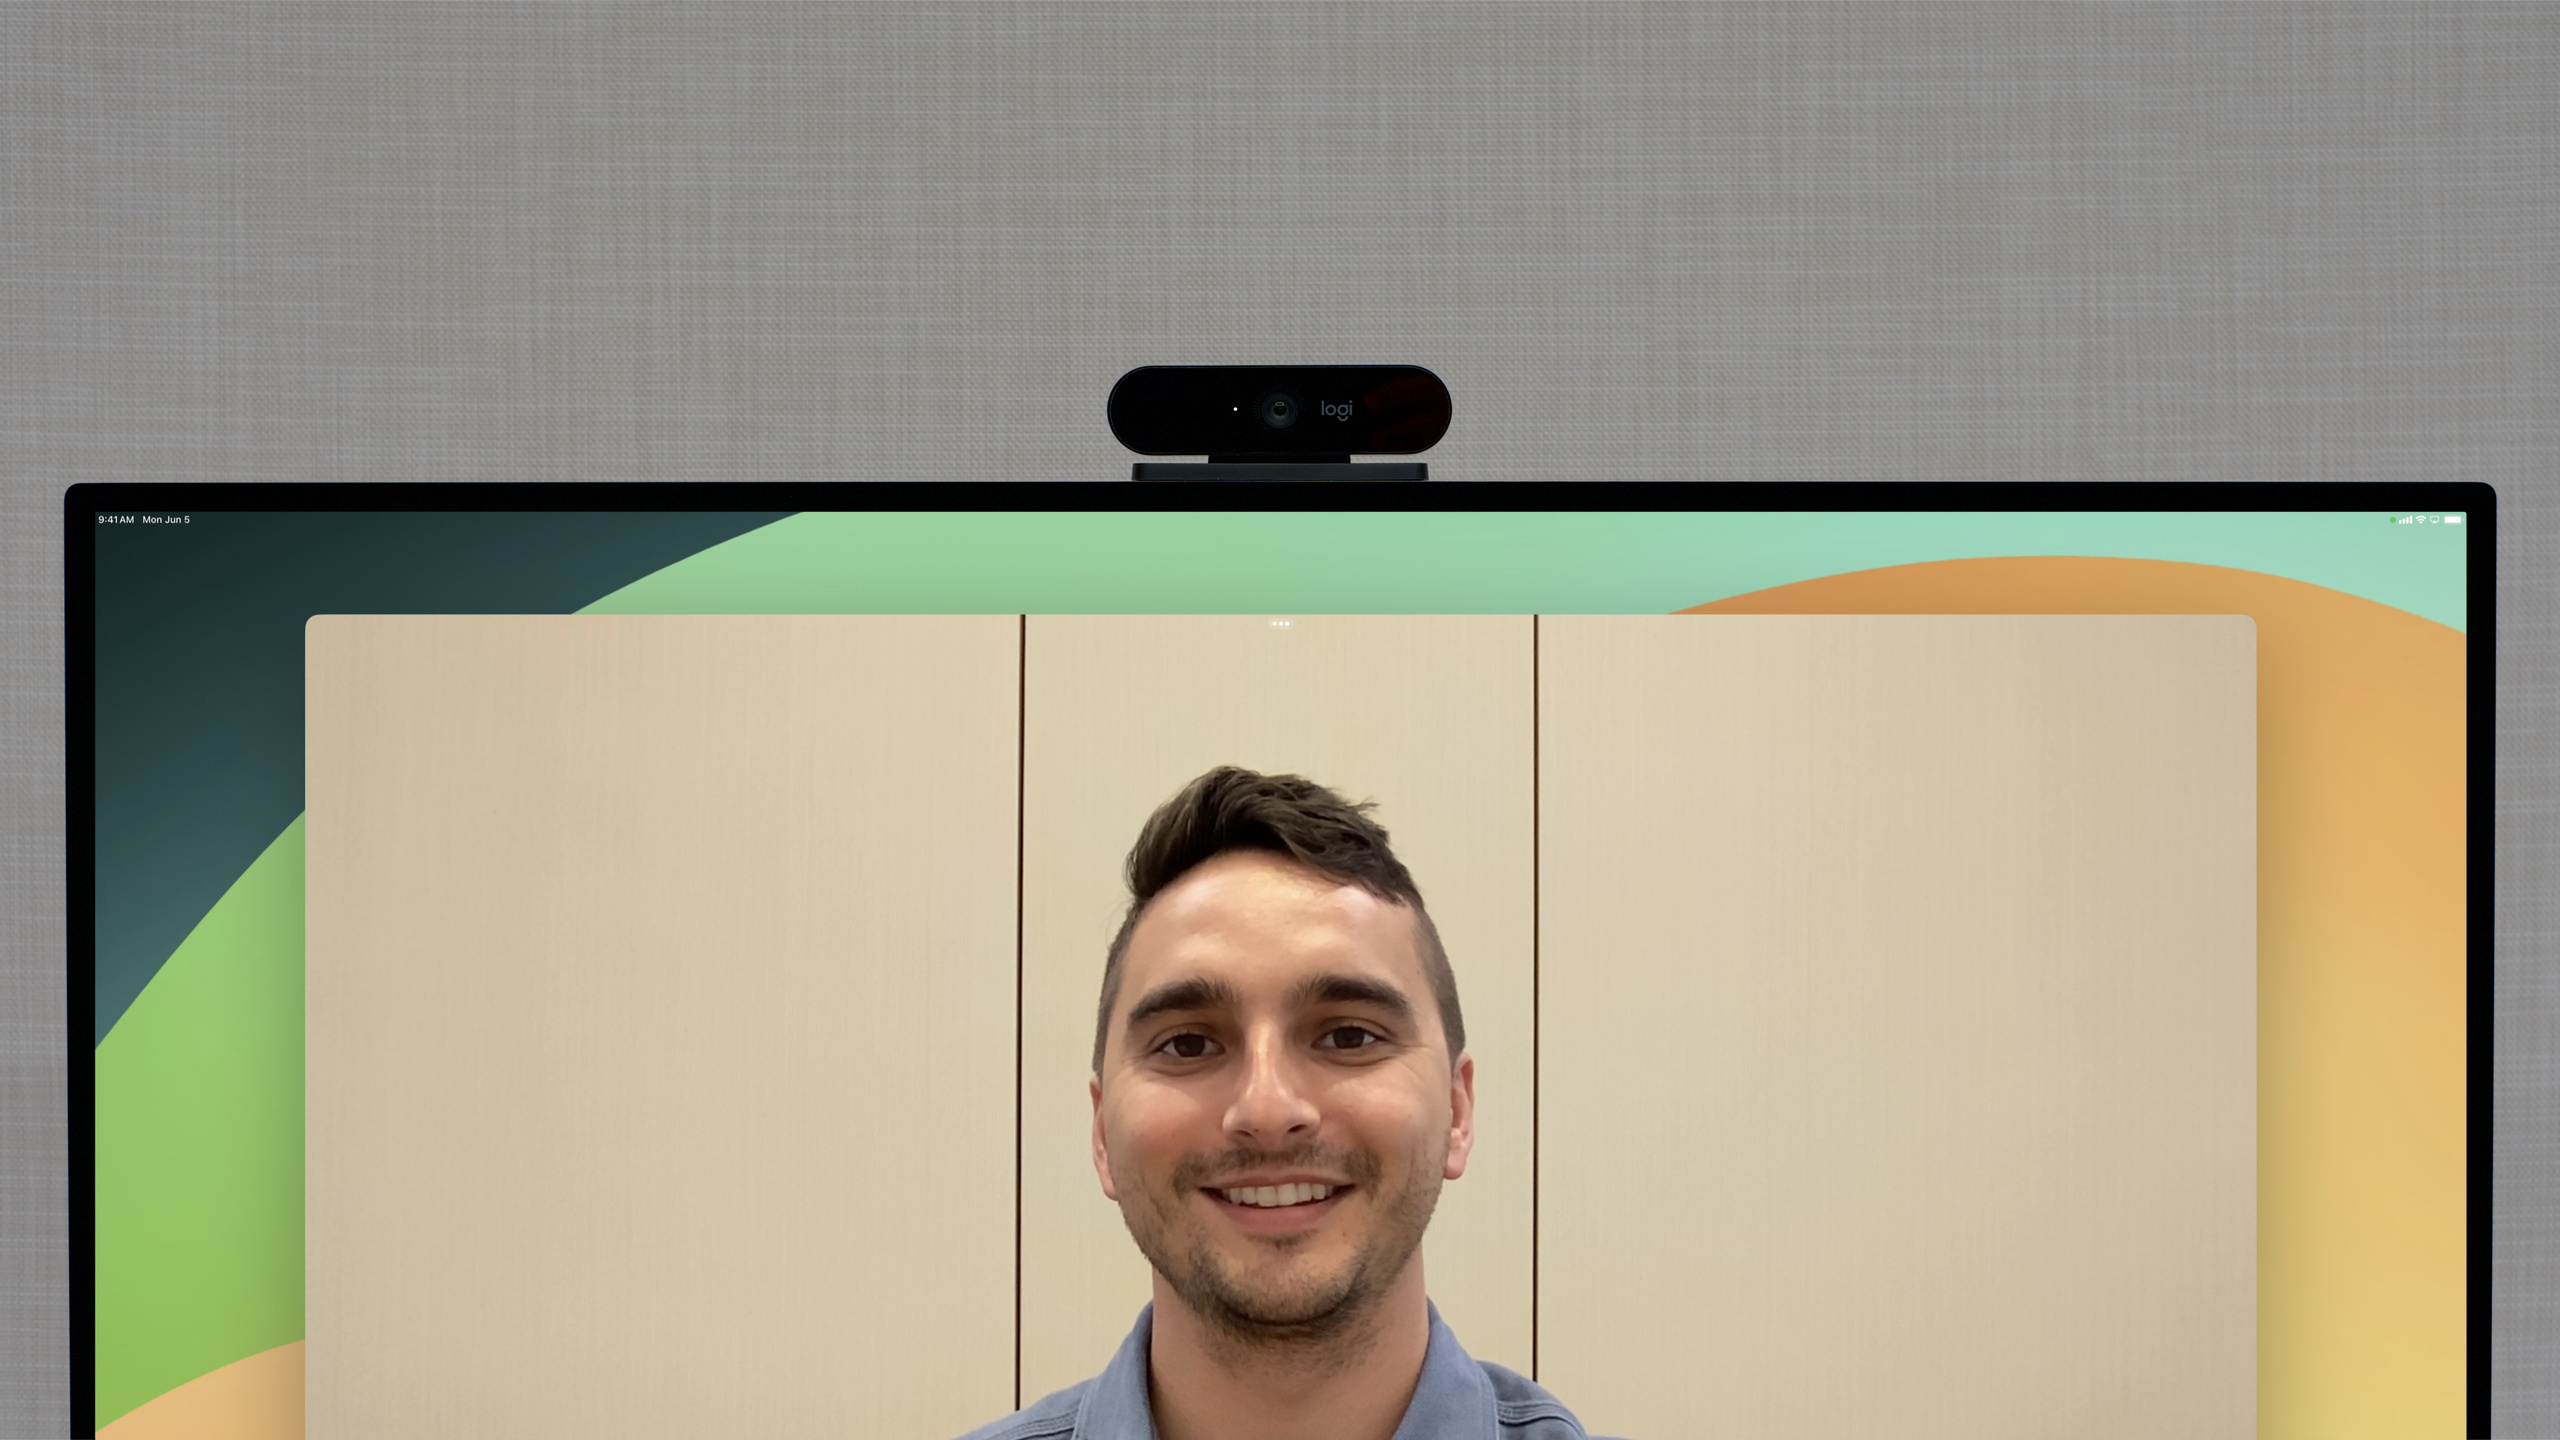
iPadOS 17 lets apps use external video devices via USB-C—including the Apple Studio Display’s built-in camera, USB webcams, and HDMI switchers—and introduces automatic camera selection APIs and
AVCaptureDeviceRotationCoordinatorfor correct video rotation handling.
Core Content
Stage Manager lets iPad extend across multiple displays. When you connect iPad to an Apple Studio Display, FaceTime automatically uses the display’s camera because that angle works better for video calls. iPadOS 17 opens this capability to all apps.
(00:28)But external and built-in cameras have a fundamental difference: external cameras can move independently of the iPad. Rotating the iPad doesn’t change the external camera’s orientation. This makes video rotation complex.
Discovering External Cameras
(04:10)External cameras are identified by AVCaptureDevice.DeviceType.external. Their position is .unspecified because they can move independently of the device.
Apps built for built-in cameras need only minor changes to support external cameras. But external cameras can be unplugged at any time—apps must handle connect and disconnect events.
Automatic Camera Selection
(08:38)Manually handling camera switching logic gets complex. iPadOS 17 introduces automatic camera selection APIs:
userPreferredCamera: Records the user’s camera choice; the system persists this preference across launchessystemPreferredCamera: The system intelligently recommends the best camera based on user preference and currently connected devices
When a user connects a new external camera, the system assumes they want to use it and automatically sets it as preferred.
Video Rotation
(17:55)AVCaptureVideoOrientation is deprecated in iPadOS 17. It assumes the camera rotates with the device, which doesn’t apply to external cameras.
The new AVCaptureDeviceRotationCoordinator provides two angles:
videoRotationAngleForHorizonLevelPreview: For preview—keeps the image level relative to gravityvideoRotationAngleForHorizonLevelCapture: For capture—keeps photos and videos upright when viewed
External Microphones
(27:38)Microphones built into external cameras can also be used by apps. iPadOS 17 improves USB-C external microphone support, including optimized tuning for Voice Isolation and echo cancellation.
Detailed Content
Discovering External Cameras
(04:10)Use AVCaptureDeviceDiscoverySession to discover external cameras:
let discoverySession = AVCaptureDevice.DiscoverySession(
    deviceTypes: [.external],
    mediaType: .video,
    position: .unspecified
)

let externalCameras = discoverySession.devices
Key points:
- External cameras have
deviceType.external .externalUnknownis deprecated on iPadOSpositionis.unspecified
Automatic Camera Selection
(09:11)Use the system-recommended camera:
// Set default preferences on first launch
if UserDefaults.standard.object(forKey: "hasSetInitialCamera") == nil {
    let discoverySession = AVCaptureDevice.DiscoverySession(
        deviceTypes: [.builtInWideAngleCamera],
        mediaType: .video,
        position: .back
    )
    if let backCamera = discoverySession.devices.first {
        AVCaptureDevice.userPreferredCamera = backCamera
    }
    UserDefaults.standard.set(true, forKey: "hasSetInitialCamera")
}

// Get the system-recommended camera
let preferredCamera = AVCaptureDevice.systemPreferredCamera
Listen for camera changes:
// Use KVO to observe systemPreferredCamera
var observation: NSKeyValueObservation?

observation = AVCaptureDevice.observe(\.systemPreferredCamera, options: [.new]) { device, change in
    guard let newCamera = change.newValue else { return }
    // Switch to the new camera, but do not interrupt recording
    if !isRecording {
        switchToCamera(newCamera)
    }
}
Key points:
userPreferredCamerais read-write; the system remembers user preference after you set itsystemPreferredCamerais read-only, combining user preference and currently available devices- When a user connects a new camera, the system automatically recommends it
- Don’t interrupt an ongoing recording when switching cameras
Handling Connect and Disconnect
(06:40)External cameras can be unplugged at any time—apps need graceful handling:
// Observe the connection status of a specific device
var connectionObservation: NSKeyValueObservation?

connectionObservation = camera.observe(\.isConnected, options: [.new]) { device, change in
    if let connected = change.newValue, !connected {
        // The camera disconnected; switch to the built-in camera
        DispatchQueue.main.async {
            switchToBuiltInCamera()
        }
    }
}

// Or observe changes to the DiscoverySession device list
let discoverySession = AVCaptureDevice.DiscoverySession(
    deviceTypes: [.external, .builtInWideAngleCamera],
    mediaType: .video,
    position: .unspecified
)

discoverySession.addObserver(self, forKeyPath: "devices", options: [.new], context: nil)
Key points:
- KVO callbacks and notifications run on background queues
- Sync to the
AVCaptureSessionqueue and main thread as needed - After reconnecting the same physical device, you get a new
AVCaptureDeviceinstance
Video Rotation
(19:00)Use AVCaptureDeviceRotationCoordinator for rotation:
// Create the rotation coordinator
var rotationCoordinator: AVCaptureDeviceRotationCoordinator?

func setupRotationCoordinator(for device: AVCaptureDevice, previewLayer: AVCaptureVideoPreviewLayer) {
    rotationCoordinator = AVCaptureDeviceRotationCoordinator(
        device: device,
        previewLayer: previewLayer
    )

    // Set the initial preview rotation
    updatePreviewRotation()

    // Observe preview rotation angle changes
    previewObservation = rotationCoordinator?.observe(
        \.videoRotationAngleForHorizonLevelPreview,
        options: [.new]
    ) { coordinator, change in
        DispatchQueue.main.async {
            self.updatePreviewRotation()
        }
    }
}

func updatePreviewRotation() {
    guard let coordinator = rotationCoordinator else { return }
    let angle = coordinator.videoRotationAngleForHorizonLevelPreview

    // Apply to videoRotationAngle on the preview connection
    if let connection = previewLayer.connection,
       connection.isVideoRotationAngleSupported(angle) {
        connection.videoRotationAngle = angle
    }
}

// Apply capture rotation during capture
func applyCaptureRotation(for output: AVCapturePhotoOutput) {
    guard let coordinator = rotationCoordinator else { return }
    let angle = coordinator.videoRotationAngleForHorizonLevelCapture

    if let connection = output.connection(with: .video),
       connection.isVideoRotationAngleSupported(angle) {
        connection.videoRotationAngle = angle
    }
}
Key points:
AVCaptureDeviceRotationCoordinatorworks on all platforms (iOS, macOS, tvOS)- Update preview rotation on the main queue for UI sync
- Capture rotation ensures photos and videos appear upright when viewed
- Create a new rotation coordinator when switching cameras
AVCaptureVideoOrientationis deprecated—migrate to the new API
Custom Preview Rotation (Using VideoDataOutput)
(23:54)If you use VideoDataOutput for custom preview, don’t rotate via connection—rotate the CALayer instead:
// Not recommended: causes frame delivery interruptions
// videoDataOutput.connection?.videoRotationAngle = angle

// Recommended: rotate the display layer
sampleBufferDisplayLayer.setAffineTransform(
    CGAffineTransform(rotationAngle: angle * .pi / 180)
)
Key points:
- Rotating
VideoDataOutputviaAVCaptureConnectioninterrupts frame delivery - Rotating
AVSampleBufferDisplayLayeris smoother - When recording with
AVAssetWriter, set rotation via thetransformproperty—not per-frame rotation
External Microphones
(27:38)Use microphones built into external cameras:
// Find the currently used microphone
let microphone = AVCaptureDevice.default(.microphone, for: .audio, position: .unspecified)

// Use AVAudioSession for more precise control over audio routing
let audioSession = AVAudioSession.sharedInstance()
try audioSession.setCategory(.playAndRecord, mode: .voiceChat)
try audioSession.setActive(true)

// Set the preferred input to the external microphone device
if let preferredInput = audioSession.availableInputs?.first(where: { input in
    input.portType == .usbAudio
}) {
    try audioSession.setPreferredInput(preferredInput)
}
Key points:
- New
.microphonedevice type replaces deprecated.builtInMicrophone - The system automatically switches to the last connected microphone
localizedNamechanges with the currently active microphone- Voice Isolation supports external microphones
Camera Switch Button Logic
(15:13)Handle switching logic for external cameras:
func changeCamera() {
    let currentPosition = currentDevice.position

    switch currentPosition {
    case .back:
        // Switch from the rear camera to the external camera if available; otherwise switch to the front camera
        let externalSession = AVCaptureDevice.DiscoverySession(
            deviceTypes: [.external],
            mediaType: .video,
            position: .unspecified
        )
        if let externalCamera = externalSession.devices.first {
            AVCaptureDevice.userPreferredCamera = externalCamera
        } else {
            let frontSession = AVCaptureDevice.DiscoverySession(
                deviceTypes: [.builtInWideAngleCamera],
                mediaType: .video,
                position: .front
            )
            if let frontCamera = frontSession.devices.first {
                AVCaptureDevice.userPreferredCamera = frontCamera
            }
        }

    case .unspecified, .front:
        // Switch from the front/external camera to the rear camera
        let backSession = AVCaptureDevice.DiscoverySession(
            deviceTypes: [.builtInWideAngleCamera],
            mediaType: .video,
            position: .back
        )
        if let backCamera = backSession.devices.first {
            AVCaptureDevice.userPreferredCamera = backCamera
        }

    default:
        break
    }
}
Key points:
- External cameras have position
.unspecified - Set
userPreferredCameraafter each switch so the system learns user preference - Design different switching strategies based on your app type
Core Takeaways
1. Add automatic external camera switching to video calling apps
What to build: When users connect iPad to a display with a camera, your video calling app automatically switches to the display’s camera for a better shooting angle.
Why it’s worth doing: The Apple Studio Display’s camera position is better suited for desktop video calls than iPad’s front camera. Automatic switching means users don’t need to do it manually.
How to start: Listen for KVO on systemPreferredCamera, switch automatically when an external camera connects. Keep the current camera during an active call; switch after the call ends.
2. Build a live streaming app with HDMI input support
What to build: Leverage iPadOS UVC device support so your app can receive HDMI switcher video input for live streaming or recording.
Why it’s worth doing: HDMI switchers that comply with UVC are recognized as external cameras. This lets iPad serve as a professional live streaming monitor and recording device.
How to start: Use AVCaptureDevice.DiscoverySession to discover .external devices, configure AVCaptureSession to receive the video stream. Note: HDMI input doesn’t need mirrored preview.
3. Implement correct multi-orientation video preview
What to build: Replace old AVCaptureVideoOrientation with AVCaptureDeviceRotationCoordinator so external camera preview stays correct when iPad rotates.
Why it’s worth doing: The old rotation API assumes the camera rotates with iPad, which is completely wrong for external cameras. The new API keeps the image level relative to gravity.
How to start: Create a new AVCaptureDeviceRotationCoordinator when switching devices, listen for videoRotationAngleForHorizonLevelPreview changes, apply to the preview layer’s connection.
4. Add external microphone support for professional recording apps
What to build: When users connect an external camera with a microphone or a USB microphone during video recording, automatically switch the audio input source.
Why it’s worth doing: External microphones typically sound better than built-in ones and support advanced features like Voice Isolation. Automatic switching lets users focus on content creation.
How to start: Listen for AVAudioSession route change notifications, when a new USB audio input is detected use setPreferredInput to switch. Update the UI to show the current microphone name.
Related Sessions
- Create a more responsive camera experience — iOS 17 camera responsiveness APIs: deferred processing, zero shutter lag, responsive capture
- What’s new in the Photos picker — New Photos picker improvements with embedding and continuous selection
- What’s new in Background Assets — Background asset downloads to reduce user wait time
- Meet SwiftUI for spatial computing — SwiftUI’s new capabilities on spatial computing platforms
Comments
GitHub Issues · utterances