
Highlight
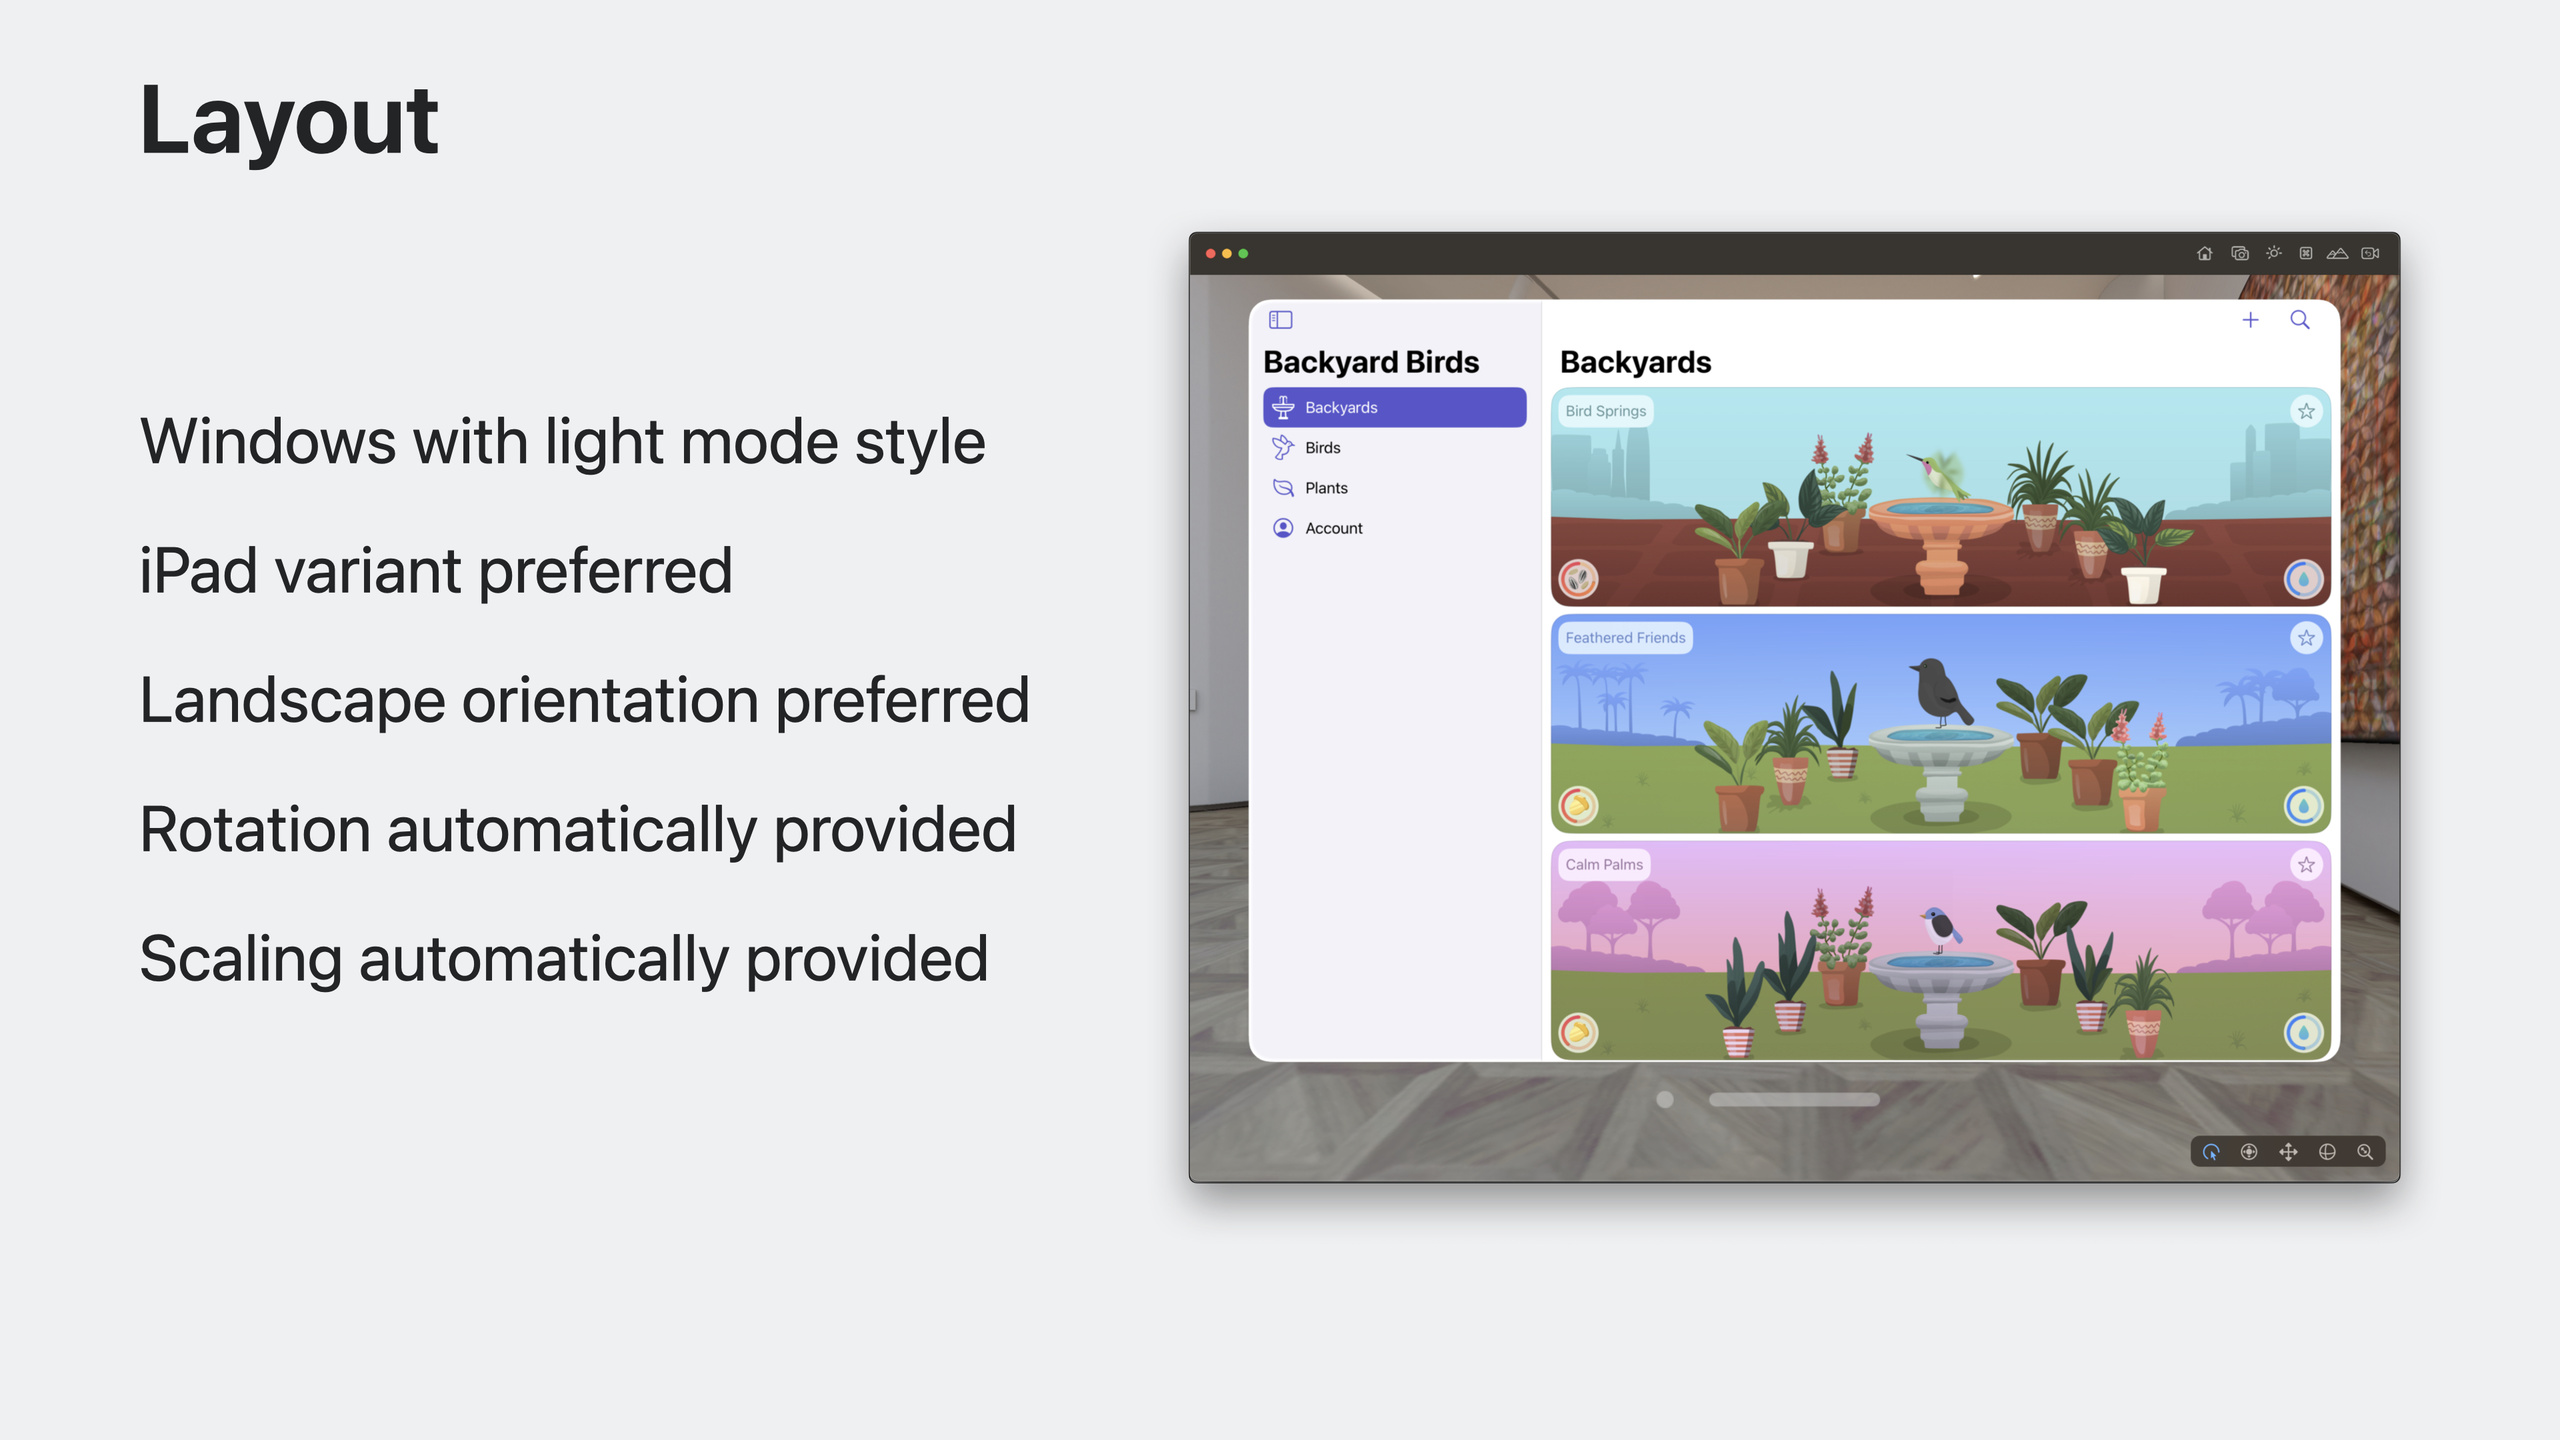
The vast majority of iPad and iPhone apps run on visionOS without any changes. The system prefers the iPad version (landscape), automatically handling window scaling, rotation, gesture mapping, and Optic ID authentication. Developers only need to verify that orientation and capability declarations in Info.plist are accurate.
Core Content
Out-of-the-box system support
(00:29) visionOS is built on top of iOS. iPad and iPhone apps appear as windows using a light mode style. The system prefers the iPad version, presented in landscape orientation. If an app is iPhone-only, it displays in portrait proportions.
Window interaction is managed by the system:
- When multiple orientations are supported, a rotation button appears in the top-right corner of the window
- Drag corners to resize; the system maintains aspect ratio
- When minimum or maximum size is reached, corners provide elastic feedback
(03:05) Users interact with content through natural input: look + finger tap to select, direct reach to touch, Bluetooth trackpad, or game controller. All of these system-defined interaction methods are converted into event types your app already handles, so you can continue using familiar event handling techniques.
Features the system adapts automatically
(03:34)
- System views: Document picker, photo picker, and other system views automatically match the platform appearance
- Biometrics: Touch ID / Face ID automatically forward to Optic ID through LocalAuthentication with no extra work
- Look to Dictate: A new input method in search bars where users look at the microphone icon and speak. Disabled by default for iPad/iPhone apps; must be explicitly enabled
Platform differences and how to handle them
(04:02)
Orientation control: visionOS has no concept of device rotation. App orientation is no longer determined by device orientation. A new UIPreferredDefaultInterfaceOrientation Info.plist key expresses orientation preference. This key is effective only on visionOS and does not affect other platforms.
// Info.plist key
UIPreferredDefaultInterfaceOrientation
Other key Info.plist keys:
UISupportedInterfaceOrientations: The system uses this to decide whether to show the rotation buttonUIRequiredDeviceCapabilities: App Store Connect uses this to determine device compatibility
(05:49) Gesture differences: Up to two simultaneous inputs are supported (one touch per hand). System gestures (two fingers and below) work seamlessly. Custom gesture recognizers are also supported but may need adjustment for natural input.
ARKit changes: Existing ARView and ARSession are not available on visionOS. AR experiences need to be rebuilt using new APIs.
Cameras: The device has multiple cameras; verify availability before use.
Enabling Look to Dictate
(07:59)
// SwiftUI
@State private var searchText = ""

var body: some View {
    NavigationStack {
        Text("Query: \(searchText)")
    }
    .searchable(text: $searchText)
    .searchDictationBehavior(.inline(activation: .onLook))
}

// UIKit
let searchController = UISearchController()
searchController.searchBar.isLookToDictateEnabled = true
Key points:
- SwiftUI uses the
.searchDictationBehavior(.inline(activation: .onLook))modifier - UIKit sets
searchBar.isLookToDictateEnabled = true - Disabled by default for iPad/iPhone apps, allowing developers to verify behavior before enabling
- A no-op on iOS and iPadOS; no conditional compilation needed
Deployment workflow
(09:30) After installing the xrOS SDK, Xcode automatically adds an “xrOS Device (Designed for iPad)” run destination for projects using the iOS SDK. If the scheme uses a different platform or auto SDK, you can manually add the Designed for iPad destination. Select that destination and build and run directly.
All compatible apps automatically appear on the App Store. If your app depends on unavailable features, you can manage availability in App Store Connect.
Detailed Content
Handling platform differences with availability checks
(08:12) The best way to handle platform differences is the same as always: use availability checks.
if #available(xrOS 1.0, *) {
    // visionOS-specific code
}

// Or use framework-provided check methods
if AVCaptureDevice.default(.builtInWideAngleCamera, for: .video, position: .back) != nil {
    // Camera available
}
Key points:
- Confirm support before calling frameworks
- Many frameworks include convenient check functions
- Also check when accessing hardware-dependent configurations
- These practices make your app more robust on every device
Designed for iPad vs Designed for visionOS
(10:24) Two SDK choices:
iOS SDK (Designed for iPad):
- App displays as a window, using light mode like iPad
- Preserves existing appearance and experience
- Supports SpriteKit and Storyboard
- Cannot use Volume, Immersive Space, Ornament, and other new features
xrOS SDK (Designed for visionOS):
- Uses system appearance: glass material background with dynamic color balance and contrast adjustment
- Supports Volume for displaying 3D objects
- Supports Immersive Space for creating immersive experiences
- Supports Ornament API for creating side toolbars
- Full ARKit and RealityKit capabilities
Selection guidance:
- Want immersive experiences, new framework features, system appearance → xrOS SDK
- Want to preserve existing experience → iOS SDK
Framework availability notes
(10:34) Two important technologies supported only by the iOS SDK:
- SpriteKit
- Storyboard
If your app depends on these technologies, continue using the iOS SDK.
ARKit, RealityKit, and other frameworks have evolved capabilities in the xrOS SDK, available only in Designed for visionOS apps.
Core Takeaways
1. Ship to the visionOS App Store with zero changes
- What to do: Verify compatibility of your existing iOS app and ship directly
- Why it’s worth it: Most apps need no code changes. The system handles window management, gesture mapping, and authentication forwarding. This is the fastest way to reach users on a new platform
- How to start: Check
UISupportedInterfaceOrientationsandUIRequiredDeviceCapabilitiesin Info.plist, select the xrOS Device (Designed for iPad) destination in Xcode to run tests, confirm no crashes, then submit
2. Add Look to Dictate to existing apps
- What to do: Enable Look to Dictate in search features so users can input quickly with eyes and voice
- Why it’s worth it: This is a visionOS-only interaction with no impact on iOS/iPadOS. Improves accessibility, letting users search quickly when typing is inconvenient
- How to start: Add
.searchDictationBehavior(.inline(activation: .onLook))in SwiftUI, setisLookToDictateEnabled = truein UIKit
3. Evaluate migrating from Designed for iPad to Designed for visionOS
- What to do: Analyze whether your app is worth rebuilding with the xrOS SDK
- Why it’s worth it: The xrOS SDK unlocks Volume, Immersive Space, Ornament, and more. Glass material backgrounds help apps blend into the platform style
- How to start: Check if you depend on SpriteKit or Storyboard (iOS SDK only). If not, start with “Meet SwiftUI for spatial computing” and “Meet UIKit for spatial computing”
4. Make migration decisions for ARKit apps
- What to do: Evaluate whether your ARKit app should stay Designed for iPad or be fully rebuilt
- Why it’s worth it: Legacy ARKit APIs are unavailable on visionOS, but the new platform offers more powerful spatial computing. The system continuously persists World Maps, and hand tracking becomes a native capability
- How to start: Watch “Re-imagine your ARKit app for spatial experiences” to learn new capabilities and assess rebuild cost vs. benefit
Related Sessions
- Enhance your iPad and iPhone apps for the Shared Space — Optimize iPad and iPhone apps for the visionOS Shared Space
- Meet SwiftUI for spatial computing — Introduction to SwiftUI for spatial computing
- Meet UIKit for spatial computing — Adapting UIKit for the spatial computing platform
Comments
GitHub Issues · utterances