
Highlight
Unity collaborated with Apple for two years, using PolySpatial technology to translate Unity content into RealityKit-renderable format, letting developers use familiar Unity toolchains to create immersive apps for visionOS Shared Space—with Shader Graph, physics simulation, character animation, and the new Volume Camera concept.
Core Content
The Bridge from Unity to visionOS
Unity is the choice of tens of thousands of apps. Apple and Unity collaborated for two years with a clear goal: let Unity developers build content for visionOS with familiar tools.
(00:15)Two main paths are available. One blends virtual content with the real world in Shared Space using passthrough; the other creates fully immersive experiences. This session focuses on the first path.
PolySpatial: The Translation Layer from Unity to RealityKit
(02:56)All content in Shared Space is rendered by RealityKit. Unity created PolySpatial to handle this translation.
PolySpatial translates:
- Materials
- Regular mesh and skinned mesh rendering
- Particle effects and sprites
- Unity simulation features: physics, animation, timeline, pathfinding, NavMesh, custom MonoBehaviours
Three Categories of Material Translation
(03:31)
Physically based materials map directly to RealityKit’s PhysicallyBasedMaterial. URP’s Lit, Simple Lit, and Complex Lit Shaders, or the built-in pipeline’s Standard Shader, are all translated.
Custom materials are supported through Unity Shader Graph. Shader Graph is converted to the MaterialX standard format, then becomes RealityKit’s ShaderGraphMaterial. Most Shader Graph nodes are supported.
Hand-written shaders are not directly renderable through RealityKit but can be used indirectly via RenderTexture.
Special effect materials include:
- Unlit Shader: Creates solid-color or textured objects unaffected by lighting
- Occlusion Shader: Lets passthrough show through objects; can be used with world mesh data
Volume Camera: Controlling How Scenes Enter the Real World
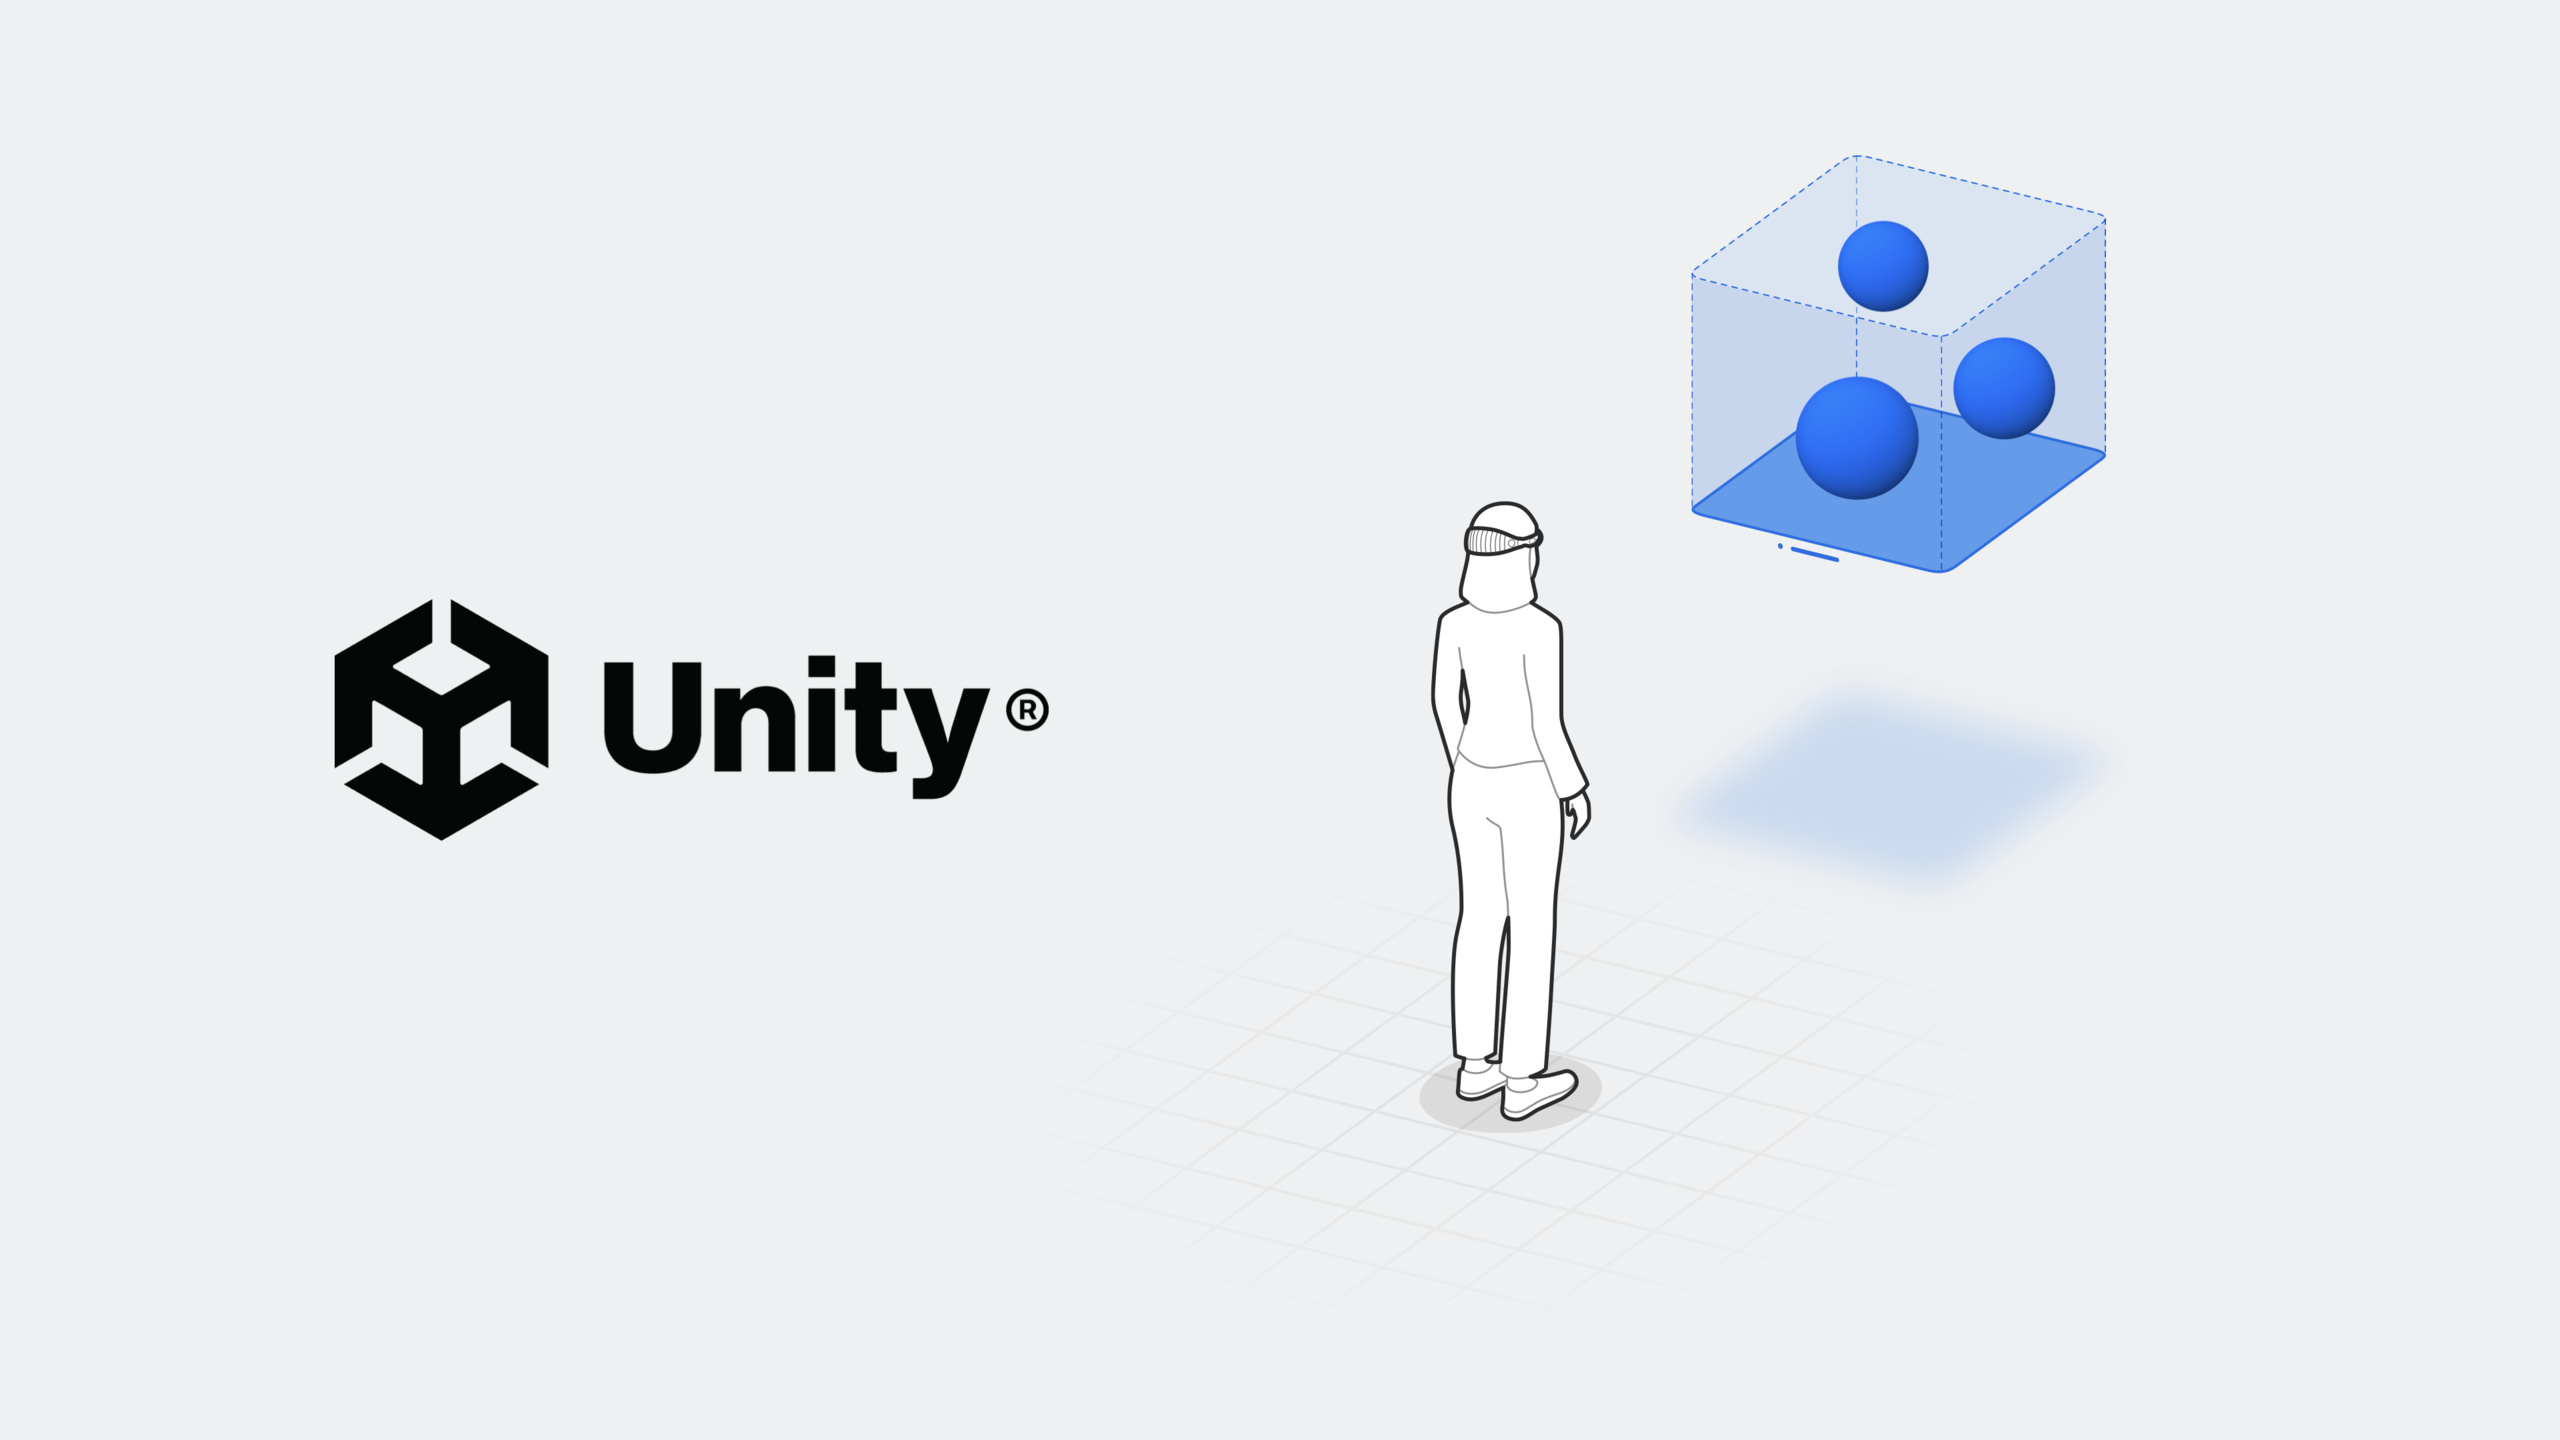
(07:50)Volume Camera is a new concept on visionOS controlling how Unity scene content is brought into the real world. It creates two types of Volumes:
Bounded Volume: Exists as a Volume in Shared Space with defined dimensions and transform. Users can reposition but not resize. Volume Camera dimensions and transform define which scene regions appear inside the Volume.
Unbounded Volume: Displays in Full Space without size limits selecting the entire scene. Its transform specifies how scene units map to real-world units. Only one Unbounded Volume Camera can be active at a time.
Input System
(09:57)visionOS supports multiple input types:
- Look and Tap: Gaze at content and tap to select. Objects need input colliders configured to receive events. Up to two simultaneous tap actions are supported. Provided as
WorldTouchevents in Unity with full 3D position. - Hand and Head Tracking: Hand joint data via the Unity Hands package; head pose via the Input System. Only available in Unbounded Volume; requires permission.
- ARKit Data: Plane detection, world mesh, image markers, etc., accessed through AR Foundation. Also only available in Unbounded Volume.
- Bluetooth Devices: Keyboards, game controllers, etc., accessed through the Unity Input System.
Play to Device: Real-Time Preview
(06:15)PolySpatial supports “Play to device.” Preview scenes instantly on simulator or device without a full build pipeline. Adjust content position and size in real time, modify materials, textures, and Shader Graph, and test interaction events. Events flow back to the editor for easy debugging.
Detailed Content
Preparing a Unity Project for visionOS
(13:48)Even before PolySpatial officially ships, you can start preparing now:
- Use Unity 2022 or later for new projects
- Upgrade existing projects to Unity 2022
- Convert hand-written shaders to Shader Graph
- Consider adopting Universal Render Pipeline (built-in pipeline still supported, but future improvements are on URP)
- Use the Input System package (mixed input mode supported, but platform events only pass through Input System)
Volume Camera Configuration Example
Key steps for configuring Volume Camera in a Unity scene:
- Add a Volume Camera component to the scene
- Choose Bounded or Unbounded mode
- For Bounded mode, set Dimensions and Transform
- A green Volume preview box appears in Scene View
- Adjust Volume Camera position, rotation, and scale to control which scene content is visible
Key points:
- Volume Camera dimensions and transform define the display region
- Moving or rotating the Volume Camera changes visible content
- Scaling Volume Camera dimensions brings more scene content into view
- The Volume’s physical size stays the same; only internal visible content changes
- If content intersects Volume edges, consider filling clipped portions with back-face materials
Input Event Handling
WorldTouch event handling logic:
// Objects need input colliders to receive events
// Can gaze from a distance and tap to select
// Can also reach out and touch objects directly with a finger
// Up to two simultaneous taps supported

// In Unity, taps are provided as WorldTouch events
// Similar to 2D tap events but with full 3D position
Key points:
input collidersare required to receive eventsWorldTouchevents include 3D position information- Supports both distant gaze selection and close-up direct touch
- Up to two simultaneous tap actions
Material Compatibility Checklist
| Material Type | Support Status | Notes |
|---|---|---|
| URP Lit/Simple Lit/Complex Lit | Supported | Translated to PhysicallyBasedMaterial |
| Built-in Standard Shader | Supported | Translated to PhysicallyBasedMaterial |
| Shader Graph | Supported | Converted to MaterialX -> ShaderGraphMaterial |
| Hand-written Shader | Not directly renderable | Can be used indirectly via RenderTexture |
| Unlit Shader | Supported | Solid color or texture, unaffected by lighting |
| Occlusion Shader | Supported | For passthrough effects |
Core Takeaways
1. Port Existing Unity Games to visionOS Shared Space
- What to do: Port existing Unity mobile or indie games to visionOS so they coexist with other apps in Shared Space
- Why it’s worth it: PolySpatial automatically translates most Unity features with minimal changes to existing projects. Shared Space means users can look up guides or chat while playing
- How to start: Upgrade to Unity 2022, convert hand-written shaders to Shader Graph, add input colliders to interactive objects, configure Volume Camera in Bounded mode
2. Build Spatial Collaboration Tools
- What to do: Develop a multi-user collaborative 3D whiteboard or design review tool
- Why it’s worth it: Bounded Volume lets the app coexist alongside other apps; users can view 3D content from any angle. Play to Device enables extremely fast iteration
- How to start: Use Volume Camera in Bounded mode, leverage Unity’s physics and character navigation, handle user interaction through WorldTouch events
3. Create Gesture-Driven AR Art Creation Apps
- What to do: Let users “paint” 3D content in the real environment with gestures
- Why it’s worth it: Unbounded Volume + ARKit plane detection + hand tracking enables creation directly on real surfaces. Unity’s particle system and physics simulation make effects more vivid
- How to start: Switch to Unbounded Volume, request hand tracking and ARKit permissions, use AR Foundation for plane data, combine with Unity Hands package for joint positions
4. Build Immersive Learning Experiences for Education
- What to do: Turn abstract concepts (molecular structures, historical scenes) into interactive 3D models
- Why it’s worth it: Users can observe content up close from any angle; Shader Graph creates attractive visual effects; Bounded Volume suits classroom environments alongside other learning tools
- How to start: Prepare USD models in Reality Composer Pro, import into Unity, create visual effects with Shader Graph, configure Bounded Volume Camera
Related Sessions
- Bring your Unity VR app to a fully immersive space — Migrate existing Unity VR apps to visionOS fully immersive space
- Build great games for spatial computing — Overview of spatial computing game development techniques
- Go beyond the window with SwiftUI — SwiftUI spatial scene types in depth
Comments
GitHub Issues · utterances