
Highlight
Create ML in iOS 17 and macOS Sonoma introduces multilingual BERT text classification, Apple Neural Scene Analyzer feature extraction, multi-label image classifiers, and custom data augmentation APIs based on SwiftUI result builders—helping developers build more accurate machine learning models with less training data.
Core Content
The problem: trained models need lots of data and expertise
Training a large-scale model from scratch requires thousands of hours, millions of labeled files, and domain experts. Most developers can’t afford that cost.
Apple’s approach is transfer learning: use a pre-trained model as a feature extractor, and developers only need to provide a small amount of task-specific training data to quickly get a usable model. WWDC23 advances this in three ways:
- Text classification: Replace ELMo with BERT—multilingual support with higher accuracy
- Image understanding: New multi-label classifier—a single image can have multiple labels
- Data augmentation: Define custom augmentation pipelines with SwiftUI-style result builders
Detailed Content
BERT text classification (01:06)
The Create ML app Settings tab adds a BERT embedding option:
Model Parameters:
  Algorithm: Transfer Learning
  Embedding: BERT
  Language: Automatic (or specify a concrete language)
Key points:
- BERT models are pre-trained on billions of labeled texts
- Supports mixed multilingual training data, and also improves single-language classifier accuracy
- Requires iOS 17, iPadOS 17, or macOS Sonoma
- Select directly in the Create ML app—no extra configuration needed
Apple Neural Scene Analyzer feature extraction (02:21)
Image classifiers can now use the latest version of Apple Neural Scene Analyzer as the feature extractor:
Model Parameters:
  Feature Extractor: Apple Neural Scene Analyzer (latest version)
Key points:
- Output embedding size is smaller than the previous version
- Faster training speed with higher accuracy
- Lower memory footprint
- Used in real features like Photos app search
Multi-label image classifier (03:17)
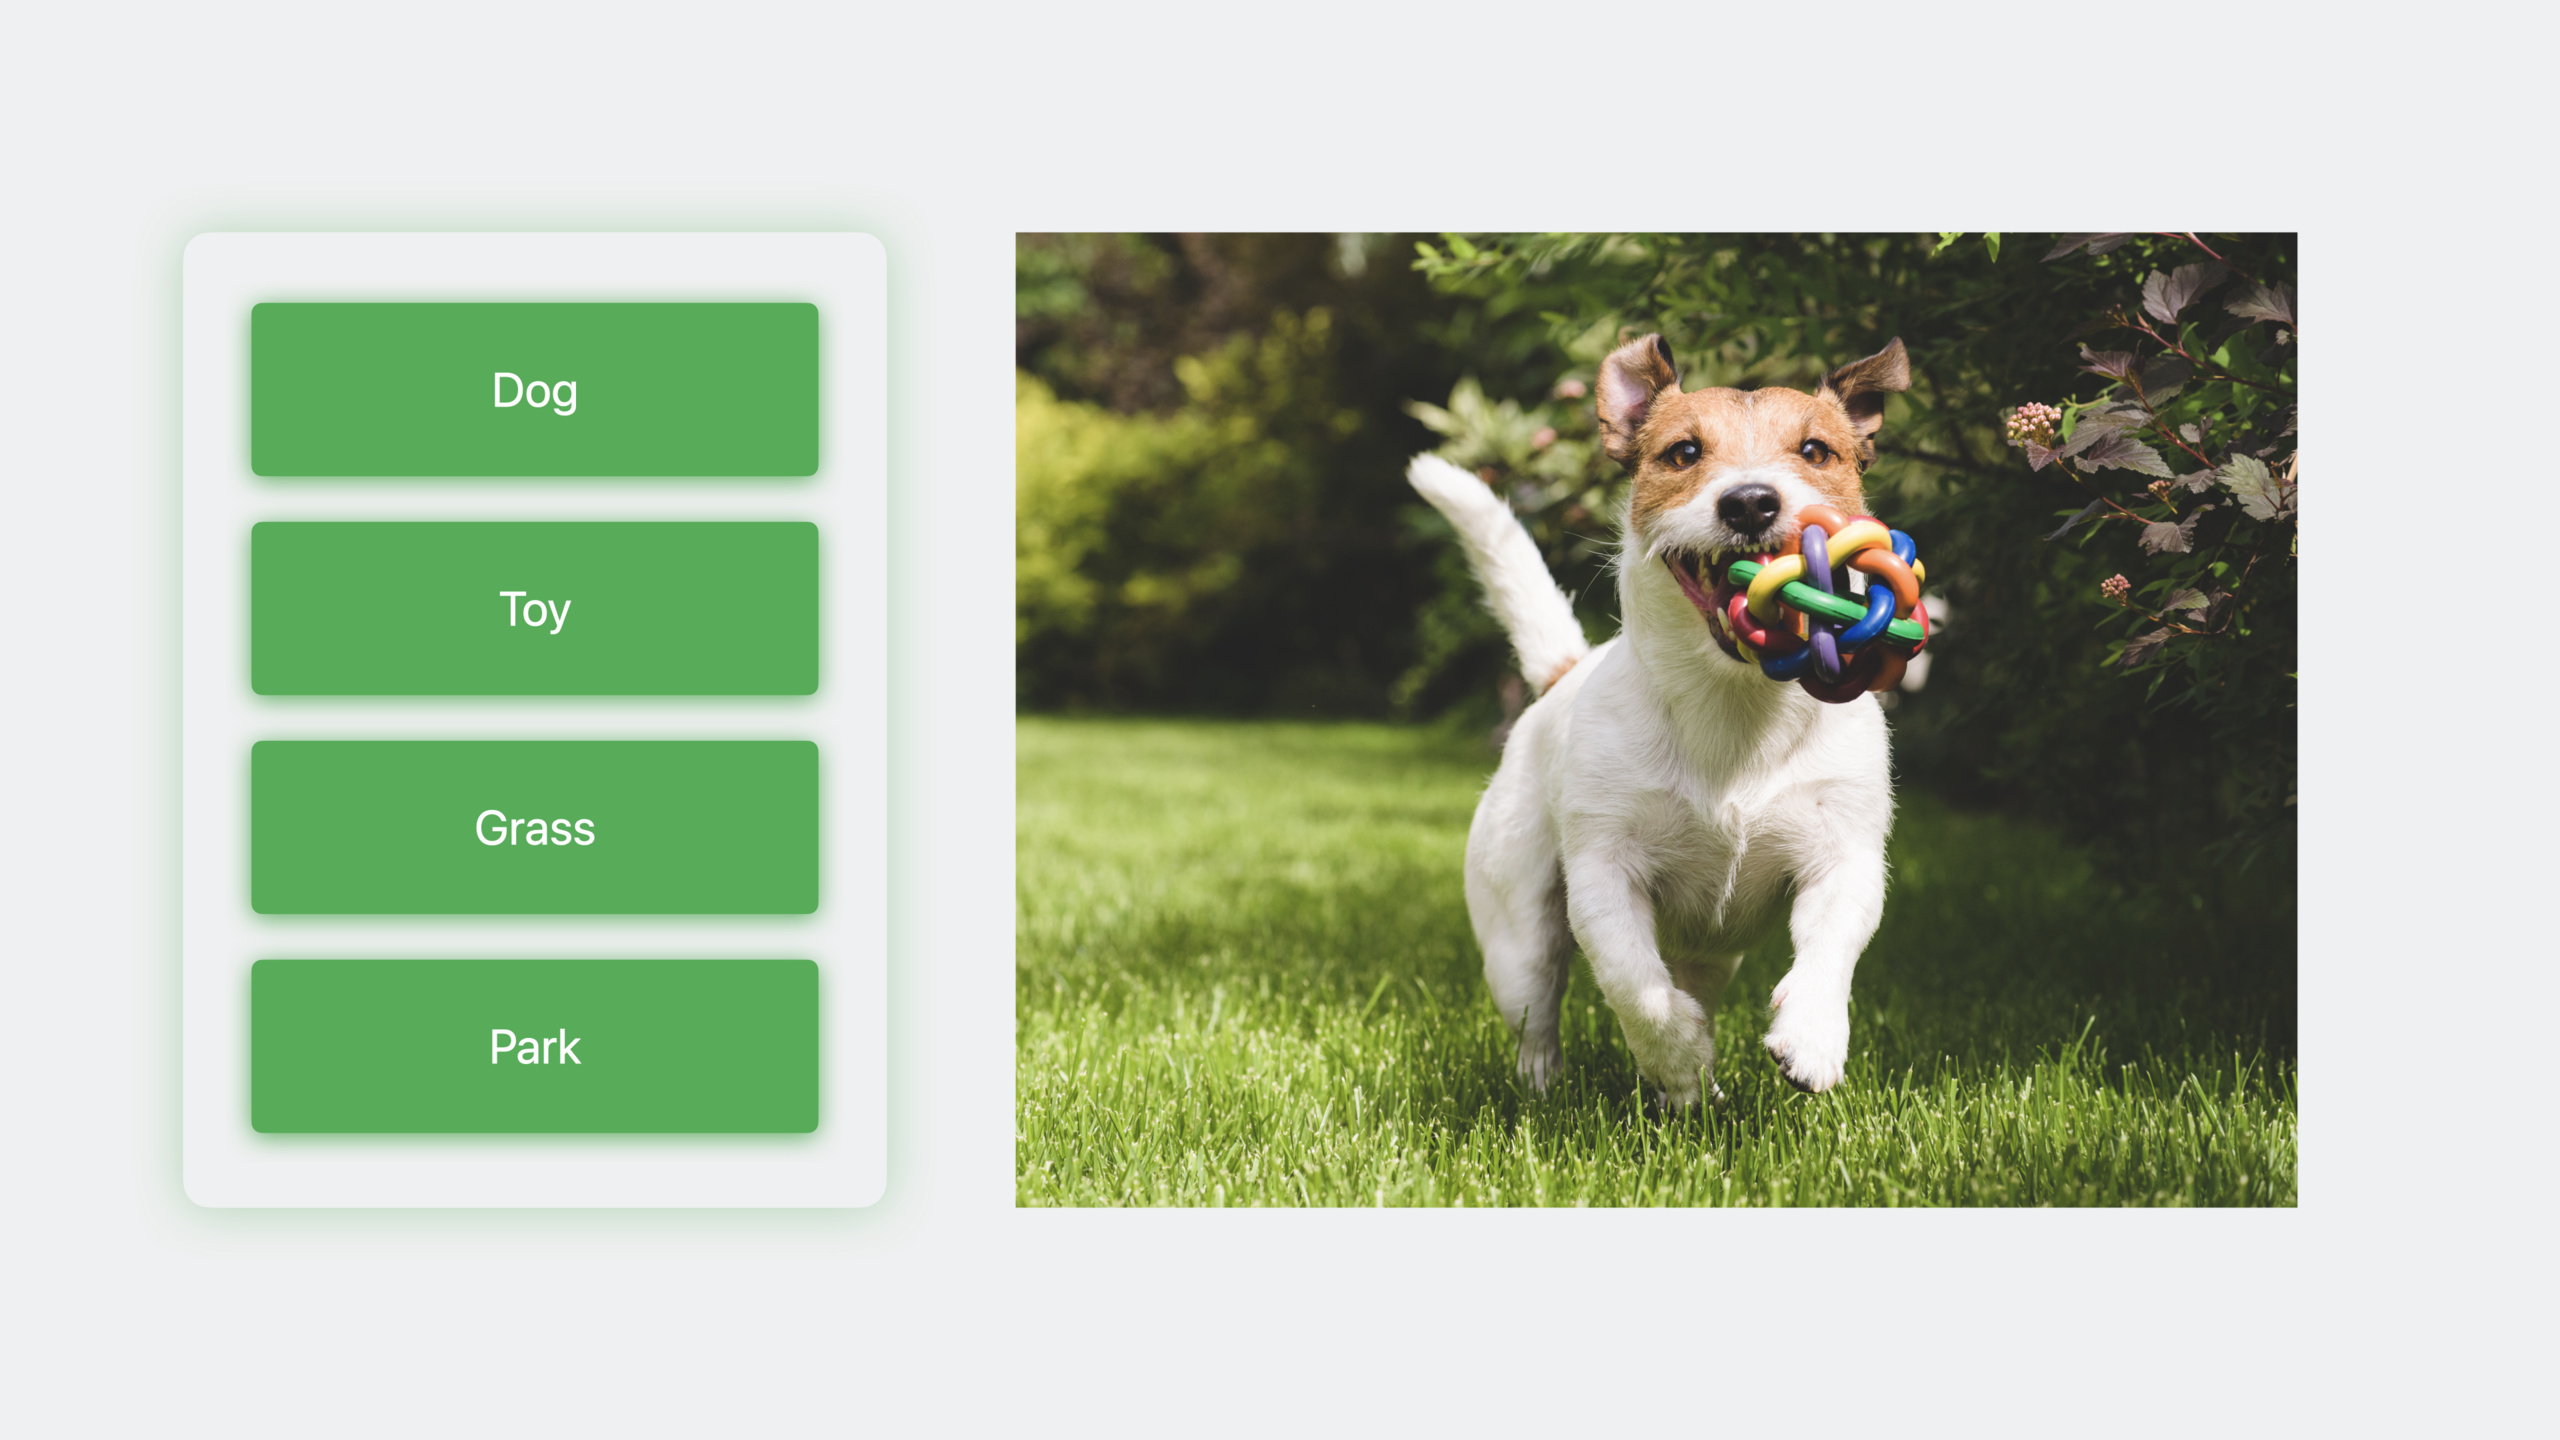
Traditional single-label classifiers pick only one best label per image. Multi-label classifiers can predict multiple labels simultaneously.
Training data is labeled in JSON format (04:39):
[
  {
    "image": "succulent_001.jpg",
    "annotations": ["Haworthia", "Jade", "Aloe", "window_sill"]
  },
  {
    "image": "succulent_002.jpg",
    "annotations": ["cactus", "person", "pot"]
  },
  {
    "image": "succulent_003.jpg",
    "annotations": ["Aloe"]
  }
]
Key points:
- Each image is labeled as an array of tags
- Single-label and multi-label samples can be mixed
- Select the “Multi-Label Image Classifier” template in the Create ML app
After training, use the Vision framework for inference (08:42):
import Vision
import CoreML

// Load the compiled Core ML model
let model = try! VNCoreMLModel(for: SucculentClassifier().model)

// Create the classification request
let request = VNCoreMLRequest(model: model)

// Create the image request handler
let handler = VNImageRequestHandler(url: imageURL)

// Perform the request
try? handler.perform([request])

// Get classification results
if let results = request.results as? [VNClassificationObservation] {
    for observation in results {
        // Filter predictions below the threshold
        if observation.confidence > 0.4 {
            print("\(observation.identifier): \(observation.confidence)")
        }
    }
}
Key points:
VNCoreMLModelwraps a Core ML model for use with the Vision frameworkVNImageRequestHandlerhandles image input- Each label has an independent confidence threshold—view in the Metrics tab
- When filtering, compare the
confidenceproperty against the corresponding label’s threshold
Interactive model evaluation (06:48)
The Create ML app Metrics tab provides detailed evaluation data:
- MAP Score (Mean Average Precision): overall model quality metric—higher is better
- Per-label metrics: False Positives, False Negatives, Precision, Recall, Confidence Threshold
- False Positives: labels the model predicted but aren’t actually present
- False Negatives: labels actually present but the model didn’t predict
Key points:
- MAP Score considers both precision and recall
- Focus on categories with low Precision and Recall, and add targeted training data
- Confidence Threshold is each label’s decision boundary—predictions above this threshold are considered present
Custom data augmentation API (09:31)
The Create ML Components framework adds result builder-based augmentation APIs:
import CreateMLComponents

// Define the augmenter
struct MyAugmenter: Augmenter {
    let backgrounds: [CIImage]

    var body: some Augmenter<AnnotatedImage, AnnotatedImage> {
        // 50% probability horizontal flip
        ApplyRandomly(probability: 0.5) {
            FlipHorizontally()
        }

        // Random rotation from -15° to 15°
        ApplyRandomly(probability: 0.5) {
            Rotate(
                angle: UniformRandomFloatingPointParameter(
                    range: -15.0...15.0
                )
            )
        }

        // Random crop
        ApplyRandomly(probability: 0.5) {
            Crop(ratio: 0.8...1.0)
        }

        // Custom transform: random background
        ApplyRandomly(probability: 0.3) {
            RandomImageBackground(backgrounds: backgrounds)
        }
    }
}

// Custom random transformer
struct RandomImageBackground: RandomTransformer {
    let backgrounds: [CIImage]

    func applied(to input: AnnotatedImage, rng: inout RNG) -> AnnotatedImage {
        // Randomly choose a background
        let background = backgrounds.randomElement(using: &rng)!

        // Randomly choose a placement position
        let x = Int.random(in: 0..<background.extent.width, using: &rng)
        let y = Int.random(in: 0..<background.extent.height, using: &rng)

        // Place the input image on the background
        var output = input
        output.image = composite(input.image, onto: background, at: CGPoint(x: x, y: y))
        return output
    }
}
Key points:
- The
Augmenterprotocol uses SwiftUI-style result builders ApplyRandomlyapplies a transform with a specified probabilityUniformRandomFloatingPointParametergenerates random parameters- Each transform applies in sequence: flip, then rotate, then crop, then swap background
- Augmentation results are an
AsyncSequence—transforms execute lazily - Custom transformers follow the
RandomTransformerprotocol and receive a random number generator
Training with augmented data (14:17)
import CreateMLComponents

// Create an empty model
var classifier = ImageClassifier()

// Create the training loop
for iteration in 0..<100 {
    // Shuffle and augment training data
    let augmented = trainingData
        .shuffled()
        .applied(MyAugmenter(backgrounds: backgroundImages))

    // Process in batches
    for batch in augmented.batches(of: 16) {
        try await classifier.update(batch)
    }

    // Calculate validation accuracy
    let validationAccuracy = try await classifier.evaluation(
        on: validationData
    ).classificationMetrics.accuracy

    // Early stopping: stop if there is no improvement for 5 epochs
    if !hasImproved(for: 5) {
        break
    }
}
Key points:
- The
updatemethod suits augmentation training because data differs each epoch batches(of:)groups the async sequence into batches- Dropping validation accuracy means the model is overfitting—stop training
- Early stopping prevents the model from memorizing training data and improves generalization
Core Takeaways
-
Add smart tags to your photo album app: Use a multi-label image classifier to automatically tag photos with multiple labels. Why it’s worth doing: users have massive unlabeled photo libraries—manual tagging isn’t practical. A multi-label classifier can identify “beach,” “sunset,” “person,” and more simultaneously. How to start: collect a few hundred labeled photos, train with Create ML’s multi-label classifier template, and integrate into your album app to auto-tag new photos.
-
Solve insufficient training data with augmentation: When you only have dozens of training samples, use a custom augmenter to generate infinite variants. Why it’s worth doing: many vertical domains (medical imaging, industrial inspection) have extremely expensive labeled data—augmentation lets you train generalizable models from few samples. How to start: define an augmentation pipeline suited to your domain (medical images may not suit flipping but contrast/brightness adjustments do), and train iteratively with the
updatemethod. -
Build a multilingual customer service ticket classifier: Train a ticket classification model with BERT embeddings that handles multiple languages. Why it’s worth doing: multinational customer service systems need to handle multilingual tickets—traditional approaches require maintaining multiple single-language models. BERT’s multilingual capability lets one model cover all languages. How to start: collect customer service ticket samples in various languages, select BERT embeddings in Create ML, and deploy on a macOS server.
-
Discover model blind spots with interactive evaluation: Analyze False Negatives in the Create ML app Metrics tab to find categories the model consistently misses. Why it’s worth doing: models perform poorly in certain scenarios but developers often don’t know which ones—interactive evaluation shows each misclassified image so you can quickly spot patterns. How to start: after training, go to the Metrics tab, sort by False Negatives, examine common traits in missed images, and add targeted training data.
Related Sessions
- Explore Natural Language multilingual models — Underlying principles of BERT multilingual embeddings and the NLContextualEmbedding API
- Use Core ML Tools for machine learning model compression — Compress trained Create ML models to reduce app size
- Improve Core ML integration with async prediction — Core ML’s async prediction API so model inference doesn’t block the main thread
Comments
GitHub Issues · utterances