
Highlight
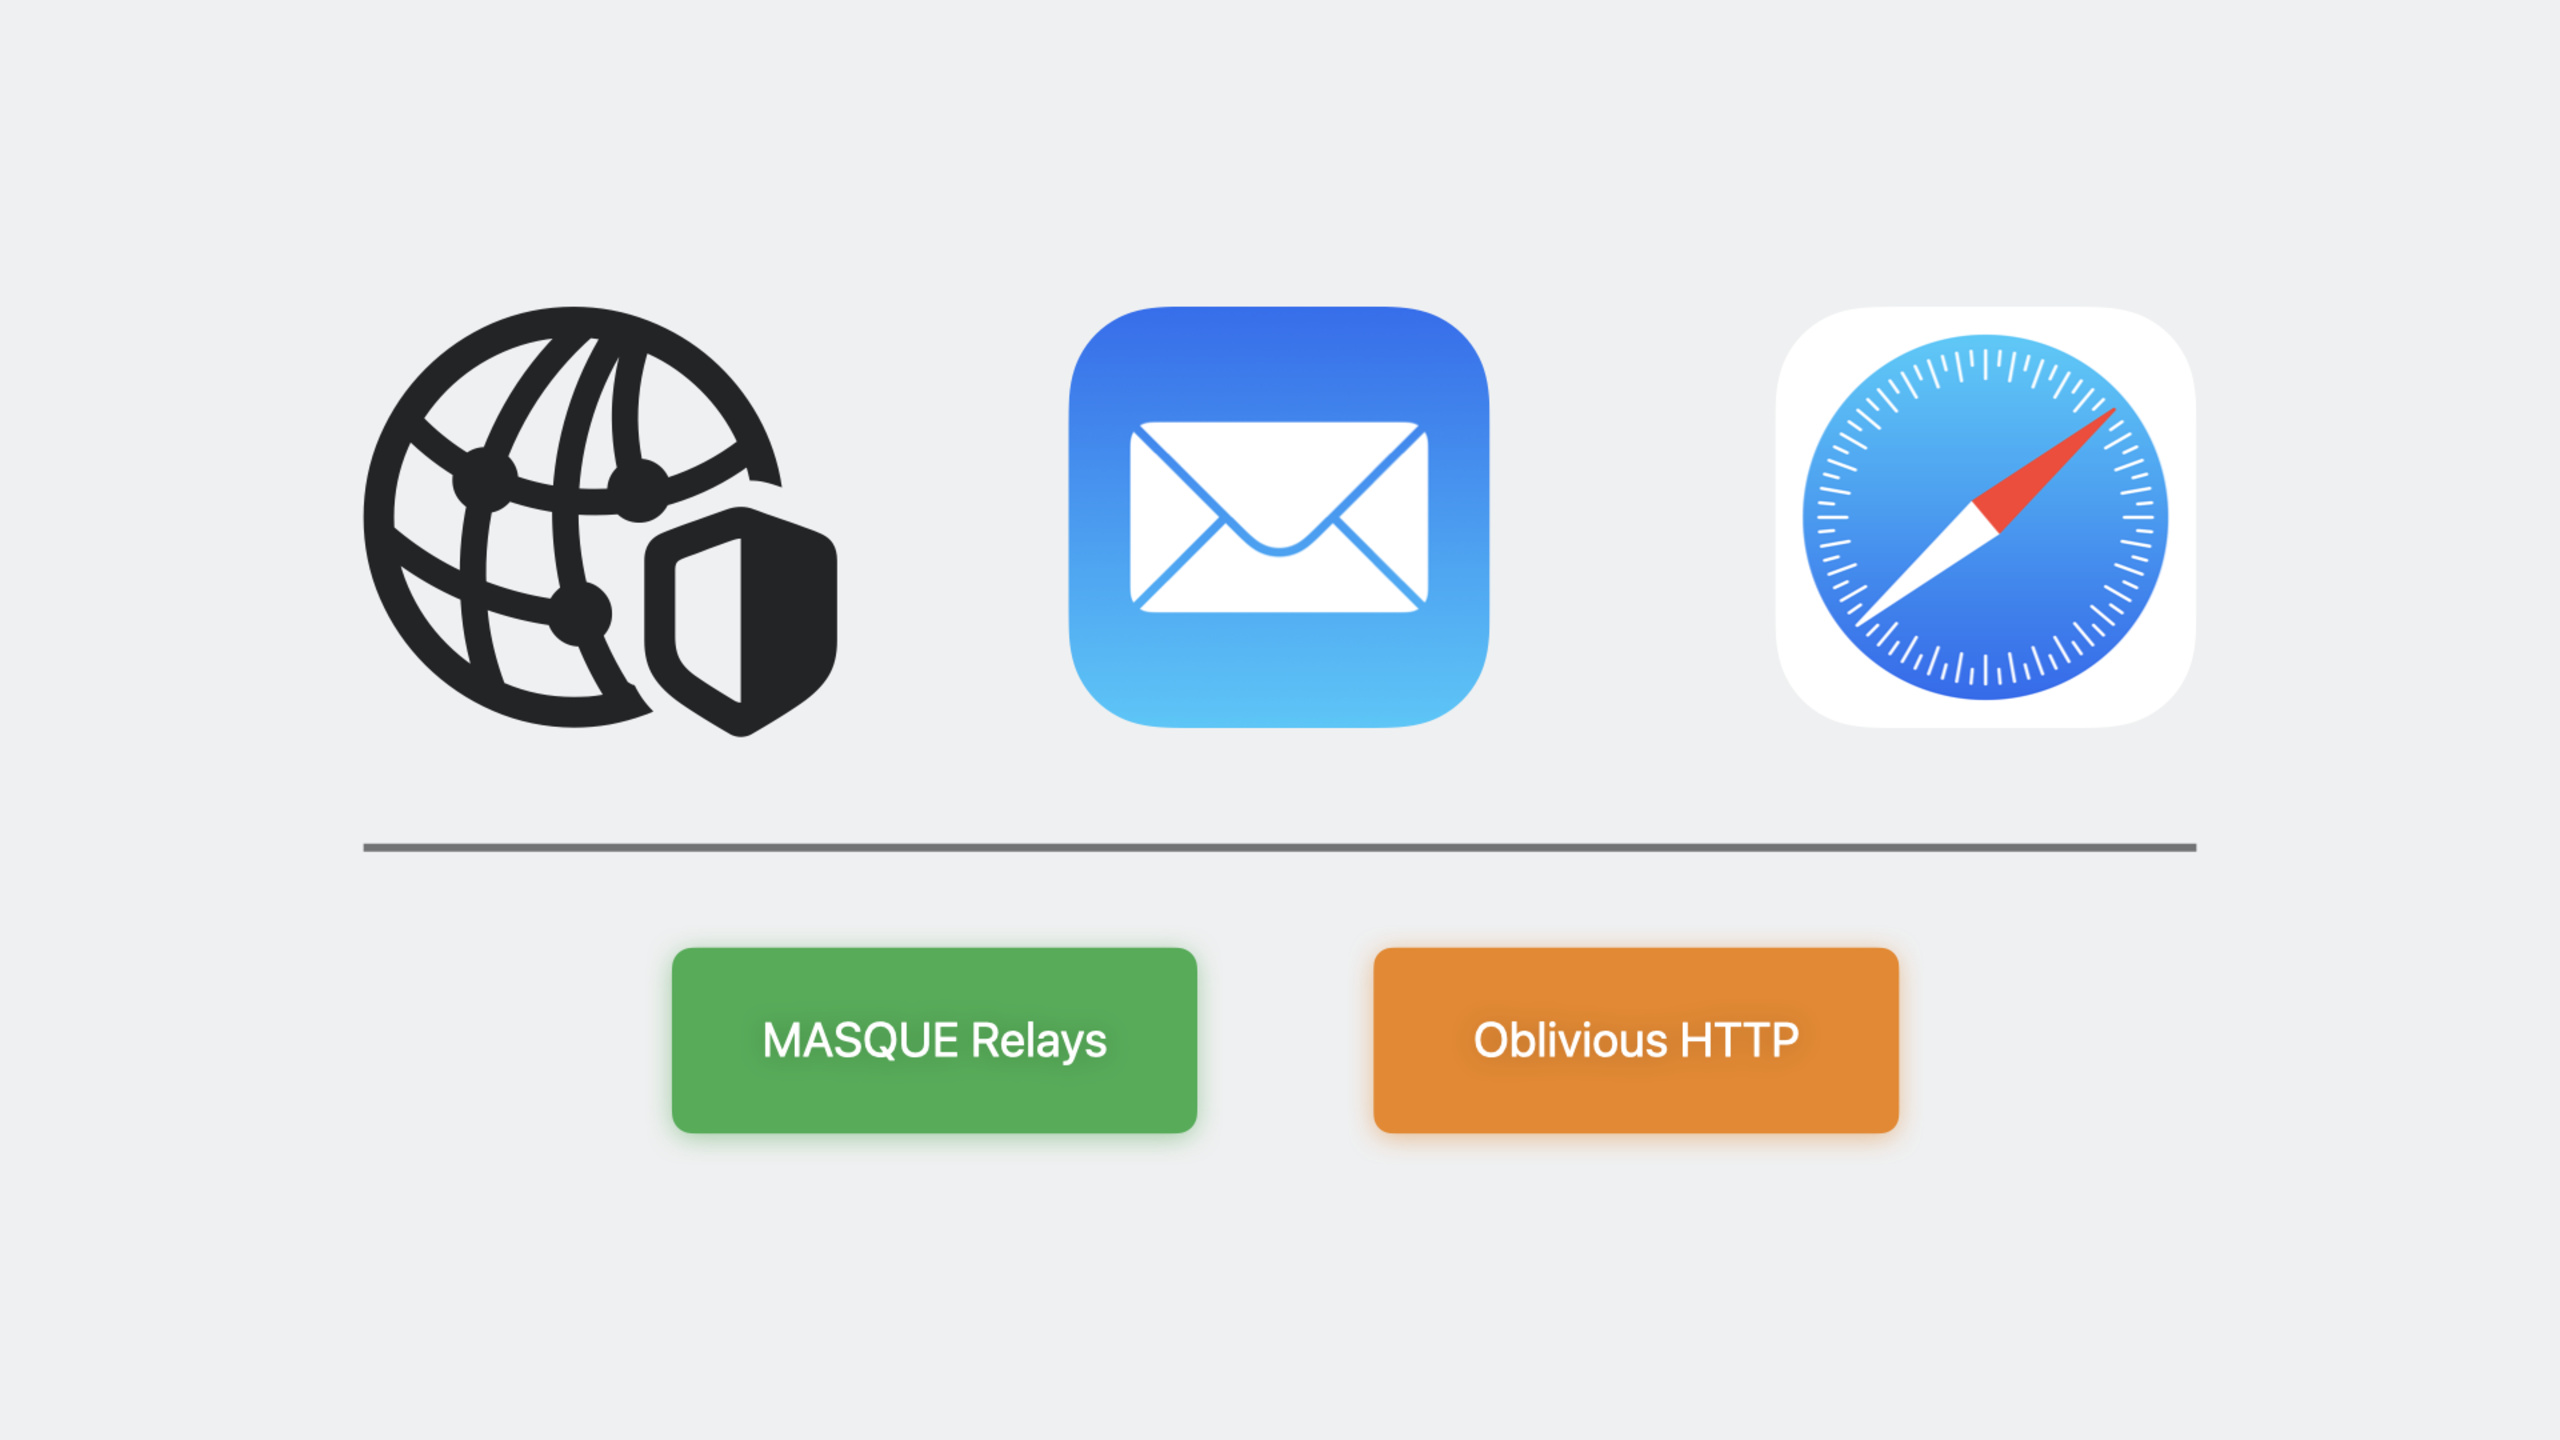
Apple provides a new set of Network Relay APIs in iOS 17 and macOS Sonoma. Developers can use MASQUE and Oblivious HTTP to add a privacy layer to app network traffic, and enterprise administrators can use relays as a lighter alternative to traditional VPNs for secure employee access to internal resources.
Core Content
The problem: why VPN is not the best answer for every scenario
For developers who need to protect network traffic, traditional options are limited. You either do nothing and expose the user’s IP address to servers, or you route through a VPN—but VPNs have several inherent issues:
- Scope is too broad: VPNs typically take over all traffic on the device; apps cannot enable protection only for the requests they care about.
- Poor user experience: VPN connections are slow, require reconnection when switching networks, and users must toggle them manually.
- Suboptimal trust model: VPN providers can see the user’s real IP and destination addresses—effectively handing privacy to a middleman.
For enterprise scenarios, VPN configuration and distribution is also a burden for IT teams. Employees must install VPN clients, enter configuration, and handle disconnect/reconnect.
Apple’s approach: network relays
Apple introduced Network Relay support in iOS 17 / macOS Sonoma. A relay is a special type of proxy server built on two IETF-standardized protocols:
- MASQUE: Proxies arbitrary TCP and UDP connections without modifying backend servers.
- Oblivious HTTP: Designed specifically for HTTP traffic, suited to REST API scenarios.
The core advantage of relays is that they can be chained. You can configure two relay servers: the first knows the user’s IP but not the content (which is encrypted), and the second knows the content but not the user’s IP. No single party gets both. This is the technology behind iCloud Private Relay.
For developers, this means you can configure relays for your app alone without affecting other traffic on the device. For enterprises, relays are lighter than VPNs—faster to connect, proxy only specified domains, and integrate with existing identity providers.
Detailed Content
Configuring a single relay in your app
Configuring a relay takes only a few lines of code. Create a ProxyConfiguration object in the Network framework (04:52):
import Network

let relayEndpoint = NWEndpoint.url(URL(string: "https://relay.example.com")!)
let relayServer = ProxyConfiguration.RelayHop(http3RelayEndpoint: relayEndpoint)

let relayConfig = ProxyConfiguration(relayHops: [relayServer])
Key points:
NWEndpoint.urlaccepts the relay server URL; the protocol must be HTTPSRelayHoprepresents one hop in a relay chain;http3RelayEndpointspecifies HTTP/3 for communication with the relayProxyConfiguration’srelayHopsis an array supporting single-hop or multi-hop (chain) setups- The code above only creates the configuration object; it has not yet been applied to any connection
Three integration paths: Network framework, URLSession, WebKit
Relay configuration can be injected into Apple’s three main networking APIs.
Option 1: Network framework (05:40)
import Network

let relayEndpoint = NWEndpoint.url(URL(string: "https://relay.example.com")!)
let relayServer = ProxyConfiguration.RelayHop(http3RelayEndpoint: relayEndpoint)

let relayConfig = ProxyConfiguration(relayHops: [relayServer])

var context = NWParameters.PrivacyContext(description: "my relay")
context.proxyConfigurations = [relayConfig]

let parameters = NWParameters.tls
parameters.setPrivacyContext(context)

let connection = NWConnection(host: "www.example.com", port: 443, using: parameters)
connection.start(queue: .main)
Key points:
NWParameters.PrivacyContextis a new type in iOS 17 / macOS Sonoma for encapsulating privacy configurationproxyConfigurationsaccepts an array ofProxyConfigurationsetPrivacyContextbinds the privacy context to connection parameters- Suitable for scenarios needing low-level network control, such as custom protocols or non-HTTP traffic
Option 2: URLSession (06:07)
import Network

let relayEndpoint = NWEndpoint.url(URL(string: "https://relay.example.com")!)
let relayServer = ProxyConfiguration.RelayHop(http3RelayEndpoint: relayEndpoint)

let relayConfig = ProxyConfiguration(relayHops: [relayServer])

let config = URLSessionConfiguration.default
config.proxyConfigurations = [relayConfig]

let mySession = URLSession(configuration: config)
let url = URL(string: "https://www.example.com/api/v1/employees")!
let (data, response) = try await mySession.data(from: url)
Key points:
URLSessionConfigurationadds a newproxyConfigurationsproperty- Once configured, all requests on that
URLSessionroute through the relay - Uses Swift concurrency’s
async/awaitAPI to fetch data - The server only sees the relay’s IP address, not the user’s real IP
Option 3: WebKit (06:30)
import Network

let relayEndpoint = NWEndpoint.url(URL(string: "https://relay.example.com")!)
let relayServer = ProxyConfiguration.RelayHop(http3RelayEndpoint: relayEndpoint)

let relayConfig = ProxyConfiguration(relayHops: [relayServer])

let webkitConfig = WKWebViewConfiguration()
webkitConfig.websiteDataStore = WKWebsiteDataStore.nonPersistent()
webkitConfig.websiteDataStore.proxyConfigurations = [relayConfig]
let webView = WKWebView(frame: .zero, configuration: webkitConfig)

let url = URL(string: "https://www.example.com/api/v1/employees")!
webView.load(URLRequest(url: url))
Key points:
WKWebsiteDataStoreadds a newproxyConfigurationsproperty- Uses
nonPersistent()data store, meaning no cookies or cache are retained, enhancing privacy - All network requests in the WebView go through the relay
- Suitable for embedded browser scenarios, such as OAuth login flows
Enterprise: deploying relays via configuration profiles
Enterprises do not need employees to configure relays manually. Administrators can deploy configuration profiles through MDM (Mobile Device Management) (09:15):
<dict>
    <key>PayloadType</key>
    <string>com.apple.relay.managed</string>
    <key>Relays</key>
    <array>
        <dict>
            <key>HTTP3RelayURL</key>
            <string>https://relay.example.com</string>
            <key>PayloadCertificateUUID</key>
            <string>5AB702EC-32F3-48A9-94FE-8EA1C67ACF46</string>
        </dict>
    </array>
    <key>MatchDomains</key>
    <array>
        <string>internal.example.com</string>
    </array>
</dict>
Key points:
PayloadTypeiscom.apple.relay.managed, a new configuration profile typeHTTP3RelayURLspecifies the relay server addressPayloadCertificateUUIDreferences a certificate defined in the same profile for TLS verificationMatchDomainslimits the relay to proxying traffic for specified domains only; other traffic is unaffected- This is a major improvement over VPN: only proxy the traffic you need, not everything
Enterprise: programmatic configuration via NetworkExtension
If an enterprise has its own management app, relays can also be configured programmatically through the NetworkExtension framework (09:42):
import NetworkExtension

let newRelay = NERelay()
let relayURL = URL(string: "https://relay.example.com:443/")
newRelay.http3RelayURL = relayURL
newRelay.http2RelayURL = relayURL

newRelay.additionalHTTPHeaderFields = ["Authorization" : "PrivateToken=123"]

let manager = NERelayManager.shared()
manager.relays = [newRelay]
manager.matchDomains = ["internal.example.com"]

manager.isEnabled = true
do {
    try await manager.saveToPreferences()
} catch let saveError {
    // Handle error
}
Key points:
NERelayis a new class in NetworkExtension representing a relay configuration- Supports both HTTP/3 and HTTP/2 as fallback
additionalHTTPHeaderFieldscan add custom HTTP headers for authentication (e.g., anAuthorizationtoken)NERelayManager.shared()is a singleton managing system-wide relay configurationmatchDomainslimits relay scope to specified domains onlysaveToPreferences()persists configuration to the system and requires user authorization
Core Takeaways
-
Add network privacy protection for health/finance apps: If your app handles sensitive data (health records, financial information, location data), configure a relay via
URLSessionConfiguration.proxyConfigurationsso servers cannot obtain the user’s real IP. Why it’s worth doing: privacy regulations (GDPR, CCPA) impose strict requirements on data collection and processing; hiding IP is an effective way to reduce compliance risk. How to start: choose a relay provider supporting MASQUE, setproxyConfigurationsonURLSessionConfiguration, then verify server logs only show the relay IP. -
Replace enterprise VPN for internal API access: When enterprise apps need intranet resources, employees no longer need to install VPN clients. Deploy a
com.apple.relay.managedconfiguration profile via MDM; the relay proxies only domains listed inMatchDomains. Why it’s worth doing: VPNs are slow, require manual reconnect on drop, and interfere with non-enterprise traffic—relays avoid these pain points. How to start: set up a MASQUE-capable relay server, create a configuration profile, push it via MDM, then use viaNERelayManageror URLSession. -
Use a two-hop relay architecture for stronger privacy: Configure two
RelayHopentries in therelayHopsarray—the first knows the user IP but not content, the second knows content but not user IP. Why it’s worth doing: with a single relay, the provider knows both who you are and what you access. Two-hop architecture ensures no single entity can link both. How to start: choose two different relay providers, create twoRelayHopobjects, and pass them toProxyConfiguration(relayHops: [hop1, hop2]). -
Add network isolation for WebView content: If your app embeds a WebView showing third-party content, use
WKWebsiteDataStore.nonPersistent()withproxyConfigurationsso WebView requests route through a relay without retaining local data. Why it’s worth doing: embedded browsers are a major privacy leak—third-party scripts and trackers can obtain user information through the WebView. How to start: create aWKWebViewConfiguration, setwebsiteDataStoretononPersistent()and configureproxyConfigurations. -
Implement passwordless authentication with custom HTTP headers: Add an
Authorizationheader viaNERelay.additionalHTTPHeaderFields; the relay server can verify request origin without requiring a password. Why it’s worth doing: traditional VPN access to internal resources often requires extra username/password steps. Custom HTTP headers can integrate with SSO for seamless authentication. How to start: generate an API token in the enterprise IdP, pass it throughadditionalHTTPHeaderFields, and verify the token on the relay server.
Related Sessions
- Reduce network delays with L4S — L4S is a new technology for reducing network latency; paired with relays it can improve both privacy and performance
- Build robust and resumable file transfers — URLSession large file transfer capabilities; relay configuration applies directly to these transfers
- What’s new in managing Apple devices — New device management capabilities, including MDM deployment of relay configuration profiles
- Explore advances in declarative device management — Declarative device management updates; enterprise infrastructure for relay deployment
Comments
GitHub Issues · utterances