
Highlight
Xcode Cloud integrates with the team’s existing tools through Webhooks and App Store Connect API, and cooperates with Swift Package Manager dependency management, custom scripts and permission control to integrate the CI/CD process into the team’s existing development workflow.
Core Content
Your team is using Xcode Cloud, but the build information and issue tracker are separate. Developers need to manually check the build status, the build products are scattered everywhere, and the code style lacks unified constraints.
(01:34) Session used the Food Truck project to demonstrate how to embed Xcode Cloud into the team’s complete development process.
Integrate with Issue Tracker
(01:46) The team uses the issue tracker to manage tasks, but the build information is not associated with specific tickets. The solution is to build a Swift on Server service, receive Xcode Cloud’s Webhook, and automatically add build result comments under the corresponding issue.
The process is as follows:
- After the Xcode Cloud build is completed, send the Webhook to the team server
- The server parses the commit message and extracts the issue number
- Call the Xcode Cloud API to get build details and issue list
- Construct the comment content and call the issue tracker API to publish it
(03:01) The Xcode Cloud API is part of the App Store Connect API. If you already have an authentication token for the App Store Connect API, you can directly access Xcode Cloud data.
Key endpoints:
-CiBuildRuns:Create, cancel, query build
-CiBuildActions: Get build action details
-CiArtifacts: Get the build product download link
(04:00) Download the OpenAPI specification from the App Store Connect documentation and use OpenAPI Generator to automatically generate a Swift client:
# After downloading the OpenAPI specification
openapi-generator generate -i app_store_connect_api.json \
  -g swift -o xcodecloud-client
The generated client is a Swift Package that can be directly introduced into the webhook server project as a dependency.
(05:24) Configure Webhooks in App Store Connect: Go to Product Settings > Webhooks and fill in the server URL. After each build is completed, Xcode Cloud will send a POST request to this address.
Webhook payload includes build ID, action list, execution status and other information. Processed with the Vapor framework:
import Vapor

struct WebhookPayload: Content {
    let buildRun: CiBuildRun
    let actions: [CiBuildAction]
}

func routes(_ app: Application) throws {
    app.post("webhook") { req async throws in
        let payload = try req.content.decode(WebhookPayload.self)
        // Parse the issue number from the commit message
        // Call the API to fetch build issues
        // Post a comment to the issue tracker
        return HTTPStatus.ok
    }
}
Dependency management
(08:25) Xcode Cloud natively supports Swift Package Manager. Public packages require no additional configuration, while private packages require configuration access permissions.
Third-party dependency managers such as CocoaPods and Carthage are also available in Xcode Cloud via custom scripts. For specific configuration methods, refer to the Xcode documentation.
After the build is complete, view the build log in Xcode’s Report Navigator > Cloud tab. Xcode Cloud will automatically parse and download Swift Package dependencies.
Code quality check
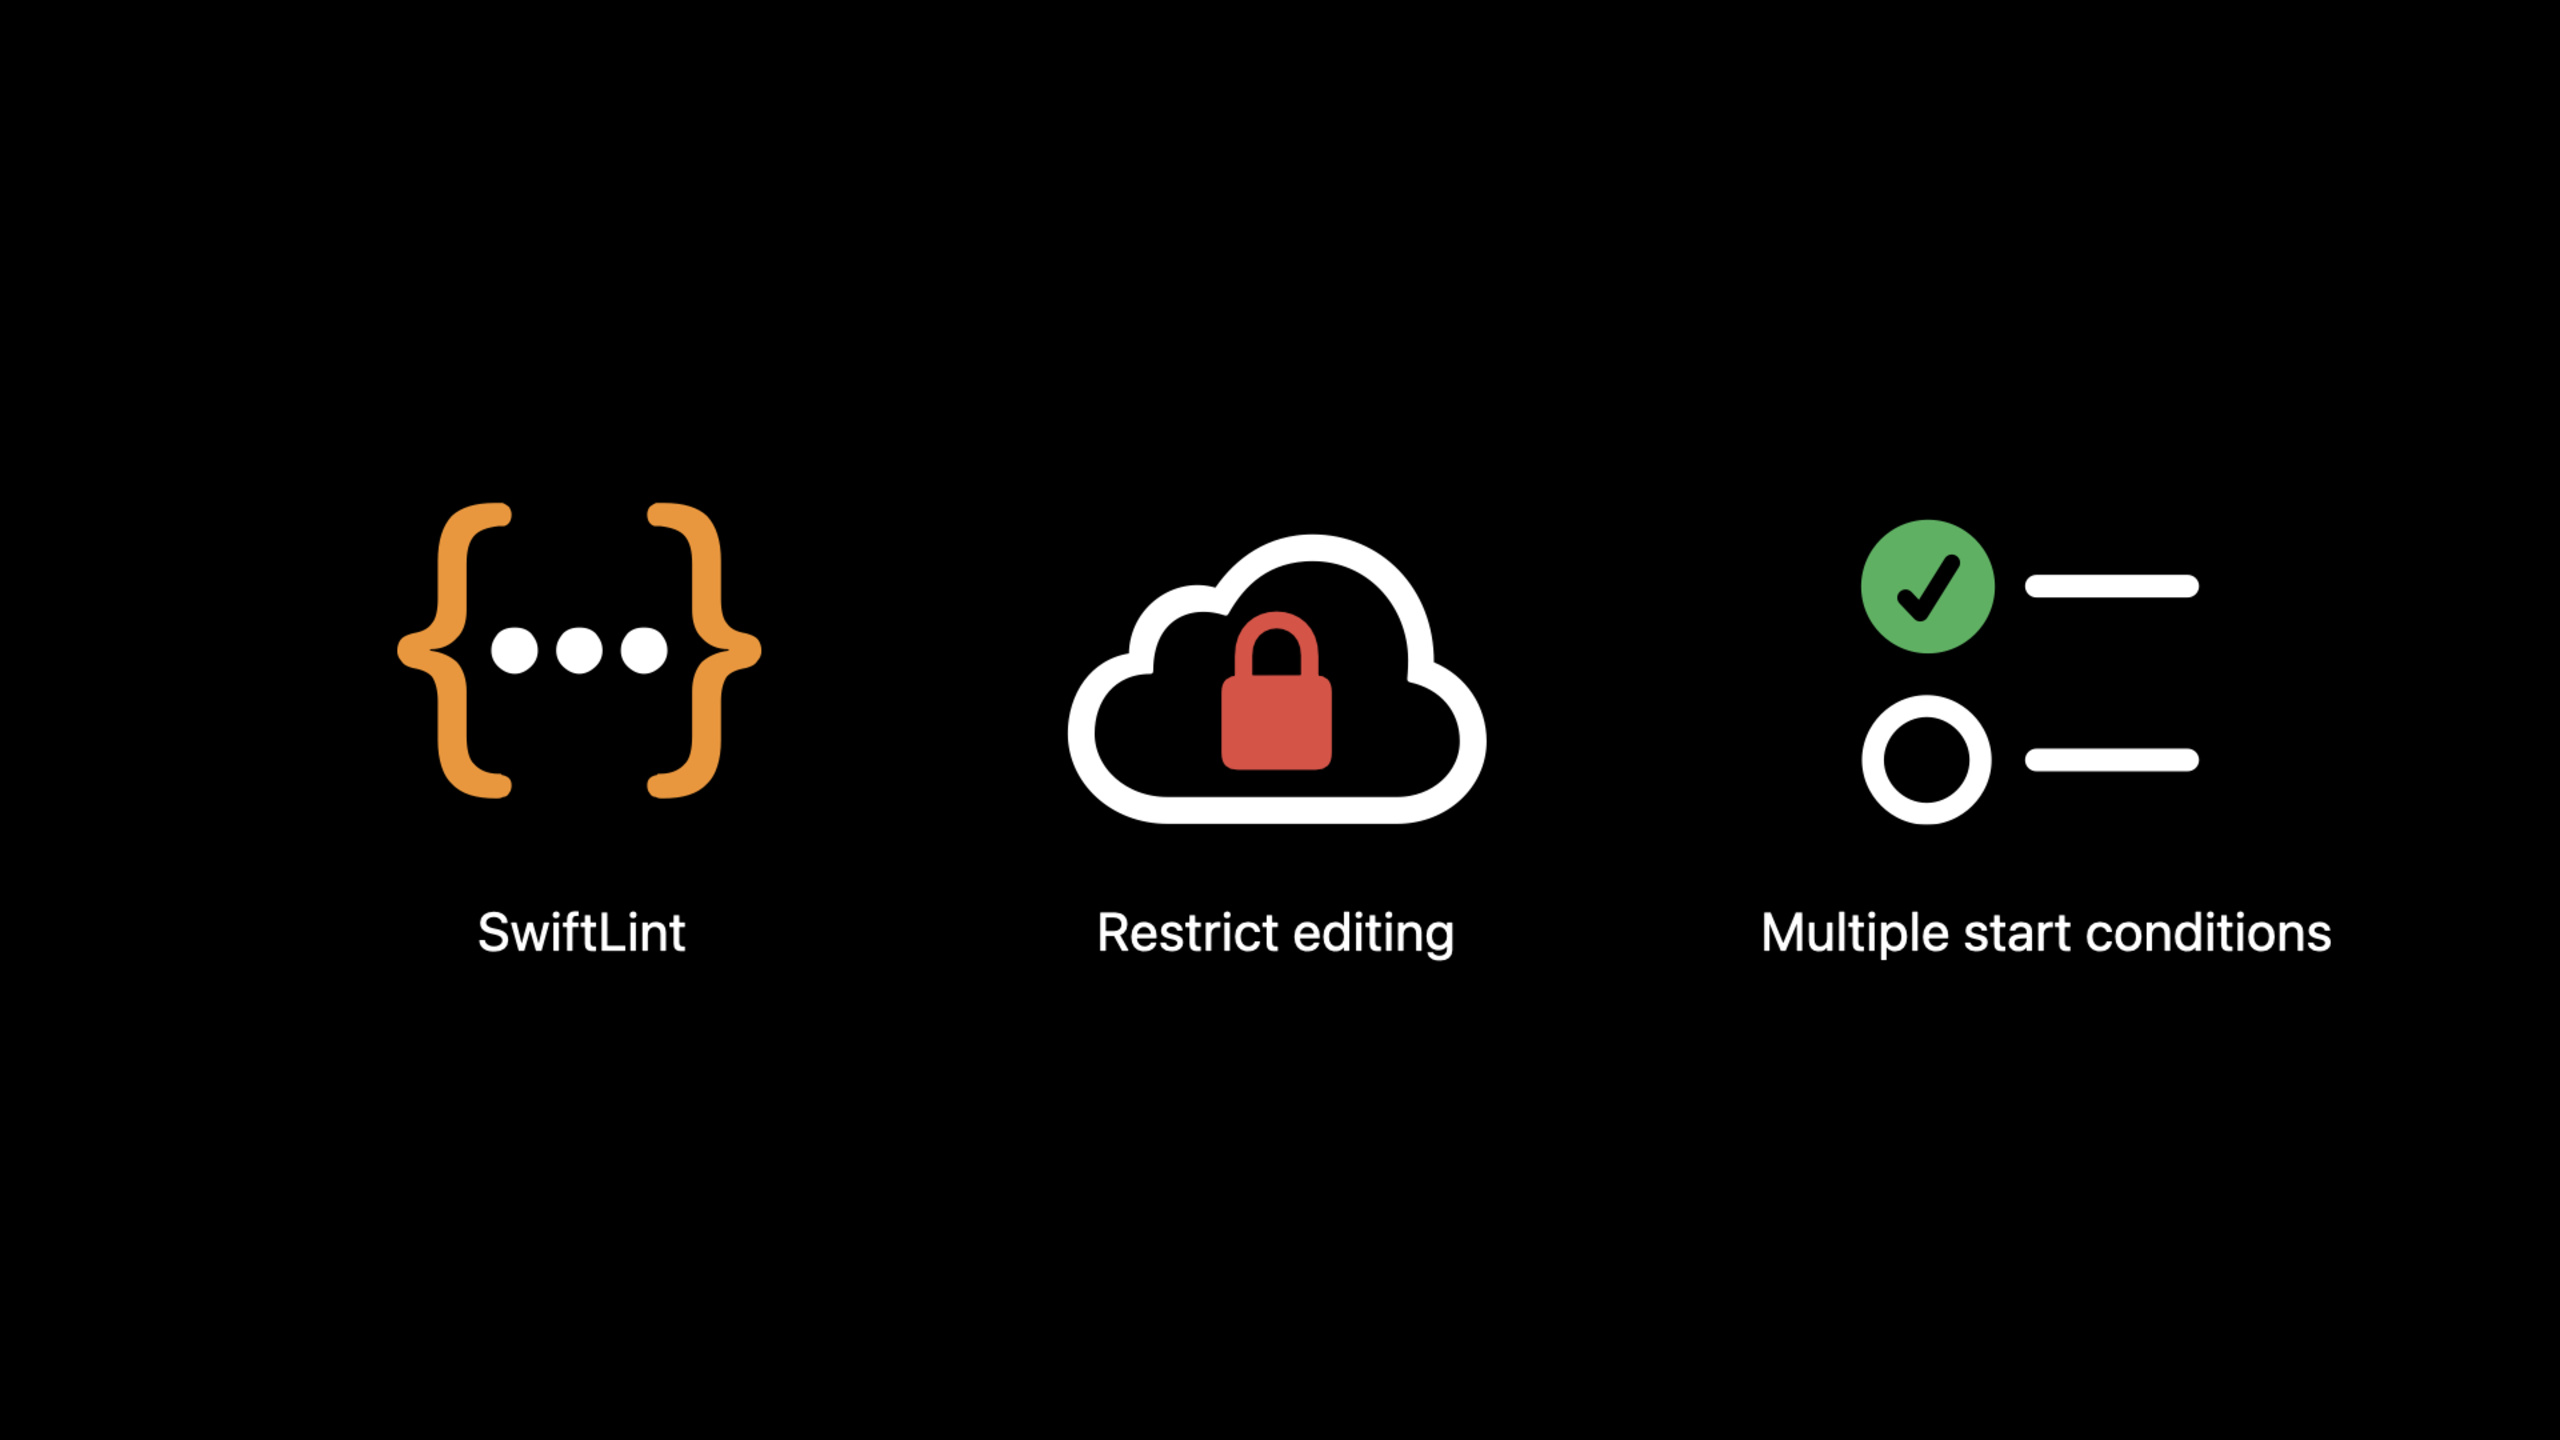
(09:50) Use SwiftLint for static code analysis and integrate into Xcode Cloud through custom scripts:
#!/bin/bash
# ci_scripts/post_clone.sh

# Install SwiftLint
brew install swiftlint

# Run checks in the code repository directory
swiftlint lint --path "$CI_WORKSPACE"
Key points:
post_cloneThe script is executed after the code is cloned -CI_WORKSPACEEnvironment variables point to the code repository directory- The script execution location is
ci_scriptsDirectory, you need to explicitly specify the working directory - SwiftLint will output the number and severity of violations
(11:27) A large number of violations may be discovered during first integration. The workflow can be temporarily disabled, and the team will discuss and determine the code specifications before repairing and enabling it.
Workflow permission control
(12:13) As the team expands, it is necessary to prevent members from accidentally modifying the workflow configuration. Xcode Cloud supports restricting workflow editing permissions:
- Right-click workflow > Restrict Editing
- Only administrators, account holders and app administrators can set and remove restrictions
- Restricted workflow displays key icon
- A locked workflow displays a lock icon and cannot be edited by ordinary members
Multiple Start Condition
(13:22) A workflow can be configured with multiple Start Conditions, reducing the number of workflows that need to be maintained.
For example, the same testing and archiving workflow can be triggered by:
- There are changes to the main branch
- There are changes to the release branch
- Scheduled build of main branch
There is no need to create three separate workflows, just add three Start Conditions in one workflow.
Detailed Content
Webhook service implementation
(05:55) Complete Webhook processing flow:
import Vapor

// Define the webhook payload structure
struct XcodeCloudWebhook: Content {
    let buildRun: CiBuildRun
    let actions: [CiBuildActionResponse]
}

// Extend the API client to fetch build issues
extension CiBuildActionsAPI {
    func getIssues(for actionId: String) async throws -> [CiIssue] {
        let response = try await ciBuildActionsActionsIdIssuesGet(
            id: actionId
        )
        return response.data
    }
}

// Vapor route handling
func routes(_ app: Application) throws {
    app.post("webhook") { req async throws -> HTTPStatus in
        let payload = try req.content.decode(XcodeCloudWebhook.self)

        // Only process completed builds
        guard payload.buildRun.attributes?.status == .complete else {
            return .ok
        }

        // Extract the issue number from the commit message
        let commitMessage = payload.buildRun.attributes?.commitMessage ?? ""
        guard let issueId = extractIssueId(from: commitMessage) else {
            return .ok
        }

        // Build the comment content
        var comment = "Build #\(payload.buildRun.attributes?.number ?? 0)\n"
        comment += "Commit: \(payload.buildRun.attributes?.commitHash ?? "")\n"
        comment += "Author: \(payload.buildRun.attributes?.commitAuthor ?? "")\n"

        // Fetch issues for each action
        for action in payload.actions {
            let issues = try await req.application.ciAPI.getIssues(for: action.id)
            for issue in issues {
                comment += "- [\(issue.attributes?.issueType ?? "")] \(issue.attributes?.message ?? "")\n"
            }
        }

        // Post to the issue tracker
        try await postComment(to: issueId, content: comment, on: req)

        return .ok
    }
}
Key points:
- Webhook payload contains complete information about build and action
- Get the list of questions for each action through API extension
- Comments include build number, commit hash, author and issue details
- The service is deployed on the webhook URL configured in App Store Connect
App Store Connect API Certification
(03:08) Access the Xcode Cloud API using the same authentication method as the App Store Connect API:
- Generate API Key in App Store Connect > Users and Access > Keys
- Download the private key file (.p8)
- Use JWT to generate authentication token
import JWT

struct AppStoreConnectToken {
    let keyId: String
    let issuerId: String
    let privateKey: String

    func generate() throws -> String {
        let signer = JWTSigner.es256(privateKey: privateKey)
        let claims = AppStoreConnectClaims(
            iss: issuerId,
            iat: Date(),
            exp: Date().addingTimeInterval(1200)
        )
        let jwt = JWT(claims: claims)
        return try signer.sign(jwt, kid: JWKIdentifier(string: keyId))
    }
}
Key points:
- The same token is used for both App Store Connect API and Xcode Cloud API
- Token is valid for up to 20 minutes
- The private key file can only be downloaded once and needs to be kept properly
Custom script timing
Xcode Cloud executes custom scripts in multiple stages of each action:
| Script name | Execution time |
|---|---|
pre_clone | Before cloning the code repository |
post_clone | After cloning the code repository |
pre_build | Before the build begins |
post_build | After the build is complete |
pre_test | Before the test begins |
post_test | After the test is completed |
pre_archive | Before archiving begins |
post_archive | After archiving is complete |
pre_xcodebuild | Before xcodebuild execution |
post_xcodebuild | After xcodebuild execution |
The script is placed in the projectci_scriptsIn the directory, executable permissions need to be added.
Core Takeaways
-
What to do: Set up Xcode Cloud Webhook service, automatically associate build and issue tracker
-
Why is it worth doing: Developers do not need to manually check the build status, the issue page directly displays the build results and issue list
-
How to start: Use Vapor to build Swift on Server service, configure Webhook URL, and parse the issue number in the commit message
-
What to do: Use OpenAPI Generator to automatically generate the App Store Connect API client
-
Why is it worth doing: Avoid manual maintenance of API request code, type safety, just regenerate after API update
-
How to start: Download the OpenAPI specification from the document, run the generator to generate Swift Package, and introduce it into the project as a dependency
-
What to do: Integrate SwiftLint in Xcode Cloud for code style checking
-
Why it’s worth doing: Keep the team’s coding style consistent and find problems during the CI phase instead of code review
-
How to get started: Create
ci_scripts/post_clone.shInstall and run SwiftLint, configured according to team specifications.swiftlint.yml -
What to do: Establish hierarchical workflow permission management for teams
-
Why it’s worth doing: Prevent members from accidentally modifying critical workflow configurations. Release workflows can only be edited by administrators.
-
How to start: Right-click on the key workflow and select Restrict Editing. Ordinary members can still manually trigger the build
Related Sessions
- Get the most out of Xcode Cloud — Optimize Xcode Cloud usage and workflow
- Customize your advanced Xcode Cloud workflows — WWDC21 Advanced Workflow Customization
- Meet Xcode Cloud — WWDC21 Getting Started with Xcode Cloud
Comments
GitHub Issues · utterances