
Highlight
Xcode 14 allows a single app target to support multiple destinations such as iPhone, iPad, Mac and Apple TV at the same time, reducing duplication of work by sharing code and default settings, while retaining the ability to conditionally compile and configure by platform.
Core Content
You developed an iOS app and it works great. Now you want to bring it to your Mac.
Prior to Xcode 14, this meant creating two separate targets, maintaining two copies of code, and managing two sets of build settings. Code changes need to be synchronized on both sides, and the signing certificate and description file must be configured separately.
(01:29) Xcode 14 changes that. A single app target can declare support for multiple destinations, and code and settings are shared by default and can be customized per platform only when needed.
When to use multi-platform target
(01:02) If your project has significantly different code bases on different platforms, or each platform relies on completely different underlying technologies, it is more appropriate to continue to use independent targets.
If the application uses a common code base and most of the settings can be shared, a multi-platform target is a better choice. SwiftUI apps are particularly suitable for this model because they have access to the full SDK for each platform.
Add Mac destination
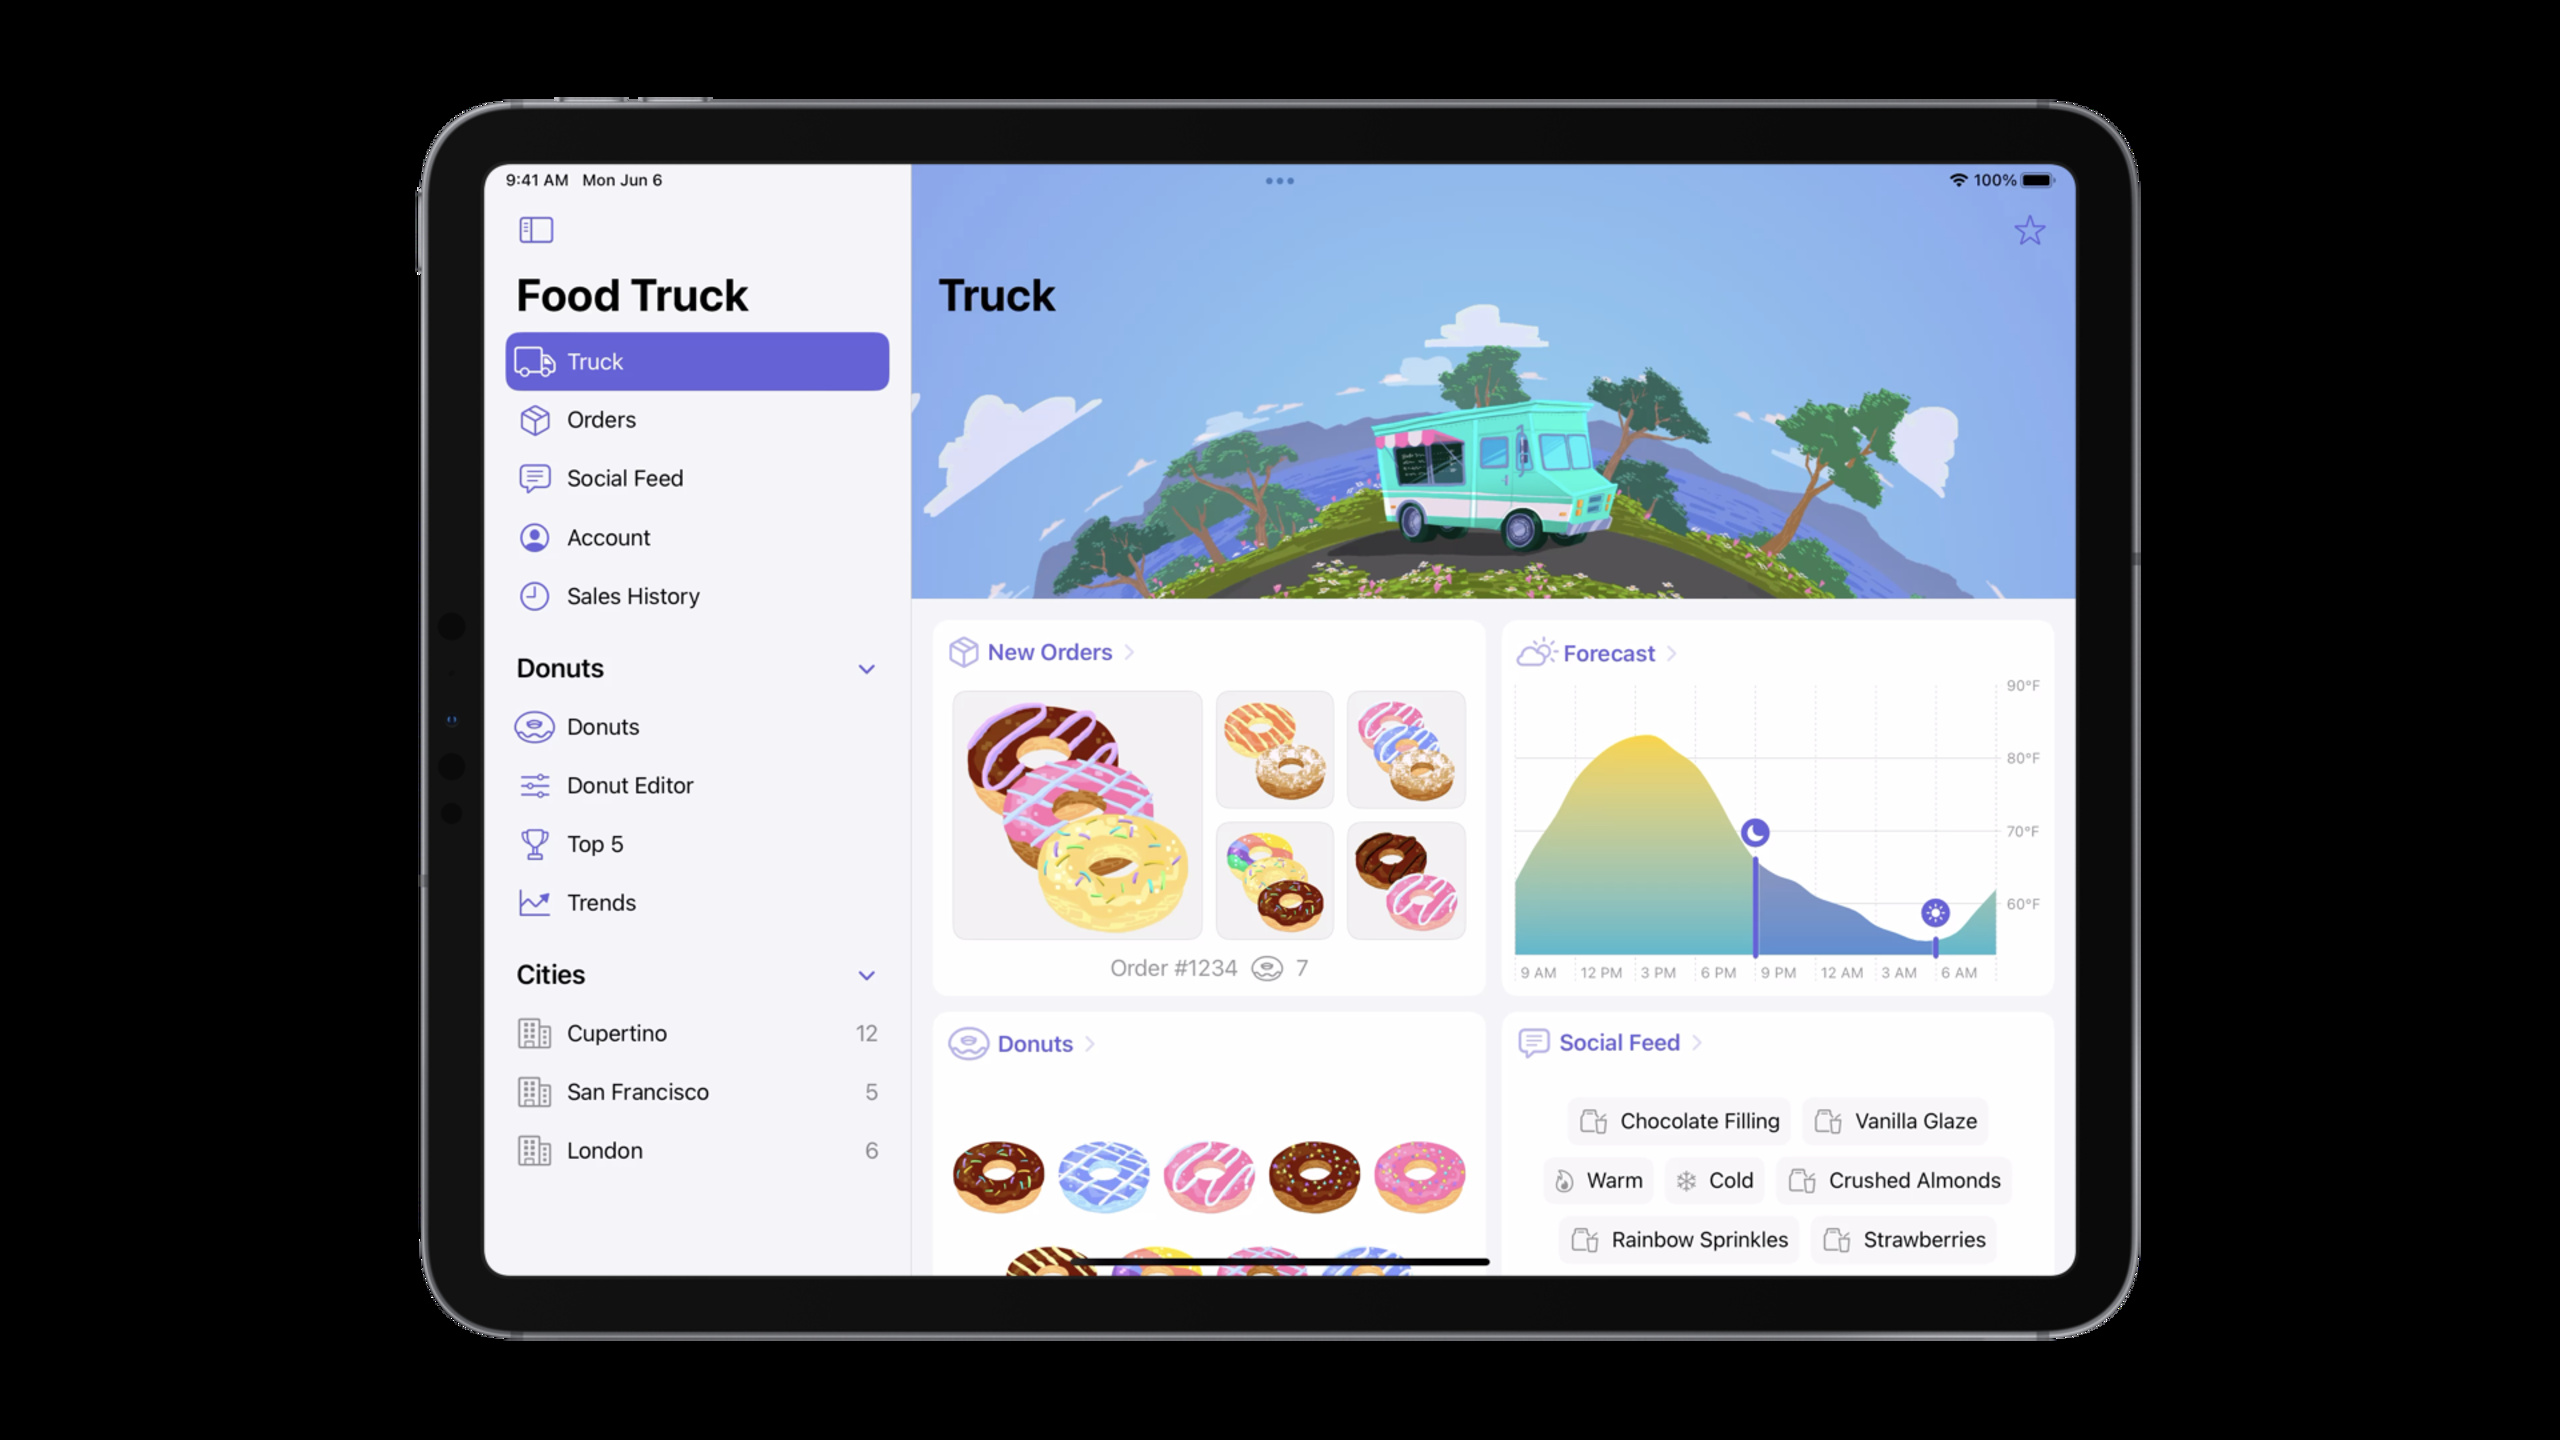
(02:37) Session Take a Food Truck application as an example. The app already works great on iPhone and iPad, and is now adding native Mac support.
In the General tab of the target, you can see the currently supported destination list. This app is already “Designed for iPad”, allowing Apple silicon Macs to run unmodified iOS apps. But for a true Mac experience, you need to add a “Mac” destination.
(03:26) Mac has three options:
- Mac: native macOS application, complete macOS SDK, suitable for SwiftUI projects
- Mac Catalyst: Convert iPad apps to Mac apps, suitable for projects that heavily use UIKit
- Designed for iPad: Apple silicon Mac runs iOS apps directly without modifications
Food Truck uses SwiftUI, so native Mac is chosen.
(04:19) After adding, Xcode will automatically update the target, retaining only the dependencies and frameworks supported by Mac. Xcode doesn’t modify the code, so if there are APIs that aren’t available on Mac, you’ll need to handle them manually.
Conditional build settings
(05:45) The target editor in Xcode 14 supports setting values conditionally. For example, display name can be set separately by build configuration and SDK.
Click the Conditional button next to the setting value to specify values for Debug, Release, Beta, etc. configurations, or further subdivide by SDK (iOS/macOS).
Signature and Capability
(06:42) When automatic signature is turned on, the corresponding certificate and description file will be automatically generated after adding the Mac destination. iOS and macOS apps use the same bundle identifier by default, and Universal Purchase is automatically implemented when published to the App Store.
Capability is also handled automatically. Enabled capabilities on iOS that are available on macOS are automatically applied to the Mac version and merged into a single entitlements file.
Handling platform differences
(07:41) After switching to “My Mac” destination and building, you will find some platform-related issues.
ARKit is not available on Mac and requires conditional import:
#if canImport(ARKit)
import ARKit
#endif(09:15) You can also directly specify a file to be compiled only on a specific SDK in Build Phases. This approach is cleaner for files that make heavy use of platform-specific APIs.
EditMode is an iOS-specific concept that allows users on Mac to directly select and edit content. You need to use the relevant environment properties, onChange modifiers and EditButton views.#if os(iOS)Wrap it up.
Adaptation platform experience
(10:59) Being able to compile and run the application on Mac is only the first step. It is also necessary to consider the experience issues caused by platform differences.
Donut thumbnails in Food Truck’s grid view appear too large on Mac. This is because they are designed for touch interaction, whereas Macs have precise pointing devices.
(11:48) Change the constant to a calculated property and return different values according to the platform:
var thumbnailSize: Double {
    #if os(iOS)
    return 120
    #else
    return 80
    #endif
}
The 80 pixel size looks more natural on Mac.
(12:21) In addition to tailoring iOS-specific features, you can also take advantage of macOS-specific capabilities. SwiftUI has added MenuBarExtra, which can put application content on the menu bar:
#if os(macOS)
MenuBarExtra {
    MiniTruckView(model: model)
} label: {
    Label("Food Truck", systemImage: "box.truck")
}
.menuBarExtraStyle(.window)
#endif
Mac users can now quickly view today’s information from the menu bar.
Archive and publish
(14:02) A single target does not mean a single product. Each platform needs to be archived separately and uploaded to App Store Connect separately.
In the Xcode Cloud workflow, you can add build, test, and archive actions for iOS and macOS respectively, and you can also configure automatic uploading to App Store Connect and distribution to the internal TestFlight testing team.
Detailed Content
Conditional compilation
(08:48) Swift provides a variety of conditional compilation methods:
// Conditionally import by module availability
#if canImport(ARKit)
import ARKit
#endif

// Conditionally compile code by operating system
#if os(iOS)
@Environment(\.editMode) private var editMode
#endif

// Conditional view modifier
#if os(iOS)
.onChange(of: editMode?.wrappedValue) { newValue in
    if newValue?.isEditing == false {
        selection.removeAll()
    }
}
#endif

// Conditional view
#if os(iOS)
EditButton()
#endif
Key points:
canImportSuitable for handling framework-level availability, no need to maintain a platform list -os(iOS)/os(macOS)Good for handling SDK level differences- Conditional compilation is processed at compile time and does not generate runtime overhead.
- Conditional code blocks must remain syntactically intact and cannot be split across conditionalization boundaries
File-level platform restrictions
(09:17) For files that use a large number of platform-specific APIs, you can set compilation conditions in Build Phases:
- Open target > Build Phases > Compile Sources
- Find the target file
- Specify in the condition column on the right
"$(SDKROOT)" == "iphoneos*"or similar conditions
In this way, the entire file is only compiled on the matching SDK to avoid having it everywhere in the file.#if。
Platform adaptation principle
(13:09) SwiftUI bakes platform expectations directly into the API. Many interface elements automatically gain a platform-specific appearance.
This means:
- Try to use SwiftUI’s native controls so that they can automatically adapt to each platform
- Over-customizing controls will lose this automatic adaptation
- Dimensions designed for touch are often too large on desktop platforms
- Consider the differences in interaction paradigms for each platform (touch vs pointer, gesture vs menu)
Core Takeaways
-
What: Extend existing iOS SwiftUI apps to Mac
-
Why it’s worth doing: Xcode 14’s multi-platform target significantly reduces maintenance costs, and the same set of code serves more users
-
How to start: Add Mac destination in the General tab of the target, handle build errors, and gradually adapt to Mac interaction habits
-
What to do: Add menu bar shortcut entry for Mac version
-
Why it’s worth it: MenuBarExtra is a unique feature of macOS that makes apps available at any time without occupying the Dock.
-
How to start: Use it in the App structure
#if os(macOS)Wrap MenuBarExtra Scene -
What to do: Build a cross-platform productivity tool that leverages the strengths of each platform
-
Why it’s worth doing: The iOS version is responsible for data collection in mobile scenarios, and the Mac version is responsible for data analysis and batch processing.
-
How to get started: Build a shared UI layer with SwiftUI, using
#if os()Separate platform-specific functions and share data through App Groups -
What: Configure Xcode Cloud to automatically build and distribute multi-platform apps
-
Why it’s worth doing: Automatically build iOS and macOS versions with one commit, pushed directly to TestFlight
-
How to start: Add multiple archive actions to the Xcode Cloud workflow, specifying the destinations of iOS and macOS respectively.
Related Sessions
- What’s new in Xcode — Overview of new features in Xcode 14
- Bring your iOS app to the Mac — Many ways to bring iOS apps to the Mac
- Get the most out of Xcode Cloud — Xcode Cloud workflow configuration
Comments
GitHub Issues · utterances