
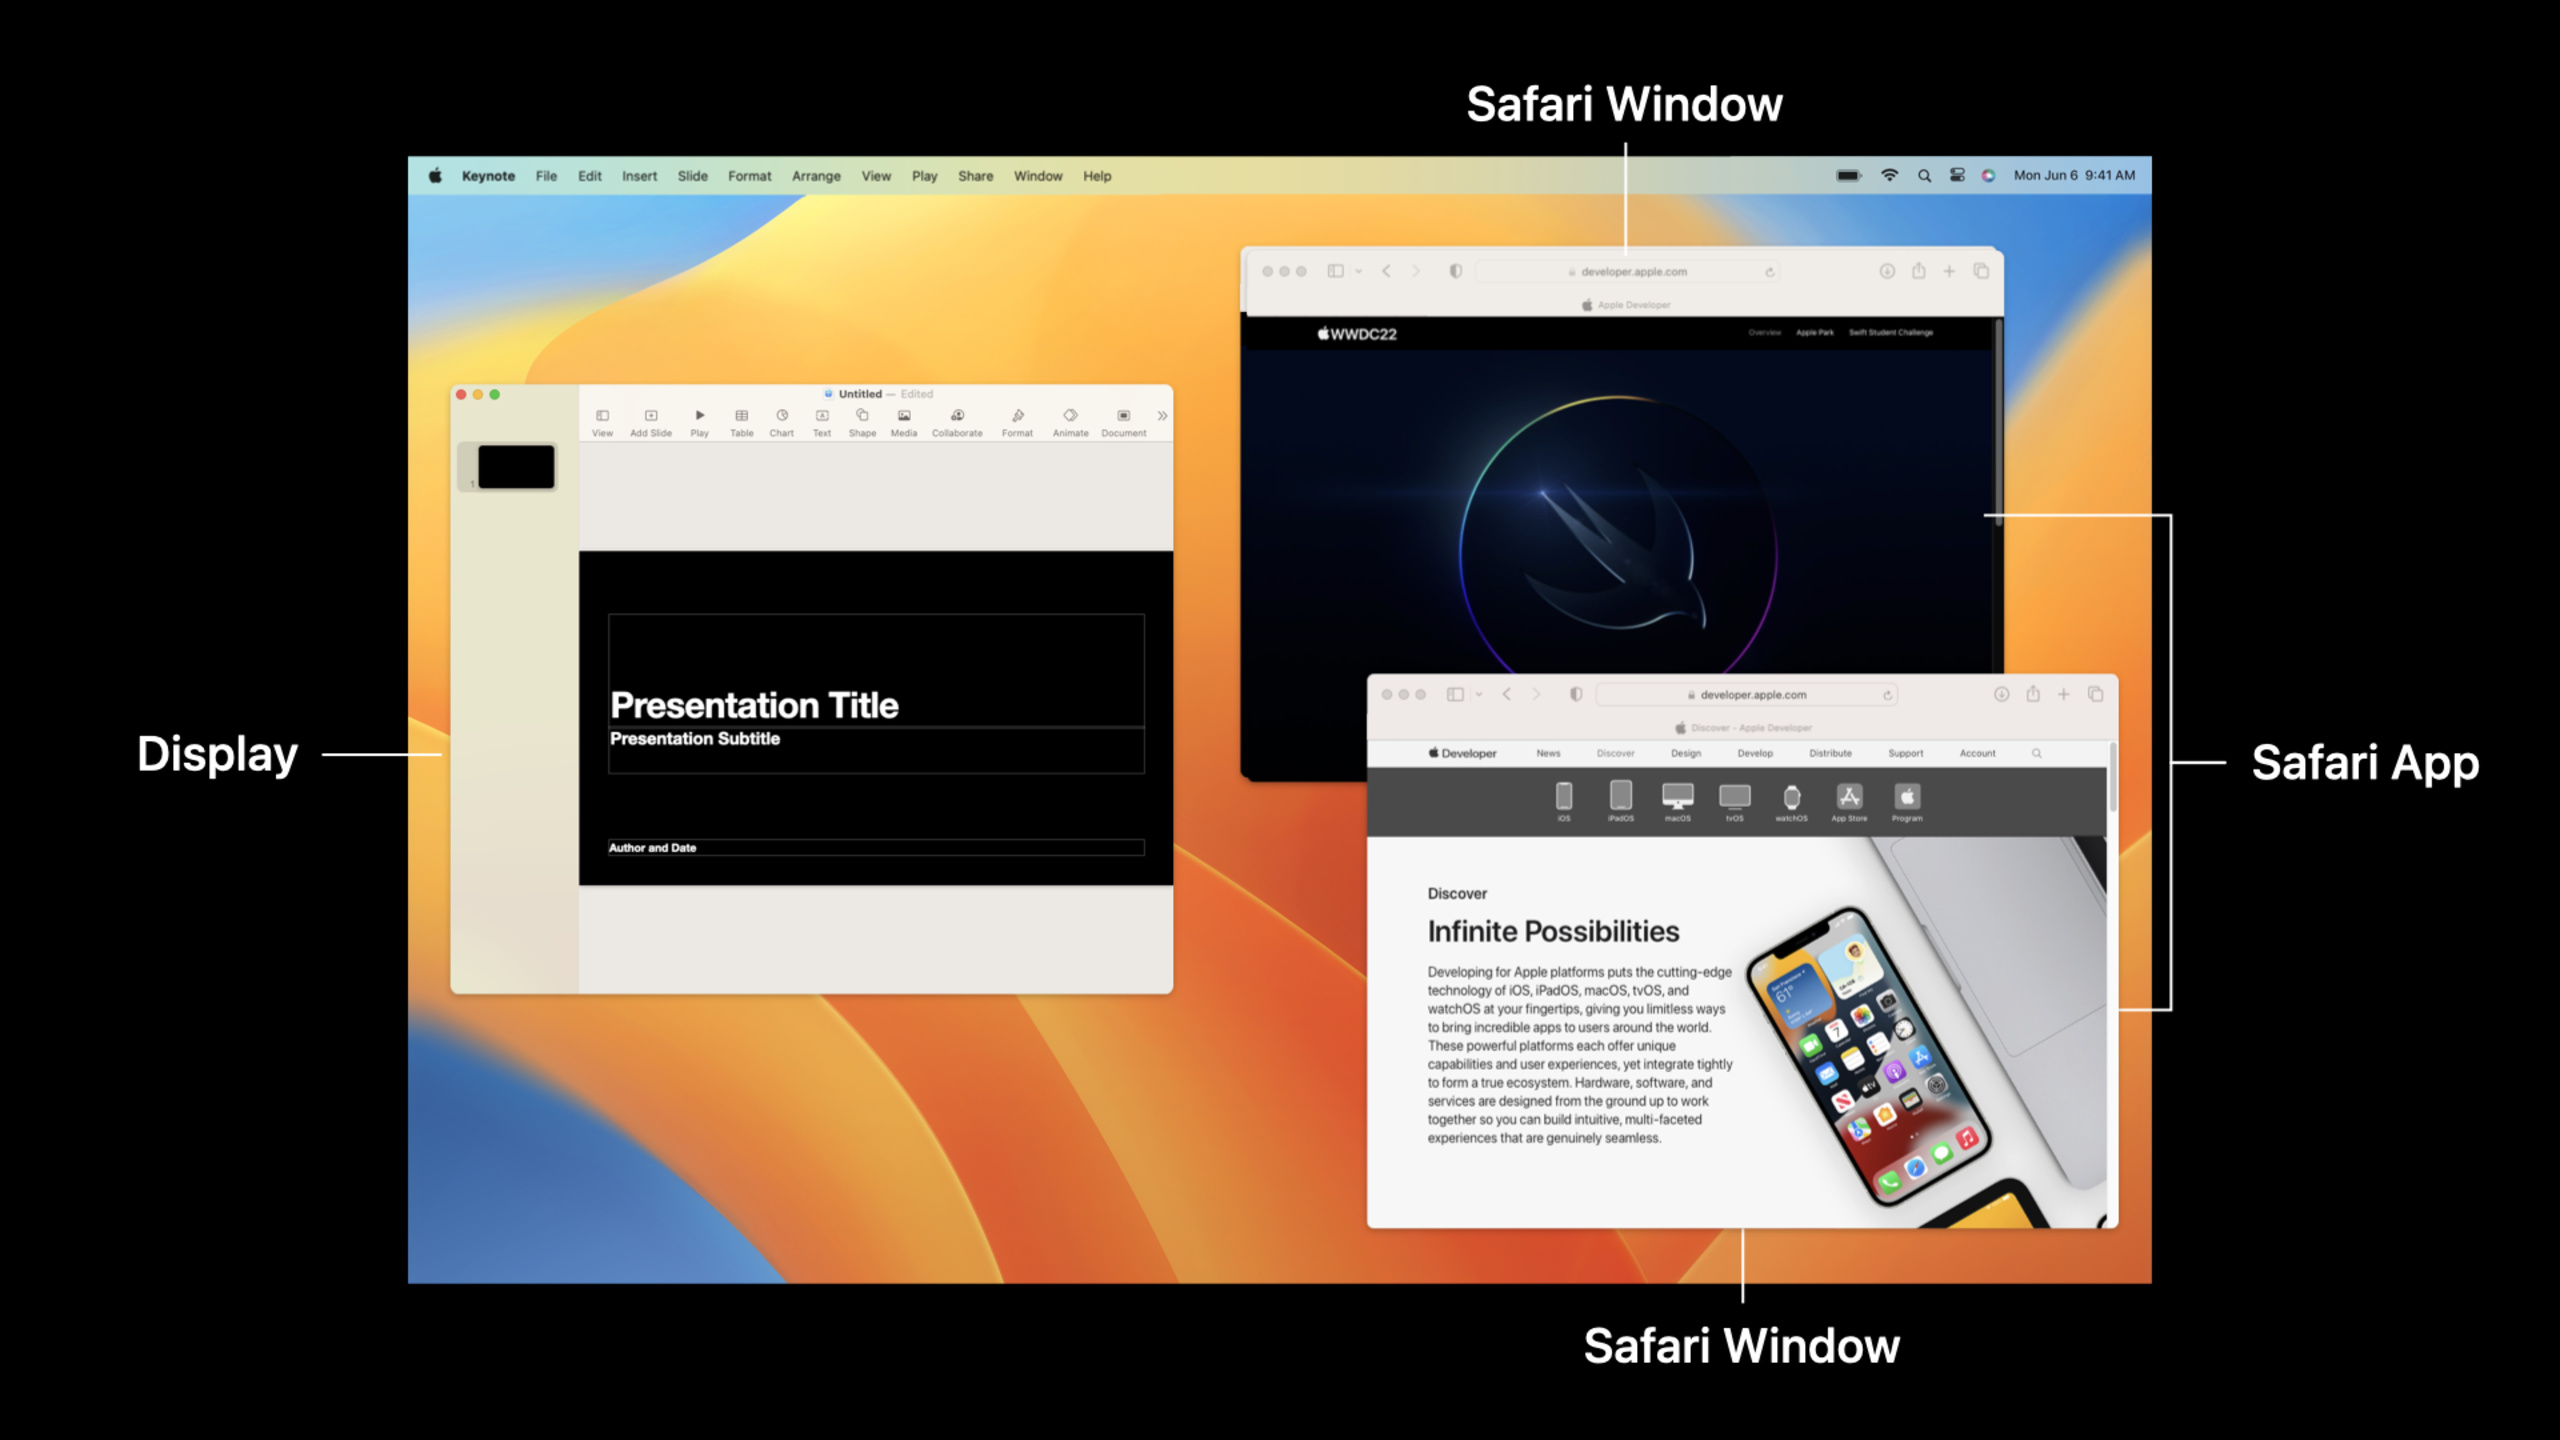
Highlight
ScreenCaptureKit is a high-performance macOS screen capture framework launched by Apple. It supports video/audio capture and has features such as GPU memory buffering, hardware acceleration, and flexible content filtering. It is used for screen sharing, game live broadcast, video conferencing and other scenarios.
Core Content
There has never been a unified solution in the field of macOS screen capture. Developers can either call CGDisplayCreateSnapshot() to take a screenshot, or use AVFoundation to record the screen. The former has limited performance, while the latter has too complex functions. More importantly, these solutions lack fine-grained control over “what to capture” - you can’t easily exclude an app window, capture just a portion of the display, or process audio at the same time. (00:30)
ScreenCaptureKit fills this gap. It is a framework specially designed for screen capture, with four core objects covering the entire process:SCShareableContentGet captureable content,SCContentFilterDefine what to capture,SCStreamConfigurationConfigure output parameters,SCStreamPerform capture and deliver data. (02:15)
A typical application scenario is screen sharing. When the user clicks “Share Screen” in Zoom, the App needs to display a window selector, exclude Zoom’s own window (otherwise “infinite mirroring”), and then capture the selected content at the appropriate resolution and frame rate, synchronously processing the system audio. In the past, this required combining multiple APIs, but now ScreenCaptureKit can handle it all with one API. (04:40)
Another scenario is game live streaming. Game developers want to capture gameplay footage at 1080p 60fps while avoiding capturing the live streaming software’s own UI. ScreenCaptureKit’s content filtering mechanism can be precise to “include only this window and exclude everything else”, and the output resolution is decoupled from the original window - game window 4K can also output a 1080p stream. (08:10)
Detailed Content
Get captureable content
(06:53) The first step is to obtain which displays, apps, and windows currently available on the system can be captured.SCShareableContent.excludingDesktopWindows()Return an object containing all captureable content:
// Get capturable content
let content = try await SCShareableContent.excludingDesktopWindows(
    false,
    onScreenWindowsOnly: true
)
Key points:
excludingDesktopWindows: falseRepresents a window containing the desktop wallpaper -onScreenWindowsOnly: trueOnly visible windows are returned, minimized windows will be excluded -content.applicationsis an array of all captureable Apps -content.displaysis an array of all displays- This call requires the user to authorize the “Screen Recording” permission
Create a content filter
(08:32) Once you have everything you can capture, the next step is to define “what do I want to capture”.SCContentFilterThree modes are supported:
Filter by display: Capture the entire display or exclude certain app windows:
let excludedApps = content.applications.filter { app in
    Bundle.main.bundleIdentifier == app.bundleIdentifier
}

filter = SCContentFilter(display: display,
                         excludingApplications: excludedApps,
                         exceptingWindows: [])
Key points:
display: displayCapture the entire display -excludingApplicationsExclude all windows of the specified app -exceptingWindowsSpecific windows can be further excluded- This is a typical use of screen sharing software - exclude its own window to avoid “infinite mirroring”
Filter by Single Window: Capture only one window, regardless of monitor boundaries. The advanced session (10155) discusses this pattern in depth.
Filter by window list: Capture multiple windows simultaneously, excluding everything else. Suitable for multi-window collaboration scenarios.
Configure flow parameters
(10:23)SCStreamConfigurationControl output format:
let streamConfig = SCStreamConfiguration()

// Output resolution: 1080p
streamConfig.width = 1920
streamConfig.height = 1080

// 60fps capture
streamConfig.minimumFrameInterval = CMTime(value: 1, timescale: CMTimeScale(60))

// Hide the mouse cursor
streamConfig.showsCursor = false

// Enable audio capture
streamConfig.capturesAudio = true

// 48 kHz stereo
streamConfig.sampleRate = 48000
streamConfig.channelCount = 2
Key points:
- Resolution is independent of original content size, ScreenCaptureKit scales automatically
-
minimumFrameIntervalControl the frame rate, not a fixed frame rate - the system dynamically adjusts according to content changes - Audio capture requires separate user authorization
- The default pixel format is BGRA, which can be passed
pixelFormatProperty modification
Start capture stream
(11:46) After the configuration is complete, createSCStreamand start capturing:
// Create the capture stream
stream = SCStream(filter: filter, configuration: streamConfig, delegate: self)

// Start capture
try await stream?.startCapture()

// Error handling delegate
func stream(_ stream: SCStream, didStopWithError error: Error) {
    DispatchQueue.main.async {
        self.logger.error("Stream stopped with error: \(error.localizedDescription)")
        self.error = error
        self.isRecording = false
   }
}
Key points:
startCapture()It is an asynchronous call and requires await- A delegate must be provided to handle stream errors and state changes
- Common errors include user revoking permissions, insufficient system resources, and configuration parameter conflicts
- Stop capturing calls
stream?.stopCapture()
Receive media data
(13:07) ImplementationSCStreamOutputThe protocol receives data:
func stream(_ stream: SCStream, didOutputSampleBuffer sampleBuffer: CMSampleBuffer, of type: SCStreamOutputType) {
    switch type {
    case .screen:
        handleLatestScreenSample(sampleBuffer)
    case .audio:
        handleLatestAudioSample(sampleBuffer)
    }
}

// Add outputs
try stream?.addStreamOutput(self, type: .screen, sampleHandlerQueue: screenFrameOutputQueue)
try stream?.addStreamOutput(self, type: .audio, sampleHandlerQueue: audioFrameOutputQueue)
Key points:
SCStreamOutputType.screenand.audioCorresponding to video and audio respectively -sampleHandlerQueueSpecify callback queue - it is recommended to use a dedicated serial queue to avoid blocking the main thread -CMSampleBufferIt is an AVFoundation standard type and can be directly used for encoding, streaming, and recording.- Screen data is BGRA pixel format, audio is PCM data
Core Takeaways
-
What to do: Add screen sharing functionality to your macOS app. Why it’s worth doing: ScreenCaptureKit is Apple’s recommended screen capture solution, with better performance than traditional APIs and precise control over captured content. Video conferencing, remote collaboration, and live broadcast tools all rely on this capability. How to start: From
SCShareableContent.excludingDesktopWindows()Get captureable content and create a window that excludes itselfSCContentFilter, configure 1080p 30fps output, startSCStreamAnd inSCStreamOutputprocess data. -
What: Build a game recording tool. Why it’s worth it: Gamers need to record high frame rate footage. ScreenCaptureKit supports output resolution independent of the original window. The game’s 4K resolution can also output 1080p 60fps stream, reducing encoding pressure. How to start: Create in window mode
SCContentFilter.desktopIndependentWindow, configurationminimumFrameIntervalfor 60fps,width/heightSet to 1080p and stream using hardware encoder. -
What to do: Make a multi-window collaborative whiteboard. Why it’s worth doing: Collaboration scenarios require capturing multiple windows at the same time, but eliminating irrelevant interference. ScreenCaptureKit’s window list filter mode provides precise control over what is captured. How to start: Use
SCContentFilter.init(independentWindows:)Create a filter with multiple target windows, audio capture set to false (no sound is required for the whiteboard), and the output resolution adapted to the user’s monitor. -
What it does: A tool for making screen recordings with teaching annotations. Why it’s worth doing: ScreenCaptureKit not only captures the screen, but also provides the dirty rect (change area) of each frame for intelligent encoding and annotation tracking. The advanced session (10155) will explain the application of frame metadata in detail. How to start: Listen after starting the stream
SCStreamDelegateofdidUpdateConfigurationsCallback to obtain dirty rect information from configuration changes.
Related Sessions
- Take ScreenCaptureKit to the next level — discover how you can support complex screen capture experiences for people using your app with screencapturekit. we’ll explore many of the advanced options you can incorporate including fine tuning content filters, frame metadata interpretation, window pickers, and more.
- Create camera extensions with Core Media IO — discover how you can use core media io to easily create macos system extensions for software cameras, hardware cameras, and creative cameras.
- Create a more responsive media app — discover how you can use avfoundation to keep people focused on your media app’s content — not your loading spinner.
- What’s new in AVCapture — discover the latest enhancements to avcapture and how they can help you build better camera experiences in your apps.
- Advances in ProRes and other codecs — learn about the latest updates to prores and other video codecs on apple platforms.
Comments
GitHub Issues · utterances