
Highlight
Hao Tang and Risa from the Object Capture team introduce the latest advances and best practices in Object Capture technology. Object Capture is Apple’s photogrammetry API that converts photos of real objects into detailed 3D models.
Core Content
The difficulty in many AR experiences is not the AR itself, but the material. Getting a real wooden chess piece into a game used to involve 3D modelers and material experts. The shape, texture, and proportions all need to be processed by hand, which is very costly.
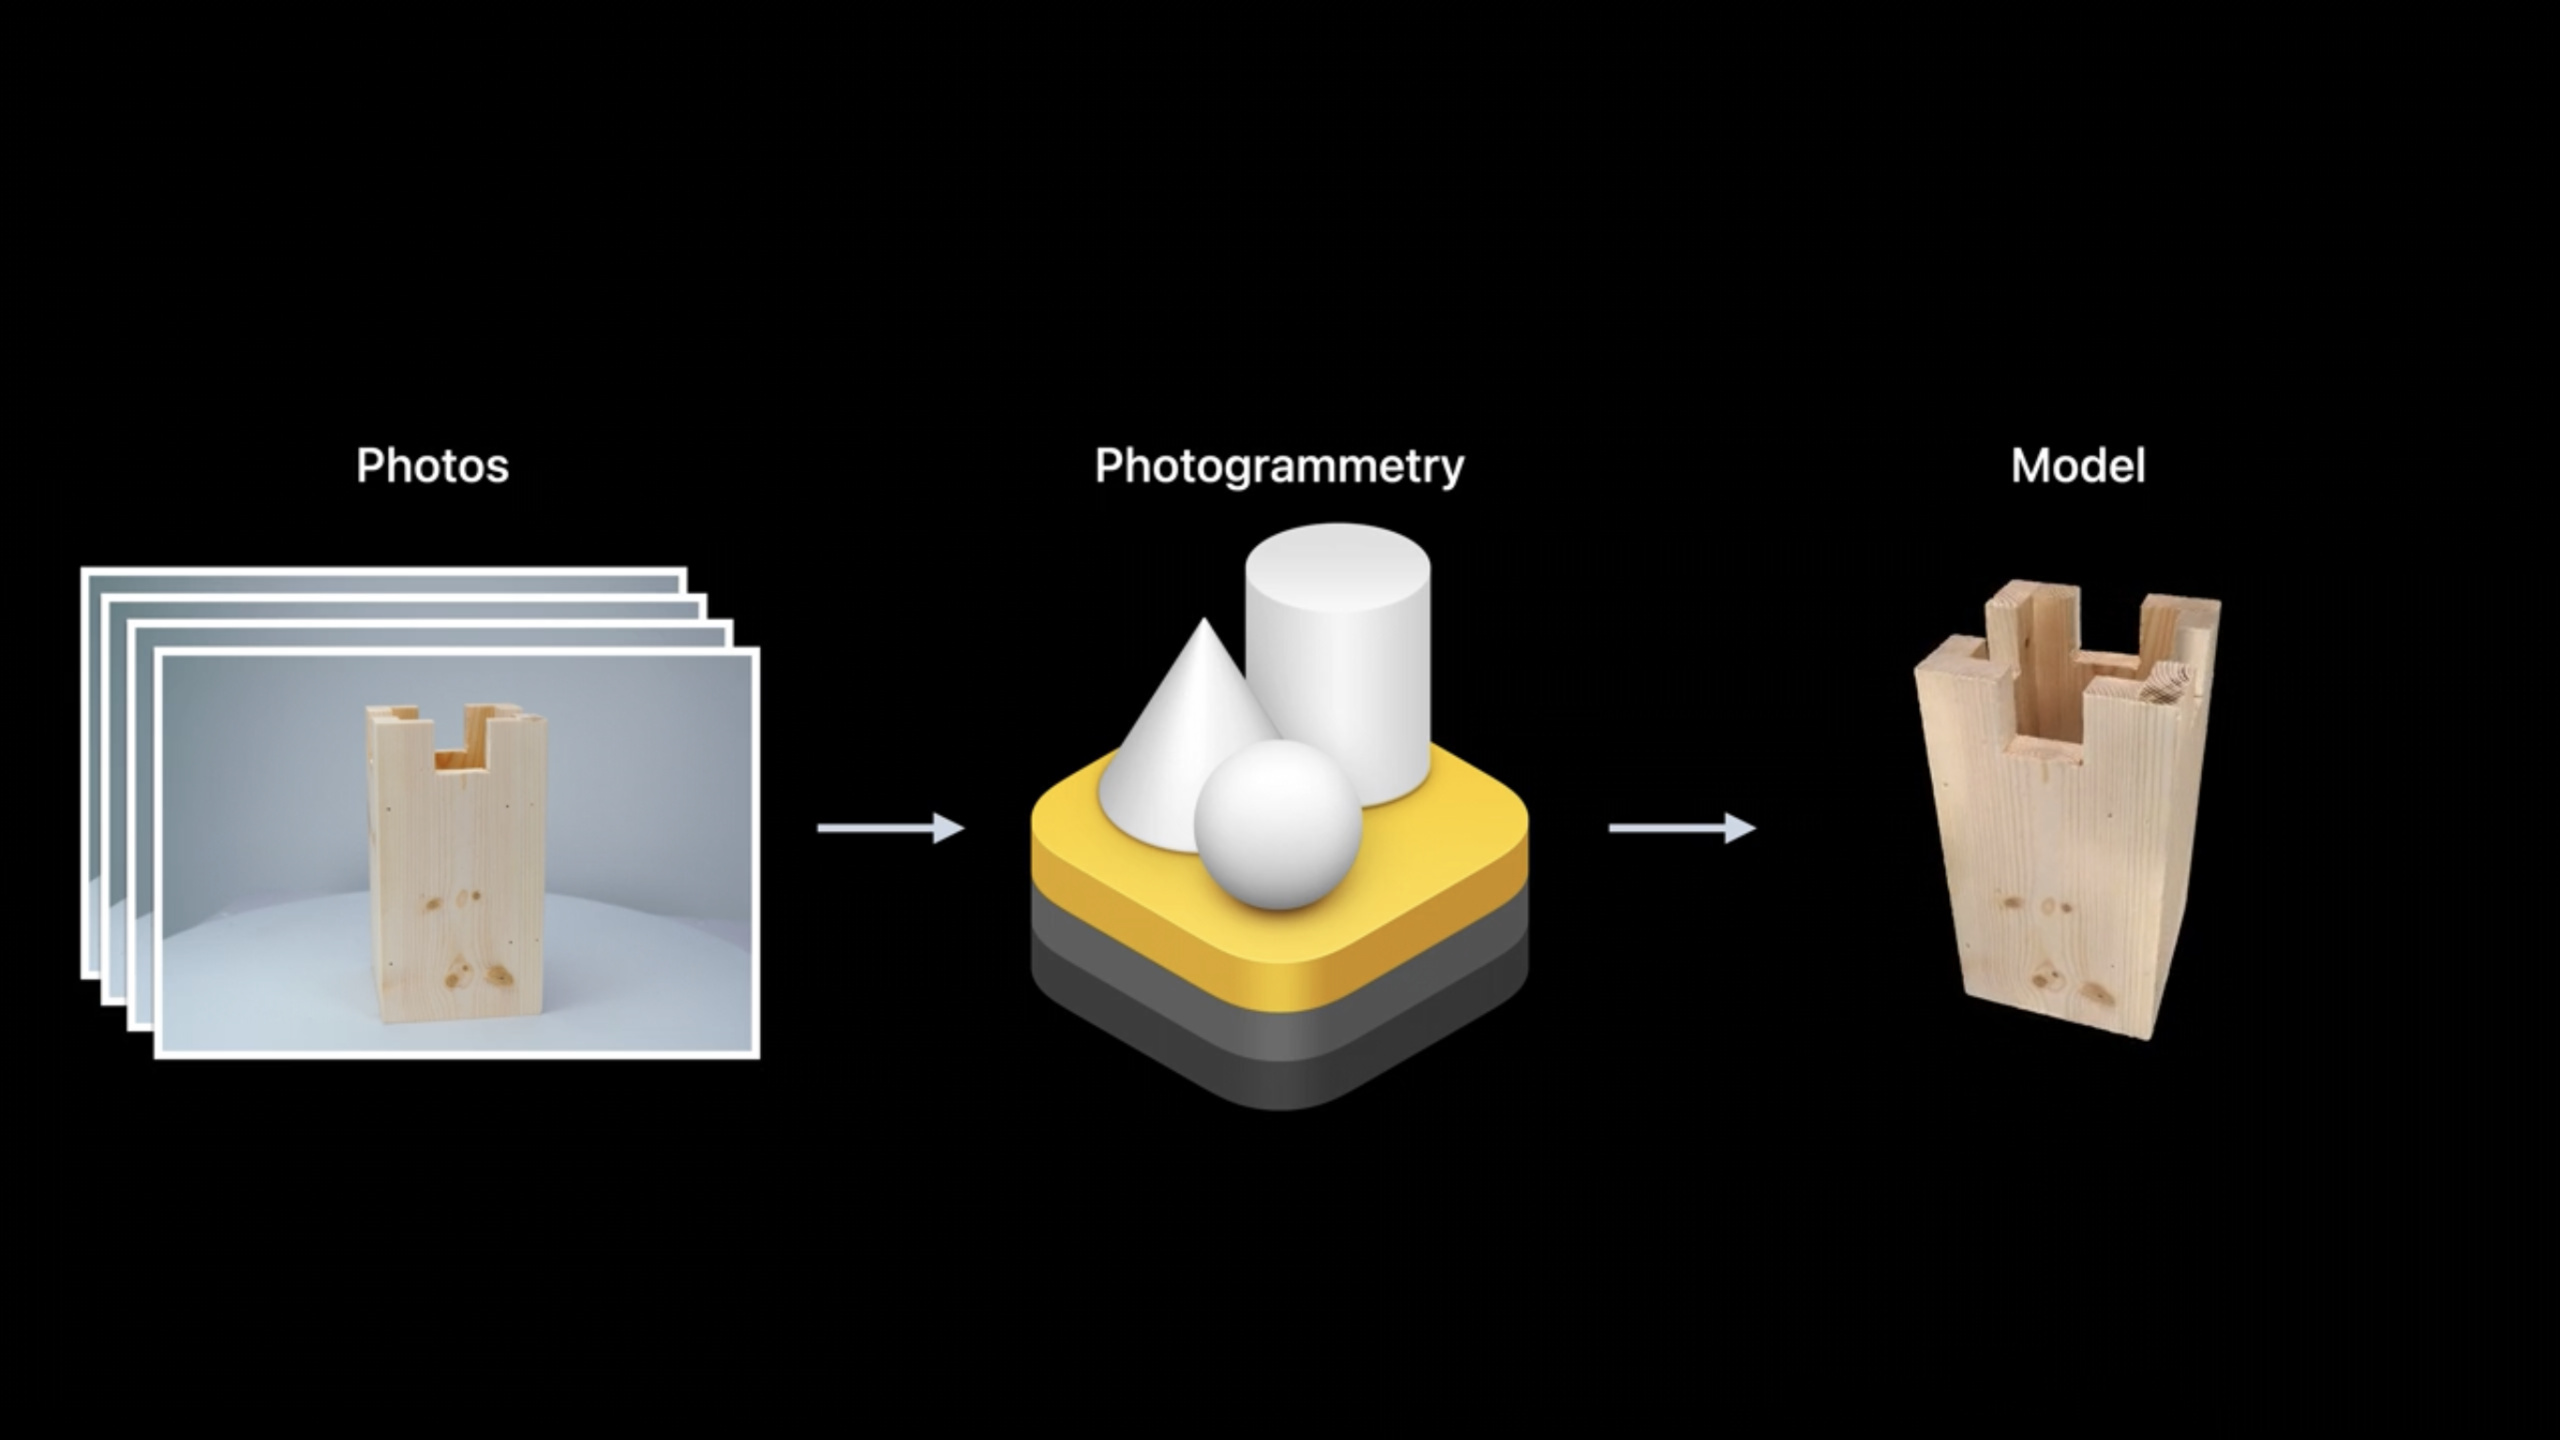
Object Capture compresses this process into two steps: first shoot the real object from multiple angles, and then hand the photo to the Photogrammetry API on macOS to generate the USDZ model. RealityKit outputs geometric meshes and material maps, and the models can go directly into AR or game projects.
This session uses an example of oversized wooden chess pieces to string together the complete process. First, photograph the chess pieces and process them into USDZ; then import the model into Reality Converter to adjust the texture; and finally put it into the RealityKit project of Xcode to make an AR chessboard that can be clicked, moved, illuminated, and eaten.
Apple also added a key link at WWDC 2022: ARKit can take photos with native camera resolution while ARSession is running. Developers can continue to display 3D guided UI while getting high-resolution images more suitable for Object Capture.
Detailed Content
Taking high-resolution photos in ARSession
(05:15) The input quality of Object Capture will directly affect the 3D model quality. Hao makes it clear that the higher the resolution of the image, the better the quality of the model Object Capture can generate.
(06:20) ARKit 6 provides a high-resolution background photos API. It allows the app to take photos at native camera resolution while the ARSession continues to run. The iPhone 13’s Wide camera corresponds to 12 million pixels.
if let hiResCaptureVideoFormat = ARWorldTrackingConfiguration.recommendedVideoFormatForHighResolutionFrameCapturing {
    // Assign the video format that supports hi-res capturing.
    config.videoFormat = hiResCaptureVideoFormat
}

// Run the session.
session.run(config)

session.captureHighResolutionFrame { frame, error in
    if let frame = frame {
        // save frame.capturedImage
        // …
    }
}
Key points:
recommendedVideoFormatForHighResolutionFrameCapturingQuery whether the current device has a video format that supports high-resolution photo capture. -config.videoFormat = hiResCaptureVideoFormatSwitch ARWorldTrackingConfiguration to this format. -session.run(config)Start ARSession with the new configuration. -captureHighResolutionFrameReturns a high-resolution ARFrame asynchronously. -frame.capturedImageIt is the image data that is subsequently saved and sent to the Object Capture process.
The value of this API is that the shooting process is uninterrupted. Users still see the AR overlay, and apps can use 3D to guide the UI to remind users of which angles they haven’t captured yet.
Select a suitable subject for Object Capture
(07:44) Object Capture is suitable for objects with sufficient texture on the surface. In areas that are transparent, reflective, and lack texture, the reconstruction details will be poor.
The shooting environment is also important. Hao recommends using even, diffused light, keeping the background stable, and leaving plenty of space around objects. If the room is dark, use a well-lit turntable.
(09:24) The pirate ship in the example is placed in the center of a clean table. The photographer moves slowly around the subject, shooting from different heights so that the subject always occupies the center of the frame and maintains a high degree of overlap between adjacent photos.
(10:15) This example first takes about 80 photos, and then flips the boat over to its side and takes about 20 photos to reconstruct the bottom. Hao also reminded that this method is suitable only if the object remains rigid after being flipped.
Use PhotogrammetrySession to generate USDZ model
(11:00) Once captured, the photo is copied to your Mac and processed by the Object Capture API. There are four output detail levels: reduced, medium, full, and raw.
reduced and medium are for web, mobile and AR Quick Look, with fewer triangles and material channels and lower memory usage. Full and raw are aimed at high-end interactive scenarios such as games and post-production. They have higher geometric details and require more memory.
(14:17) In the AR chessboard example, Risa uses thePhotogrammetrySessionProcess rook’s photo and select reduced detail level. The reason is straightforward: AR games need to run stably and the model cannot be too heavy.
This session does not give a code snippet for the PhotogrammetrySession. The supporting entrance is given in the official resources:Creating a photogrammetry command-line appandUsing object capture assets in RealityKit, suitable as a starting point for implementation.
Turn Object Capture models into RealityKit game objects
(15:26) After the chess piece model was imported into Xcode, Risa used RealityKit to create the chessboard. The checkerboard is derived from scaled primitive cubes, with colors alternating between black and white.
(17:00) There are two steps to start the animation: first move the checkerboard 10 cm up along the y-axis, and then usemove(to:relativeTo:duration:)Return to the original transform. The border USDZ comes with its own animation, which can be called directlyplayAnimation。
// Board Animation
class Chessboard: Entity {
    func playAnimation() {
        checkers
            .forEach { entity in
                let currentTransform = entity.transform
                // Move checker square 10cm up
                entity.transform.translation += SIMD3<Float>(0, 0.1, 0)
                entity.move(to: currentTransform,
                            relativeTo: entity.parent,
                            duration: BoardGame.startupAnimationDuration)
            }

        // Play built-in animation for board border
        border.availableAnimations.forEach {
            border.playAnimation($0)
        }
    }
}
Key points:
checkers.forEachTraverse each checkerboard entity. -currentTransformSave the final landing point. -translation += SIMD3<Float>(0, 0.1, 0)Start by raising the grid 10 cm. -move(to:relativeTo:duration:)Returns the entity to the saved transform within the specified time. -border.availableAnimationsRead existing animations in USDZ. -border.playAnimation($0)Play the built-in animation of the border model.
This snippet does not change the model asset itself, it only operates the Entity’s transform in the RealityKit scene.
Use raycast to select the real chess piece model
(18:00) For the chessboard to be interactive, the first step is to select the chess pieces. Risa has putUITapGestureRecognizerAdd to ARView. After the user clicks on the screen, the App emits a ray from the camera origin to the clicked position, and then performs a raycast on the 3D scene.
// Select chess piece
class ChessViewport: ARView {
    @objc
    func handleTap(sender: UITapGestureRecognizer) {
        guard let ray = ray(through: sender.location(in: self)) else { return }

        // No piece is selected yet, we want to select one
        guard let raycastResult = scene.raycast(origin: ray.origin,
                                                direction: ray.direction,
                                                length: 5,
                                                query: .nearest,
                                                mask: .piece).first,
              let piece = raycastResult.entity.parentChessPiece else {
            return
        }
        boardGame.select(piece)
        gameManager.selectedPiece = piece
    }
}
Key points:
sender.location(in: self)Get the 2D coordinates of the user’s click in ARView. -ray(through:)Convert 2D click points into 3D rays from the camera. -scene.raycastFind hit entities in a 3D scene. -length: 5Limit the distance of raycast. -query: .nearestOnly the most recent hit is taken. -mask: .pieceOnly detect the collision group of chess pieces. -parentChessPieceReturns the chess piece object from the hit child entity. -boardGame.select(piece)andgameManager.selectedPieceUpdate game status.
Risa specifically reminds that raycast will ignore whetherCollisionComponententity. After importing the Object Capture model, if you want to click on it, the collision component cannot be missed.
Use CustomMaterial to transfer animation progress between CPU and GPU
(20:38) The eating animation uses the geometry modifiers of RealityKit custom materials. They are called per vertex in RealityKit’s vertex shader and can change vertex data such as position, normal, texture coordinates, etc.
(21:16)capturedProgressIndicates the animation progress of the piece being captured, ranging from 0 to 1. The CPU side writes this value intoCustomMaterial.custom.value, the Metal side reads it through the custom parameter of uniforms.
// Capture Geometry Modifier
class ChessPiece: Entity, HasChessPiece {
    var capturedProgress: Float {
        get {
            (pieceEntity?.model?.materials.first as? CustomMaterial)?.custom.value[0] ?? 0
        }
        set {
            pieceEntity?.modifyMaterials { material in
                guard var customMaterial = material as? CustomMaterial else {
                    return material
                }
                customMaterial.custom.value = SIMD4<Float>(newValue, 0, 0, 0)
                return customMaterial
            }
        }
    }
}
Key points:
capturedProgressIt is the status attribute on the chess piece entity.- getter reads from the first material
CustomMaterial.custom.value[0]. - Returned when reading fails
0, indicating that the animation has not started yet. -modifyMaterialsTraverse and replace solid materials. -guard var customMaterial = material as? CustomMaterialOnly handles custom materials. -SIMD4<Float>(newValue, 0, 0, 0)Put the animation progress into the first channel of the custom value. - Return the modified
customMaterial, RealityKit will send the new value to the shader.
(21:50) The Metal side scales the y direction according to this progress and adds a wave offset in the x direction. Risa mentioned that these modifications are transient and do not change the original vertex data of the entity.
Use surface shader and bloom to mark movable positions
(22:30) To help novices understand where the pieces can move, the example adds a pulse effect to the potential landing points of the checkerboard. Each checkerboard is an independent Entity and has its own Model Component, so the surface shader can be applied independently.
(23:00) The CPU side passes in a Boolean value, and the Metal surface shader reads the custom parameter. If the current grid is a possible landing point, modify the emissive color.
// Checker animation to show potential moves
void checkerSurface(realitykit::surface_parameters params,
                    float amplitude,
                    bool isBlack = false)
{
    // ...
    bool isPossibleMove = params.uniforms().custom_parameter()[0];
    if (isPossibleMove) {
        const float a = amplitude * sin(params.uniforms().time() * M_PI_F) + amplitude;
        params.surface().set_emissive_color(half3(a));
        if (isBlack) {
            params.surface().set_base_color(half3(a));
        }
    }
}
Key points:
checkerSurfaceIs the Metal function used by the RealityKit surface shader. -params.uniforms().custom_parameter()[0]Read the custom value passed from the CPU side. -isPossibleMoveDetermines whether the current checkerboard needs to be highlighted. -sin(params.uniforms().time() * M_PI_F)Use time to generate pulse changes. -set_emissive_color(half3(a))Change the self-illumination color.- Black checkerboard additional calls
set_base_color, making the highlights more obvious.
(23:20) In order to make the lighting effect more obvious, the example adds bloom post-processing to ARView. The implementation entry isrenderCallbacks.postProcess, specific image processing uses Metal Performance Shaders.
import MetalPerformanceShaders

class ChessViewport: ARView {
    init(gameManager: GameManager) {
        /// ...
        renderCallbacks.postProcess = postEffectBloom
    }

    func postEffectBloom(context: ARView.PostProcessContext) {
        let brightness = MPSImageThresholdToZero(device: context.device,
                                                 thresholdValue: 0.85,
                                                 linearGrayColorTransform: nil)
        brightness.encode(commandBuffer: context.commandBuffer,
                          sourceTexture: context.sourceColorTexture,
                          destinationTexture: bloomTexture!)
        /// ...
    }
}
Key points:
import MetalPerformanceShadersIntroducing Metal Performance Shaders. -renderCallbacks.postProcess = postEffectBloomConnect custom post-processing to the ARView rendering process. -ARView.PostProcessContextProvide device, commandBuffer and texture required for post-processing. -MPSImageThresholdToZeroUse a threshold to filter out brighter areas. -thresholdValue: 0.85Colors below the threshold will be suppressed. -brightness.encodeEncode processing commands into the current command buffer. -sourceColorTextureIs the color texture rendered by ARView. -bloomTextureReceives the intermediate results after brightness filtering.
Core Takeaways
-
Make a product AR preview tool: Use Object Capture to generate the product USDZ, and then use RealityKit to put it into the user space. Suitable for textured, low-reflective objects such as shoes, plants, and ornaments. The starting point is shot specifications, PhotogrammetrySession and RealityKit model loading.
-
Make a 3D scanning App with shooting guidance: Display the overlay in ARSession and prompt the user to shoot from different heights and angles. use
captureHighResolutionFrameSave photos at native resolution and transfer them to Mac for processing. -
Make a game prototype that turns a real toy into an AR character: First use Object Capture to scan the toy, and then add collision components, click selection and movement animation to the model in RealityKit. in the example
scene.raycastandmove(to:relativeTo:duration:)Can be used directly as an interactive portal. -
Make a set of RealityKit custom material effects library: extract effects such as selected glow, squish, and potential position pulse into reusable components. CPU side passes
CustomMaterial.custom.valueThe state is passed, and the GPU side uses surface shader or geometry modifier to perform animation. -
Make an AR teaching chessboard: Calculate the movable grid according to the rules, write the result into the custom parameter of the chessboard material, and then highlight it with emissive color and bloom. This direction is suitable for teaching the rules of chess, international chess, and board games.
Related Sessions
- Discover ARKit 6 — This session’s high-resolution photo capture capabilities come from ARKit 6 and are great for continuing to learn about cameras and ARSession updates.
- Create parametric 3D room scans with RoomPlan — Same around AR scanning, except the target expands from individual objects to room structures.
- Boost performance with MetalFX Upscaling — If AR games add more post-processing and high-quality rendering, you need to pay attention to the performance gains of MetalFX.
- Discover Metal 3 — This session’s custom materials, shaders, and post-processing are all adjacent to Metal’s graphics capabilities.
Comments
GitHub Issues · utterances