
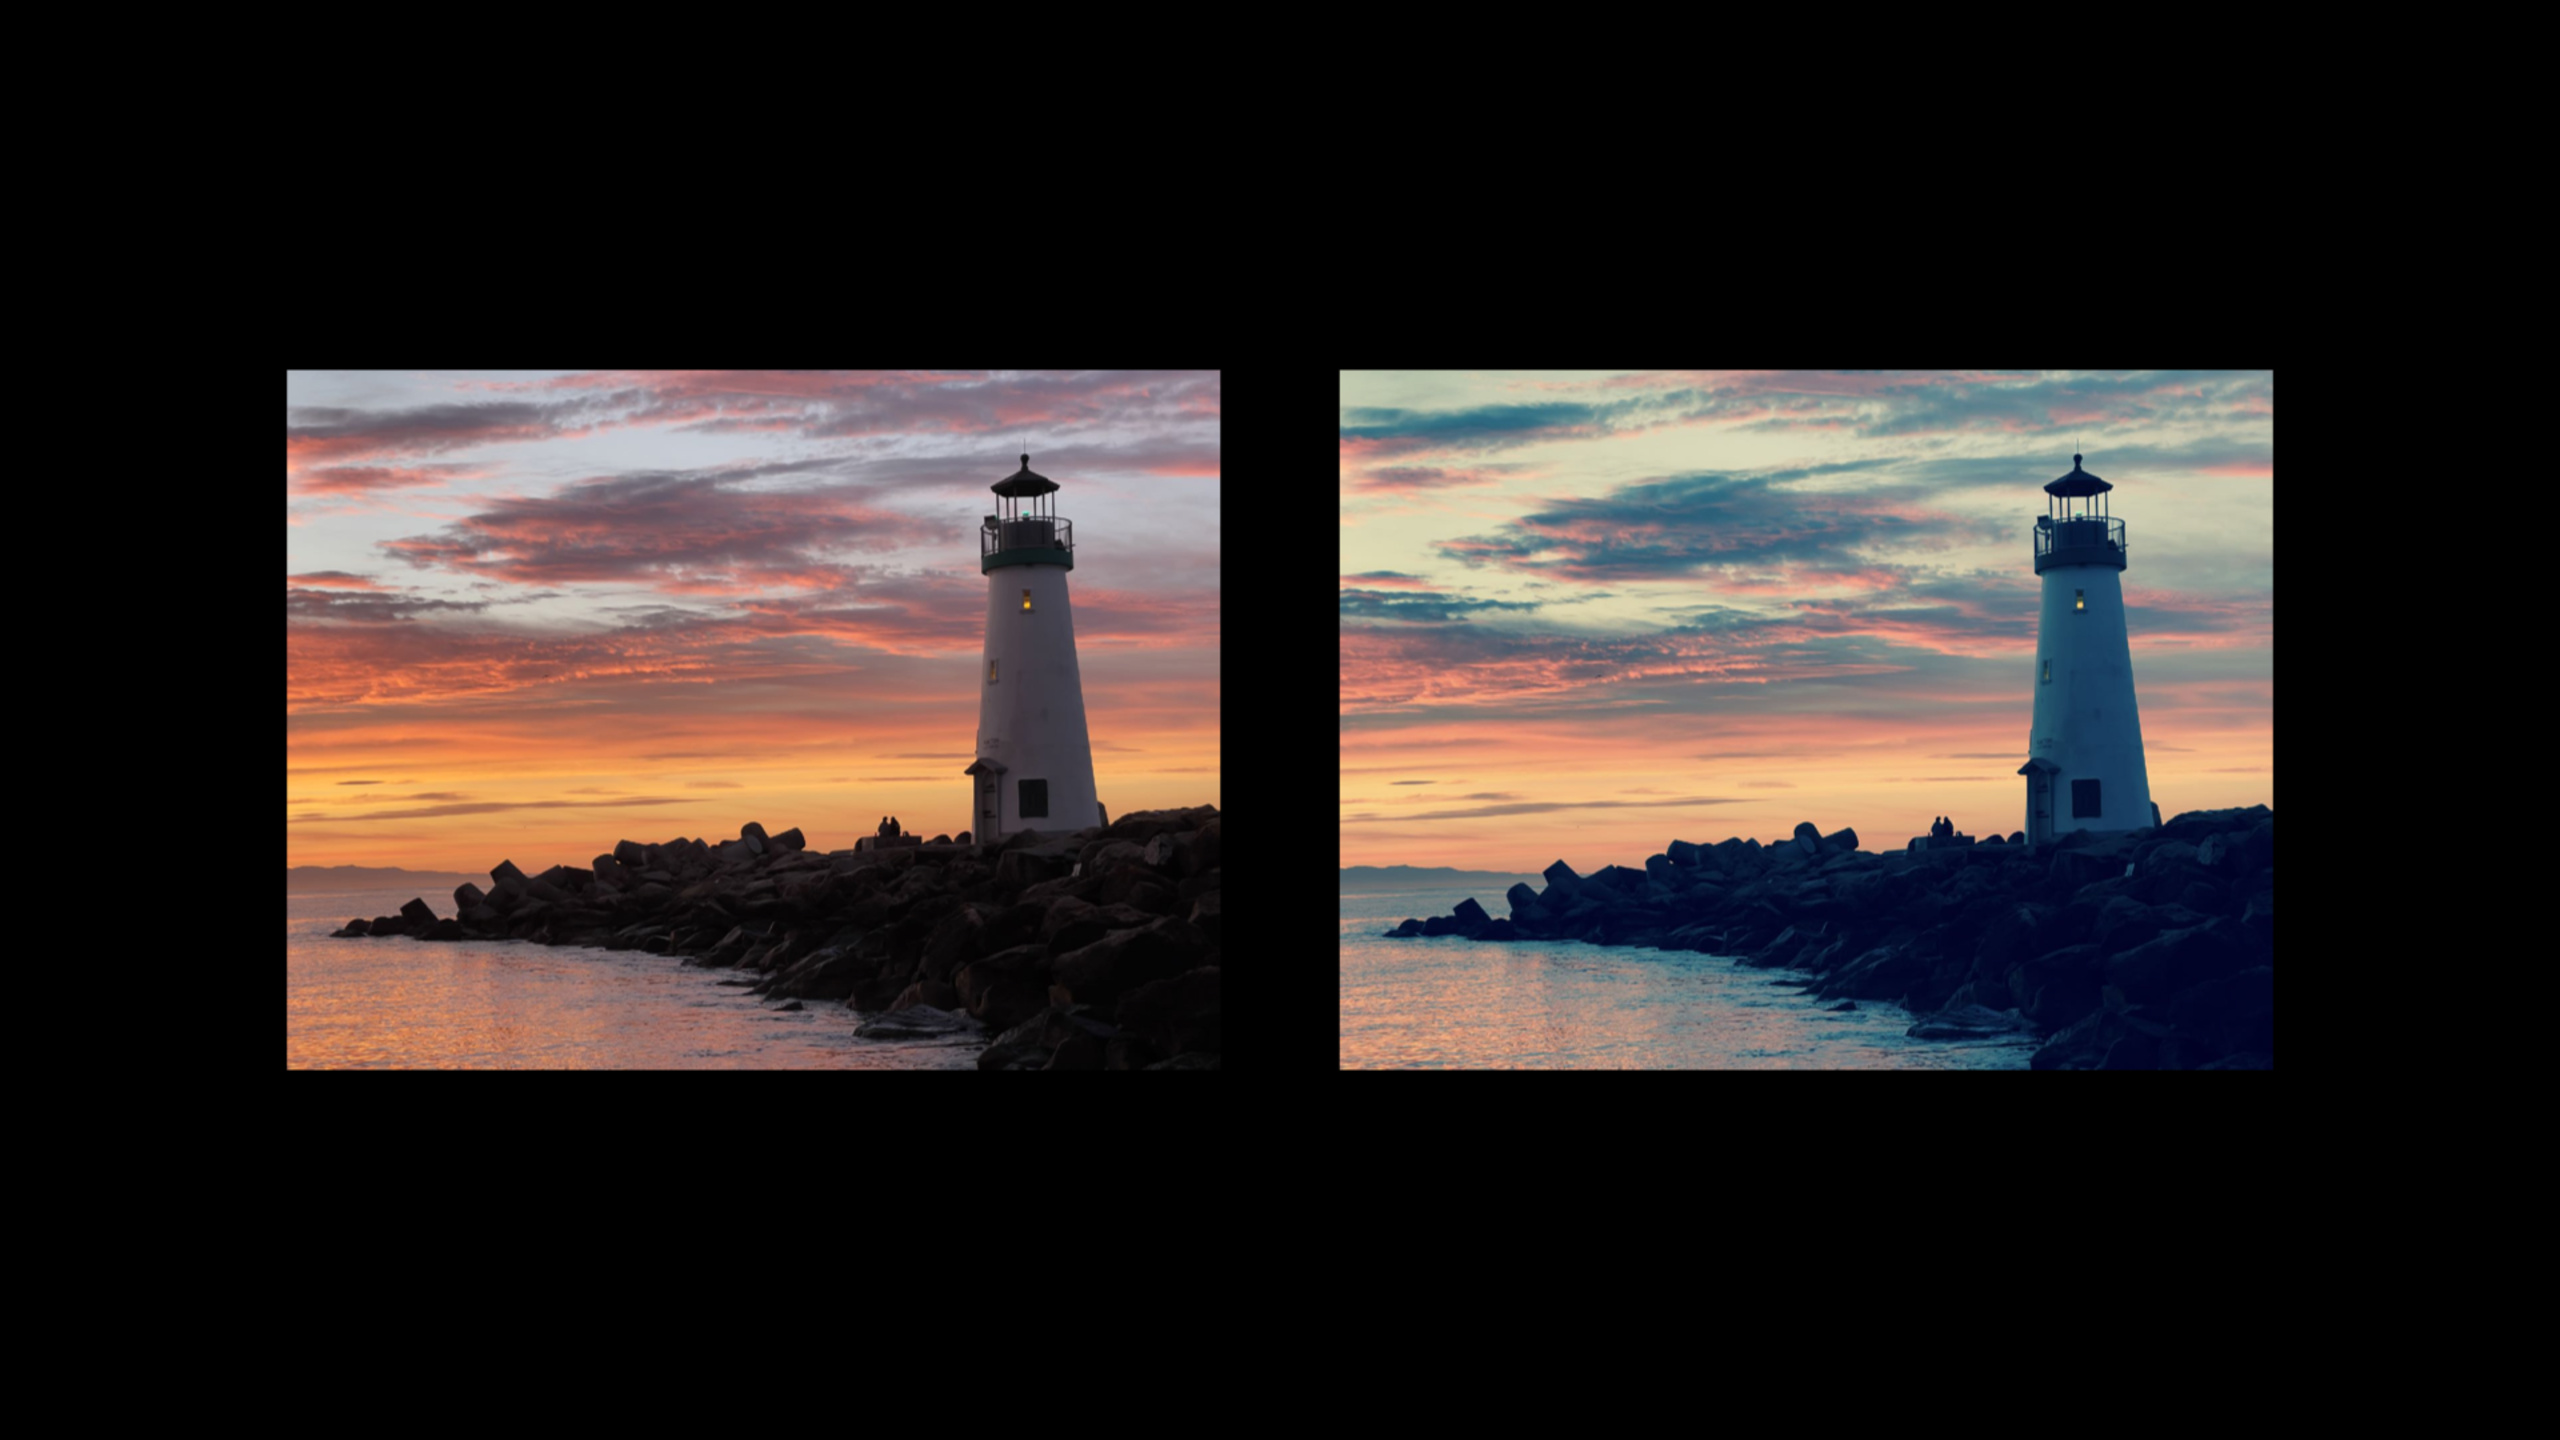
Highlight
David Hayward of the Core Image team systematically explained the use of EDR (Extended Dynamic Range) in Core Image. EDR allows pixel values outside the standard 0-1 range, using values greater than 1 to represent pixels that are brighter than SDR white, as long as the display headroom is not exceeded.
Core Content
Many imaging apps already have access to HDR data. TIFF, OpenEXR, HDR video frames, Metal render results, ProRAW DNG all may contain luminance values that exceed SDR white. The problem often lies in the display link: Core Image generates floating point pixels, but the final View is still displayed according to the SDR pipeline, and highlights exceeding 1 are clipped.
This session gives a complete SwiftUI path. it is used firstViewRepresentablePackageMTKView, let SwiftUI App have a Metal render target; then useRendererat each frame putCIImagerender toCIRenderDestination;Finally, connect the layer, pixel format, color space and headroom required for EDR to this pipeline (03:39).
The key rules for EDR are short: SDR whites are still 1, blacks are still 0, and values above 1 represent brighter pixels; values above the current display headroom are clipped. The headroom will change with the monitor, ambient light, and screen brightness, so the rendering code cannot cache it as a constant (00:47).
Apple compressed the implementation steps into three steps: initialize View to support EDR; read the current headroom before each rendering; letContentViewofimageProviderUse this headroom to generateCIImage(08:50)。
Detailed Content
Use MTKView to undertake Core Image rendering
(05:17) The first layer of the sample app isMetalView. It’s a SwiftUI View, but created internallyMTKView。
struct MetalView: ViewRepresentable {

    @StateObject var renderer: Renderer

    func makeView(context: Context) -> MTKView {
        let view = MTKView(frame: .zero, device: renderer.device)

        view.delegate = renderer

        // Suggest to Core Animation, through MetalKit, how often to redraw the view.
        view.preferredFramesPerSecond = 30

        // Allow Core Image to render to the view using Metal's compute pipeline.
        view.framebufferOnly = false

       return view
    }
Key points:
ViewRepresentableConnect the platform View to SwiftUI; under macOS it isNSView, other platforms areUIView。rendereryes@StateObject, responsible for holding the Metal command queue and Core Image context. -view.delegate = rendererletRenderertake overdraw()call. -preferredFramesPerSecond = 30Let animation apps be powered byMTKViewTrigger drawing periodically. -framebufferOnly = falseAllows Core Image to render to this View via the Metal compute pipeline.
If it is an image editor, it is recommended to use session insteadenableSetNeedsDisplay. In this way, when the slider, button or video frame arrives, it will trigger another drawing to avoid meaningless periodic refresh (06:18).
Renderer creates CIRenderDestination every frame
(07:12)Rendererofdraw(in:)Do three things: determine the current display ratio, create a Core Image render target, andimageProviderI want a copy of the current timeCIImage。
func draw(in view: MTKView) {
  if let commandBuffer = commandQueue.makeCommandBuffer(),
     let drawable = view.currentDrawable {
      // Calculate content scale factor so CI can render at Retina resolution.
  #if os(macOS)
      var contentScale = view.convertToBacking(CGSize(width: 1.0, height: 1.0)).width
  #else
      var contentScale = view.contentScaleFactor
  #endif

      let destination = CIRenderDestination(width: Int(view.drawableSize.width),
                          height: Int(view.drawableSize.height),
                          pixelFormat: view.colorPixelFormat,
                          commandBuffer: commandBuffer,
                          mtlTextureProvider: { () -> MTLTexture in
                                   return drawable.texture
                          })

      let time = CFTimeInterval(CFAbsoluteTimeGetCurrent() - self.startTime)

      // Create a displayable image for the current time.
      var image = self.imageProvider(time, contentScaleFactor)

      image = image.transformed(by: CGAffineTransform(translationX: shiftX, y: shiftY))
      image = image.composited(over: self.opaqueBackground)

      _ = try? self.cicontext.startTask(toRender: image, from: backBounds,
                                             to: destination, at: CGPoint.zero)
Key points:
makeCommandBuffer()Create a Metal command buffer for this frame. -view.currentDrawableProvide texture for final display.- for macOS
convertToBackingCalculate point-to-pixel ratio; used by iOS and iPadOScontentScaleFactor。 CIRenderDestinationConnect the Core Image output todrawable.texture。imageProviderGenerate this frame to be displayed in time and proportionCIImage。startTask(toRender:)Let Core Image render the results to a Metal target.
The content scale is calculated here for each frame, because the View may be dragged to another monitor, and the CIImage is measured in pixels (07:12).
Open EDR: layer, pixel format, color space
(09:17) GiveMTKViewWhen adding EDR support, the first step occurs inmakeView()。
if let caMtlLayer = view.layer as? CAMetalLayer  {
    caMtlLayer.wantsExtendedDynamicRangeContent = true
    view.colorPixelFormat = MTLPixelFormat.rgba16Float
    view.colorspace = CGColorSpace(name: CGColorSpace.extendedLinearDisplayP3)
}
Key points:
wantsExtendedDynamicRangeContent = trueTellCAMetalLayerThis layer wants to display EDR content. -.rgba16FloatUses 16-bit floating point pixel format, capable of expressing color values exceeding 1. -extendedLinearDisplayP3Uses the extended, linear Display P3 color space.- This code only initializes the display target, it doesn’t yet decide how bright each pixel is.
This step addresses container capabilities. Without it, subsequent Core Image content cannot be displayed according to the EDR path even if it uses a value exceeding 1.
Read the headroom before each draw
(09:35) The second step occurs inRenderer.draw(). Before rendering, the headroom must be read from the current screen and then passed to the content generation logic.
let screen = view.window?.screen;
#if os(macOS)
     let headroom = screen?.maximumExtendedDynamicRangeColorComponentValue ?? 1.0
#else
     let headroom = screen?.currentEDRHeadroom ?? 1.0
#endif
     var image = self.imageProvider(time, contentScaleFactor, headroom)
Key points:
view.window?.screenFind the screen this View is currently on.- macOS use
maximumExtendedDynamicRangeColorComponentValue. - Used on iOS and iPadOS
currentEDRHeadroom. - Fallback to when read fails
1.0, which is equivalent to using only the SDR range. -headroompassed inimageProvider, letting the image generation code control highlights according to the current display capabilities.
session clearly emphasizes that headroom is a dynamic attribute. Ambient light, screen brightness, and monitor changes will all affect it, so it should bedraw()Read in (09:49).
Use CIFilter to generate EDR highlights
(12:42) After the App supports EDR, the example adds a ripple transition to the checkerboard and usesshadingImageMake bright specular highlights.
let ripple = CIFilter.rippleTransition()
ripple.inputImage = image
ripple.targetImage = image
ripple.center = CGPoint(x: 512.0, y: 384.0)
ripple.time = Float(fmod(time*0.25, 1.0))
ripple.shadingImage = shading
image = ripple.outputImage
Key points:
CIFilter.rippleTransition()Create a ripple transition filter. -inputImageandtargetImageBoth point to the current checker image, and the effect is used for ripple changes on the same picture. -centerSet the ripple center. -timeUse the current animation time to drive the transition progress. -shadingImageProvides a specular highlight map. -outputImageIs the Core Image output after superimposing ripples and highlights.
The specular map comes from another Core Image filter (13:34). This is where the real use of the headroom begins.
let gradient = CIFilter.linearGradient()
let w = min( headroom, 8.0 )
gradient.color0 = CIColor(red: w, green: w, blue: w,
                          colorSpace: CGColorSpace(name: CGColorSpace.extendedLinearSRGB)!)!
gradient.color1 = CIColor.clear
gradient.point0 = CGPoint(x: sin(angle)*90.0 + 100.0, y: cos(angle)*90.0 + 100.0)
gradient.point1 = CGPoint(x: sin(angle)*85.0 + 100.0, y: cos(angle)*85.0 + 100.0)
let shading = gradient.outputImage?.cropped(to: CGRect(x: 0, y: 0, width: 200, height: 200))
Key points:
linearGradient()Generate procedural images with two points and two colors, no bitmap data required. -min(headroom, 8.0)Limits white brightness to the maximum value between the current headroom and the sample selection. -CIColor(red: w, green: w, blue: w, ...)Allow RGB components to be greater than 1. -extendedLinearSRGBProvides an unclamped linear color space. -color1 = .clearLet the highlight transition from bright white to transparent. -cropped(to:)Cut the infinite extent gradient to the size required by the ripple filter.
Core Image has over 150 built-in filters that support EDR. Examples mentioned by session includeCIColorControls、CIExposureAdjust、gradient filters、CIAreaLogarithmicHistogramand CIColorCube series (10:46).
Let the SDR color cube handle the EDR input
(16:13) Traditional color cube data usually only covers 0 to 1. WWDC 2022 GiveCIColorCubeWithColorSpaceaddedextrapolate, so that existing SDR cube data can be used for EDR input.
let f = CIFilter.colorCubeWithColorSpace()
f.cubeDimension = 32
f.cubeData = sdrData
f.extrapolate = true
f.inputImage = edrImage
let edrResult = f.outputImage
Key points:
colorCubeWithColorSpace()Create a color cube filter with color space. -cubeDimension = 32Set cube size. -cubeData = sdrDataContinue to use the original SDR look data. -extrapolate = trueAllows the filter to extrapolate SDR cube data to the EDR input. -inputImage = edrImagePass in an image containing a brightness value greater than 1. -outputImageEDR output capability retained.
If you want to obtain results more suitable for EDR, the session also mentioned another path: making new cube data using an EDR color space such as HLG or PQ, and possibly increasing the cube dimension (15:32).
Customize the boundaries of CIKernel
(16:25) When migrating custom CIKernel to EDR, check RGB math first. If used in the codeclamp、min、maxLimiting RGB to 0 to 1 can remove these limitations in many cases.
Alpha should be kept between 0 and 1. The counterexample given by session is that the kernel accidentally multiplied alpha by 5. The correct approach is to only amplify RGB and not alpha; otherwise undefined behavior will occur when mixing or displaying (16:50).
Core Takeaways
-
Make an EDR Highlighter: Load ProRAW, OpenEXR or HDR video frames and overlay areas showing more than 1. The reason it’s worth doing is that EDR highlights can easily be missed in SDR previews. Can be obtained from
CIImageStart typing, use Core Image filter to generate false-color overlay, and thenMTKViewPress headroom to render. -
Make a specular highlight filter with adjustable intensity: put the
linearGradient()andrippleTransition()Changed to interactive effect. The highlight direction, size, and cap are updated as the user drags the slider. The implementation entry isenableSetNeedsDisplay、imageProviderandCIColor(red: w, green: w, blue: w, colorSpace:)。 -
Add EDR look preview to the picture editor: reuse the existing SDR color cube and add
extrapolateTurn on, first allowing the old look to handle EDR input. Then create new cube data for HLG or PQ. The implementation entry isCIFilter.colorCubeWithColorSpace()、cubeData、extrapolateandinputImage。 -
Make a headroom debugging HUD: Display the headroom of the current screen in the corner of the rendering screen, and record its curves that change with brightness, ambient light, and external monitors. The implementation entry is
currentEDRHeadroom、maximumExtendedDynamicRangeColorComponentValueand every framedraw(in:)The read logic in .
Related Sessions
- Explore EDR on iOS — Explains EDR, headroom, tone mapping and Reference Mode on iOS and iPadOS.
- Display HDR video in EDR with AVFoundation and Metal — Shows how to use AVFoundation and Metal to build an EDR playback link for HDR video.
- Discover Metal 3 — Introducing Metal 3’s rendering, performance, and tool updates, and is background information for understanding the MTKView rendering pipeline.
- What’s new in SwiftUI — Overview of SwiftUI 2022 updates, adding context to the multi-platform SwiftUI App structure in this session.
Comments
GitHub Issues · utterances