
Highlight
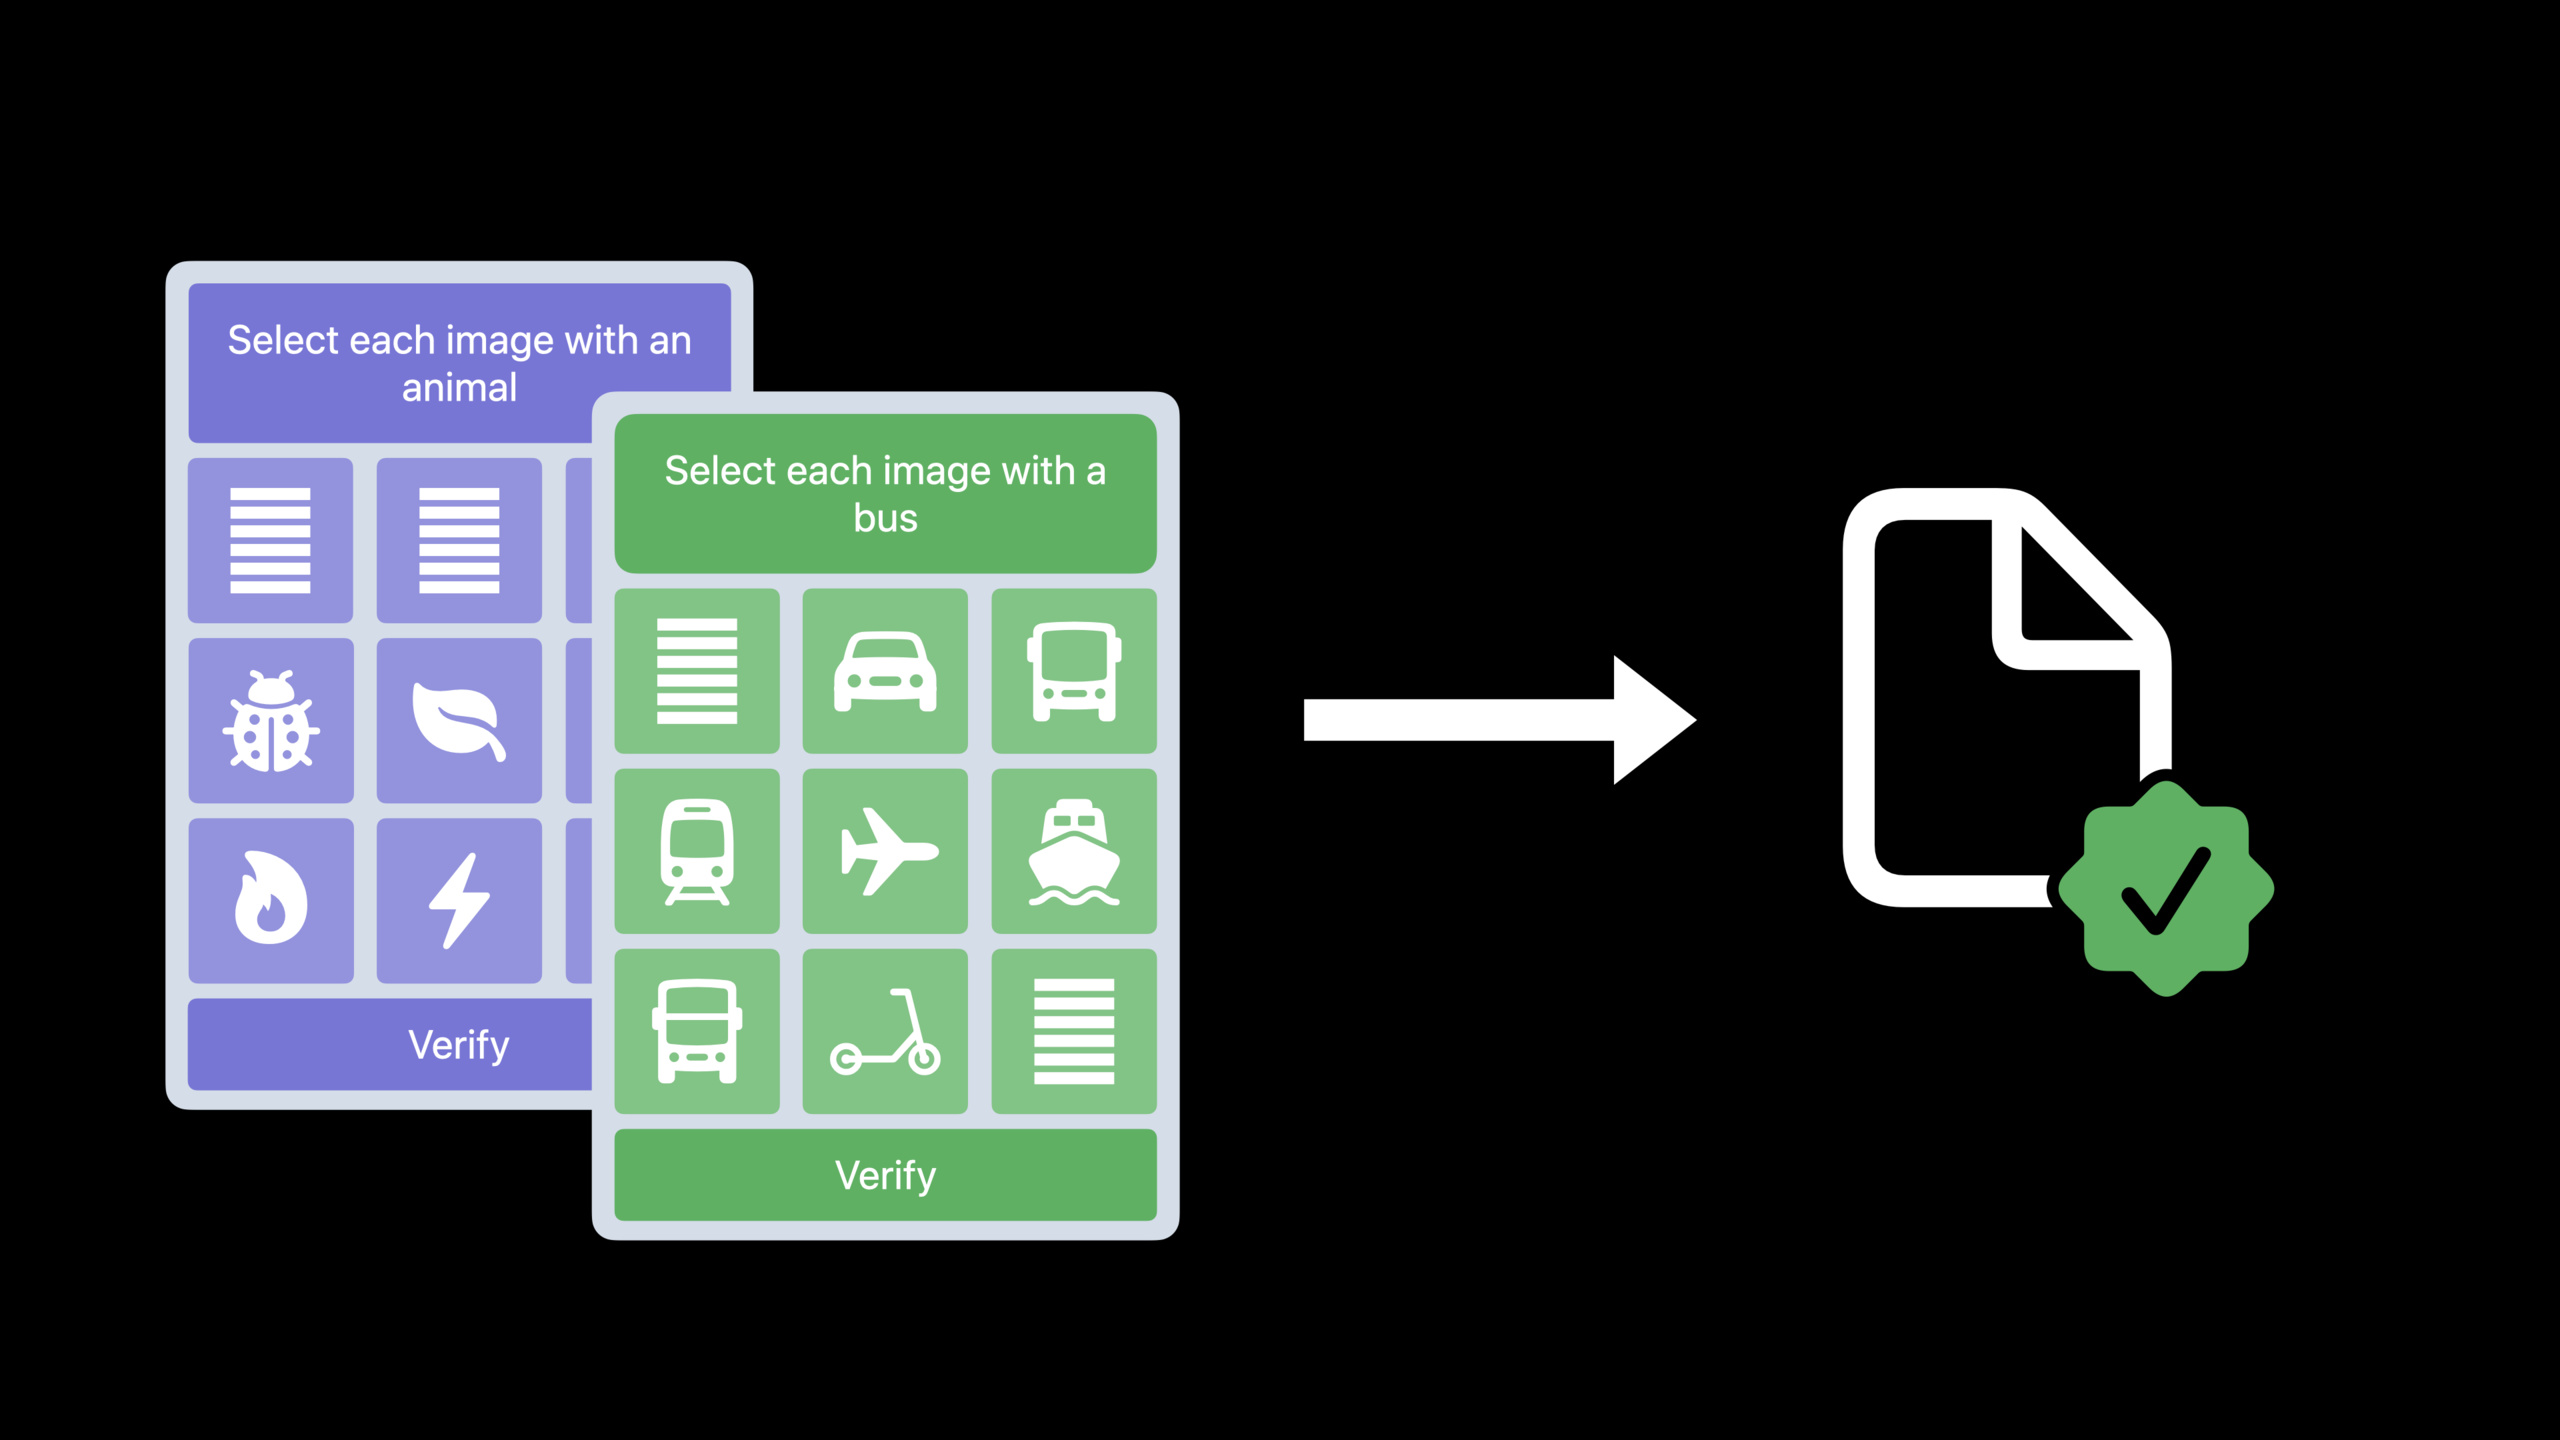
CAPTCHA is one of the most annoying experiences on the web.It exists to prevent fraud, but at the cost of hurting the normal user experience, violating privacy (via IP tracking), and creating accessibility barriers.
Core Content
CAPTCHA solves the server trust problem.
When a user registers an account, logs in to an account, or purchases goods, the server needs to determine whether the request comes from a normal user or from an attacker or bot.The traditional approach is to pop up a CAPTCHA to allow users to complete an additional challenge.
The problem is, this challenge interrupts normal users.The speech began with an example of logging into the Financial Times: the same login process will encounter CAPTCHA on iOS 15; on iOS 16 that supports Private Access Tokens, users can directly enter the website (04:09).
There are two further problems with CAPTCHA.In order to determine whether the client is trustworthy, many services rely on IP address tracking or fingerprinting; this conflicts with the privacy direction of Safari, Mail Privacy Protection, and iCloud Private Relay.CAPTCHA also blocks real users with disabilities or language barriers (02:04).
Private Access Tokens turn this into system-level proof.The server no longer asks users to answer questions, instead letting clients with iOS 16 or macOS Ventura automatically prove that: it comes from a real Apple device, the device is unlocked, the user is signed in with an Apple ID, and the request comes from a signed app or Safari/WebKit (02:46).
This proof does not hand over the user’s identity to the website.Apple uses a protocol being standardized by the IETF Privacy Pass working group and uses RSA Blind Signatures to make tokens uncorrelated.The server can only verify that the token is valid, but cannot identify the user, nor can it use the token to track the user for a long time (04:44).
Detailed Content
Protocol: Server initiates PrivateToken challenge
(05:02) Private Access Tokens start with an HTTP authentication challenge.Server returnsPrivateTokenAuthentication scheme, and specify the token issuer you trust.
There are no official code snippets for this session.The following is a conceptual HTTP interaction compiled from a verbatim draft to illustrate the location of the protocol fields; the specific format should be based on the issuer document you choose.
HTTP/1.1 401 Unauthorized
WWW-Authenticate: PrivateToken issuer="https://issuer.example"
Key points:
- Line 1: The server responds with a 401 to indicate that the current request requires additional authentication.
- Line 2:
WWW-AuthenticateCarrying authentication challenges. - Line 2:
PrivateTokenIs the new HTTP authentication method mentioned in session. - Line 2:
issuerIndicates which token issuer the server trusts to issue tokens.
This challenge has an important limitation: if used on a website, the challenge must come from a first-party domain, which is a subdomain of the main website URL, and cannot come from a third-party domain embedded in the page (09:35).
Blinding, Equipment Certification and Issuance
(05:58) When the client needs a token, it will first contact the iCloud attester (iCloud attestation service).The client sends a blinded token request, so the iCloud attester cannot correlate it with the original server challenge.
Next, the iCloud attester uses the certificate in the device’s Secure Enclave to do device attestation and checks the Apple ID status.It can also do rate-limiting to determine whether a device is consistent with normal usage patterns or may be used for device farming.
If the client passes the check, the attester hands the request to the issuer.The issuer trusts the iCloud attester and therefore issues the token.The issuer does not know who the client is.After receiving the signature, the client performs unblinding and then returns the token to the original server for verification.
Client -> Server: HTTP request
Server -> Client: PrivateToken challenge
Client -> iCloud Attester: blinded token request
Attester -> Issuer: validated token request
Issuer -> Client: signed blinded token
Client -> Server: unblinded signed token
Server: validate issuer signature
Key points:
- Line 1: The process starts with a normal HTTP request.
- Line 2: The server decides when additional trust signals are needed.
- Line 3: Requests made by the client are blinded to avoid being associated with server challenges.
- Line 4: After attester passes the device certification, it hands the request to the issuer.
- Line 5: The issuer is only responsible for signing and does not receive user identity.
- Line 6: The client hands the de-blinded signature token to the server.
- Line 7: The server verifies that the signature is valid, but cannot identify the client with the token.
Three steps for server access
(07:19) There are three steps for server access to Private Access Tokens.
First, select the token issuer.The issuer can be an existing CAPTCHA or anti-fraud service, a web hosting service, or a CDN.The speech mentioned that in the iOS 16 and macOS Ventura beta stages, Fastly and Cloudflare can already be tested; other CAPTCHA providers, Web hosting services and CDNs can also run the issuer later (07:48).
Second, sent when the client needs to be authenticatedPrivateTokenchallenge.You can have your existing CAPTCHA or anti-fraud service integrate the challenge into the script, or you can send it directly from your own server (09:06).
Third, verify the token returned by the client.The server needs to use the issuer’s public key to check the token validity and handle replay attacks.Apple clearly states that tokens should be used once and can prevent replay by recording the used token or requiring the token to sign a unique value in the challenge (09:50).
Below is conceptual server logic showing these three decision points.
async function handleRequest(request) {
  const token = request.headers.get("Authorization");

  if (!token) {
    return optionalPrivateTokenChallenge();
  }

  const valid = await issuerPublicKey.verify(token);
  const fresh = await replayStore.markIfUnused(token);

  if (valid && fresh) {
    return trustedClientResponse();
  }

  return legacyFraudCheckResponse();
}
Key points:
- Line 1: All requests enter the same processing entrance first.
- Line 2: The server reads the authentication information returned by the client from the request header.
- Lines 4-6: Return optional challenges when there is no token, without blocking the main page loading.
- Line 8: Verify the signature with the issuer’s public key.
- Line 9: Record whether the token has been used to prevent replay.
- Lines 11-13: Treat the request as more trustworthy when the token is valid and unused.
- Line 15: Fallback to the old anti-fraud process on verification failure.
The key here is to treat the token as an optional trust signal, leaving the downgrade path available to older clients.The old client will not respond to the challenge, so the main page loading cannot rely on it (10:23).
App side: URLSession and WebKit automatic processing
(10:39) Websites can automatically use Private Access Tokens when accessing servers through Safari and WebKit.Apps can also benefit directly.
There are three requirements: the device is running iOS 16 or macOS Ventura; the device is logged in with an Apple ID; the app uses WebKit orURLSessionContact the server via HTTP.The Apple ID is only used for attestation and will not be shared with the server that receives the token (10:49).
URLSessionis the simplest way to handle it: the app does not need to explicitly call a new API.When the frontend app receivesPrivateTokenchallenge, the system will automatically send the token back to the server as an authentication response (11:25).
let url = URL(string: "https://example.com/account")!
let (data, response) = try await URLSession.shared.data(from: url)

if let httpResponse = response as? HTTPURLResponse,
   httpResponse.statusCode == 401 {
    // Conceptual fallback: the token challenge was received,
    // but the system could not fetch a Private Access Token.
    showFallbackVerification()
}
Key points:
- Line 1: app accesses its own server.
- Line 2: Use
URLSessionInitiate an HTTP request; the system will automatically handle supportedPrivateTokenchallenge。 - Lines 4-7: If token retrieval fails, the app may receive a 401 response containing challenge.
- Line 8: At this point a business-appropriate downgrade verification process should be entered.
Failure scenarios include the app not being in the foreground, or the device not being logged in with an Apple ID.Receiving a 401 does not mean that the protocol is unavailable, it gives the app a chance to decide how to downgrade based on its own scenario (11:41).
Core Takeaways
1. Reduce CAPTCHA interruptions on the login page
- What to do: Use Private Access Tokens as the preferred authentication method during the login process.
- Why it’s worth doing: Session shows that iOS 16 devices can bypass traditional CAPTCHA to log in directly, reducing the number of interruptions for normal users.
- How to start: Select Fastly, Cloudflare or an existing anti-fraud service as the issuer, and return optional in the login interface
PrivateTokenchallenge and retain the original CAPTCHA on failure.
2. Add one-time token to the registration interface to prevent replay
- What to do: Split the anti-fraud judgment of the account registration interface into two steps: token verification and replay check.
- Why it’s worth doing: Apple clearly states that tokens are for one-time use, and the server needs to prevent clients from submitting the same token repeatedly.
- How to start: Add a unique value to the challenge, or save the used token on the server; create an account after passing the verification.
3. In-App Web login reuse system capabilities
- What to do: Put the web page login or account binding process in the app in WebKit, or use
URLSessionAccess your own authentication interface. - Why it’s worth doing: WebKit and
URLSessionCan respond automaticallyPrivateTokenchallenge, the app does not require a handwritten token acquisition process. - How to start: Ensure that the request occurs in the foreground; downgrade the 401 response, such as displaying the existing verification code or manual verification entry.
4. Gradually replace third-party CAPTCHA scripts
- What to do: First connect Private Access Tokens to an existing CAPTCHA or anti-fraud provider on a low-risk path.
- Why it’s worth doing: The speech suggested that challenges can be automatically integrated by existing providers, or can be issued directly by the server to facilitate gradual migration.
- How to get started: Select a post-login action, review submission or trial registration page and enter the token verification results as a risk score instead of immediately deleting all old verifications.
Related Sessions
- Discover Managed Device Attestation — Also around device trust attestation, it is suitable to continue to understand Secure Enclave and server-side device authentication.
- Improve DNS security for apps and servers — Explains the DNS trust and encryption issues between the app and the server, adjacent to the network trust boundary of this session.
- Streamline local authorization flows — Pay attention to local authorization and privacy protection, and design account security experience together with the server-side token trust model.
- Reduce networking delays for a more responsive app — Helps understand HTTP request link optimization and is suitable for evaluating the impact of token challenge on page response.
Comments
GitHub Issues · utterances