
Highlight
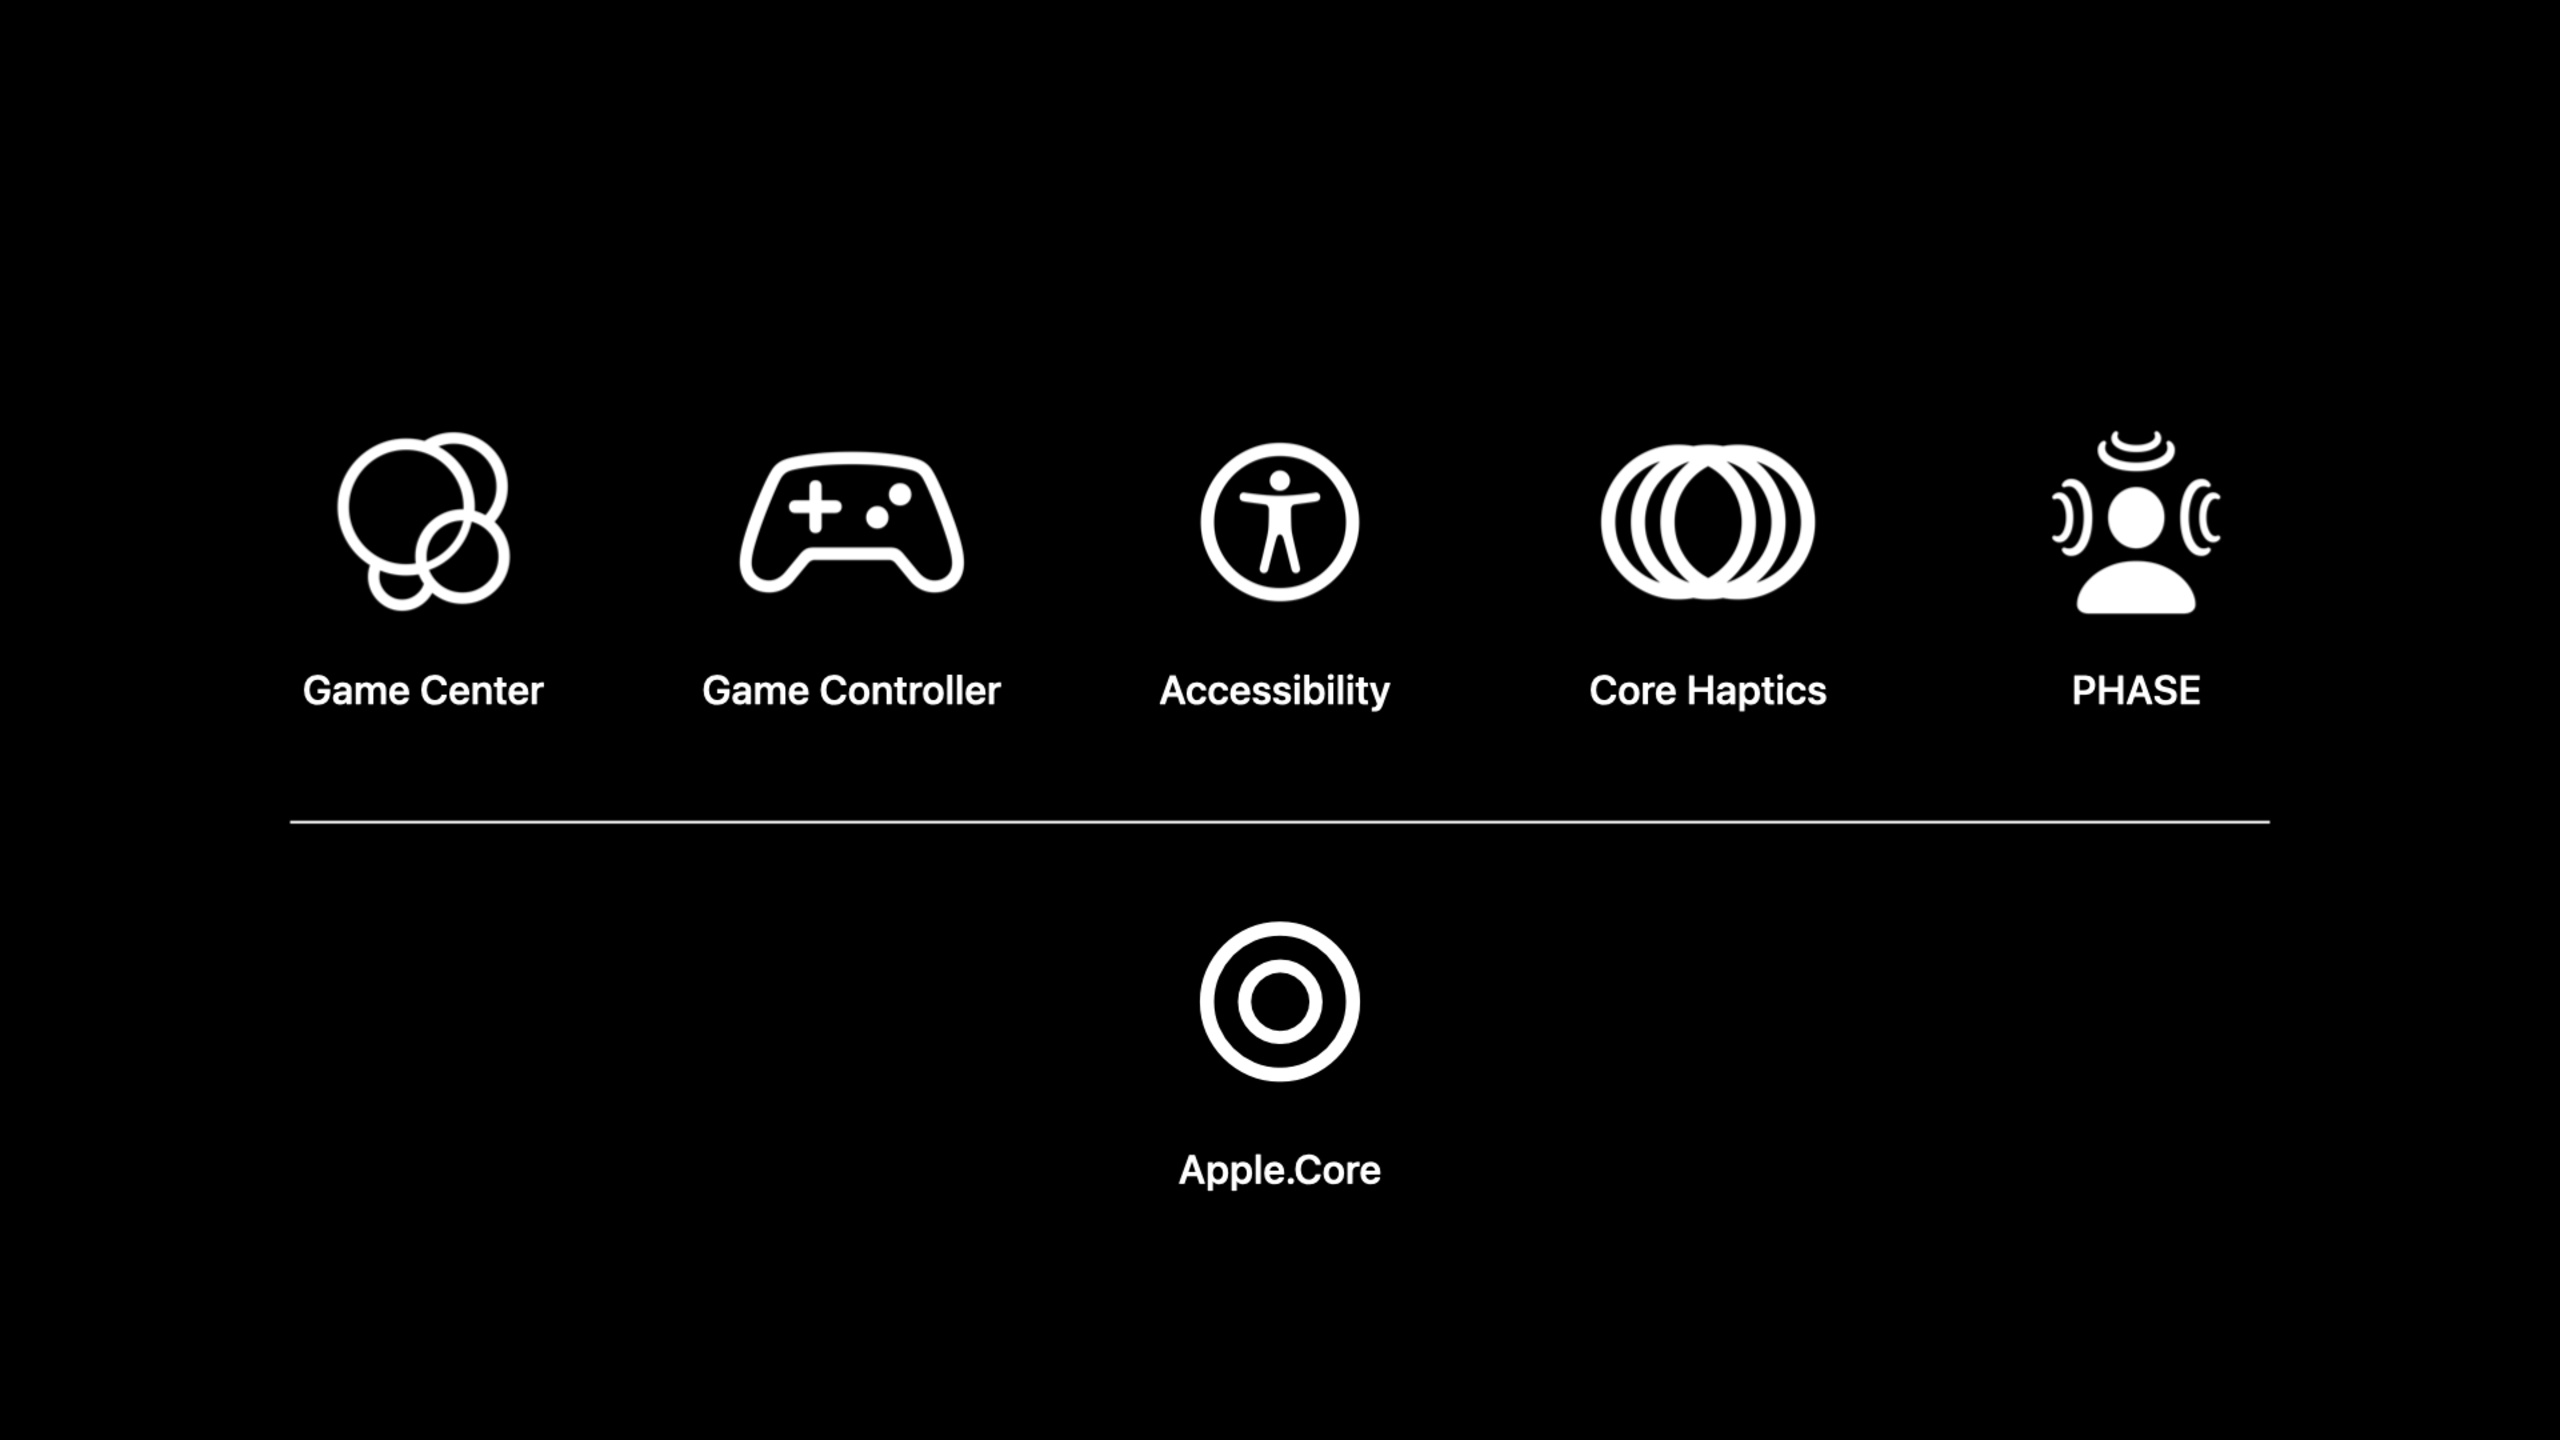
Apple released a collection of open source Unity plug-ins at WWDC 2022, allowing Unity games to access Game Center, Game Controller, Accessibility, Core Haptics, PHASE and Apple.Core build capabilities through C#.
Core Content
For Unity games to integrate Apple platform capabilities, the common difficulty lies not in the concept itself, but in bridging. The team needs to connect C# game logic, Unity editor workflow, Xcode project settings and native frameworks. Game Center, controllers, haptics, spatial audio, accessibility, each may become a separate set of glue code.
The answer given in this session is a set of official Unity Packages. Each plug-in corresponds to an underlying Apple framework. C# scripts try to directly map the framework API, and the native library is responsible for connecting C# and the system framework. Unity developers can add platform capabilities to existing projects without having to rewrite their entire game as a native app first.
This design also retains Unity’s usage habits. Plug-ins are imported from tarballs through Package Manager, and the editor has Project Settings, Inspector, Asset creation menu and custom editing window. Developers still organize scenes, components and resources in Unity; where they need to enter Xcode, they mainly focus on capability configuration and final project integration.
Detailed Content
1. Apple.Core manages the build first and then supports other plug-ins (05:01)
Apple.Core is the base dependency of all Apple Unity plugins. It adds Apple Build Settings to Unity’s Project Settings and puts the build options of each plug-in into the same settings panel. It also includes an asset processor, which ensures that the native library is configured to the correct platform when importing; when building, the native library is correctly referenced to the intermediate Xcode project through a post-process script.
The import order is also clear: Apple.Core first, then GameKit, Game Controller, Accessibility, Core Haptics or PHASE. For session demonstration, use Unity Package Manager to select “add package from tarball” and import the compiled plug-in package. After Apple.Core is ready, the minimum system version, security settings, and post-process switches will all appear in the unified settings page.
1. clone Apple Unity Plug-Ins repository
2. run build.py to build native libraries and package plug-ins
3. import Apple.Core tarball with Unity Package Manager
4. configure Apple Build Settings in Project Settings
5. import the feature plug-ins needed by the game
Key points:
build.pyLocated in the root directory of the repository, it is responsible for building native libraries, updating Unity meta files, packaging tarballs and building plug-in tests.- Full build requires Xcode, Python 3, npm and Unity.
- Apple.Core settings will be propagated to intermediate Xcode projects, suitable for centralized management of minimum system versions and security options.
- Other plug-ins depend on Apple.Core, so it should be the first to enter the project.
2. Use GameKit plug-in for player authentication (09:02)
The entrance to Game Center is player authentication. session emphasizes that authentication only needs to be done once in the game life cycle. After successful authentication, the game can query the restriction status of local players and then decide whether to hide adult content, turn off multiplayer play, or turn off the in-game communication UI.
using Apple.GameKit;

public class GameManager : MonoBehaviour
{
    private GKLocalPlayer _localPlayer;

    private async Task Start()
    {
        try
        {
            _localPlayer = await GKLocalPlayer.Authenticate();
        }
        catch (Exception exception)
        {
            // Handle exception...
        }
    }
}
Key points:
using Apple.GameKit;Introducing the C# API exposed by the GameKit Unity plugin. -GameManagerIt is a Unity component, suitable for placement in the game startup phase. -_localPlayercached authenticatedGKLocalPlayer, subsequent Game Center operations can be based on it. -GKLocalPlayer.Authenticate()It is an asynchronous static method that returns a local player instance. -catchThe branch needs to handle authentication failure according to the game’s own process, such as continuing in offline mode or displaying a prompt.
After authentication, the restriction check is just a few Boolean tests.
try
{
    _localPlayer = await GKLocalPlayer.Authenticate();

    if (_localPlayer.IsUnderage)
    {
        // Hide explicit game content.
    }

    if (_localPlayer.IsMultiplayerGamingRestricted)
    {
        // Disable multiplayer game features.
    }

    if (_localPlayer.IsPersonalizedCommunicationRestricted)
    {
        // Disable in-game communication UI.
    }
}
Key points:
IsUnderageWhen true, the game should restrict adult or explicit content. -IsMultiplayerGamingRestrictedWhen true, the game should turn off or adjust the multiplayer experience. -IsPersonalizedCommunicationRestrictedWhen true, the game should turn off the in-game communication UI.- The session also reminds two steps of finishing work: adding Game Center capability to the intermediate Xcode project, and configuring Game Center capability in App Store Connect.
3. Use the Game Controller plug-in to uniformly handle connections and inputs (13:11)
The Game Controller plug-in is for MFi controllers and some Sony and Microsoft third-party controllers. It provides controller customization, button glyphs, and input access. session It is recommended to use an InputManager component to do three things: save the currently connected controller, initialize the service when starting, and poll for input in the update loop.
using Apple.GameController;

public class InputManager : MonoBehaviour
{
    void Start()
    {
        // Initialize the Game Controller service
        GCControllerService.Initialize();

        // Check for connected controllers
        var controllers = GCControllerService.GetConnectedControllers();
        foreach (GCController controller in controllers)
        {
            // Handle controllers
        }

        // Set up callbacks to handle connected/disconnected controllers
        GCControllerService.ControllerConnected    += _onControllerConnected;
        GCControllerService.ControllerDisconnected += _onControllerDisconnected;
    }
}
Key points:
GCControllerService.Initialize()It is a one-time initialization entry. -GetConnectedControllers()Returns the collection of currently connected controllers. -GCControllerRepresents the controller object in the plug-in. -ControllerConnectedandControllerDisconnectedHandle the situation when the controller is inserted or disconnected while the game is running.
It is more natural to put the input read in the update loop. The example in session polls first and then reads the specific button.
foreach (GCController controller in _myConnectedControllers)
{
    controller.Poll();

    // Check the 'South' button ('A' button on most controllers)
    if (controller.GetButton(GCControllerInputName.ButtonSouth))
    {
        //Handle button pressed
    }

    // Check other controller inputs…
}
Key points:
controller.Poll()Get the latest controller status. -GCControllerInputName.ButtonSouthCorresponds to the A key position on most controllers.- Reading inputs such as buttons and joysticks after each polling allows the game logic to get the controller status of the current frame.
- The polling frequency is determined by the game, and it is recommended that the session start from Unity’s regular update loop.
4. The Accessibility plug-in puts assistive technology into Unity scenes (14:27)
The Accessibility plug-in enables Unity games to access VoiceOver, Switch Control, Dynamic Type, and system-wide UI accommodation settings. VoiceOver reads programmatically tagged content, Switch Control supports auxiliary input devices, and Dynamic Type adapts game UI to user text size preferences.
This session did not expand the code, but positioned it as a key module in the plug-in collection and pointed to the dedicated “Add accessibility to Unity games”. For teams that are retrofitting existing Unity projects, the practical path is clear: identify the objects that players must understand or manipulate, and then expose these objects to system assistive technologies using accessibility components and properties provided by plug-ins.
Unity scene object
  -> add accessibility component
  -> provide label, traits, value, or preferred text behavior
  -> test with VoiceOver, Switch Control, Dynamic Type, and system settings
Key points:
- VoiceOver requires readable programmatic content, and game objects cannot just stay on the visual layer.
- Switch Control allows more input devices to operate the game.
- Dynamic Type is suitable for text-intensive interfaces such as game menus, prompts, and settings pages.
- This part of the ability is different from the player restrictions of Game Center. It addresses whether the player can understand and operate the game.
5. Core Haptics plug-in connects AHAP assets to C# components (20:30)
Core Haptics is a data-driven API. session split it into four objects:CHHapticEngineConnect to the haptic server on the device,CHHapticPatternPlayercontrol playback,CHHapticPatternorganize one or more haptic and audio events,CHHapticEventIt is the basic unit of tactile experience.
The Unity plugin also provides AHAP Assets. Developers can create AHAP in Unity’s Assets menu, use the Inspector to adjust transient or continuous events, import and export AHAP files, and then reference the assets to the Haptics component on the game object.
using Apple.CoreHaptics;

public class Haptics : MonoBehaviour
{
    private CHHapticEngine _hapticEngine;
    private CHHapticPatternPlayer _hapticPlayer;
    [SerializeField] private AHAPAsset _hapticAsset;

    private void PrepareHaptics()
    {
        _hapticEngine = new CHHapticEngine();
        _hapticEngine.Start();
        _hapticPlayer = _hapticEngine.MakePlayer(_hapticAsset.GetPattern());
    }

    private void Play()
    {
        _hapticPlayer.Start();
    }
}
Key points:
CHHapticEngineIt is the prerequisite for playing tactile patterns. -_hapticEngine.Start()Start the engine. -[SerializeField] private AHAPAsset _hapticAsset;Enables Unity Inspector to specify AHAP assets. -_hapticAsset.GetPattern()Get the haptic pattern from the AHAP asset. -MakePlayer(...)Create a player,_hapticPlayer.Start()Start playing.
6. PHASE plug-in organizes spatial audio with components (22:13)
PHASE handles geometry-aware spatial audio. Sound is emitted from the mesh in the scene, and when it encounters geometric objects such as buildings, it will cause occlusion, reflection and reverberation. The Unity plug-in makes common roles into components:PHASEListenerIt is the ear of the scene,PHASEOccluderAttach to objects with geometric data and attenuate occluded sounds,PHASESourceUse game object transforms to position sounds in the world.
The session demo is not scripted. In a project that contains airplanes, buildings, and cameras, it adds Listener to the camera, Occluder to the building, and Source to the airplane. and then createSoundEventAssets, add a sampler node in the PHASE sound event composer, reference the aircraft idle audio, keep the loop, and then connect the output to the mixer. Finally bind the SoundEvent to the PHASESource on the plane.
Camera   -> PHASEListener
Building -> PHASEOccluder
Airplane -> PHASESource -> SoundEvent -> sampler node -> mixer
Key points:
- Listener processes scene audio based on position, orientation and reverb preset.
- Occluder relies on scene geometry to attenuate sounds when between the sound source and the Listener.
- Source uses a game object transform to make the sound follow the movement of the object.
- SoundEvent describes specific playback events, and composer uses the node graph to create sampler and mixer.
- This workflow is suitable for connecting spatial audio to the scene first, and then gradually adjusting sound events and reverberation parameters.
Core Takeaways
-
Make a Game Center safe startup process
- What to do: Complete Game Center authentication from the Unity game title screen and toggle content, multiplayer and communication features based on player restrictions.
- Why is it worth doing: session description authentication only needs to be done once, and the restricted status can be directly obtained from
GKLocalPlayerQuery. - How to get started: Create
GameManagercomponent, callGKLocalPlayer.Authenticate(), then processIsUnderage、IsMultiplayerGamingRestricted、IsPersonalizedCommunicationRestricted。
-
Make a hot-swappable controller input layer
- What: Centralize all controller connections, disconnections, polling and button mappings into Unity
InputManager. - Why it’s worth doing: Provided by Game Controller plugin
GCControllerService, connection events andGCControllerInput read. - How to start: Called at startup
GCControllerService.Initialize(),saveGetConnectedControllers()The returned object is called for each controller in the update loop.Poll()。
- What: Centralize all controller connections, disconnections, polling and button mappings into Unity
-
Add adjustable tactile assets to key game moments
- What to do: Make collision, acceleration, hit, injury and other events into AHAP assets, which can be adjusted by design or audio colleagues in the Unity Inspector.
- Why it’s worth doing: The Core Haptics plug-in supports AHAP import, export, and Inspector parameter adjustment. The code is only responsible for creating the engine and playing the player.
- How to get started: Create
AHAPAsset, saved in the component[SerializeField]quote, useCHHapticEngineandMakePlayer(_hapticAsset.GetPattern())Play.
-
Make the audio occlusion of the 3D scene into a component configuration
- What to do: Let buildings, walls, vehicles and other scene objects affect sound propagation instead of just playing left and right channels.
- Why it’s worth doing: Provided by PHASE plugin
PHASEListener、PHASEOccluder、PHASESourceandSoundEvent, the basic construction can be completed from the Unity editor. - How to start: Place the Listener on the camera, the Occluder on the obstruction, the Source on the sound-emitting object, and then use SoundEvent composer to connect the sampler and mixer.
-
Complete assistive technology portals for Unity menus and HUD
- What to do: Make the main menu, settings page, cards, prompt text and other UIs readable by VoiceOver and respond to Dynamic Type.
- Why it’s worth it: The Accessibility plugin brings VoiceOver, Switch Control, Dynamic Type, and system UI accommodation to Unity games.
- How to start: Start with objects that players must click or understand, add accessibility markers to them, and then enable accessibility testing on real devices.
Related Sessions
- Reach new players with Game Center dashboard — Continue to learn about Game Center Dashboard, Activity Feed, Access Point, and how Game Center improves game discovery and return.
- Add accessibility to your Unity games — Learn more about the practical Unity Accessibility plug-ins that were skipped in this game, including VoiceOver, Switch Control, and Dynamic Type.
- Discover Metal 3 — Understand WWDC 2022’s overall updates to gaming and high-performance rendering from a platform graphics capabilities perspective.
- Boost performance with MetalFX Upscaling — Learn the game rendering performance optimization path, suitable for planning together with platform integration in Unity projects.
Comments
GitHub Issues · utterances