
Highlight
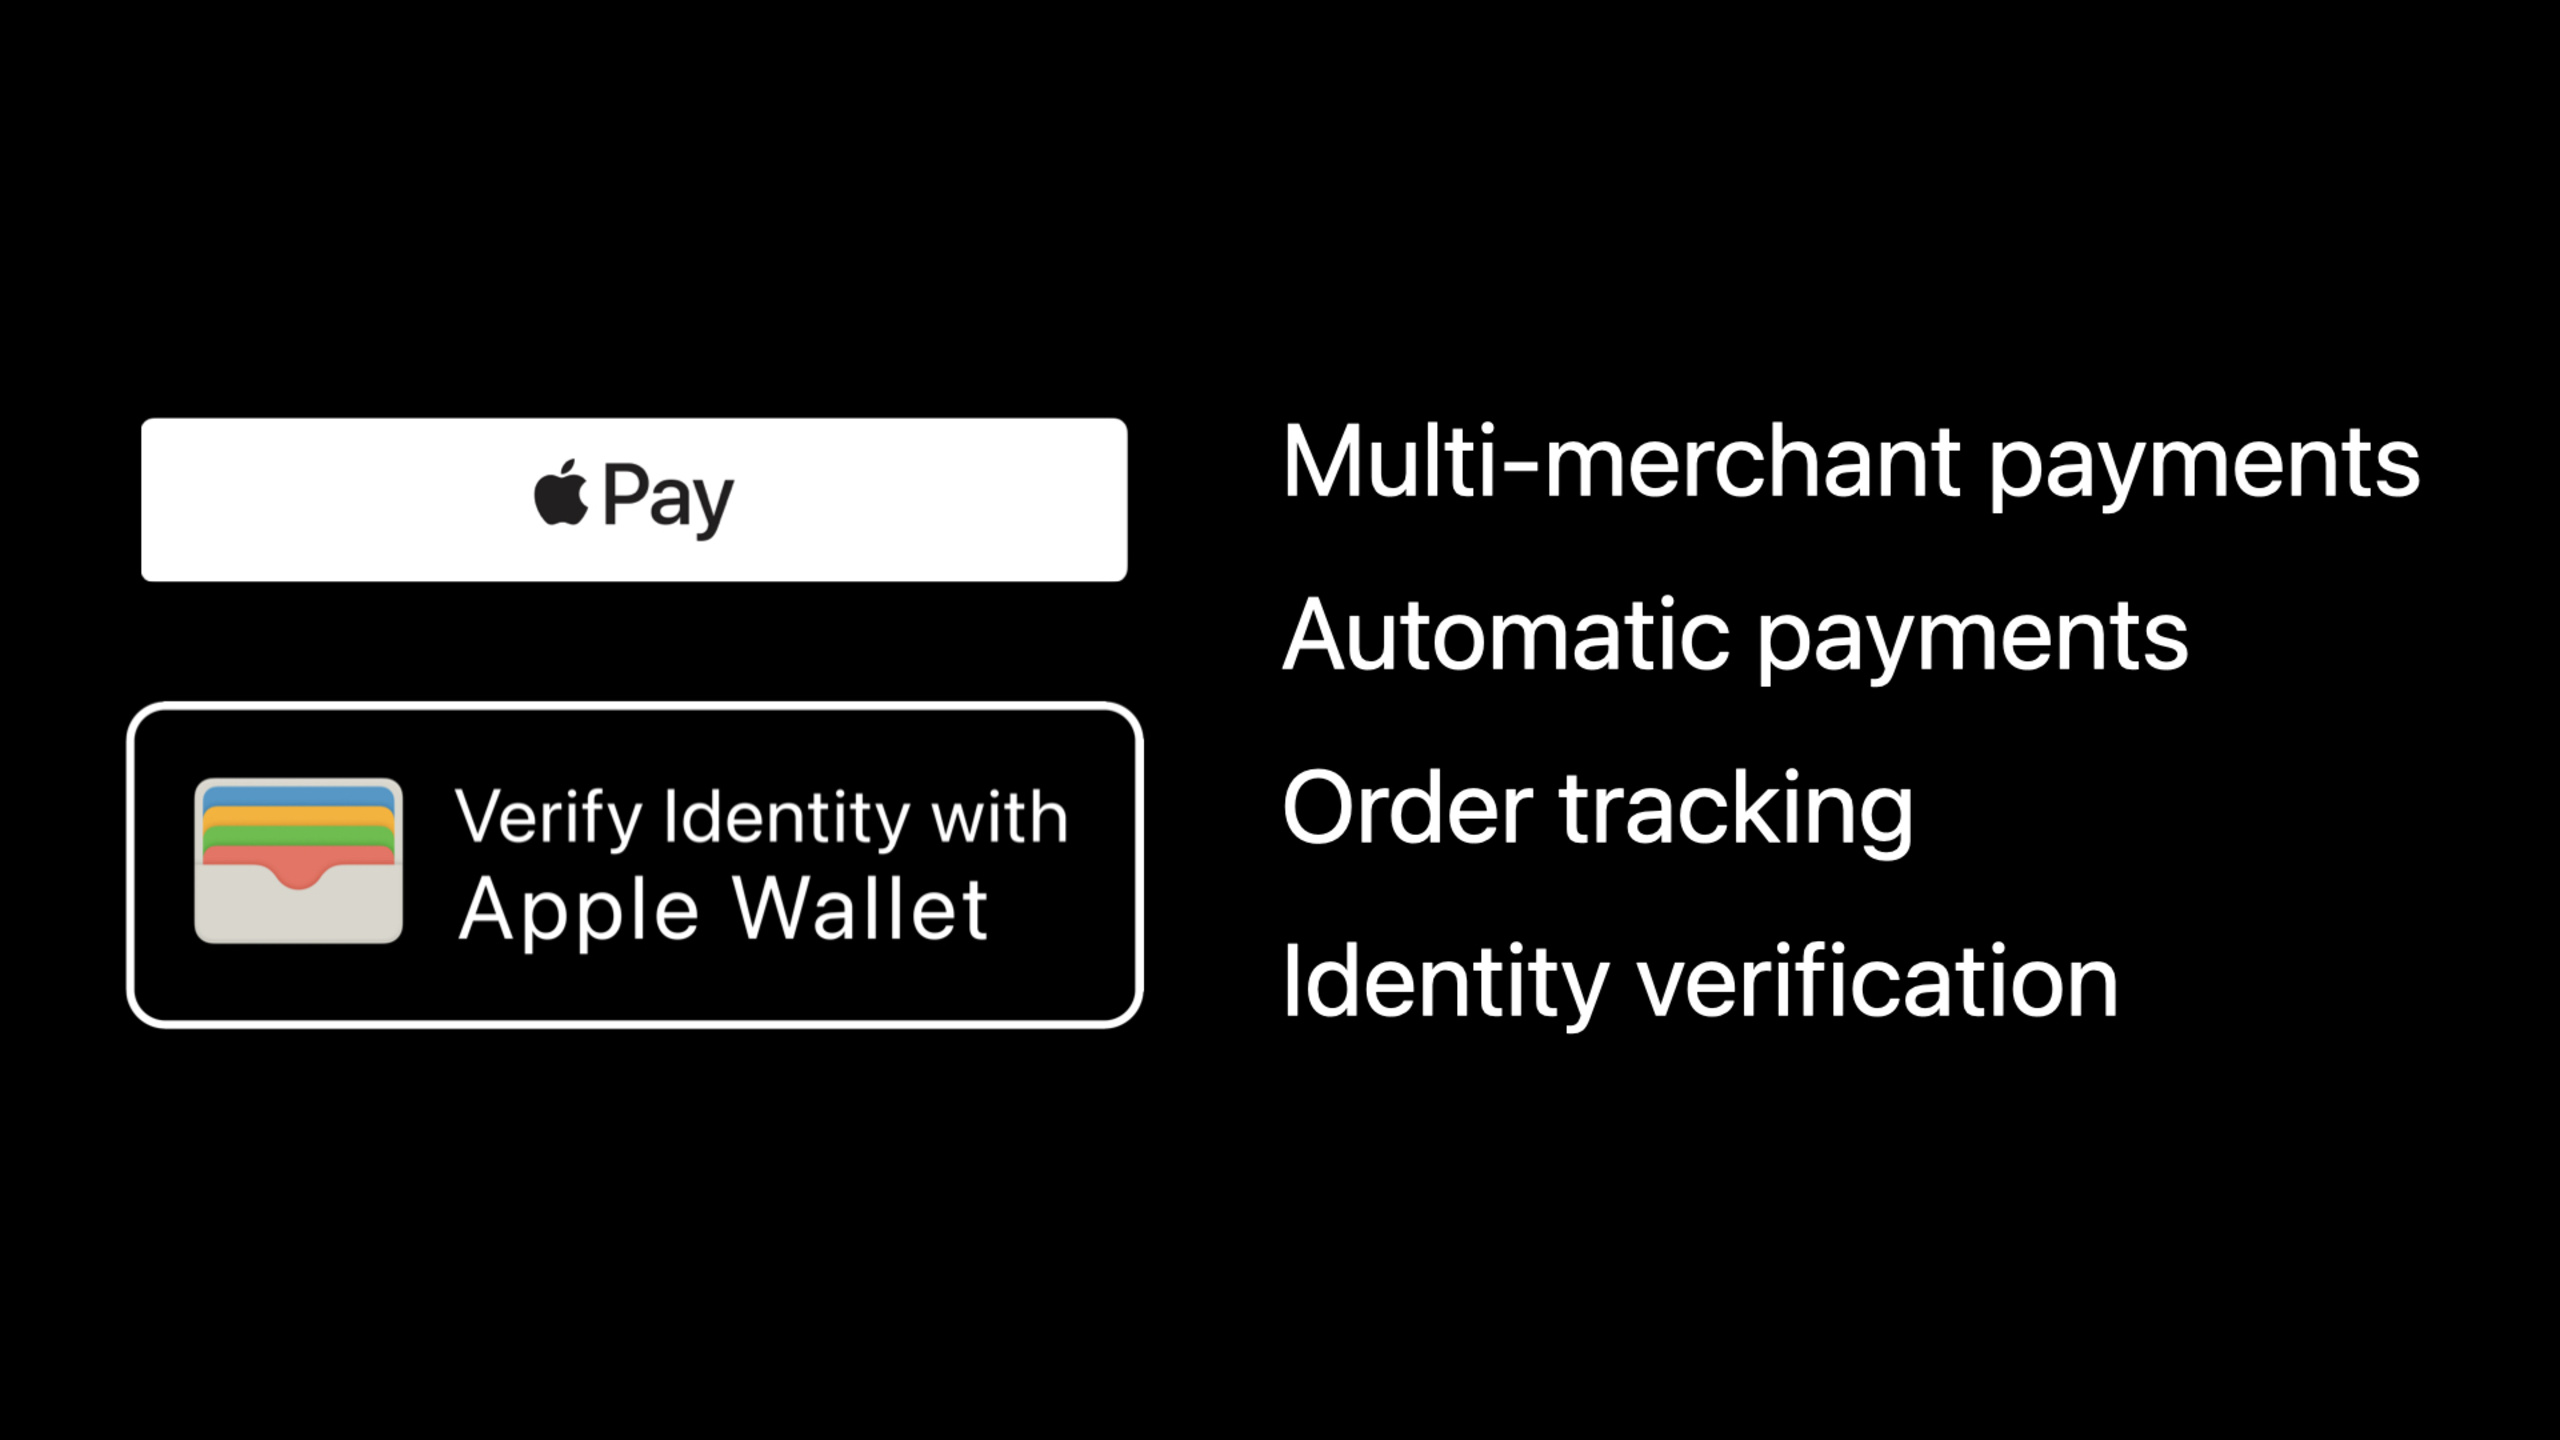
iOS 16 adds SwiftUI buttons, multi-merchant payments, automatic deductions, order tracking, and Wallet authentication APIs for Wallet and Apple Pay, allowing apps to integrate payment authorization, order status, and identity data requests into the same PassKit process.
Core Content
A payment is usually not an isolated action.
The travel platform has to split an order between airlines, hotels and car rental companies. Subscription services will continue to be deducted after the user changes his phone. E-commerce companies must synchronize the delivery, pickup and after-sales status to users after payment. Apps that require age verification should also avoid collecting full birthdates, ID numbers, and photos.
This session puts these scenarios into the same link between Wallet and Apple Pay. Apple has added five categories of capabilities in iOS 16: SwiftUI native buttons, multi-merchant payments, automatic deductions, Wallet order tracking, and requesting identity data from IDs in Wallet.
The first change is small but affects daily development. Add to Apple Wallet, Pay with Apple Pay, and Verify Identity with Wallet all have SwiftUI entrances. The button is responsible for presenting a consistent appearance of the system, and the developer only needs to provide the request object and callback.
The second change is geared toward complex transactions. Multi-merchant payments allow one Apple Pay authorization to generate multiple payment tokens. Users see the total price and the merchant split, and the merchants get their own tokens without the need to pass the complete card number to each other.
The third change targets long-term deductions. The Apple Pay merchant token is bound to the Apple ID, not to the device that initiates the payment. After the user upgrades or resets the iPhone, eligible merchants can still continue to charge money as authorized by the user.
The fourth change puts the paid order into the Wallet. After the merchant returns the order details, the device will asynchronously pull the order package from the merchant server. When the order is updated, the server notifies the registered device to pull again.
The fifth change is authentication. The app can request specific fields of the ID in the Wallet, or it can just request a Boolean result of “whether you are over 18 years old.” The user reviews the request in the system sheet. After approval, the App gets the encrypted response, which is then handed over to the server for decryption and verification.
Detailed Content
Wallet and Apple Pay buttons in SwiftUI
(02:39) In the past, when putting Wallet buttons in SwiftUI, a common practice was to bridge UIKit controls and handle availability, styles and callbacks by ourselves. Available on iOS 16AddPassToWalletButton, just pass in the pass array and completion callback.
@State var addedToWallet: Bool

@ViewBuilder private var airlineButton: some View {
    if let pass = createAirlinePass() {
        AddPassToWalletButton([pass]) { added in
            addedToWallet = added
        }
        .frame(width: 250, height: 50)
        .addPassToWalletButtonStyle(.blackOutline)
    } else {
        // Fallback
    }
}
Key points:
@State var addedToWalletSave whether the user has completed adding, which can be used to update the interface or record the status later. -createAirlinePass()May fail; verbatim mentions handling failed paths when pass data is malformed or signed incorrectly. -AddPassToWalletButton([pass])Receive pass array. The example has only one element, but multiple passes can also be placed.- in closure
addedIs the Boolean result returned by the system. -.frame(width: 250, height: 50)Use the default size displayed in the session. -.addPassToWalletButtonStyle(.blackOutline)Set button style. -elseThe branch is a fallback to prevent the interface from having no exit when the pass cannot be created.
(03:40) There is also a SwiftUI version of the payment button. Prepare firstPKPaymentRequest, and then hand over the authorization status changes toonPaymentAuthorizationChangedeal with.
// Create a payment request
let paymentRequest = PKPaymentRequest()
// ...

// Create a payment authorization change method
func authorizationChange(phase: PayWithApplePayButtonPaymentAuthorizationPhase) { ... }

PayWithApplePayButton(
    .plain,
    request: paymentRequest,
    onPaymentAuthorizationChange: authorizationChange
) {
    // Fallback
}
.frame(width: 250, height: 50)
.payWithApplePayButtonStyle(.automatic)
Key points:
PKPaymentRequest()Still the core object of payment configuration. -authorizationChangetake overPayWithApplePayButtonPaymentAuthorizationPhase, used to handle status changes in the authorization process. -PayWithApplePayButton(.plain, request: ...)Put the button copy, payment request, and authorization callback together.- The fallback closure is used when the current device does not support Apple Pay.
-
.payWithApplePayButtonStyle(.automatic)Let the system choose the appropriate style. - The verbatim mentions that the Pay button has 17 labels and supports iOS, iPadOS, macOS and watchOS.
One transaction generates multiple merchant tokens
(04:38) Multi-merchant payment solves aggregate transactions such as markets, travel, and ticketing. The user only sees one total price, but there are actually multiple payees. In the past, the platform might transmit complete credit card information to each merchant, which was not good for privacy and security.
(06:34) What iOS 16 does is create aPKPaymentTokenContext, and then hang to the samePKPaymentRequestsuperior.
// Create a payment request
let paymentRequest = PKPaymentRequest()
// ...

// Set total amount
paymentRequest.paymentSummaryItems = [
    PKPaymentSummaryItem(label: "Total", amount: 500)
]

// Create a multi token context for each additional merchant in the payment
let multiTokenContexts = [
    PKPaymentTokenContext(
        merchantIdentifier: "com.example.air-travel",
        externalIdentifier: "com.example.air-travel",
        merchantName: "Air Travel",
        merchantDomain: "air-travel.example.com",
        amount: 150
    ),
    PKPaymentTokenContext(
        merchantIdentifier: "com.example.hotel",
        externalIdentifier: "com.example.hotel",
        merchantName: "Hotel",
        merchantDomain: "hotel.example.com",
        amount: 300
    ),
    PKPaymentTokenContext(
        merchantIdentifier: "com.example.car-rental",
        externalIdentifier: "com.example.car-rental",
        merchantName: "Car Rental",
        merchantDomain: "car-rental.example.com",
        amount: 50
    )
]
paymentRequest.multiTokenContexts = multiTokenContexts
Key points:
paymentSummaryItemsFirst set the total amount that the user wants to authorize, here it is 500.- each
PKPaymentTokenContextDescribe an additional merchant. -merchantIdentifierIs the merchant ID. -externalIdentifierIt should remain stable for the same merchant; the verbatim draft clearly requires that the same merchant use the same value every time it requests token. -merchantNameandmerchantDomainUsed to display business information. -amountIs the amount to be authorized by the merchant. -paymentRequest.multiTokenContextsAdd this context to the payment request. - The sum of the amounts of all token contexts must be less than or equal to the total payment request.
Automatic deduction: subscription and automatic recharge
(07:36) The core issue with automatic deductions is long-term authorization. Ordinary payment tokens are device related. After the user changes the iPhone or resets the device, the merchant’s subsequent deductions may be interrupted. iOS 16 introduces Apple Pay merchant token. If the payment network supports it, it will be bound to the user’s Apple ID, which can provide a more stable authorization basis for continued deductions.
(10:14) Subscription, installment, and periodic bill usagePKRecurringPaymentRequest. The example first creates a trial period and a formal account period, and then puts the recurring request intoPKPaymentRequest。
// Specify the amount and billing periods
let regularBilling = PKRecurringPaymentSummaryItem(label: "Membership", amount: 20)

let trialBilling = PKRecurringPaymentSummaryItem(label: "Trial Membership", amount: 10)

let trialEndDate = Calendar.current.date(byAdding: .month, value: 1, to: Date.now)
trialBilling.endDate = trialEndDate
regularBilling.startDate = trialEndDate

// Create a recurring payment request
let recurringPaymentRequest = PKRecurringPaymentRequest(
    paymentDescription: "Book Club Membership",
    regularBilling: regularBilling,
    managementURL: URL(string: "https://www.example.com/managementURL")!
)
recurringPaymentRequest.trialBilling = trialBilling

recurringPaymentRequest.billingAgreement = """
50% off for the first month. You will be charged $20 every month after that until you cancel. \ You may cancel at any time to avoid future charges. To cancel, go to your Account and click \ Cancel Membership.
"""

recurringPaymentRequest.tokenNotificationURL = URL(
    string: "https://www.example.com/tokenNotificationURL"
)!

// Update the payment request
let paymentRequest = PKPaymentRequest()
// ...
paymentRequest.recurringPaymentRequest = recurringPaymentRequest

// Include in the summary items
let total = PKRecurringPaymentSummaryItem(label: "Book Club", amount: 10)
total.endDate = trialEndDate
paymentRequest.paymentSummaryItems = [trialBilling, regularBilling, total]
Key points:
PKRecurringPaymentSummaryItemDisplay item describing periodic billing. -trialBilling.endDateMark the trial period end time. -regularBilling.startDateMark the official deduction start time. -PKRecurringPaymentRequestReceive payment description, official billing period, and admin page URL. -managementURLShould point to a page where users can update or delete payment methods. -trialBillingThere is an optional trial account period. -billingAgreementUse short text to describe chargeback terms; verbatim references to payment sheets show only the first 500 characters. -tokenNotificationURLLet the server receive merchant token life cycle notifications, such as the token being deleted by the issuing bank or user. -paymentRequest.recurringPaymentRequestAdd the automatic debit request to the payment request.- Recurring payment will not automatically add summary items, and developers need to add them manually.
-
totalThe amount that the user will be deducted for the first time should be displayed, here is the trial period amount of 10.
(12:39) Automatic recharge is suitable for stored value cards and prepaid balances. When the balance is lower than the threshold, the system recharges according to a fixed amount.
// Specify the reload amount and threshold
let automaticReloadBilling = PKAutomaticReloadPaymentSummaryItem(
    label: "Coffee Shop Reload",
    amount: 25
)
reloadItem.thresholdAmount = 5

// Create an automatic reload payment request
let automaticReloadPaymentRequest = PKAutomaticReloadPaymentRequest(
    paymentDescription: "Coffee Shop",
    automaticReloadBilling: automaticReloadBilling,
    managementURL: URL(string: "https://www.example.com/managementURL")!
)

automaticReloadPaymentRequest.billingAgreement = """
Coffee Shop will add $25.00 to your card immediately, and will automatically reload your \
card with $25.00 whenever the balance falls below $5.00. You may cancel at any time to avoid \ future charges. To cancel, go to your Account and click Cancel Reload.
"""

automaticReloadPaymentRequest.tokenNotificationURL = URL(
    string: "https://www.example.com/tokenNotificationURL"
)!

// Update the payment request
let paymentRequest = PKPaymentRequest()
// ...
paymentRequest.automaticReloadPaymentRequest = automaticReloadPaymentRequest

// Include in the summary items
let total = PKAutomaticReloadPaymentSummaryItem(
    label: "Coffee Shop",
    amount: 25
)
total.thresholdAmount = 5
paymentRequest.paymentSummaryItems = [total]
Key points:
PKAutomaticReloadPaymentSummaryItemDescribe the automatic recharge amount. -thresholdAmountIs the balance threshold that triggers recharge. -PKAutomaticReloadPaymentRequestReceive payment description, auto-recharge items, and admin page URL. -billingAgreementDescribe the immediate recharge amount, trigger threshold and cancellation method. -tokenNotificationURLUsed for merchant token lifecycle notifications like recurring payment. -paymentRequest.automaticReloadPaymentRequestIndicates that automatic recharge authorization is required for this payment.- summary items still need to be set manually.
- The verbatim draft also states: Only one type of automatic deduction can be requested for a transaction, and automatic deduction cannot be used with multi-merchant payments.
Wallet Order Tracking
(15:14) After payment, what users are most concerned about is the order status. Wallet order tracking in iOS 16 can display active, recently completed, and past orders, as well as delivery, pickup windows, barcodes, merchant contact information, and entry points to jump back to the app.
(17:08) Before integration, developers must create an Order Type ID and certificate in the account. Orders are distributed in order packages, which contain order metadata, images, and localized resources, and must be encrypted and signed before being compressed and distributed.
(19:17) When using Apple Pay within the app, the server returns the order details after successfully processing the payment. The client puts these details intoPKPaymentAuthorizationResult.orderDetails。
func onAuthorizationChange(phase: PayWithApplePayButtonPaymentAuthorizationPhase) {
    switch phase {
    // ...
    case .didAuthorize(let payment, let resultHandler):
        server.createOrder(with: payment) { serverResult in
            guard case .success(let orderDetails) = serverResult else { /* handle error */ }
            let result = PKPaymentAuthorizationResult(status: .success, errors: nil)
            result.orderDetails = PKPaymentOrderDetails(
                orderTypeIdentifier: orderDetails.orderTypeIdentifier,
                orderIdentifier: orderDetails.orderIdentifier,
                webServiceURL: orderDetails.webServiceURL,
                authenticationToken: orderDetails.authenticationToken,
            )
            resultHandler(result)
        }
    }
}
Key points:
onAuthorizationChangeHandle Apple Pay authorization status changes. -.didAuthorizeGet it at stagepaymentandresultHandler。server.createOrder(with: payment)Pass the payment information to the server for processing. -guard case .success(let orderDetails)Confirm that the server created the order successfully. -PKPaymentAuthorizationResult(status: .success, errors: nil)Indicates payment authorization was successful. -PKPaymentOrderDetailsContains Order Type ID, Order ID, server URL and authentication token. -authenticationTokenIt is the shared secret used by the device when subsequently requesting the order package. -result.orderDetailsIt is the new entrance of iOS 16. -resultHandler(result)Complete the authorization result return.
(20:13) The web page can also pass in order details when completing the payment.
paymentRequest.show().then((response) => {
    server.createOrder(response).then((orderDetails) => {
        let details = { };
        if (response.methodName === "https://apple.com/apple-pay") {
            details.data = {
                orderDetails: {
                    orderTypeIdentifier: orderDetails.orderTypeIdentifier,
                    orderIdentifier: orderDetails.orderIdentifier,
                    webServiceURL: orderDetails.webServiceURL,
                    authenticationToken: orderDetails.authenticationToken,
                },
            };
        }
        response.complete("success", details);
    });
});
Key points:
paymentRequest.show()Demonstrates the Web Payment Request process. -server.createOrder(response)Create an order on the server side. -detailsIt is the data returned to the browser when payment is completed. -response.methodName === "https://apple.com/apple-pay"Confirm that the current payment method is Apple Pay. -details.data.orderDetailsThe four fields correspond to thePKPaymentOrderDetails。response.complete("success", details)Complete payment and submit order details to the system.
Order updates also go to the merchant server. After the order package declares support for automatic updates, the device will register for updates. When the merchant updates an order, it notifies the device with the registration information; after receiving the notification, the device requests the latest order package again. The verbatim notes that order information is exchanged directly between the device and the merchant’s server, and iCloud-synced order information is encrypted end-to-end.
Request identity data from ID in Wallet
(23:10) iOS 16 allows apps and app clips to request information from the driver’s license or State ID in the Wallet. The goal of this API is to reduce sensitive data collection. For example, age verification does not require a complete birthday, only a requestage(atLeast:)Boolean result.
(27:05) SwiftUI usesVerifyIdentityWithWalletButtonStart the process. Provide fallback when unavailable, for example, the user did not add the ID to the Wallet.
@ViewBuilder var verifiyIdentityButton: some View {
    VerifyIdentityWithWalletButton(
        .verifyIdentity,
        request: createRequest(),
    ) { result in
        // ...
    } fallback: {
        // verify identity another way
    }
}
Key points:
VerifyIdentityWithWalletButtonIt is the entry point of SwiftUI. -.verifyIdentityIs one of the button label types. -request: createRequest()supplyPKIdentityRequest.- The result closure receives the result after user approval or cancellation.
- fallback closure is used in scenarios where authentication is not available.
(27:18) The request object consists of descriptor, merchant identifier and nonce. descriptor specifies the data elements to be requested and whether these elements will be stored.
func createRequest() -> PKIdentityRequest {
    let descriptor = PKIdentityDriversLicenseDescriptor()
    descriptor.addElements([.age(atLeast: 18)],
                            intentToStore: .willNotStore)
    descriptor.addElements([.givenName, .familyName, .portrait],
                            intentToStore: .mayStore(days: 30))

    let request = PKIdentityRequest()
    request.descriptor = descriptor
    request.merchantIdentifier = // configured in Developer account
    request.nonce = // bound to user session
}
Key points:
PKIdentityDriversLicenseDescriptor()Describe what data to request from the document.- first group
addElementsRequest “Are you at least 18 years old” and state that it will not be stored. - Group 2
addElementsRequests a given name, family name, and portrait, stating that it may be stored for up to 30 days. -PKIdentityRequest()Is the request object passed to the button. -request.descriptorBind data request description. -merchantIdentifierPoint to the merchant ID and encryption certificate configured in the developer account. -nonceBinds to the current user session and is used to prevent response replay; verbatim suggestions are typically generated and verified by the server.
(29:37) After the user approves, the App receivesPKIdentityDocument, it should be sent to the server for decryption and verification. A common cause of failure is user cancellation.
@ViewBuilder var verifiyIdentityButton: some View {
    VerifyIdentityWithWalletButton(
        .verifyIdentity,
        request: createRequest(),
    ) { result in
        switch result {
        case .success(let document):
            // send document to server for decryption and verification
        case .failure(let error):
            switch error {
            case PKIdentityError.cancelled:
                // handle cancellation
            default:
                // handle other errors
            }
        }
    } fallback: {
        // verify identity another way
    }
}
Key points:
.success(let document)Indicates user approval,documentContains an encrypted response.- The annotation explicitly requires that the document be sent to the server for decryption and verification.
-
.failure(let error)Indicates that the process failed. -PKIdentityError.cancelledis a common failure path for users not approving requests. - fallback still handles scenarios where the API is unavailable.
(30:46) Encryption and signing are handled on the server side. The response is a CBOR encoded encryption envelope, encrypted using HPKE. The server decrypts it with the private key and obtains the mdoc response defined by ISO 18013-5. Before using the data, the server verifies the issuer signature and device signature. Apple servers and issuing authority servers are not involved in this step.
Core Takeaways
-
Make a travel package payment page: Split air tickets, hotels and car rentals into multiple
PKPaymentTokenContext. In this way, the user only authorizes a total price, and each merchant gets its own payment token to avoid transmitting the complete card number between merchants. -
Automatic deduction of Apple Pay for membership subscription: use
PKRecurringPaymentRequestDescribe the trial period, official account period, management page and token notification address. The server connects to the Apple Pay Merchant Token Management API to handle life cycle events such as token deletion. -
Automatic recharge of coffee card: use
PKAutomaticReloadPaymentRequestandPKAutomaticReloadPaymentSummaryItemSet the recharge amount and threshold. When the balance is below the threshold, it will be automatically recharged according to user authorization, and a management entrance will be provided in the Wallet. -
Wallet tracking for e-commerce orders: Create Order Type ID and certificate, and return after successful payment
PKPaymentOrderDetails. The server generates a signed order package and notifies the device to update when it is shipped, available for pickup, and completed. -
Do age verification with less data collection: Use
PKIdentityDriversLicenseDescriptorask.age(atLeast: 18), and putintentToStoreset to.willNotStore. The server only verifies the encrypted response and signature and does not save the full date of birth.
Related Sessions
- What’s new with in-app purchase — Focus on payment experience, transaction status and StoreKit 2, suitable for comparison with Apple Pay automatic deductions.
- What’s new in StoreKit testing — Introducing purchase and subscription testing tools, suitable for completing the local verification link of the payment process.
- Explore in-app purchase integration and migration — Talk about server-side API and notification migration, complementing the server-side processing of Wallet orders and merchant tokens.
- Meet passkeys - Also around system-level identity and credential security, it is suitable for understanding Apple’s design direction in reducing the exposure of sensitive information.
Comments
GitHub Issues · utterances