
Highlight
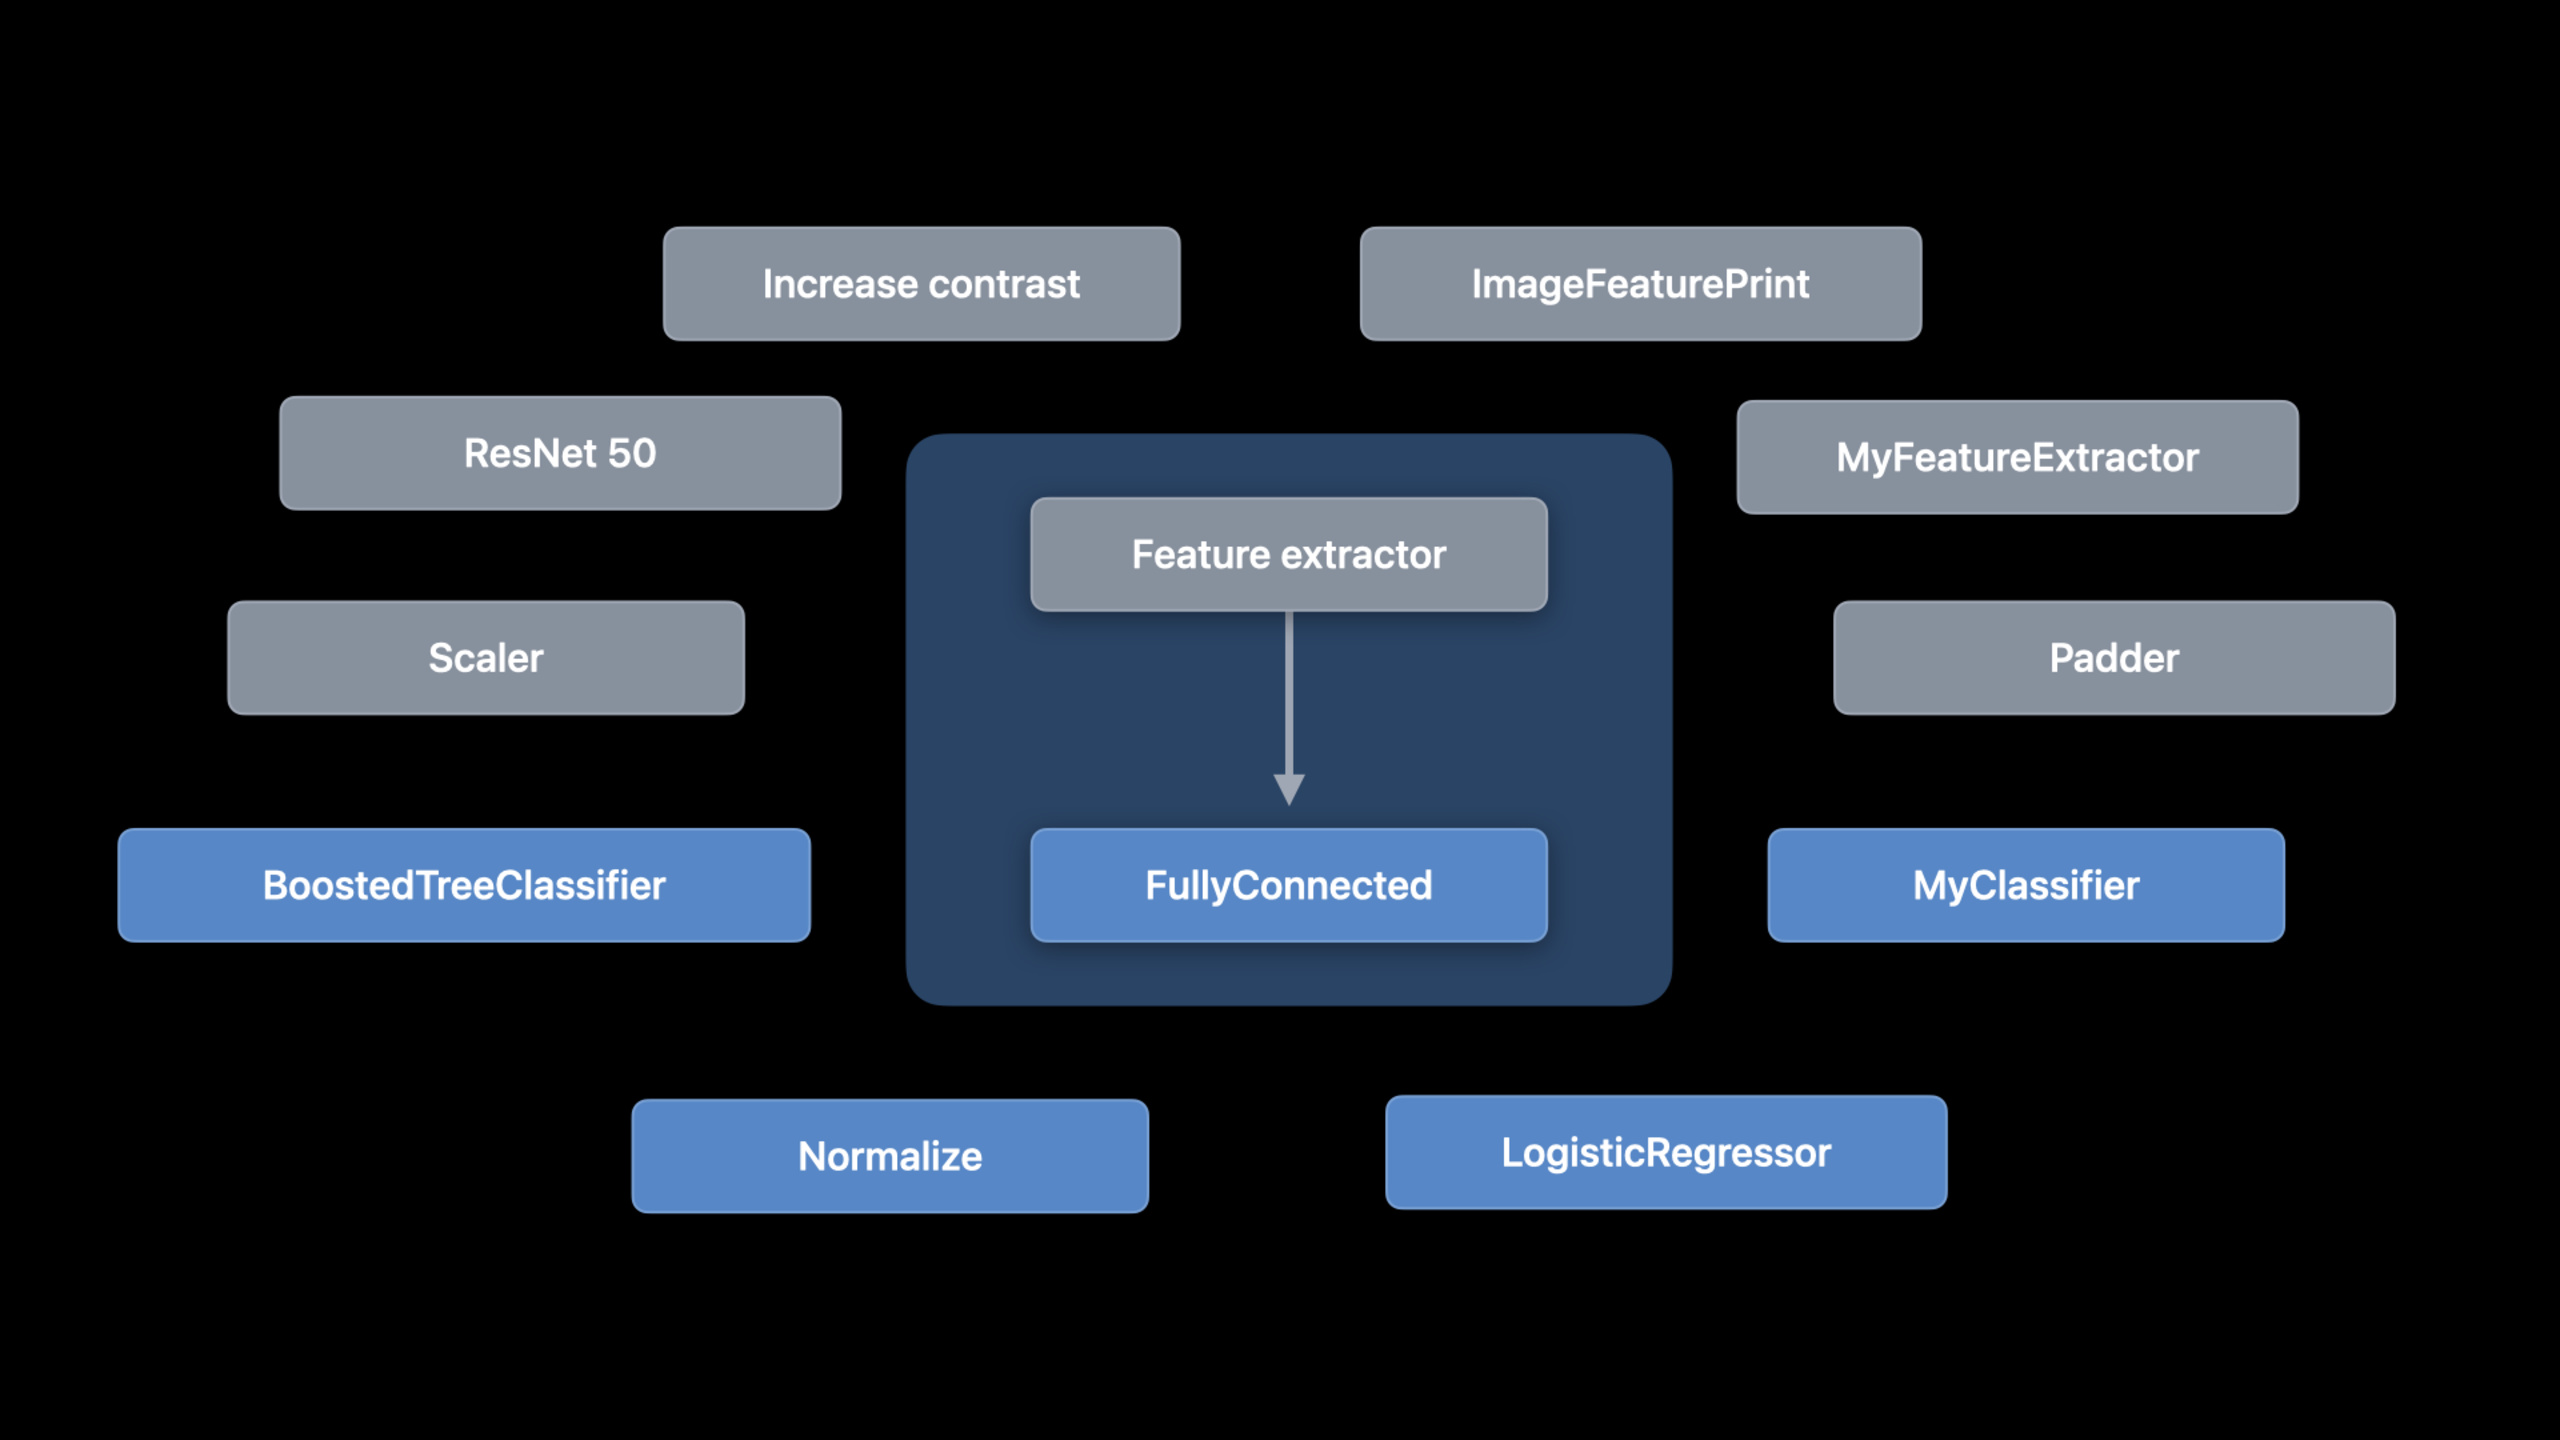
Create ML Components splits Create ML tasks into Transformers and Estimators. Developers can combine components such as
ImageFeaturePrint,LinearRegressor, andColumnSelectorwithappendingto train models beyond predefined tasks like image regression and tabular regression.
Core Content
Create ML originally suited a set of predefined tasks: image classification, sound classification, action classification, tabular regression, and more. Problems appear beyond those boundaries. You might not want to classify a photo as cat or dog, but score banana ripeness from 1 to 10. You might want different preprocessing for categorical and numeric CSV columns before predicting avocado price.
This session’s answer is Create ML Components. It splits machine learning tasks into two basic concepts: a Transformer turns input into output, and an Estimator learns from training data and produces a Transformer (03:58). Components chain with appending; the output type of one must match the input type of the next (04:54).
This split lets developers reshape task internals. An image classifier can swap the classifier for a regressor to become an image regressor; image input can pass through saliency cropping before feature extraction; tabular data can use ColumnSelector on specific columns before regression training.
The session demonstrates two complete tasks. The first reads banana ripeness scores from filenames, extracts image features with ImageFeaturePrint, then learns a score model with LinearRegressor. The second reads an avocado price CSV, selects the volume column with ColumnSelector, standardizes with StandardScaler, then predicts price with BoostedTreeRegressor.
Detailed Content
1. Compose an image regressor from components
(08:59) An image classifier usually consists of a feature extractor and classifier. To turn it into an image regressor, the session only replaces the second stage: keep ImageFeaturePrint, swap the classifier for LinearRegressor. Training labels change from string labels to float scores.
import CoreImage
import CreateMLComponents

struct ImageRegressor {
    static let trainingDataURL = URL(fileURLWithPath: "~/Desktop/bananas")
    static let parametersURL = URL(fileURLWithPath: "~/Desktop/parameters")

    static func train() async throws -> some Transformer<CIImage, Float> {
        let estimator = ImageFeaturePrint()
            .appending(LinearRegressor())

        // File name example: banana-5.jpg
        let data = try AnnotatedFiles(labeledByNamesAt: trainingDataURL, separator: "-", index: 1, type: .image)
            .mapFeatures(ImageReader.read)
            .mapAnnotations({ Float($0)! })

        let (training, validation) = data.randomSplit(by: 0.8)
        let transformer = try await estimator.fitted(to: training, validateOn: validation)
        try estimator.write(transformer, to: parametersURL)

        return transformer
    }
}
Key points:
ImageFeaturePrint().appending(LinearRegressor())chains an image feature extractor and linear regressor into one estimator.AnnotatedFiles(labeledByNamesAt:separator:index:type:)extracts labels from filenames. Example:banana-5.jpg, separator-, score at index 1.mapFeatures(ImageReader.read)reads file URLs intoCIImage.mapAnnotations({ Float($0)! })converts string scores in filenames toFloat.randomSplit(by: 0.8)holds out 20% for validation.fitted(to:validateOn:)learns parameters from training data and checks results on validation data.estimator.write(transformer, to:)saves trained parameters for later loading or deployment.
The return type is some Transformer<CIImage, Float>. Callers only care that it turns a CIImage into a Float score without knowing internal component composition.
2. Observe error, augment data, add saliency cropping
(12:18) The first model had high error because there were not enough banana images. The session does three things: print training and validation maximum error in fitted events; augment training data with rotation and scaling; add a custom SaliencyCropper before feature extraction to crop to salient object regions.
import CoreImage
import CreateMLComponents

struct ImageRegressor {
    static let trainingDataURL = URL(fileURLWithPath: "~/Desktop/bananas")
    static let parametersURL = URL(fileURLWithPath: "~/Desktop/parameters")

    static func train() async throws -> some Transformer<CIImage, Float> {
        let estimator = SaliencyCropper()
            .appending(ImageFeaturePrint())
            .appending(LinearRegressor())

        // File name example: banana-5.jpg
        let data = try AnnotatedFiles(labeledByNamesAt: trainingDataURL, separator: "-", index: 1, type: .image)
            .mapFeatures(ImageReader.read)
            .mapAnnotations({ Float($0)! })
            .flatMap(augment)

        let (training, validation) = data.randomSplit(by: 0.8)
        let transformer = try await estimator.fitted(to: training, validateOn: validation) { event in
            guard let trainingMaxError = event.metrics[.trainingMaximumError] else {
                return
            }
            guard let validationMaxError = event.metrics[.validationMaximumError] else {
                return
            }
            print("Training max error: \(trainingMaxError), Validation max error: \(validationMaxError)")
        }

        let validationError = try await meanAbsoluteError(
            transformer.applied(to: validation.map(\.feature)),
            validation.map(\.annotation)
        )
        print("Mean absolute error: \(validationError)")

        try estimator.write(transformer, to: parametersURL)

        return transformer
    }

    static func augment(_ original: AnnotatedFeature<CIImage, Float>) -> [AnnotatedFeature<CIImage, Float>] {
        let angle = CGFloat.random(in: -.pi ... .pi)
        let rotated = original.feature.transformed(by: .init(rotationAngle: angle))

        let scale = CGFloat.random(in: 0.8 ... 1.2)
        let scaled = original.feature.transformed(by: .init(scaleX: scale, y: scale))

        return [
            original,
            AnnotatedFeature(feature: rotated, annotation: original.annotation),
            AnnotatedFeature(feature: scaled, annotation: original.annotation),
        ]
    }
}
Key points:
SaliencyCropper().appending(...)places a custom transformer before feature extraction. Training and prediction both use the same crop step..flatMap(augment)expands each training sample into original, rotated, and scaled samples.fitted(... ) { event in ... }reads metrics during training via event callbacks..trainingMaximumErrorand.validationMaximumErrorreflect maximum error on training and validation sets.transformer.applied(to: validation.map(\.feature))predicts on validation features with the trained model.meanAbsoluteError(...)computes mean absolute error between predictions and true scores.augment(_:)preserves original annotations; rotation and scaling change images, not ripeness scores.
The session specifically notes data augmentation is used only during fitting, not prediction (13:59). Saliency cropping is different—it is part of the task definition, so both training and inference run it (15:28).
3. Handle tabular columns with ColumnSelector
(20:23) Tabular data has columns of different types. Numeric columns may need standardization; categorical columns may need encoding. Create ML Components uses ColumnSelector to process specified columns, then passes the processed table to a downstream estimator.
import CreateMLComponents
import Foundation
import TabularData

struct TabularRegressor {
    static let dataURL = URL(fileURLWithPath: "~/Downloads/avocado.csv")
    static let parametersURL = URL(fileURLWithPath: "~/Downloads/parameters.pkg")

    static let priceColumnID = ColumnID("price", Double.self)

    static var task: some SupervisedTabularEstimator {
        let numeric = ColumnSelector(
            columns: ["volume"],
            estimator: OptionalUnwrapper()
                .appending(StandardScaler<Double>())
        )
        let regression = BoostedTreeRegressor<String>(
            annotationColumnName: priceColumnID.name,
            featureColumnNames: ["type", "region", "volume"]
        )

        return numeric.appending(regression)
    }

    static func train() async throws -> some TabularTransformer {
        let dataFrame = try DataFrame(contentsOfCSVFile: dataURL)
        let (training, validation) = dataFrame.randomSplit(by: 0.8)
        let transformer = try await task.fitted(to: DataFrame(training), validateOn: DataFrame(validation)) { event in
            guard let validationError = event.metrics[.validationError] as? Double else {
                return
            }
            print("Validation error: \(validationError)")
        }
        try task.write(transformer, to: parametersURL)
        return transformer
    }

    static func predict(
        type: String,
        region: String,
        volume: Double
    ) async throws -> Double {
        let model = try task.read(from: parametersURL)
        let dataFrame: DataFrame = [
            "type": [type],
            "region": [region],
            "volume": [volume]
        ]
        let result = try await model(dataFrame)
        return result[priceColumnID][0]!
    }
}
Key points:
ColumnID("price", Double.self)defines the prediction target column; reading predictions uses the same column ID.ColumnSelector(columns: ["volume"], estimator: ...)selects only thevolumecolumn for numeric preprocessing.OptionalUnwrapper().appending(StandardScaler<Double>())unwraps optionals, then standardizes values to mean 0 and standard deviation 1 (19:16).BoostedTreeRegressor<String>usestype,region, andvolumeas features to predictprice.numeric.appending(regression)combines column preprocessing and regressor into one tabular task.DataFrame(contentsOfCSVFile:)reads CSV from the TabularData framework.task.fitted(to:validateOn:)trains the tabular transformer and reads validation error from events.task.read(from:)loads saved parameters. Create ML Components models need both task definition and parameter files (23:34).model(dataFrame)predicts on a new data frame containingtype,region, andvolume.
There are two deployment paths. Export a Core ML model—self-contained with optimized tensor ops, but custom transformers and estimators are unsupported and Core ML supports fewer input/output types (23:55). If the task has custom components, package task definition and parameters in a Swift package (24:39).
Core Takeaways
-
Build a fruit ripeness scorer: Photograph a banana or avocado and return a 1–10 ripeness score. Start from the session’s image regressor, store score labels in filenames, then combine
ImageFeaturePrintandLinearRegressorto train. -
Build a product photo quality checker: Score e-commerce or resale app images for sharpness, subject centering, or sellability. Write human review scores into filenames, read labels with
AnnotatedFiles, then add rotation and scaling augmentation as in the session. -
Build a local price estimation tool: Read category, region, quantity, and historical prices from CSV to predict the next batch price. Entry points are TabularData
DataFrame, Create ML ComponentsColumnSelector,StandardScaler, andBoostedTreeRegressor. -
Build a reusable training command-line tool: Wrap training, validation error printing, and parameter saving in a Swift command-line program. Image tasks call
estimator.write(transformer, to:)to save parameters; the app reads parameters with the same task definition and predicts. -
Build a vertical model package with preprocessing: Put cropping, feature extraction, and regressor in one task definition. Reuse the same pipeline for training and inference to avoid mismatch between hand-written app preprocessing and training logic.
Related Sessions
- Compose advanced models with Create ML Components — Continues with Create ML Components for temporal data, video action counting, and incremental training.
- Explore the machine learning development experience — Connects model discovery, conversion, validation, integration, and performance optimization across Apple platform ML development.
- Optimize your Core ML usage — Use Xcode and Instruments to analyze Core ML model loading, prediction, and compute unit usage on device.
Comments
GitHub Issues · utterances