
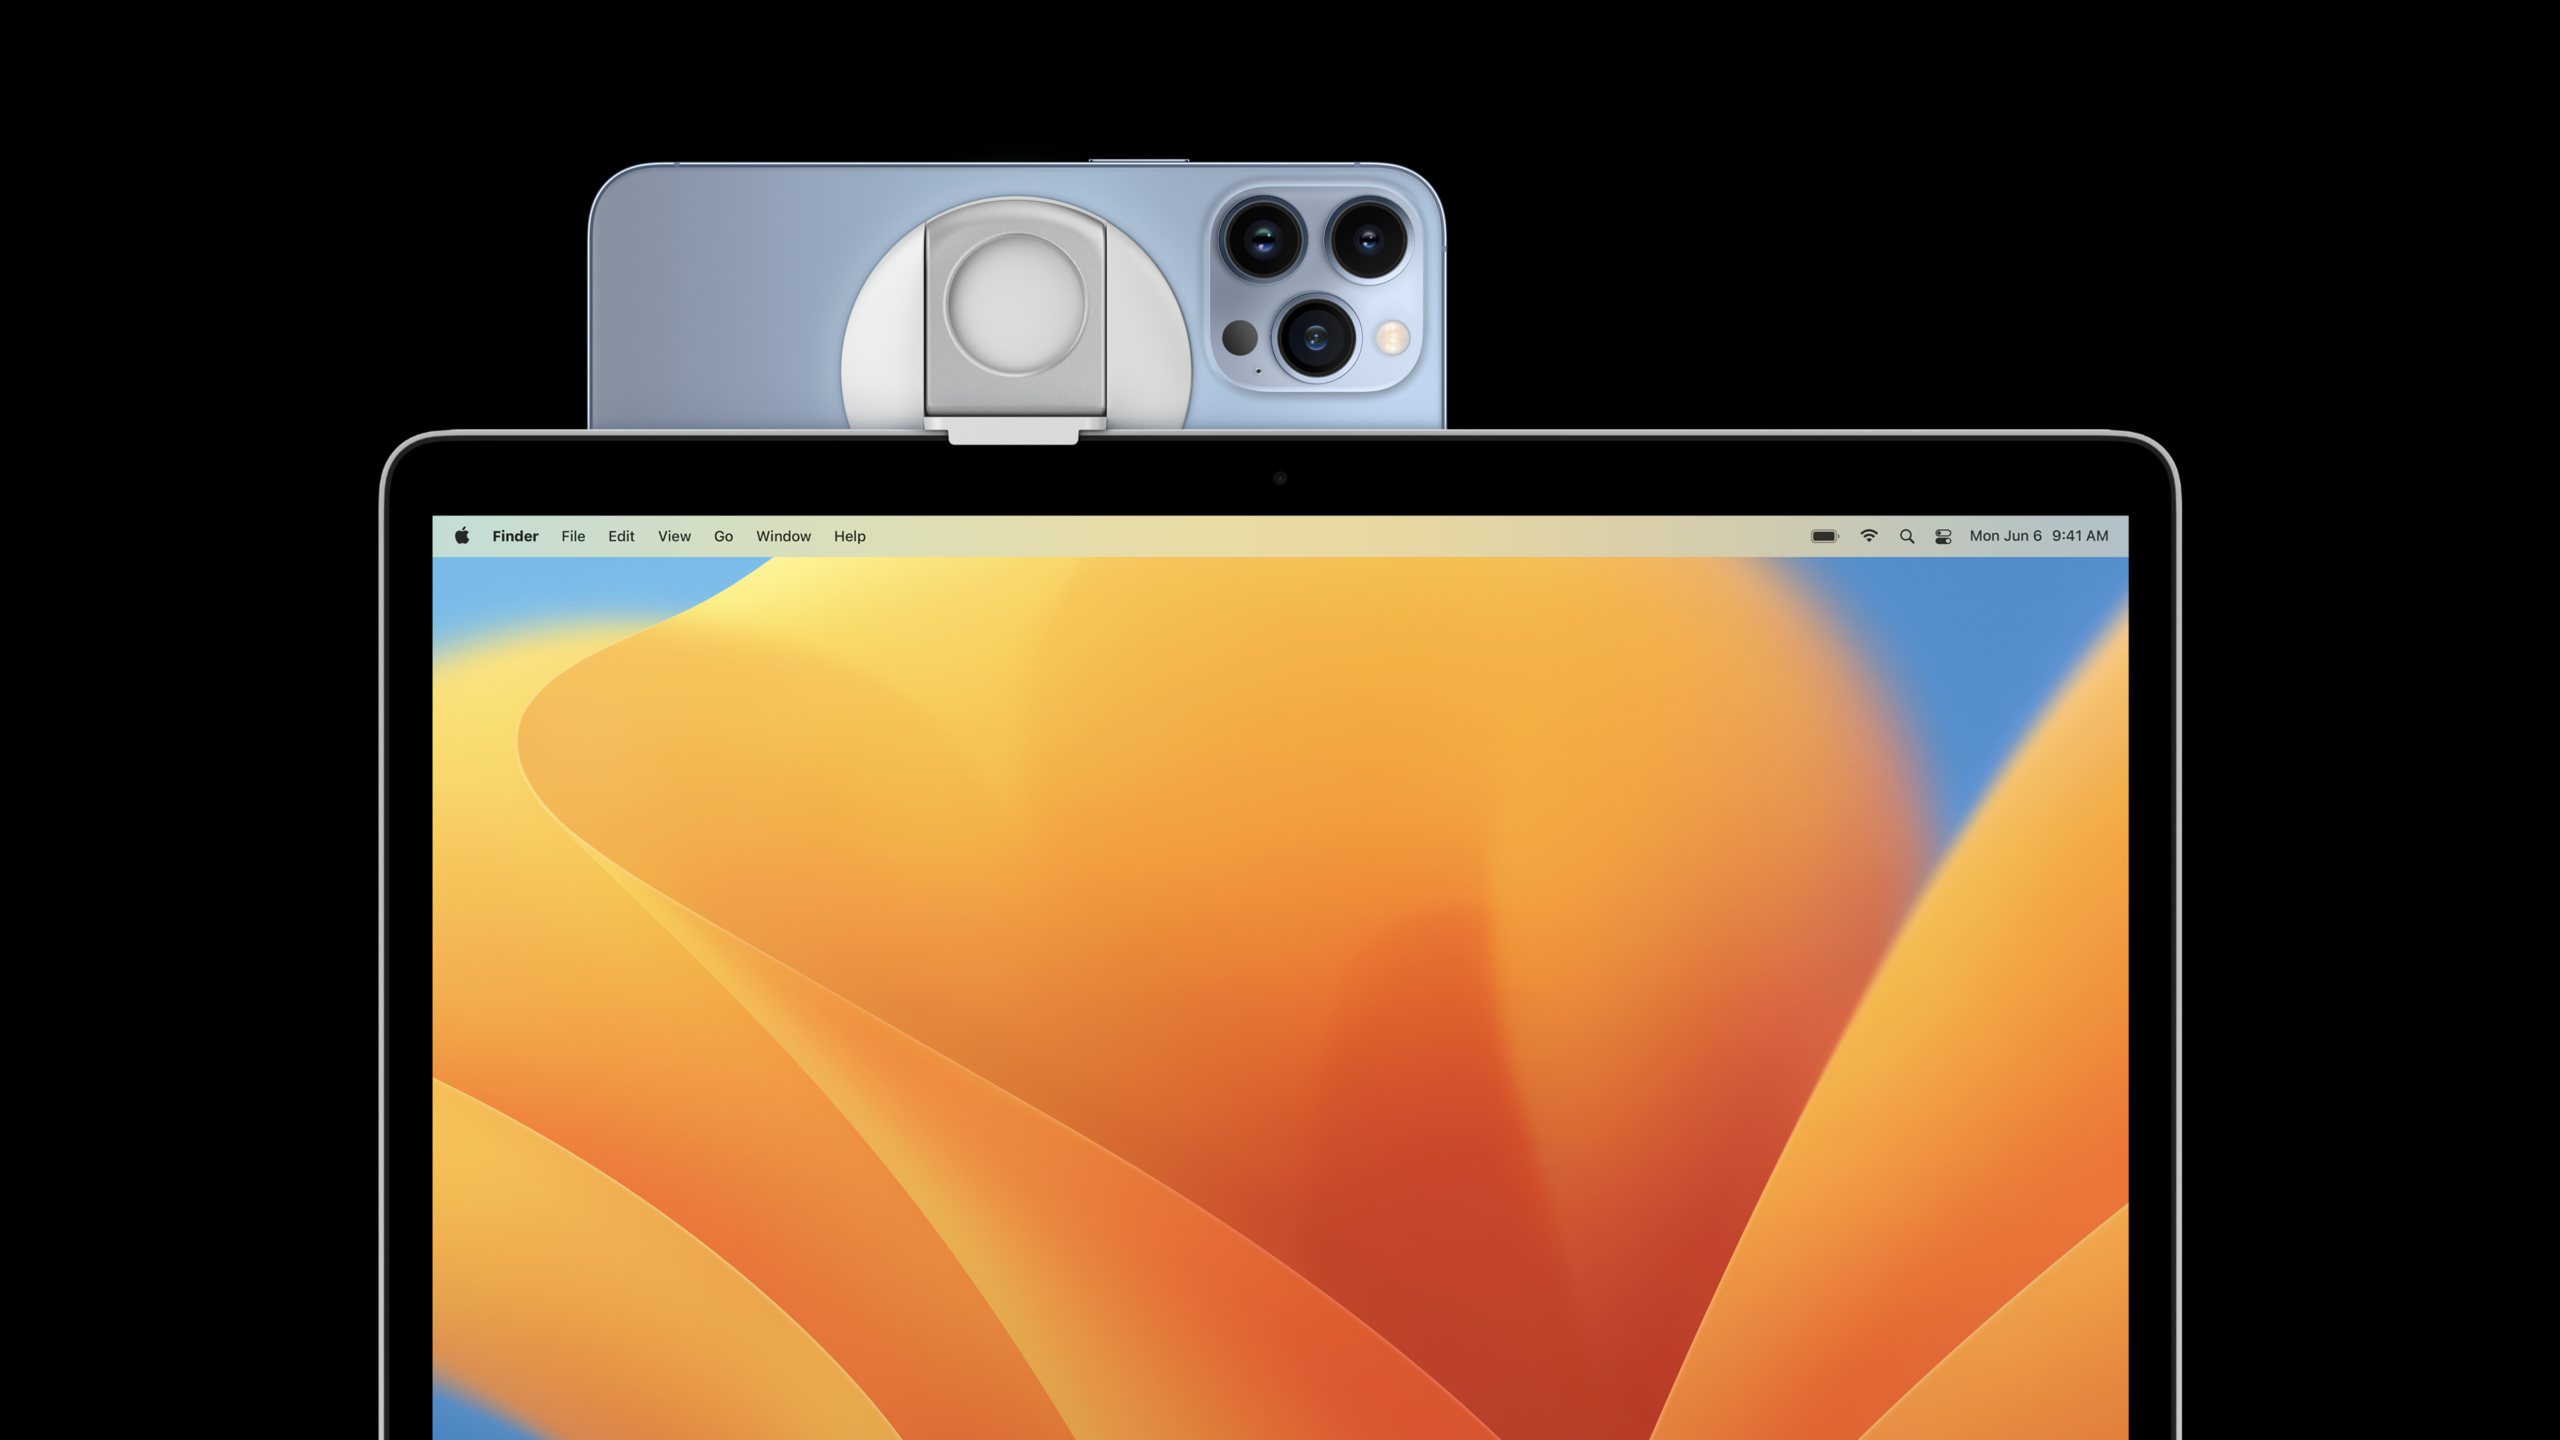
Highlight
macOS Ventura and iOS 16 introduce Continuity Camera, letting Mac use iPhone cameras as external cameras. Beyond high-quality video input, it supports iPhone-only effects such as Center Stage, Studio Light, and Desk View.
Core Content
The Mac camera experience often came down to two choices: the built-in camera, or an external camera the user connected manually. When devices disconnect, MacBook lids close, or a better camera appears, apps usually make users pick again.
Continuity Camera exposes iPhone as an external camera and microphone on Mac. When users meet requirements—macOS 13, iOS 16, the same Apple ID, two-factor authentication, and USB or nearby wireless connection—iPhone appears in Mac’s camera list (00:40).
For existing apps, the most direct change is: if you already use AVFoundation’s standard capture pipeline, many experiences automatically gain iPhone video quality, Center Stage, Portrait, Studio Light, and Desk View (07:58).
This session focuses on making apps behave more like system apps in multi-camera environments: automatically following the system-recommended camera while remembering manual user choice; capturing up to 12-megapixel photos from iPhone’s video stream; and integrating Desk View as a separate AVCaptureDevice in your capture pipeline.
Detailed Content
Automatic camera selection
(08:43) macOS 13 adds two class properties on AVCaptureDevice: userPreferredCamera and systemPreferredCamera.
userPreferredCamera is read-write. When users manually select a camera in your app, write that device. AVFoundation remembers per-app user preference and continues suggesting available devices after connect, disconnect, and restart.
systemPreferredCamera is read-only. It combines user preference, device state, and Continuity Camera auto-selection signals to recommend the most appropriate camera. For example, when iPhone is on a stationary stand, landscape, screen off, and connected via USB or nearby wireless to Mac, Continuity Camera emits a signal that it should be auto-selected (10:44).
Conceptual example:
// Pseudocode based on the session transcript.
if automaticCameraSelectionEnabled {
    observe(AVCaptureDevice.systemPreferredCamera) { camera in
        replaceVideoInput(with: camera)
    }
}

func userDidPickCamera(_ camera: AVCaptureDevice) {
    AVCaptureDevice.userPreferredCamera = camera

    if !automaticCameraSelectionEnabled {
        replaceVideoInput(with: camera)
    }
}
Key points:
automaticCameraSelectionEnabledrepresents your app’s auto mode switch; the session recommends offering both manual and automatic modes (11:56).- In automatic mode, observe
systemPreferredCameraand updateAVCaptureSessionvideo input when the property changes. - When users manually select a camera, always write
userPreferredCameraso the system retains your app’s preference history. - In manual mode, stop following
systemPreferredCameraand use the user-selected device directly.
Capture high-resolution photos from iPhone video stream
(14:33) Continuity Camera brings iPhone photo quality to macOS. Before macOS 13, macOS photo capture supported only video resolution; with Continuity Camera, you can capture up to 12-megapixel photos.
The session’s enablement flow has two layers: enable high-resolution capture on AVCapturePhotoOutput, then enable high-resolution photos on each capture’s AVCapturePhotoSettings.
Conceptual example:
// Pseudocode based on the session transcript.
let photoOutput = AVCapturePhotoOutput()
photoOutput.isHighResolutionCaptureEnabled = true
photoOutput.maxPhotoQualityPrioritization = .quality

let settings = AVCapturePhotoSettings()
settings.isHighResolutionPhotoEnabled = true
settings.photoQualityPrioritization = .quality
settings.flashMode = .auto

photoOutput.capturePhoto(with: settings, delegate: photoDelegate)
Key points:
isHighResolutionCaptureEnabledcorresponds to transcript’shighResolutionCaptureEnabled; configure it onAVCapturePhotoOutputbefore capture starts.isHighResolutionPhotoEnabledcorresponds to per-capturehighResolutionPhotoEnabled; it decides whether this shot outputs a high-resolution photo.maxPhotoQualityPrioritizationlimits the highest quality priority the output object allows.photoQualityPrioritizationchooses speed vs. quality tradeoff for a single capture.flashModecan be on, off, or let the system decide based on scene and lighting (15:58).
Receive face and human body metadata
(16:14) With AVCaptureMetadataOutput available on macOS, apps can receive timed metadata from iPhone’s Continuity Camera video stream. The session explicitly mentions face metadata objects and human body metadata objects.
Receiving face metadata is straightforward: add AVCaptureMetadataOutput to the session, check supported metadata types, set the object type array to face, then set a delegate for real-time callbacks.
Conceptual example:
// Pseudocode based on the session transcript.
let metadataOutput = AVCaptureMetadataOutput()
session.addOutput(metadataOutput)

if metadataOutput.availableMetadataObjectTypes.contains(.face) {
    metadataOutput.metadataObjectTypes = [.face]
    metadataOutput.setMetadataObjectsDelegate(delegate, queue: metadataQueue)
}
Key points:
AVCaptureMetadataOutput()creates an output dedicated to metadata.session.addOutput(metadataOutput)connects it to a session already configured with video input and output.availableMetadataObjectTypesconfirms which metadata types the current device supports..facecorresponds to the face metadata object type in the session.- The delegate receives real-time face metadata callbacks after the session starts running.
Use Desk View as a separate camera
(18:01) Desk View is not only a system app launched from Control Center. macOS 13 also exposes Desk View as a separate AVCaptureDevice.
There are two ways to find the Desk View device: search for Desk View camera device type in a device discovery session, or get the companion Desk View device from the main camera’s companionDeskViewCamera property. The second approach pairs main camera and desktop overhead view when multiple Continuity Camera devices are nearby.
Conceptual example:
// Pseudocode based on the session transcript.
let deskViewCamera = mainCamera.companionDeskViewCamera

if let deskViewCamera {
    useWithVideoDataOutput(deskViewCamera)
    useWithMovieFileOutput(deskViewCamera)
    useWithPreviewLayer(deskViewCamera)
}
Key points:
mainCamerais the already-selected Continuity Camera main video device.companionDeskViewCameragets the Desk View device paired with the main camera.- Desk View device can be used with video data output, movie file output, or
AVCaptureVideoPreviewLayer. - The session states Desk View’s current format is 420v pixel format, 1920 × 1440 resolution, up to 30 fps (19:00).
Core Takeaways
1. Automatic camera mode for video conferencing apps
- What to do: Add an “Auto Select” toggle to the camera selection menu.
- Why it is worth doing:
systemPreferredCamerachanges when Continuity Camera is ready, reducing manual camera switching after joining a meeting. - How to start: In automatic mode, observe
AVCaptureDevice.systemPreferredCameraand replaceAVCaptureSessionvideo input on change; when users manually select, writeAVCaptureDevice.userPreferredCamera.
2. High-quality photo capture for Mac document scanning tools
- What to do: Use iPhone as a camera in a Mac app to photograph paper receipts, whiteboards, or handwritten drafts.
- Why it is worth doing: Continuity Camera on macOS 13 supports up to 12-megapixel photo capture, better than using video frames alone for saving and recognition.
- How to start: Use
AVCapturePhotoOutput, enable high-resolution capture first, then enable high-resolution photos and quality prioritization on eachAVCapturePhotoSettings.
3. Desk View overhead for teaching apps
- What to do: Show Desk View beside the presenter view to demonstrate handwriting, models, instruments, or hands-on work.
- Why it is worth doing: Desk View can run alongside the main camera; the session recommends enabling Center Stage on the main camera for more stable face and body framing (06:52).
- How to start: Read
companionDeskViewCamerafrom the main Continuity Camera device and connect it to a preview layer or video data output.
4. Face metadata input for interactive creative tools
- What to do: Drive layout, stickers, or recording guides from face position in a Mac creative app.
- Why it is worth doing:
AVCaptureMetadataOutputon macOS can receive face and human body metadata from iPhone’s video stream. - How to start: Add
AVCaptureMetadataOutputto the capture session, checkavailableMetadataObjectTypes, subscribe to face metadata objects, and handle real-time callbacks in the delegate.
Related Sessions
- Create camera extensions with Core Media IO — Covers macOS camera system extensions; useful for understanding how virtual, hardware, and system camera inputs are exposed to apps.
- Capture machine-readable codes and text with VisionKit — Covers VisionKit Data Scanner for continuing camera input into text and barcode recognition.
- Discover advancements in iOS camera capture: Depth, focus, and multitasking — Covers new iOS camera capture capabilities to supplement understanding of depth, focus, multitasking, and multiple video outputs.
Comments
GitHub Issues · utterances