
Highlight
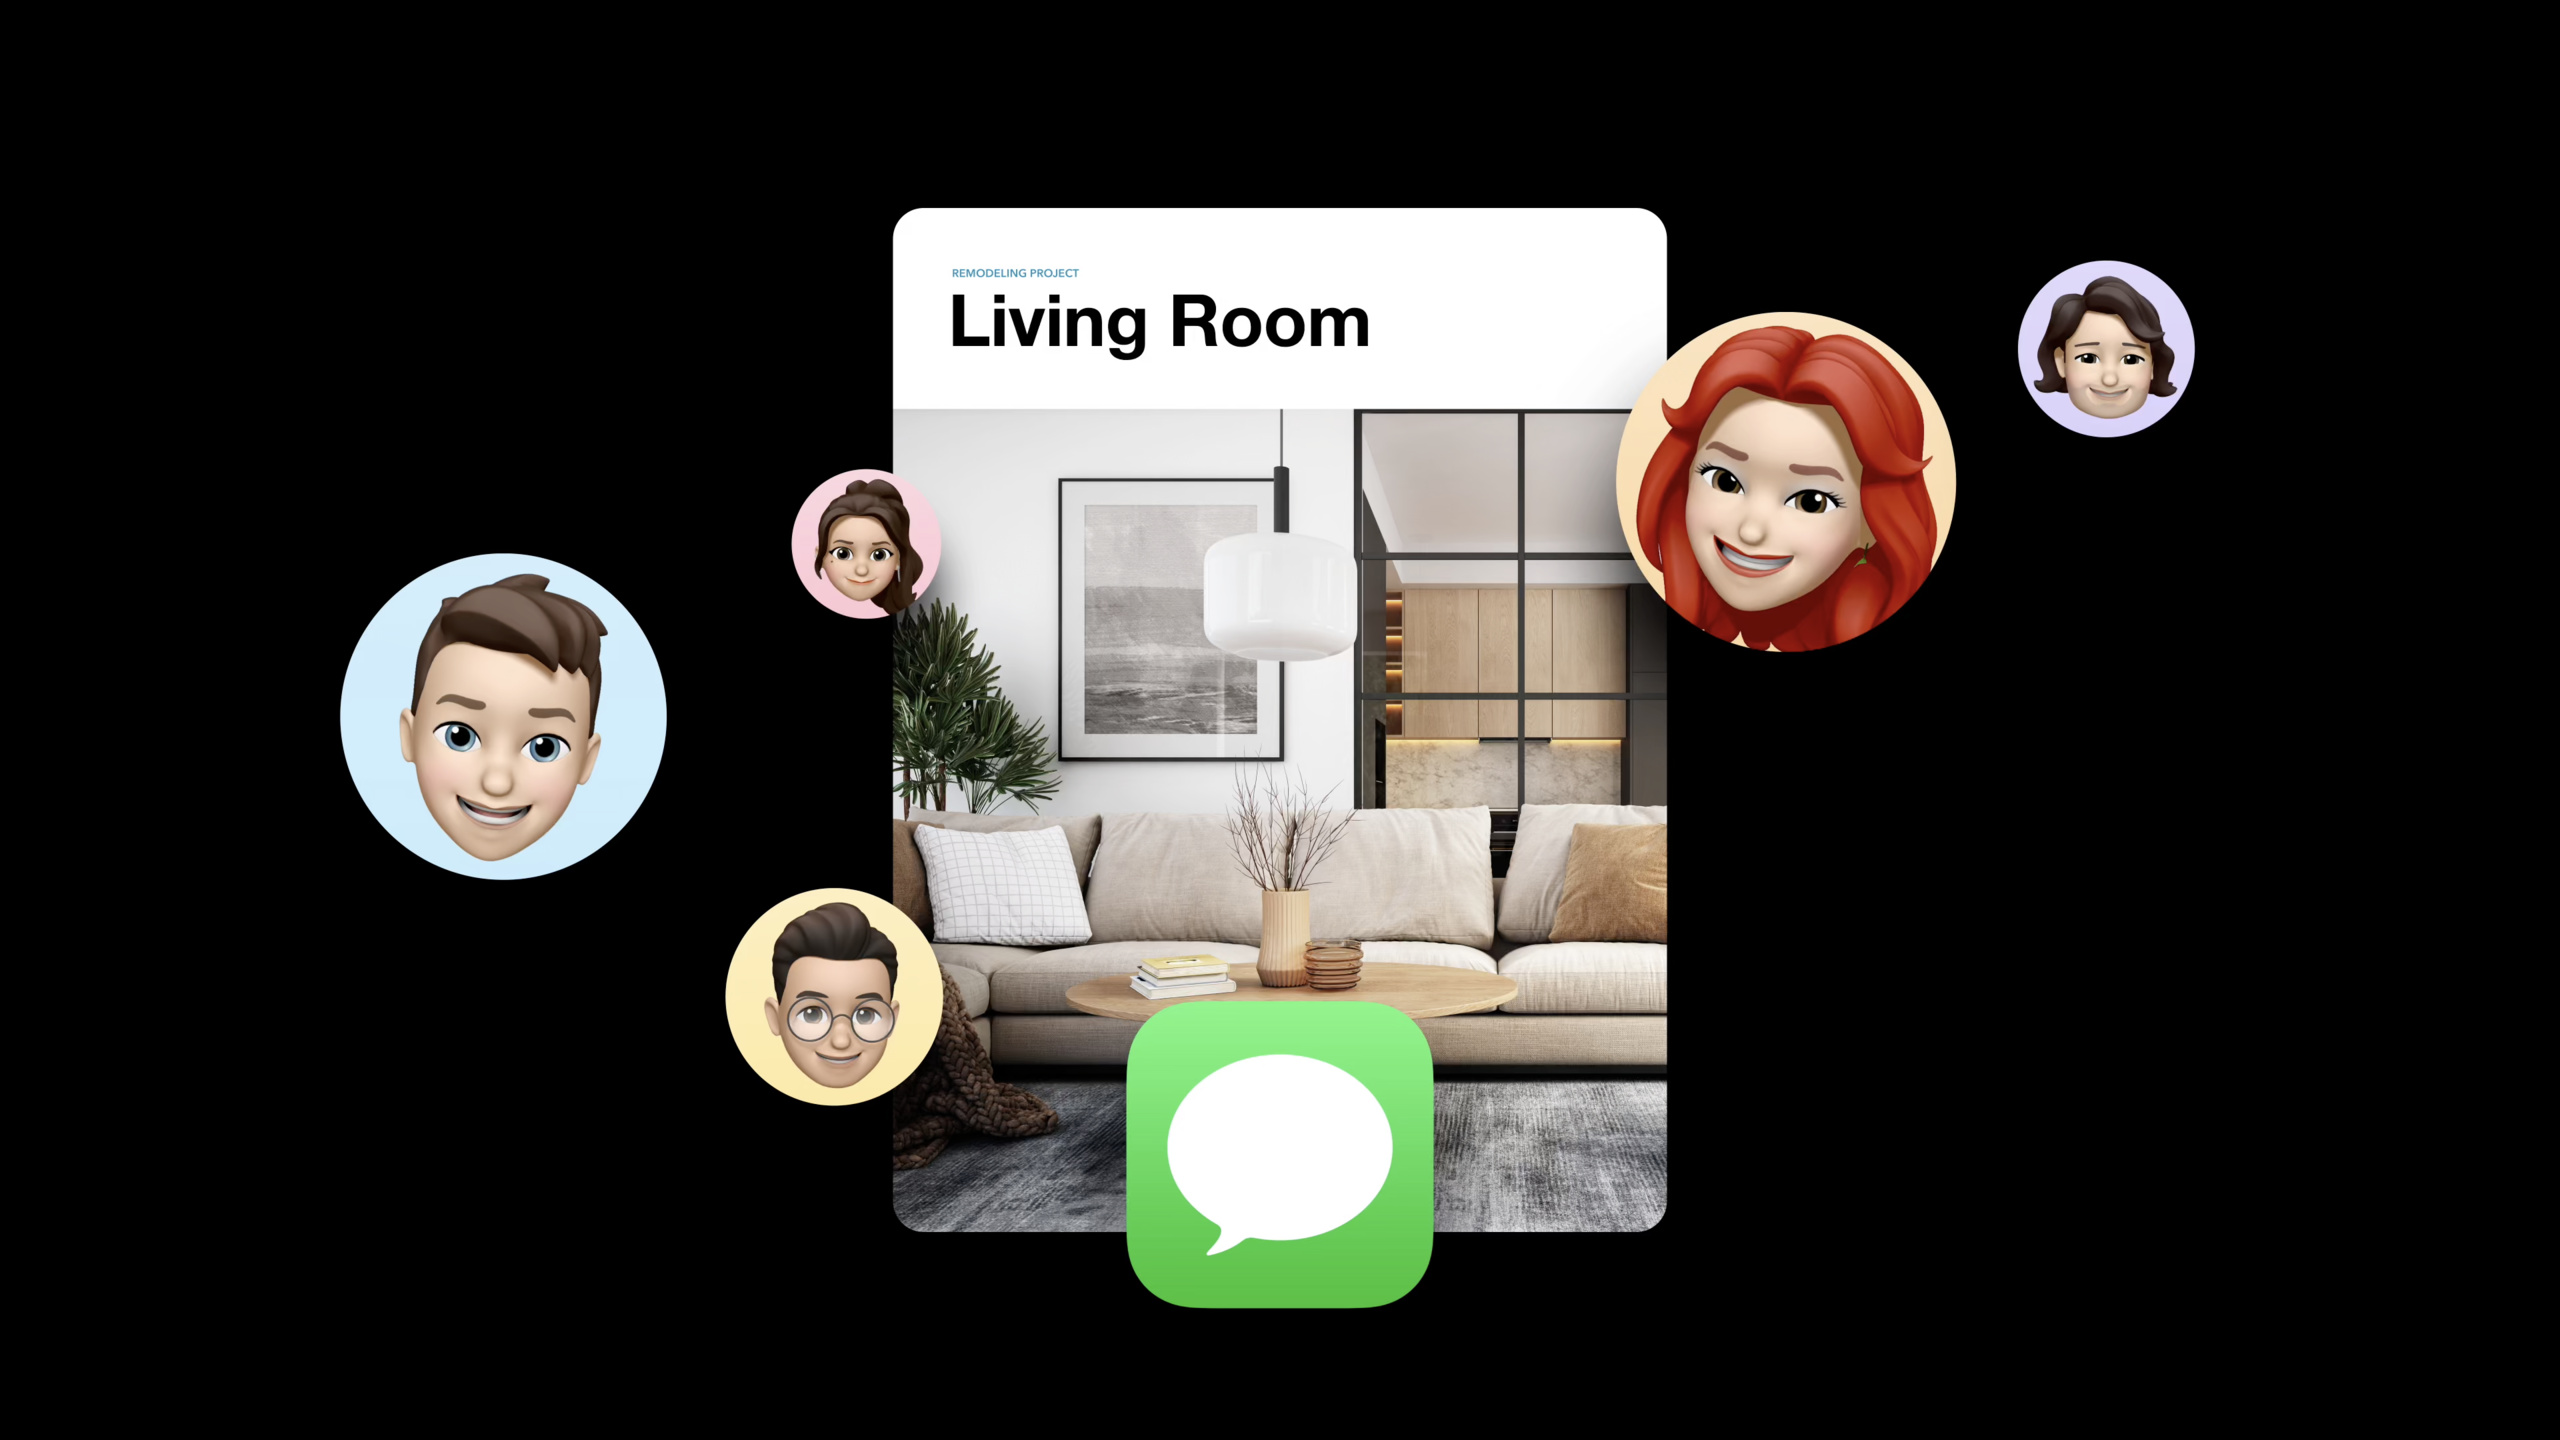
Apple redesigned the collaboration experience in iOS 16 and macOS Ventura around a central idea: put Messages at the heart of the collaboration flow. Traditional collaboration tools send invitations by email, but email is asynchronous and slows communication. Messages supports real-time conversation and makes it easy to switch to FaceTime.
Core Content
Many collaboration products start with an email invitation. The organizer needs the other person’s email address, and after the invite goes out, discussion moves back into an email thread. That flow works for asynchronous communication, but it slows down work on a document being edited right now. (00:51)
Apple brought Messages into the collaboration chain in iOS 16 and macOS Ventura. Users can send a collaboration invite directly to an existing conversation without asking for an email address. The conversation can also switch to FaceTime, with screen sharing for more complex discussions. (01:10)
The session demonstrates the full flow with a Pages recipe document. The user taps the Share button in the toolbar, chooses “Start Collaboration” in the new system share sheet, and sends the invite to a group chat named Cupcake Designers. After the invite is sent, the Pages toolbar shows the group chat avatar, indicating that the document is now linked to that Messages conversation. (01:42)
Once collaboration starts, users can return to the Messages conversation from the document’s collaboration button, or start a FaceTime audio or video call from the same popover. When collaborators edit the document, Messages shows a notification banner from the collaboration app; tapping the banner returns the user to the document to see updates. (02:55)
This session focuses on design rules: start collaboration from the system share sheet, place the collaboration button in a prominent location, keep the collaboration popover clearly structured, and use Messages notifications so participants know what changed in the document.
Detailed Content
1. Start collaboration from the system share sheet
(04:38) Users already know the system share sheet. Photos, web pages, and songs are all shared through it. Collaboration should use the same entry point to reduce learning cost.
The new share sheet lets users choose between two sharing modes: Start Collaboration or Send Copy. If your app does not support Send Copy, the top selection control can be hidden. A permissions summary appears below the sharing mode, for example “Everyone can make changes.” That text is also the entry point into permission settings. (05:32)
Share button
  -> System share sheet
     -> Choose "Start Collaboration" or "Send Copy"
     -> Show permissions summary
     -> Choose Messages conversation
     -> Send invitation
Key points:
Share button: Place the entry point where users can find it easily; the toolbar is the recommended location.System share sheet: Preserve the familiar system sharing experience and get conversation suggestions.Start Collaboration: Send a collaboration invitation for multiple people to edit the same content.Send Copy: Send a static file for scenarios that do not require shared editing.Permissions summary: Keep the copy short so it is not truncated in the share sheet.
Keep the permissions settings page simple as well. The more complex the option structure, the harder it is for users to quickly judge who can access and who can edit. (06:04)
2. Make the Messages compose field the final confirmation step
(06:38) After the collaboration invite reaches the Messages compose field, users can still adjust the sharing mode and collaboration permissions. This avoids sending users back to the share sheet to start over.
Dragging a file into a Messages conversation can also start collaboration. This matches desktop user habits: drag the file into the conversation, confirm permissions, and tap Send. (06:53)
Messages compose field
  -> Show collaboration invitation
  -> Allow permission adjustments
  -> Tap Send
  -> Collaboration starts immediately
Key points:
Show collaboration invitation: Users can confirm what they are sharing before sending.Allow permission adjustments: Permission changes stay in the current context, reducing back-and-forth navigation.Tap Send: The send button serves both “send message” and “start collaboration.”Collaboration starts immediately: After sending, the app should immediately show collaboration status.
3. Place the collaboration button next to the share button
(07:07) After collaboration starts, a collaboration button appears in the app. It is one of the most important UI elements in the collaboration experience. Apple recommends placing it next to the share button so users naturally transition from “share” to “manage collaboration.”
The button appearance reflects how collaboration was started. A one-to-one Messages conversation shows the recipient’s avatar; a group chat with a photo shows the group photo; a group chat without a photo uses a system-provided symbol. (07:40)
Toolbar
  [Share button] [Collaboration button]

Collaboration button
  -> One-to-one conversation: show contact avatar
  -> Group chat with photo: show group photo
  -> Group chat without photo: show system symbol
Key points:
[Share button] [Collaboration button]: Adjacent buttons reduce the cost of finding collaboration status.Contact avatar: In one-to-one collaboration, the avatar directly indicates who the other person is.Group photo: In group collaboration, the group photo indicates which conversation the document is linked to.System symbol: When there is no group photo, the system still provides a stable default representation.
4. Keep only the most essential information in the collaboration popover
(08:07) The collaboration popover has three sections. The top shows collaborators and communication buttons; the system finds matching avatars from Contacts. The middle area is for app customization. The bottom is the entry point for managing the shared file.
Pages shows current participants and display settings in the middle area. Notes shows recent activity and two action buttons. When Reminders and Files have no extra content, they leave the middle area empty. Apple’s advice is direct: keep it scannable; do not pack in too much information or too many buttons. (08:30)
Collaboration popover
  -> Top: collaborator avatars, Messages, FaceTime
  -> Middle: app-specific core information
  -> Bottom: Manage Shared File
Key points:
Top: Provides communication entry points and a collaboration overview, helping users quickly return to the conversation or start a call.Middle: Show only the collaboration information your app needs most, such as an activity list or participant list.Bottom: Opens the collaboration management page for adding members, removing members, and changing settings.Manage Shared File: The button label can be customized, but the function should remain clear.
If your app uses CloudKit sharing, the management page is provided by the system. If your app does not use CloudKit sharing, you need to provide your own management page. (09:28)
5. Use Messages banner notifications for collaboration changes
(09:51) Messages banners let collaborators know about new changes without opening the document. The system provides multiple banner templates, such as edits made, comments added, you were mentioned, and files modified.
Your app needs to tell Messages which type of update to display. Messages places the update in the correct conversation. If multiple people produce many updates across multiple documents, Messages merges multiple banners into one to reduce noise in the conversation. After the user taps the view button in a banner, they choose which specific update to open. (10:21)
Collaboration app produces update
  -> Choose notification template
  -> Messages shows banner
  -> Multiple updates merged automatically
  -> User opens and selects specific update
Key points:
Produces update: Send only important collaboration changes to the conversation to avoid disruption.Notification template: Use system templates to express update types and maintain consistency within Messages.Merged automatically: Messages merges multiple banners to reduce conversation noise.Specific update: Users enter a single update from the summary view and return to the corresponding document context.
Core Takeaways
-
What to do: Bring the collaboration entry point back to the system share sheet. Why it is worth doing: Users already know the share sheet, and the system can suggest frequently used Messages conversations. How to start: First map every “invite someone to edit together” entry point in your app, then route them through the share button into the collaboration flow.
-
What to do: Give collaboration status a fixed toolbar location. Why it is worth doing: After collaboration starts, users need to know at all times which conversation the document is linked to and who is participating. How to start: Place the collaboration button next to the share button, using a contact avatar, group photo, or system symbol for the button content.
-
What to do: Design a minimal information area for the collaboration popover. Why it is worth doing: The collaboration popover is for quick viewing and communication; too much information slows decision-making. How to start: Choose only one core module for the middle area, such as “currently online participants” or “last three activities.”
-
What to do: Send important editing events back to Messages. Why it is worth doing: Collaborators often stay in the conversation; banners let them jump from the conversation directly to the document that changed. How to start: First define a small set of high-value events, such as comments, mentions, and file modifications, then map them to the banner templates Messages provides.
-
What to do: Support starting collaboration by dragging into Messages. Why it is worth doing: Desktop users often share files by dragging; dragging into a conversation and then setting permissions reduces workflow interruption. How to start: Check whether your app’s document objects can enter the system sharing flow, and ensure the permissions summary is readable in the Messages compose field.
Related Sessions
- Enhance collaboration experiences with Messages — Covers how to integrate Collaboration with Messages, including CloudKit, iCloud Drive, and custom collaboration infrastructure.
- Integrate your custom collaboration app with Messages — Covers how custom collaboration apps integrate with Messages, Shared with You, and authentication flows.
- Add Shared with You to your app — Covers how content shared in Messages can resurface inside your app while preserving a path back to the conversation.
- Make a great SharePlay experience — Covers product principles for designing collaboration experiences around FaceTime and shared activities.
Comments
GitHub Issues · utterances