
Highlight
Apple built a new Apple Weather Service using high-resolution weather models and machine learning prediction algorithms to deliver hyperlocal forecasts worldwide. WeatherKit exposes that data through developer APIs.
Core Content
Weather data is easy to treat as a small feature: show temperature, draw an icon, remind users to bring an umbrella. The session opens with more concrete scenarios: checking Apple Watch before leaving home, predicting rain and frost in agriculture, confirming storm risk before winter travel. They all depend on the same thing: given a location, get accurate, nearby weather information. (00:17)
With WeatherKit, developers can use Apple Weather Service directly. It uses high-resolution weather models, machine learning, and prediction algorithms to deliver hyperlocal forecasts globally. Location data is used only to provide forecasts—it is not linked to personal identity and is not shared or sold. (00:55)
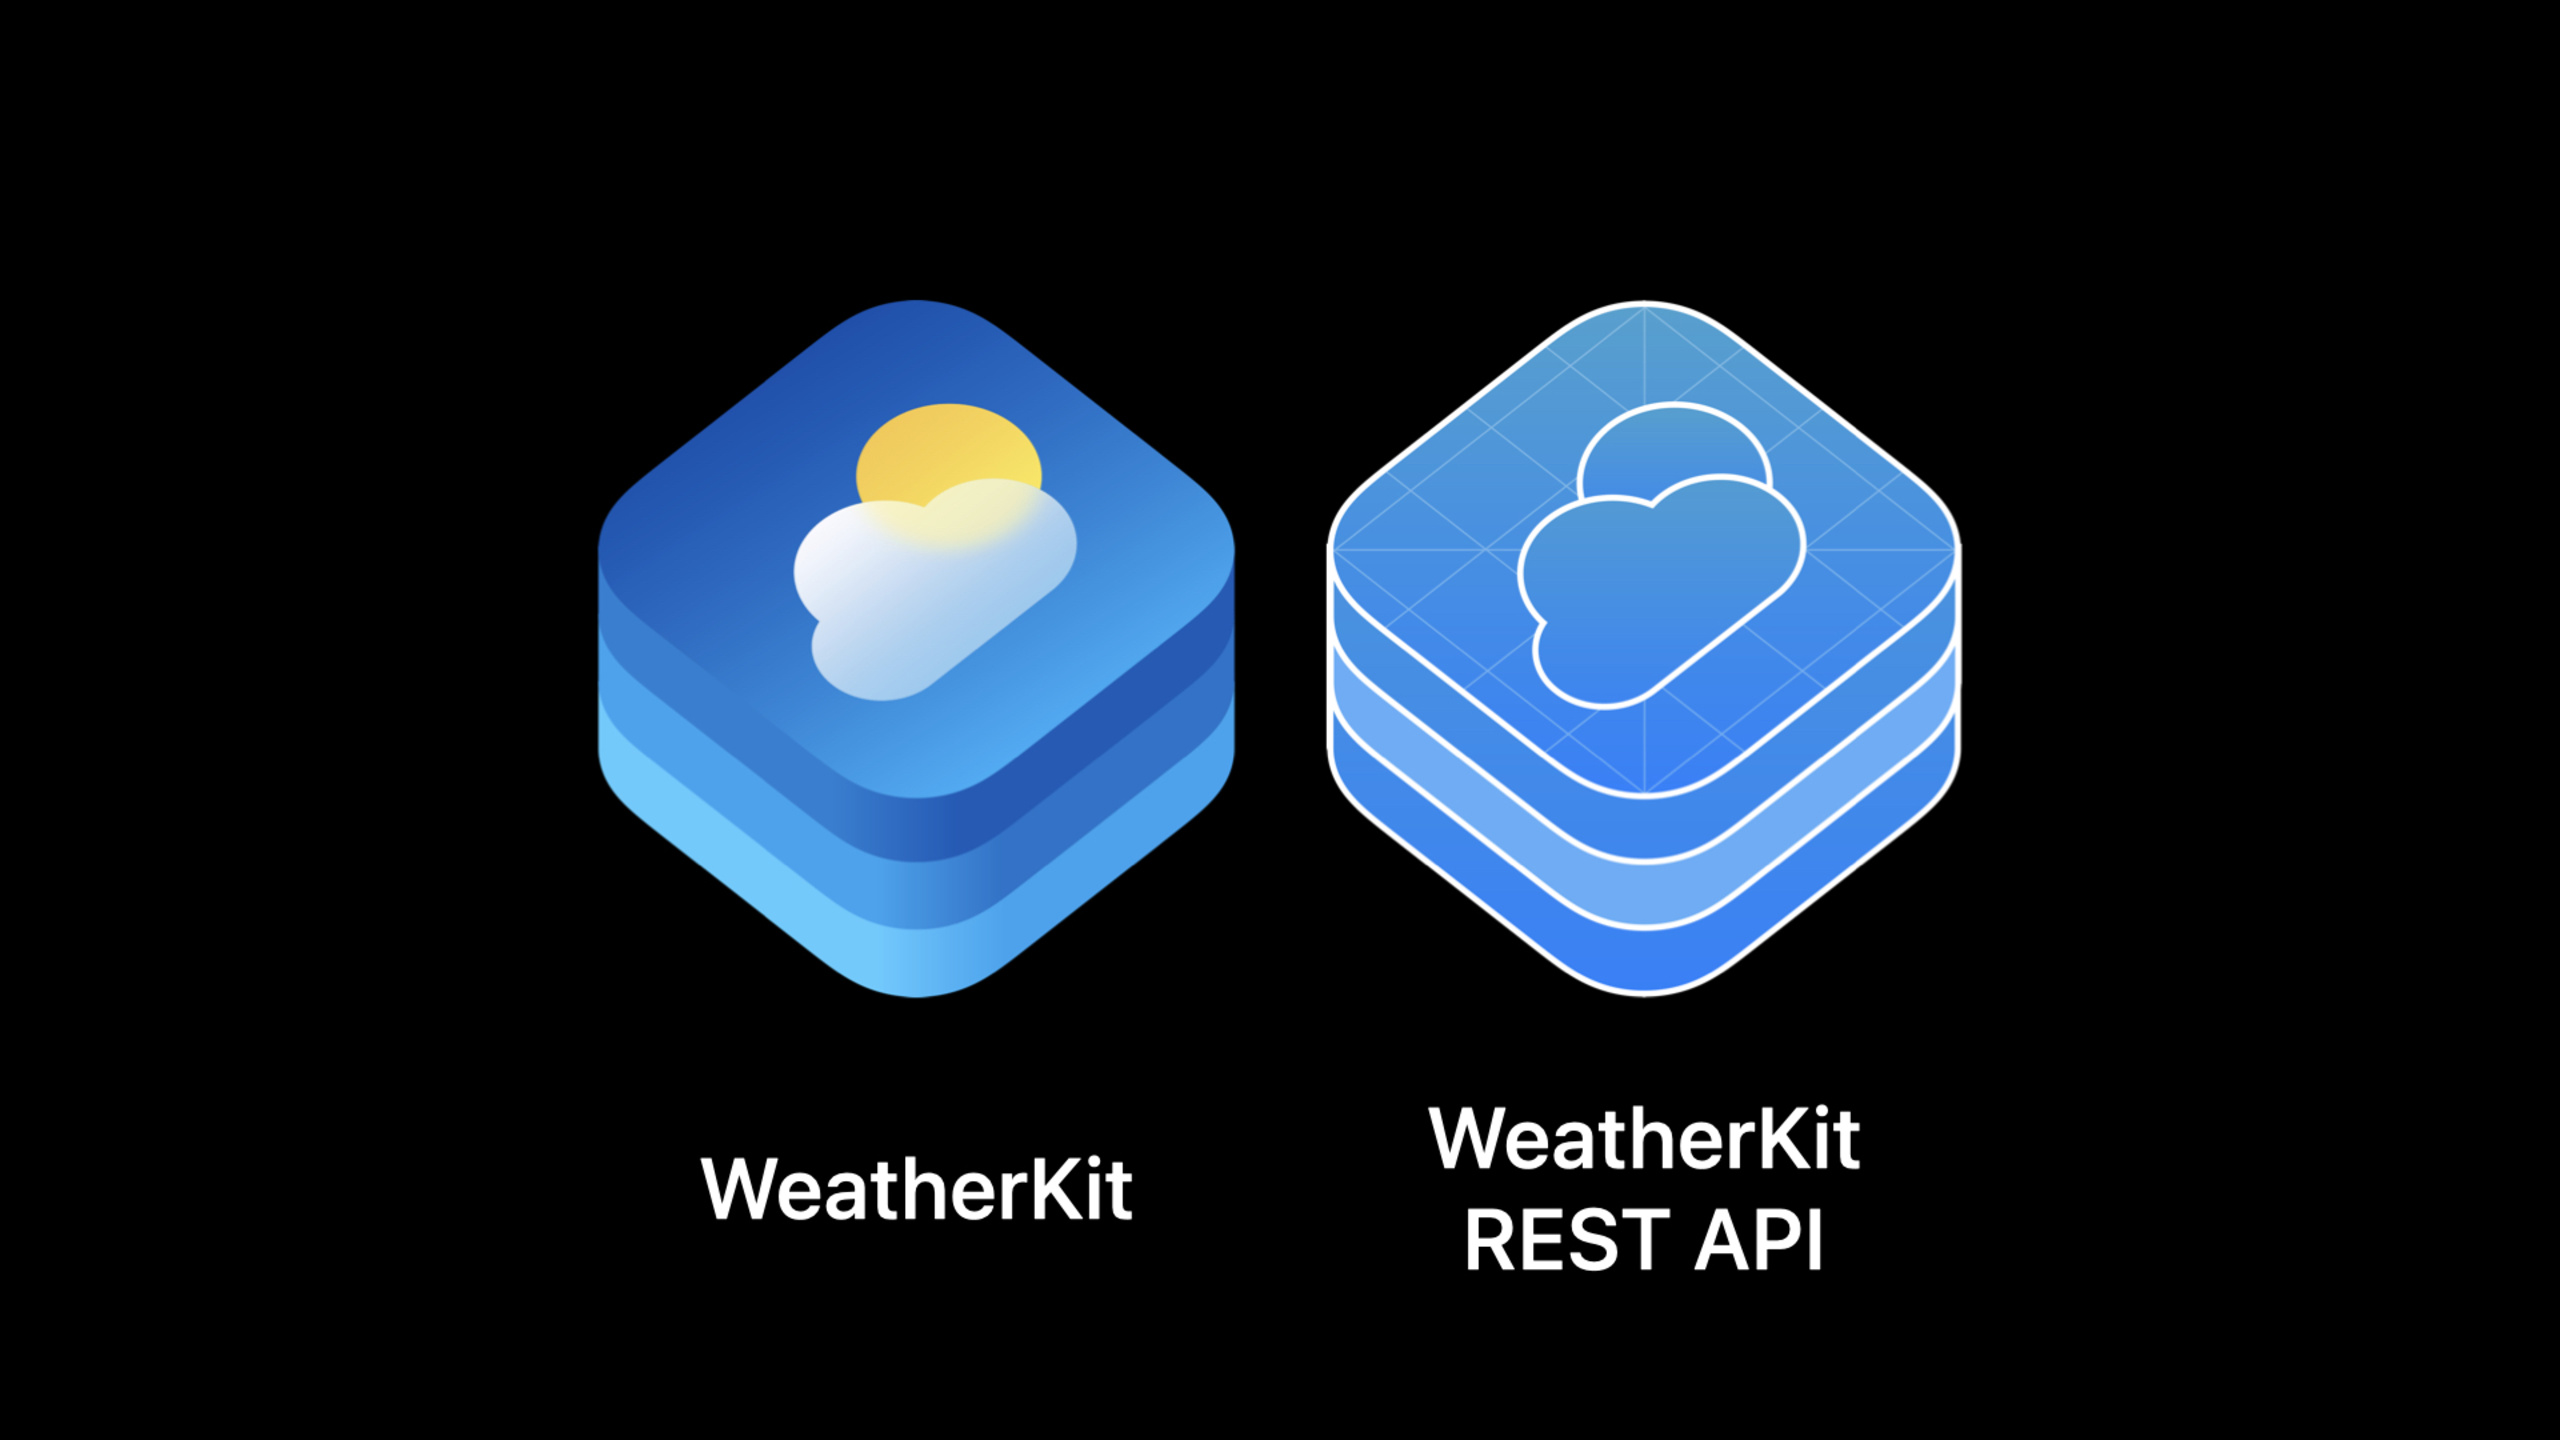
There are two entry points. Apps on Apple platforms can use the Swift framework with Swift Concurrency; other platforms can use the REST API and pull the same data from weatherkit.apple.com. The REST API requires developers to generate a signed JSON Web Token (JWT) on the server and pass it in the request’s Authorization header. (04:14, 07:48, 09:08)
Detailed Content
Six weather data categories
(02:21) WeatherKit does not expose a single “weather object.” It splits data into multiple datasets so you can request by scenario.
- Current weather: UV index, temperature, wind, and other conditions at the request location right now.
- Minute forecast: minute-by-minute precipitation for the next hour, when available in supported regions.
- Hourly forecast: up to 240 hours from the current hour, including humidity, visibility, pressure, dew point, and more per hour.
- Daily forecast: a 10-day collection with high/low temperature, sunrise, sunset, and more per day.
- Weather alerts: severe weather warnings for the request location.
- Historical weather: specify start and end dates on hourly and daily requests to view past saved forecasts.
This split affects how you use the API. A flight itinerary page only needs hourly forecasts for the destination—no need to fetch every dataset; a safety alert page only cares about weather alerts and can request just weatherAlerts.
Requesting weather for a location in Swift
(04:27) The Swift framework entry point is WeatherService. The example imports WeatherKit and CoreLocation, creates a CLLocation from latitude and longitude, then requests weather with async/await.
// Request the weather

import WeatherKit
import CoreLocation


let weatherService = WeatherService()

let syracuse = CLLocation(latitude: 43, longitude: -76)

let weather = try! await weatherService.weather(for: syracuse)

let temperature = weather.currentWeather.temperature

let uvIndex = weather.currentWeather.uvIndex
Key points:
import WeatherKitbrings in the weather framework;import CoreLocationprovides location types.WeatherService()creates the entry object for Apple Weather Service.CLLocation(latitude:longitude:)describes the query location; the example uses Syracuse, New York coordinates.await weatherService.weather(for: syracuse)makes an async request and returns weather for that location.weather.currentWeather.temperaturereads the current temperature.weather.currentWeather.uvIndexreads the current UV index.
The flight planning example in the session follows the same pattern. The app already has an airport struct with destination latitude and longitude; after tapping a flight, it requests hourly forecasts for the destination and shows conditions, precipitation, wind, and temperature in a custom view. (05:14, 06:04)
Before running, complete capability setup: register the App ID in Developer Portal and enable WeatherKit; then add the WeatherKit capability in Xcode. (05:43)
Displaying attribution in the UI
(06:41) WeatherKit data requires attribution. In the example, the developer gets the legal attribution page URL from attribution.legalPageURL, then gets the Apple Weather mark image URL and picks light or dark based on SwiftUI’s colorScheme.
This applies to native and web apps. Before App Store release or web launch, show the attribution link and logo; if you display weather alerts, also link to the event page provided in the response. (10:38)
Requesting weather alerts with the REST API
(07:56) The REST API works on any platform. The example requests weather alerts: get an auth token from your token service, then call the WeatherKit endpoint.
/* Request a token */
const tokenResponse = await fetch('https://example.com/token');
const token = await tokenResponse.text();

/* Get my weather object */
const url = "https://weatherkit.apple.com/1/weather/en-US/41.029/-74.642?dataSets=weatherAlerts&country=US"

const weatherResponse = await fetch(url, {
headers: {
"Authorization": token
}
});
const weather = await weatherResponse.json();

/* Check for active weather alerts */
const alerts = weather.weatherAlerts;
const detailsUrl = weather.weatherAlerts.detailsUrl;
Key points:
fetch('https://example.com/token')requests a token from your own service. The session explains this service generates a signed JWT with a private key on the server.tokenResponse.text()reads the response as a token string.en-USin the URL path specifies localization.41.029/-74.642is the request location’s latitude and longitude.dataSets=weatherAlertsrequests only the weather alerts dataset; the parameter name is plural, so you can request multiple datasets comma-separated.country=USis required when requesting theweatherAlertsdataset.- The
Authorizationheader carries the token; WeatherKit uses it to verify authorization. weatherResponse.json()parses the response as JSON.weather.weatherAlertsreads weather alert data.weather.weatherAlerts.detailsUrlreads the alert details page link, which you must provide to users when showing weather alerts.
REST authentication on the server
(09:08) REST API authentication requires three setup steps: create an authentication key with WeatherKit enabled in Developer Portal; create an associated services ID; deploy a token service on your server that creates signed JWTs with the private key.
A JWT has header, payload, and signature. The payload includes WeatherKit REST API and app information such as issuer, subject, and expiration time. Clients do not store the private key directly—they request a token from their token service and add it to WeatherKit requests. (09:51, 10:17)
Core Takeaways
-
What to do: Add a “destination weather” section to your travel app.
Why it matters: The session’s flight planning example shows the path: store latitude/longitude per airport, request hourly forecasts, then show conditions, precipitation, wind, and temperature.
How to start: Enable WeatherKit in App ID and Xcode, then useWeatherService().weather(for:)with the airport’sCLLocation. -
What to do: Build a “one hour before leaving” precipitation reminder.
Why it matters: Minute forecasts provide minute-by-minute precipitation for the next hour—good for “should I bring an umbrella now?”
How to start: Request WeatherKit’s minute forecast dataset for the user’s current location; show the minute-by-minute precipitation view only in supported regions. -
What to do: Add severe weather alerts to outdoor activity pages.
Why it matters: TheweatherAlertsdataset includes severe weather warnings for the request location; the session requires linking to the event page in the response when showing alerts.
How to start: Use the REST API withdataSets=weatherAlerts&country=USfrom web or backend services; readweather.weatherAlertsanddetailsUrl. -
What to do: Add historical weather trends to agriculture or gardening records.
Why it matters: WeatherKit can access historical weather by specifying start and end dates on hourly and daily requests to view trends.
How to start: Save date ranges around a field’s coordinates; use hourly or daily historical requests to chart temperature, precipitation, wind, and other changes. -
What to do: Build a cross-platform weather component.
Why it matters: The Swift framework suits Apple platforms; the REST API covers web and other platforms—both from the same Apple Weather Service.
How to start: Use the WeatherKit framework on Apple platforms; on web, get a JWT from your token service and callhttps://weatherkit.apple.com/1/weather/....
Related Sessions
- Meet Apple Maps Server APIs — also uses server-side tokens and Apple mapping services; good to read alongside WeatherKit REST API authentication.
- What’s new in MapKit — maps, 3D cities, overlays, and Look Around; weather layers or place details can sit on top of these map capabilities.
- Q&A: Maps technologies — Q&A on MapKit, MapKit JS, Maps Server API, and indoor maps; useful for location app implementation details.
Comments
GitHub Issues · utterances